I used to think concert photography was mostly about being in the right place at the right time. Then I started paying attention to why certain photographers consistently walked away with usable frames while others came home with a memory card full of blurry, noise-smeared disappointments. The short answer: gear choices matter more in a dark pit than almost anywhere else in photography, and the decisions you make before you walk through the door determine a lot.
In this CreativeLive tutorial, Watch the full tutorial on YouTube, Todd Owyoung walks through exactly what he carries for live music work and, more importantly, why each piece earns its spot in the bag. Todd has shot everyone from arena headliners to club acts, and the reasoning behind his kit applies whether you’re shooting with his exact gear or hunting for a budget alternative that covers the same bases.
What I appreciate most about his breakdown is that it’s not a flex. He explains the tradeoffs between systems honestly, admits when one camera beats the other in specific scenarios, and treats lenses as tools with specific jobs rather than status symbols. That’s the kind of thinking I try to bring to my own reviews, and it’s worth unpacking step by step.
Step 1: Start With Sensor Size, Not Brand
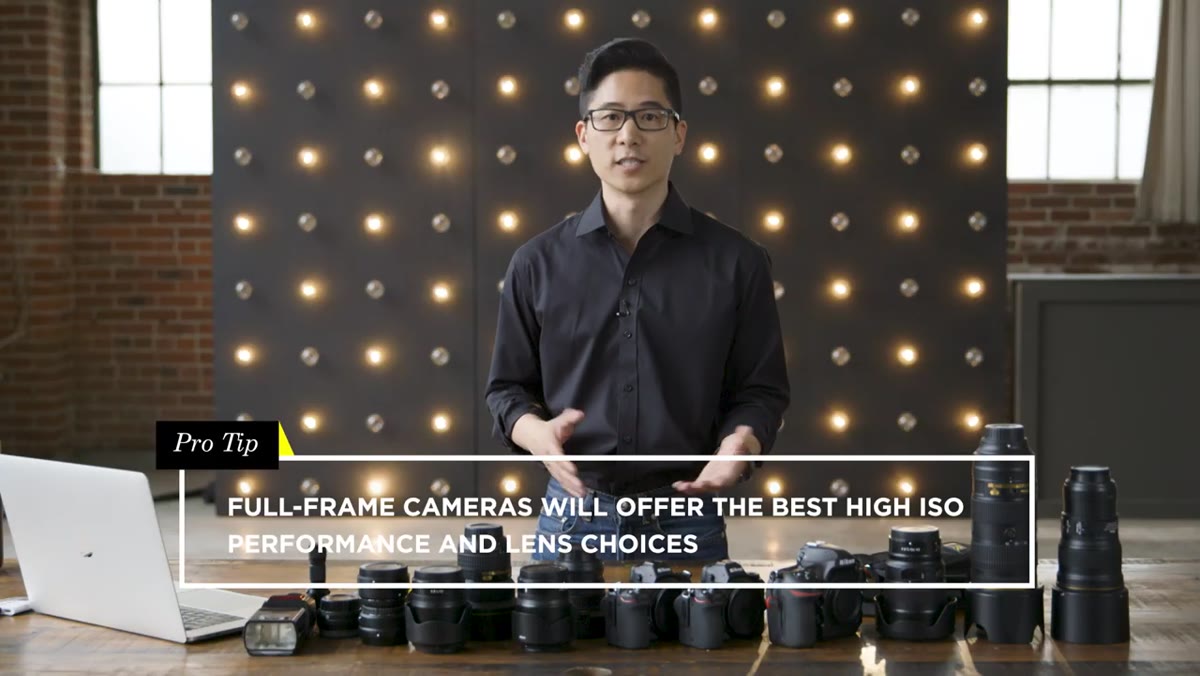 Todd explaining full-frame sensor advantages for low light
The first decision Todd makes before anything else is sensor format. For live music, he lands firmly on full-frame, and the reason is physics, not marketing. Larger sensors have larger individual pixels, which means each one captures more light before noise becomes a problem. In a venue where you’re already pushing ISO 3200 or higher with fast shutter speeds to freeze movement, that pixel pitch difference between a full-frame and an APS-C sensor is the difference between a usable shot and one you’ll delete.
Todd explaining full-frame sensor advantages for low light
The first decision Todd makes before anything else is sensor format. For live music, he lands firmly on full-frame, and the reason is physics, not marketing. Larger sensors have larger individual pixels, which means each one captures more light before noise becomes a problem. In a venue where you’re already pushing ISO 3200 or higher with fast shutter speeds to freeze movement, that pixel pitch difference between a full-frame and an APS-C sensor is the difference between a usable shot and one you’ll delete.
If you’re on a budget, this doesn’t mean you have to buy full-frame right now. But it does mean that when you’re comparing cameras, low-light ISO performance should be your primary benchmark, not megapixels or video features. A 24MP full-frame from five years ago will often outperform a newer crop sensor at high ISO in real shooting conditions.
Step 2: Understand the DSLR vs. Mirrorless Tradeoff Before You Choose
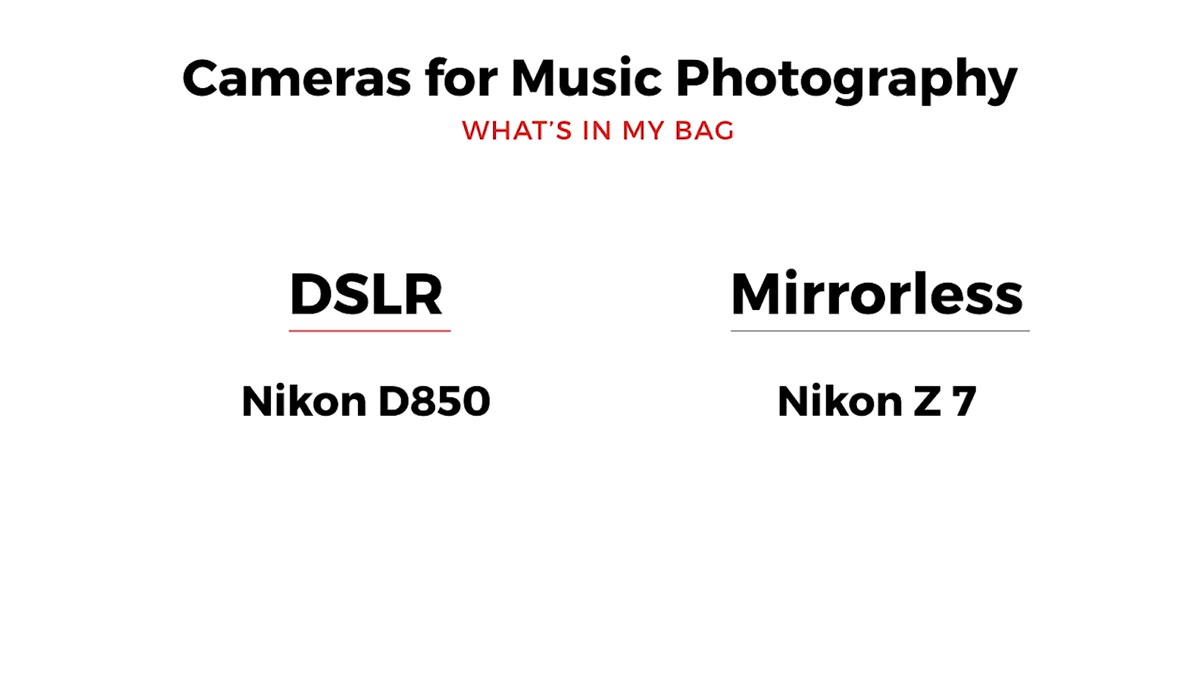 Todd holding and comparing the Nikon Z7 and D850
Todd shoots with both the Nikon Z7 mirrorless and the Nikon D850 DSLR, but he’s clear that the Z7 handles roughly 99% of his music work. The reason he keeps the D850 in the bag at all is specific: in situations with very bright stage lighting mixed with studio strobes, the optical viewfinder gives him a natural read on the scene that an electronic viewfinder can sometimes distort, especially when white balance presets are locked in for editing consistency.
Todd holding and comparing the Nikon Z7 and D850
Todd shoots with both the Nikon Z7 mirrorless and the Nikon D850 DSLR, but he’s clear that the Z7 handles roughly 99% of his music work. The reason he keeps the D850 in the bag at all is specific: in situations with very bright stage lighting mixed with studio strobes, the optical viewfinder gives him a natural read on the scene that an electronic viewfinder can sometimes distort, especially when white balance presets are locked in for editing consistency.
For most live music scenarios though, the mirrorless wins. The Z7’s autofocus coverage spans nearly the entire frame, which changes how you compose. Instead of being stuck with a cluster of AF points in the center and then recomposing, you can place the focus point almost anywhere. For tight pit work where you’re reacting quickly and the subject is often off-center, that freedom is genuinely significant. If you’re choosing between a mirrorless and a DSLR at similar price points today, this AF coverage difference is worth weighting heavily.
Step 3: Use a Mount Adapter to Bridge Systems Without Losing Quality
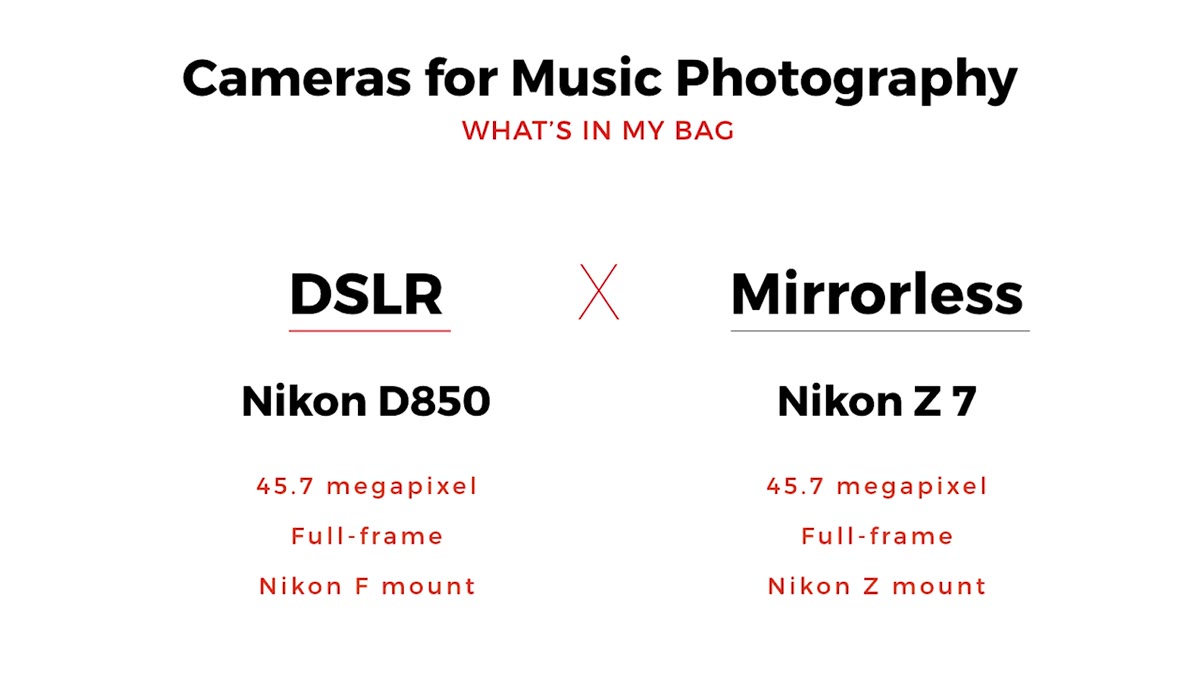 Todd showing the Nikon FTZ adapter attached to Z7 body
One concern photographers have when switching from DSLR to mirrorless is stranding their existing lens investment. Todd addresses this directly with the Nikon FTZ adapter, which lets him run his older F-mount glass on the Z-mount bodies with no optical degradation. The adapter is essentially a precision tube that accounts for the different flange distances between the two systems.
Todd showing the Nikon FTZ adapter attached to Z7 body
One concern photographers have when switching from DSLR to mirrorless is stranding their existing lens investment. Todd addresses this directly with the Nikon FTZ adapter, which lets him run his older F-mount glass on the Z-mount bodies with no optical degradation. The adapter is essentially a precision tube that accounts for the different flange distances between the two systems.
This is a practical lesson beyond the Nikon ecosystem. Most major mirrorless systems now have first-party or well-reviewed third-party adapters. If you’re transitioning systems, don’t assume you have to rebuy every lens on day one. Test your current glass on the new body with an adapter, identify which lenses you actually use most, and prioritize native replacements for those first. The rest can wait.
Step 4: Cover Three Focal Length Ranges, Not Just One
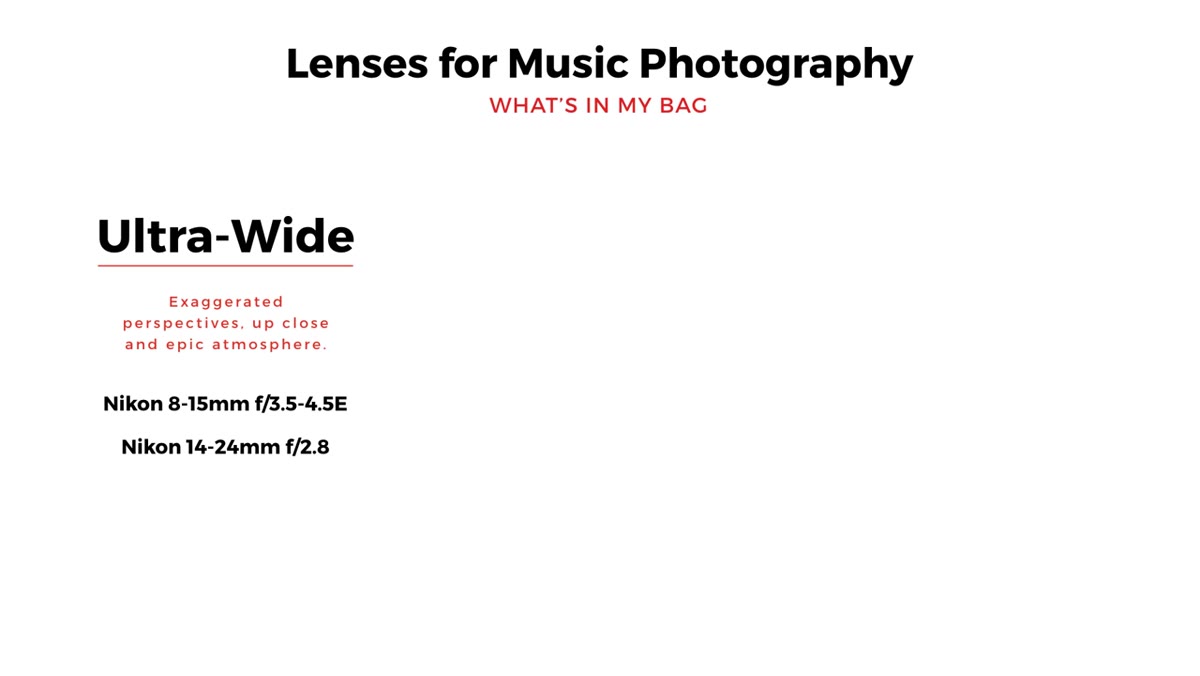 Todd laying out three lens categories for music photography
Todd organizes his lens kit into three distinct ranges: ultra-wide, mid-range, and short telephoto. Each one serves a different creative and logistical purpose in the pit. The ultra-wide gets you environmental context, the crowd, the stage production, the scale of the room. The mid-range covers most of your documentary moments. The short telephoto isolates the performer and compresses the background.
Todd laying out three lens categories for music photography
Todd organizes his lens kit into three distinct ranges: ultra-wide, mid-range, and short telephoto. Each one serves a different creative and logistical purpose in the pit. The ultra-wide gets you environmental context, the crowd, the stage production, the scale of the room. The mid-range covers most of your documentary moments. The short telephoto isolates the performer and compresses the background.
The mistake most developing photographers make is building a kit that’s redundant in the middle and has nothing on the edges. If you have three lenses and they’re all covering roughly the same field of view, you’re not gaining creative flexibility, you’re just carrying more weight. Think about the shot you can’t currently make, not just the shot you already know how to get.
Step 5: Go Ultra-Wide With a Fisheye to Work in Tight Spaces
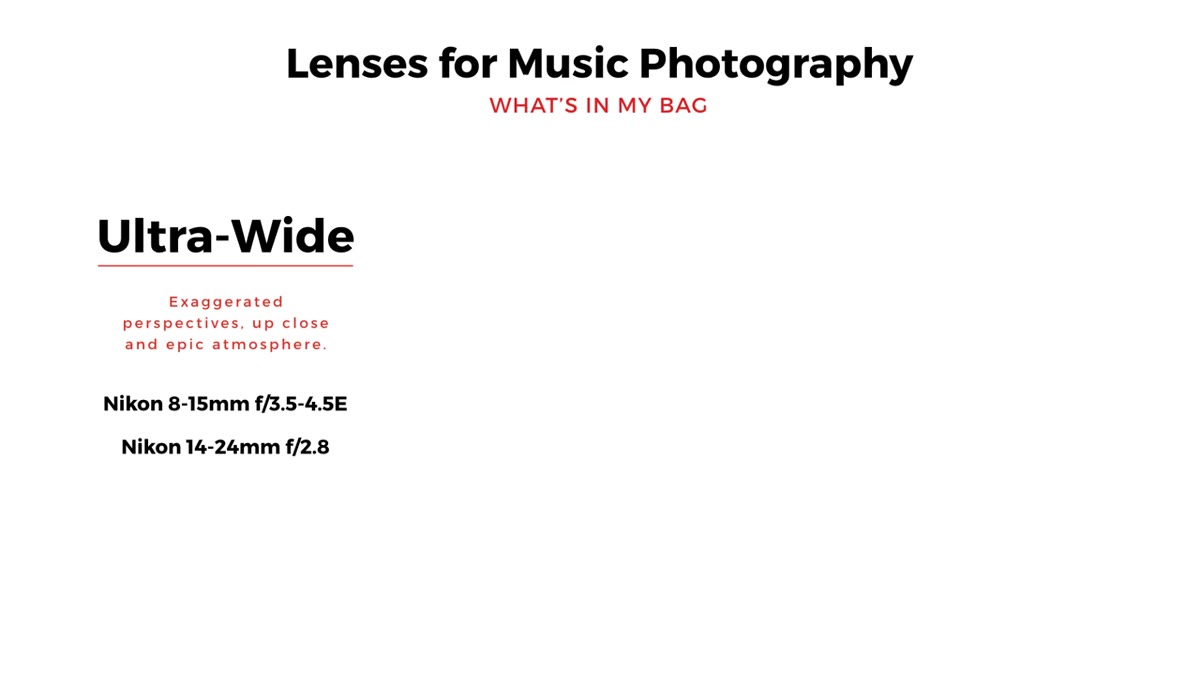 Todd demonstrating the Nikon 8-15mm fisheye zoom lens
Todd’s ultra-wide choice is the Nikon 8-15mm fisheye zoom, and the flexibility of that range is the key feature. At 8mm you get a circular fisheye effect, dramatic and distorted. At 15mm you get a full-frame fisheye, which reads as a very wide rectilinear shot at typical viewing sizes and can be corrected further in post if you want. Having both options in one lens is smart packing for a pit where you often can’t swap glass mid-song.
Todd demonstrating the Nikon 8-15mm fisheye zoom lens
Todd’s ultra-wide choice is the Nikon 8-15mm fisheye zoom, and the flexibility of that range is the key feature. At 8mm you get a circular fisheye effect, dramatic and distorted. At 15mm you get a full-frame fisheye, which reads as a very wide rectilinear shot at typical viewing sizes and can be corrected further in post if you want. Having both options in one lens is smart packing for a pit where you often can’t swap glass mid-song.
Even at a fast aperture like f/3.5 or f/4, ultra-wides perform well in lower light because depth of field at such short focal lengths is naturally deep. You can focus close, get the performer large in the frame, and still have the stage background in focus behind them.
My Take: Budget Alternatives That Cover the Same Bases
I’ll be straight with you: Todd’s specific kit is not cheap. But the logic behind it is completely scalable. If you’re shooting APS-C, prioritize a body with the widest ISO range you can afford and test it yourself above 3200 before trusting spec sheets. For lenses, a used 10-20mm ultra-wide and a fast 50mm will cover Todd’s first two ranges for a fraction of the cost. The Samyang/Rokinon 14mm f/2.8 has shown up in my own tests as genuinely sharp across the frame for around $300 new, less used.
The principle Todd keeps returning to is that each piece of gear should solve a specific problem in a specific situation. That’s the same standard I apply when I’m testing a $60 lens against a $600 one. The price gap doesn’t always match the performance gap, and in low-light music photography, technique and positioning close more of that gap than people expect.
The single biggest thing to take from Todd’s breakdown is this: your autofocus coverage and your high-ISO ceiling will determine more of your hit rate in the pit than any other spec. Build your kit around those two constraints and add creative range from there.
Watch the full tutorial on YouTube to see Todd demonstrate the full kit and hear him explain the reasoning in his own words.
Comments (1)
The tip about what a pro music photographer was the missing piece for me. Thank you.
Leave a Comment