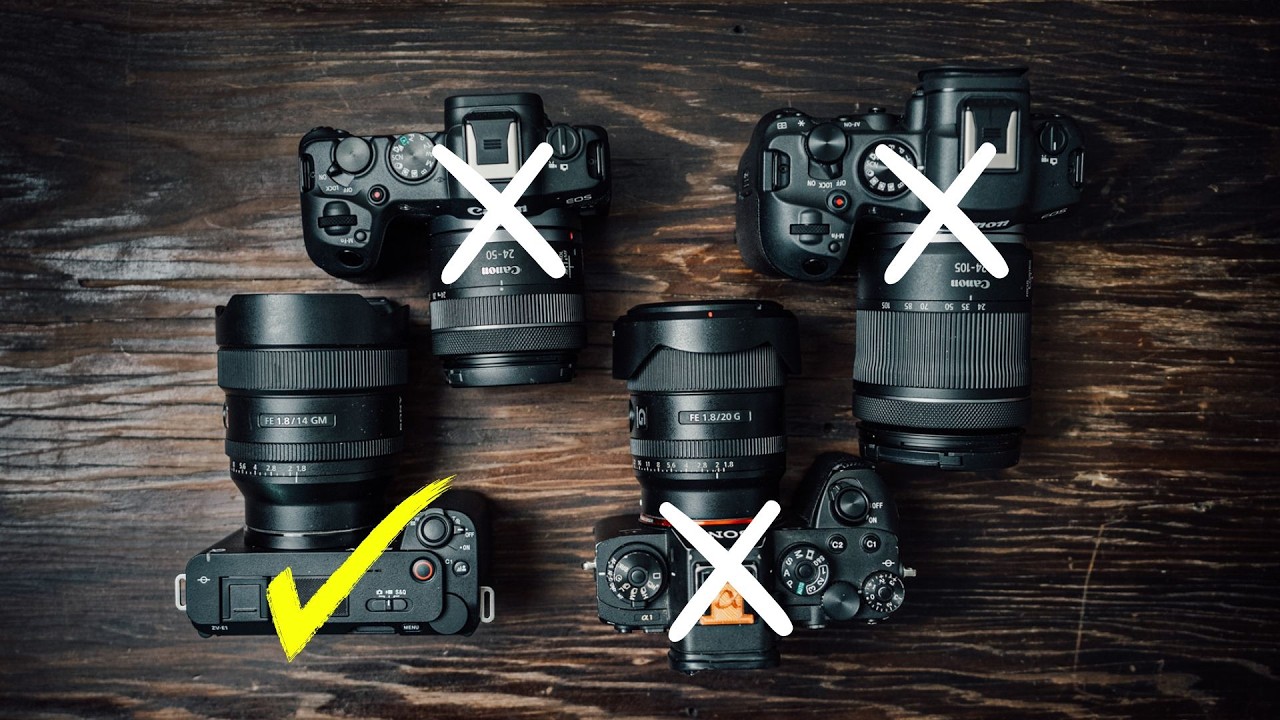
There’s a specific kind of gear fatigue that hits when your bag weighs more than your motivation to go shoot. I’ve been there, except in my case it was a backpack full of budget lenses I was testing simultaneously, not Sony GM glass. But the underlying problem is the same: too much stuff, not enough intentionality. That’s what made me stop and pay close attention when Pierre T. Lambert – a working professional travel photographer – sat down in Thailand and asked himself what he’d actually buy if he had to sell everything and start over. Not what he wished he had. Not what sponsors sent him. What he’d spend his own money on.
In this Pierre T. Lambert tutorial, he breaks his thinking into four clean parts: what’s currently in his bag, what lenses he’d choose, what camera he’d pick, and one tool he’d never give up. The whole thing was recorded mid-trip, which gives it a honesty that studio-based gear reviews often lack. He’s holding the stuff. He’s feeling the weight on his shoulders. That context matters. Watch the full tutorial on YouTube
What I want to do here is walk through his decision framework step by step, because the specific gear he picks is less interesting to me than why he picks it. That reasoning translates directly into how anyone – at any budget – should think about building a kit.
Step 1: Audit What You’re Actually Carrying
 Showing two backpacks side by side, camera gear spread out
Before Pierre names a single piece of gear, he inventories what he’s currently using on the trip. Two bags. A large camera-specific pack and a smaller 20-liter everyday bag. He’s already split his kit by use case, which tells you something: even with access to top-tier gear, he’s thinking constantly about what’s practical to carry.
Showing two backpacks side by side, camera gear spread out
Before Pierre names a single piece of gear, he inventories what he’s currently using on the trip. Two bags. A large camera-specific pack and a smaller 20-liter everyday bag. He’s already split his kit by use case, which tells you something: even with access to top-tier gear, he’s thinking constantly about what’s practical to carry.
The lesson here isn’t about his specific bags. It’s the habit of auditing. If you can’t honestly describe what you’re carrying and why each item earns its spot, you’re probably carrying too much. Before you buy anything new, write down what you actually reach for on a shoot versus what rides along “just in case.”
Step 2: Acknowledge the Weight and Space Problem Honestly
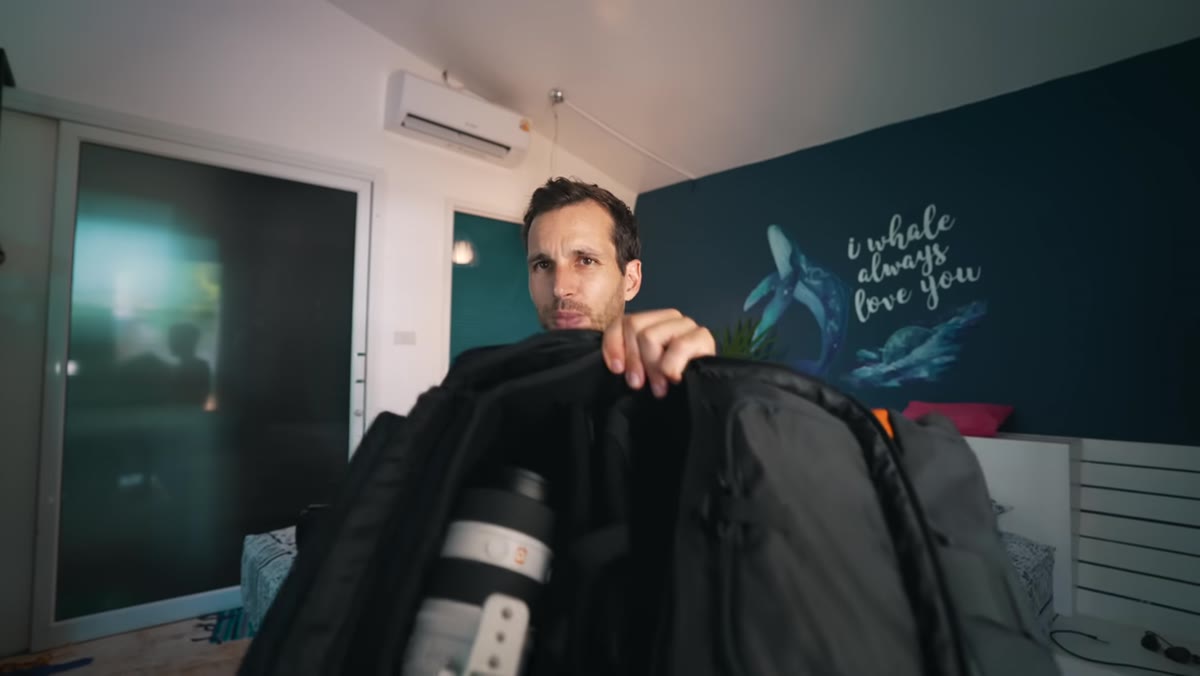 Pierre holding the 70-200 lens, showing how it dominates the bag
His current kit includes the Sony A1, a 24-70mm f/2.8 GM II, a 70-200mm f/2.8 GM II, a 24mm f/1.4, and a 16-35mm f/2. He’s direct about the problem: once the 70-200 goes in, space disappears. The total system is heavy, and he admits that life stage matters – he has a kid, possibly a second on the way, and hauling a 15-pound photography rig on a family trip is a different calculation than it was five years ago.
Pierre holding the 70-200 lens, showing how it dominates the bag
His current kit includes the Sony A1, a 24-70mm f/2.8 GM II, a 70-200mm f/2.8 GM II, a 24mm f/1.4, and a 16-35mm f/2. He’s direct about the problem: once the 70-200 goes in, space disappears. The total system is heavy, and he admits that life stage matters – he has a kid, possibly a second on the way, and hauling a 15-pound photography rig on a family trip is a different calculation than it was five years ago.
This is the part most gear reviews skip. Weight and size aren’t just convenience factors. They determine whether you actually bring the camera at all. A slightly less sharp lens you carry every day beats a technically superior lens sitting in your hotel room. If your setup has a lens you routinely leave behind, that lens is failing you regardless of its specs.
Step 3: Decide on Your Ecosystem Before Reconsidering Lenses
 Pierre talking to camera, Thailand street scene in background
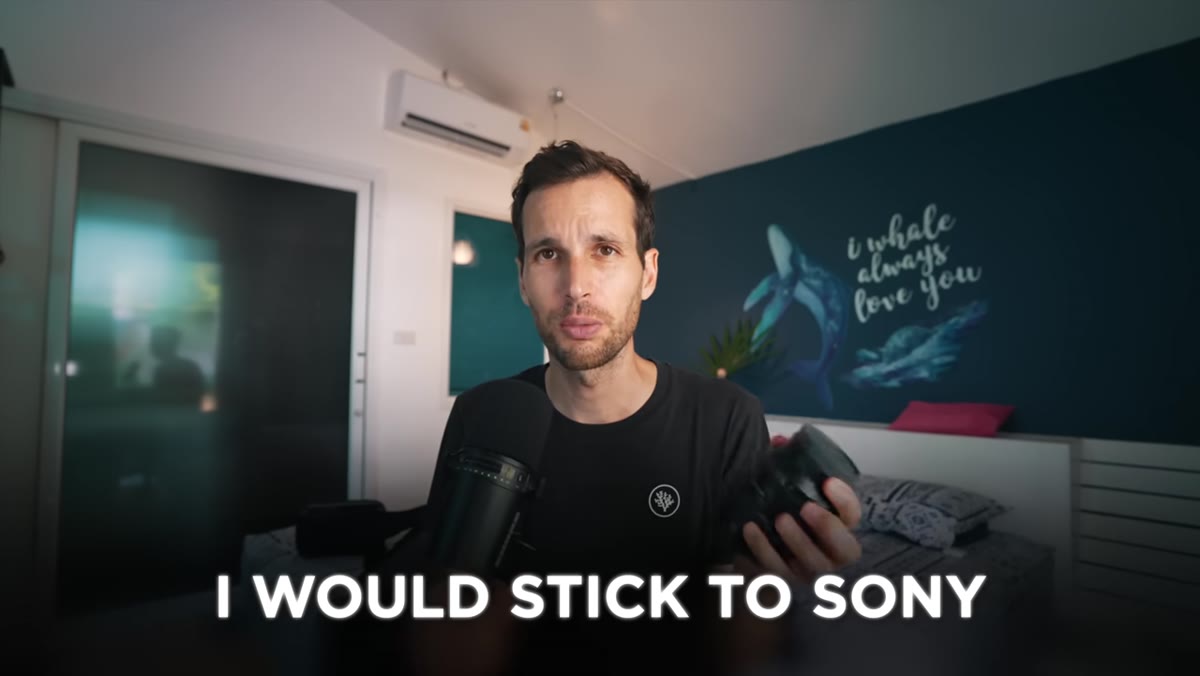
Pierre makes a firm decision early: he’s staying with Sony. He switched from Nikon to Sony in early 2018, and his reasoning for not switching again is purely financial and practical. Every ecosystem change costs you real money in resale losses, and the gains are rarely proportional. Sony’s lens ecosystem – both native and third-party options – is deep enough that he doesn’t feel constrained.
Pierre talking to camera, Thailand street scene in background
Pierre makes a firm decision early: he’s staying with Sony. He switched from Nikon to Sony in early 2018, and his reasoning for not switching again is purely financial and practical. Every ecosystem change costs you real money in resale losses, and the gains are rarely proportional. Sony’s lens ecosystem – both native and third-party options – is deep enough that he doesn’t feel constrained.
For anyone earlier in their journey, this is worth taking seriously. Pick a mount with a strong third-party lens ecosystem and commit to it. Sigma and Tamron both make excellent Sony E-mount lenses at significantly lower prices than Sony’s own GM line. Locking into an ecosystem isn’t a trap if you choose it deliberately. It’s a strategy that protects your investment long-term.
Step 4: Choose a Zoom That Balances Range With Physical Size
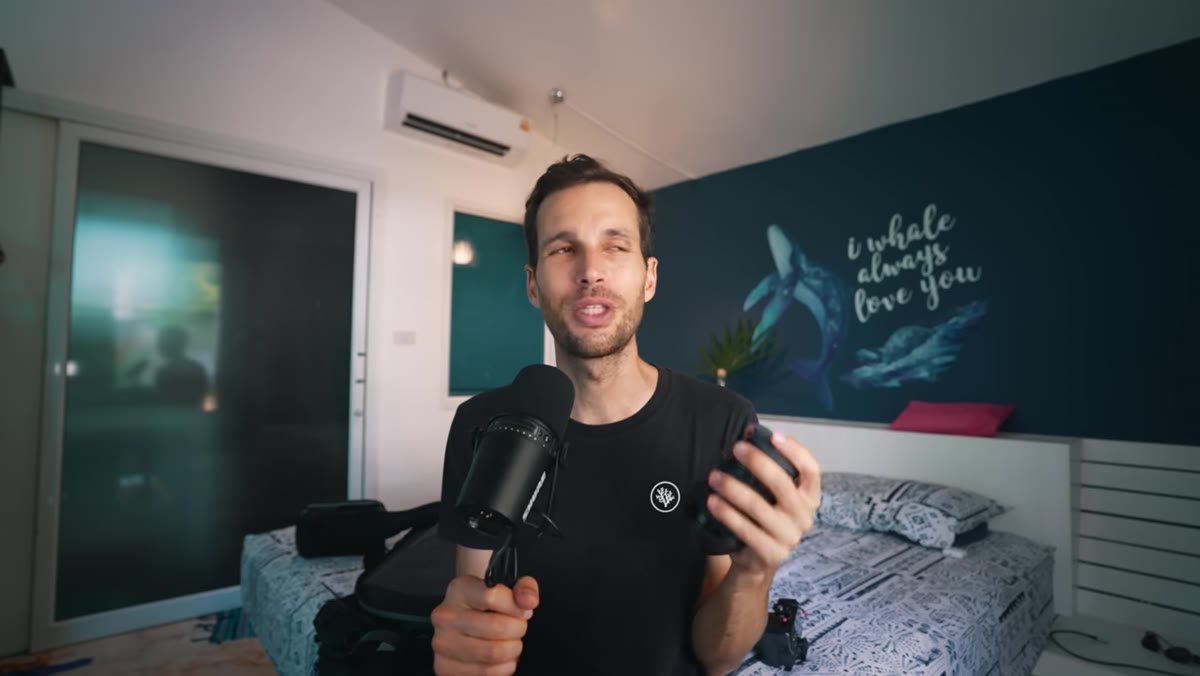 Comparing the 24-50mm vs 24-70mm side by side in hand
Here’s where Pierre’s picks get genuinely interesting. Instead of the 24-70mm f/2.8 GM II – an optically excellent lens he already owns – he says he’d buy the Sony 24-50mm f/2.8. The reason is purely physical: it’s dramatically more compact while keeping the same f/2.8 aperture across its range. Yes, you give up 20mm of reach on the long end. But you gain a lens that actually fits in a smaller bag without dominating it.
Comparing the 24-50mm vs 24-70mm side by side in hand
Here’s where Pierre’s picks get genuinely interesting. Instead of the 24-70mm f/2.8 GM II – an optically excellent lens he already owns – he says he’d buy the Sony 24-50mm f/2.8. The reason is purely physical: it’s dramatically more compact while keeping the same f/2.8 aperture across its range. Yes, you give up 20mm of reach on the long end. But you gain a lens that actually fits in a smaller bag without dominating it.
He’s clear that it’s not as sharp in the corners and not as geometrically perfect as the GM. But for travel and everyday shooting, good enough and always with you is a better deal than perfect and left behind. This is the kind of trade-off that only makes sense when you’re thinking about the whole system, not individual spec sheets in isolation.
Step 5: Add One Fast Prime for Low Light and Reach
 Pierre holding the 85mm or similar prime, discussing portrait use
His second lens choice is a single fast prime to complement the 24-50mm zoom. The logic is straightforward: a zoom in the 24-50mm range handles your wide-to-standard needs, and a prime in the 85mm or short telephoto range covers portraits, tighter travel shots, and low-light situations where you need more than f/2.8 can give you.
Pierre holding the 85mm or similar prime, discussing portrait use
His second lens choice is a single fast prime to complement the 24-50mm zoom. The logic is straightforward: a zoom in the 24-50mm range handles your wide-to-standard needs, and a prime in the 85mm or short telephoto range covers portraits, tighter travel shots, and low-light situations where you need more than f/2.8 can give you.
Two lenses. That’s the whole kit. A compact zoom that covers the most-used range and a prime that fills the gap. This is a genuinely minimal system, and it’s worth noting that most working photographers – not gear reviewers, but people getting paid to make images – operate with exactly this kind of simplicity. Constraints force better composition decisions anyway.
Step 6: Match the Camera Body to the Lens Strategy
 Pierre discussing camera choice, gesturing to smaller body concept
Pierre’s camera recommendation follows directly from the lens logic. He’s prioritizing a smaller, lighter Sony body rather than the A1 he currently shoots. His reasoning: the A1 is a technical marvel, but most of its advantages are irrelevant for travel photography. You don’t need 50 megapixels and 30fps burst shooting to capture a street scene in Chiang Mai.
Pierre discussing camera choice, gesturing to smaller body concept
Pierre’s camera recommendation follows directly from the lens logic. He’s prioritizing a smaller, lighter Sony body rather than the A1 he currently shoots. His reasoning: the A1 is a technical marvel, but most of its advantages are irrelevant for travel photography. You don’t need 50 megapixels and 30fps burst shooting to capture a street scene in Chiang Mai.
The right body is the one that balances image quality with the size and handling that makes you want to shoot. For most photographers, a mid-tier Sony body paired with thoughtful lens choices will produce results indistinguishable from a flagship system in real-world conditions. I ran a blind test at a local photography meetup once where nobody could tell which images came from a $500 camera versus a $2,000 one. The lens and the light mattered far more than the sensor.
What I’d Add: The Third-Party Angle He Doesn’t Cover
Pierre is committed to Sony native glass, which makes sense given his professional workload and existing investment. But for anyone building this kit from zero without existing glass, the Tamron 17-50mm f/4 and the Sigma 56mm f/1.4 are worth serious consideration. Both are available for Sony E-mount, both are significantly cheaper than their native equivalents, and both have earned strong real-world reputations. I have a running lens comparison spreadsheet that I update whenever I test new glass, and budget-friendly options from Tamron and Sigma consistently punch above their price point. The compact zoom plus fast prime strategy Pierre describes works just as well with third-party glass at half the cost.
The single most transferable idea in Pierre’s whole breakdown is this: design your kit around the bag you’re willing to carry, not the other way around. Gear that travels with you makes better photos than gear that stays home.
Watch the full tutorial on YouTube to hear Pierre reveal his specific camera pick and the one tool he says he’d never give up – it’s the most surprising part of the video.
Comments
Leave a Comment