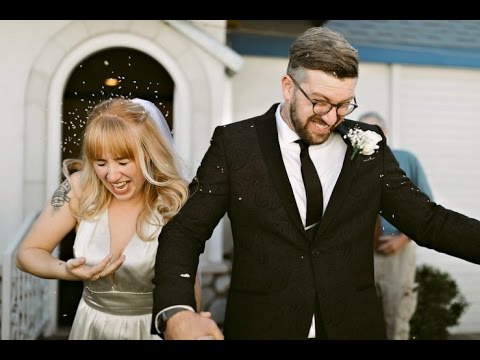
Wedding photography is the one job that exposes every weakness in your kit. You get one shot at the first dance, one shot at the ring exchange, and zero opportunity to ask the flower girl to re-toss her petals because your autofocus hunted. I’ve spent years arguing that budget gear can handle almost anything, and I still believe that. But watching how professionals build their wedding kits teaches you something more useful than any gear list: it shows you why certain tools earn their place and what problem each one actually solves under pressure.
In this Mango Street tutorial, photographers Rachel and Daniel walk through the digital kit they rely on for real wedding days, centered around the Canon 5D Mark IV. Watch the full tutorial on YouTube before or after reading this breakdown. What I want to do here is pull out the reasoning behind each gear choice, not just the gear itself, because that reasoning applies no matter what price tier you’re shopping in.
Step 1: Choose a Camera Body Built for a Long, Unpredictable Shoot
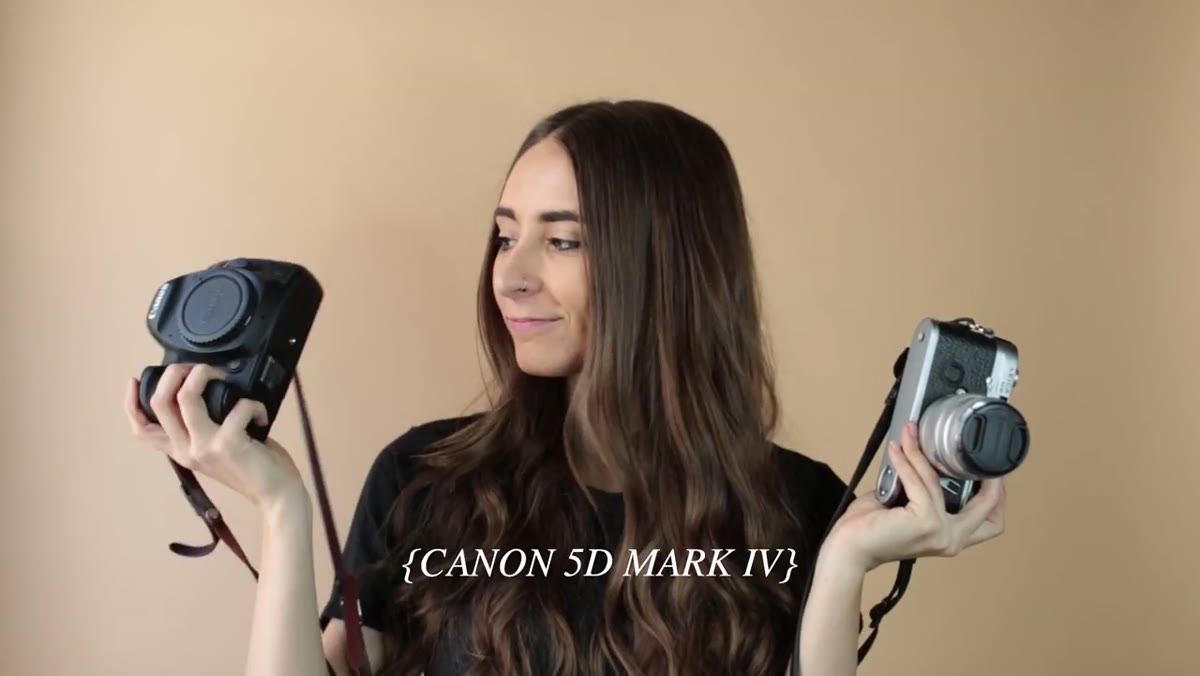 Canon 5D Mark IV body shown on screen
Rachel and Daniel open with the Canon 5D Mark IV, and their key word is “workhorse.” That framing matters more than the megapixel count. A wedding day can run 10 to 12 hours, cover a dim church, a blinding outdoor ceremony, a dark reception hall, and everything in between. Your camera body needs to perform consistently across all of it without slowing you down.
Canon 5D Mark IV body shown on screen
Rachel and Daniel open with the Canon 5D Mark IV, and their key word is “workhorse.” That framing matters more than the megapixel count. A wedding day can run 10 to 12 hours, cover a dim church, a blinding outdoor ceremony, a dark reception hall, and everything in between. Your camera body needs to perform consistently across all of it without slowing you down.
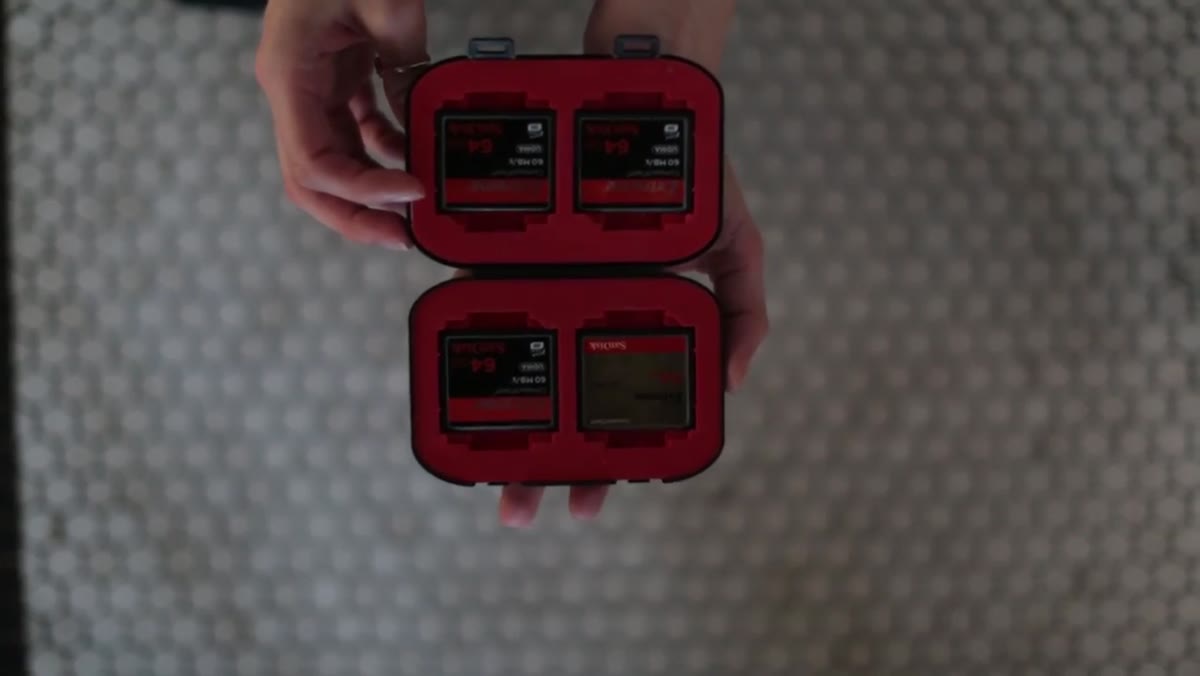
The Mark IV’s bump to 30.4 megapixels over its predecessor means more detail in every frame, which becomes relevant when a client wants a large print or needs heavy cropping because Aunt Karen wandered into the frame. The flip side is file size. If you’re shooting full RAW at that resolution, you need fast memory cards with high write speeds, not just high storage capacity. A slow card creates a buffer backlog at exactly the wrong moment.
Step 2: Use Video Specs as a Secondary Tool, Not an Afterthought
 Camera video settings displayed on screen
The Mark IV shoots 4K video, 1080p at 60fps, and 720p at 120fps. Most wedding photographers aren’t hired as videographers, but having that capability means you can hand a client a slow-motion clip of the confetti toss or the first dance without a second shooter or a separate rig. It’s a value-add that costs you nothing if the camera is already in your bag.
Camera video settings displayed on screen
The Mark IV shoots 4K video, 1080p at 60fps, and 720p at 120fps. Most wedding photographers aren’t hired as videographers, but having that capability means you can hand a client a slow-motion clip of the confetti toss or the first dance without a second shooter or a separate rig. It’s a value-add that costs you nothing if the camera is already in your bag.
The 120fps option at 720p is specifically useful for reaction shots and candid moments where you want the option to slow things down in post. The resolution tradeoff is real, but for an emotional moment that lasts half a second, 720p slow motion still delivers.
Step 3: Know Which In-Camera Features to Use and Which to Skip
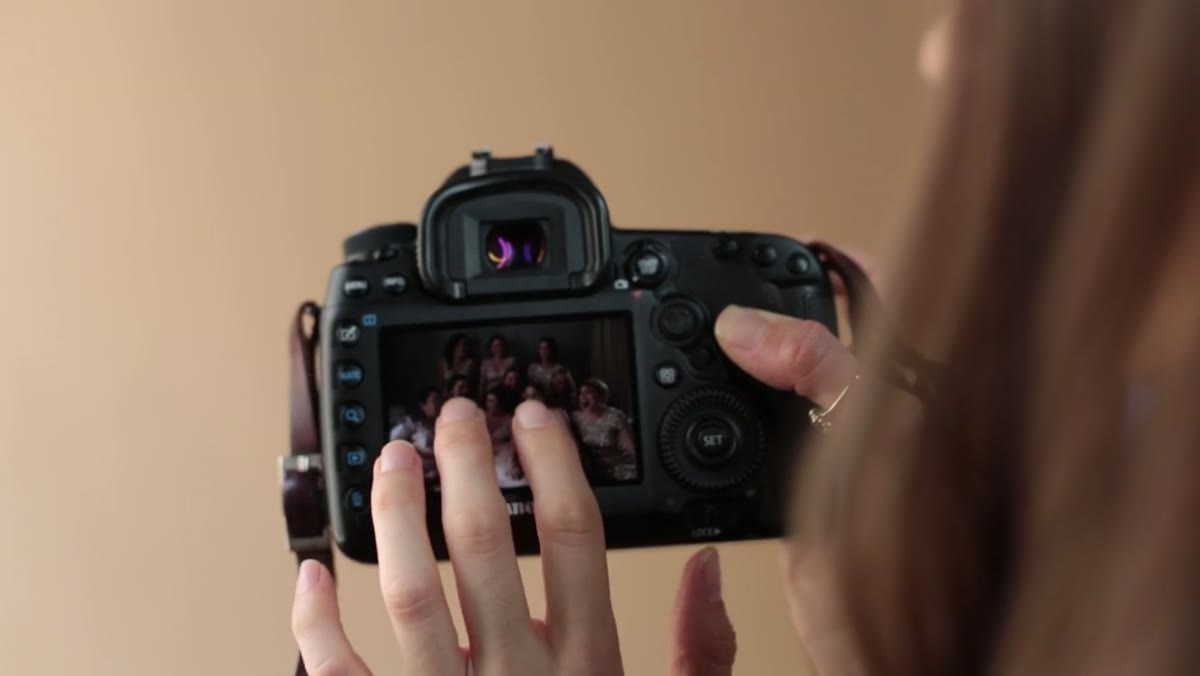 Touchscreen LCD being used to tap to focus
The touchscreen LCD is worth learning to use actively. Tapping to set focus on a subject is faster than navigating a joystick during a fleeting moment, and swiping between shots during a quick review saves time. Built-in WiFi lets you push selected images to your phone immediately, which means clients or second shooters can see same-day selects without waiting for the full cull.
Touchscreen LCD being used to tap to focus
The touchscreen LCD is worth learning to use actively. Tapping to set focus on a subject is faster than navigating a joystick during a fleeting moment, and swiping between shots during a quick review saves time. Built-in WiFi lets you push selected images to your phone immediately, which means clients or second shooters can see same-day selects without waiting for the full cull.
Dual Pixel RAW is the feature to approach carefully. It allows micro-corrections to focus position after the shot is taken, which sounds like a safety net. But the files take noticeably longer to write to the card, which creates a problem on a wedding day where moments stack up in quick succession. Rachel and Daniel recommend using it sparingly, and that’s the right call. Save it for portraits or quieter moments, not ceremony or reception coverage.
Step 4: Build Your Lens Kit Around Prime Lenses
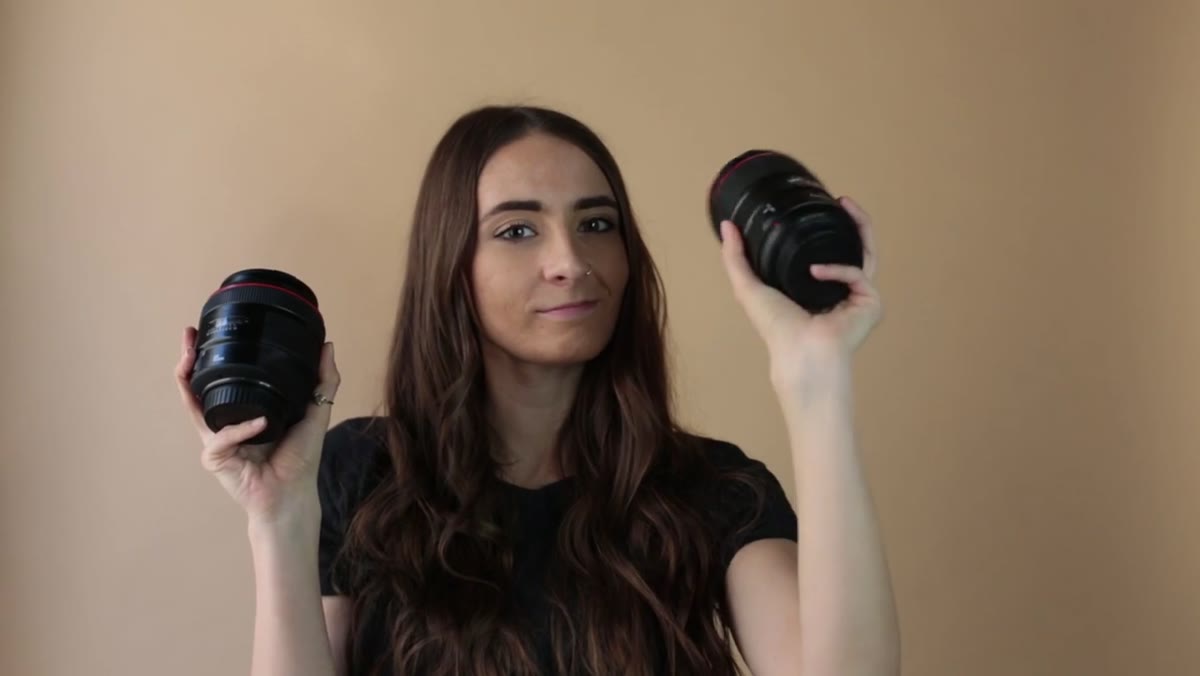 Canon 35mm and 85mm lenses shown together
The Mango Street pair narrowed their lens selection down to two primes: the Canon 35mm f/1.4 II and the 85mm f/1.2. They previously used zoom lenses including the 24-70 and 70-200, and they made the switch deliberately. The reasons are worth understanding because they apply to any shooter at any price point.
Canon 35mm and 85mm lenses shown together
The Mango Street pair narrowed their lens selection down to two primes: the Canon 35mm f/1.4 II and the 85mm f/1.2. They previously used zoom lenses including the 24-70 and 70-200, and they made the switch deliberately. The reasons are worth understanding because they apply to any shooter at any price point.
Prime lenses at wide apertures give you a shallower depth of field than most zooms can match. That look, where your subject is sharp and the background falls into soft blur, is often exactly what wedding clients expect in their gallery. Wide apertures also mean more light hitting the sensor, which directly improves your results in the dim interiors that are common at ceremony and reception venues.
Step 5: Use the 35mm as Your Default and the 85mm for Compression
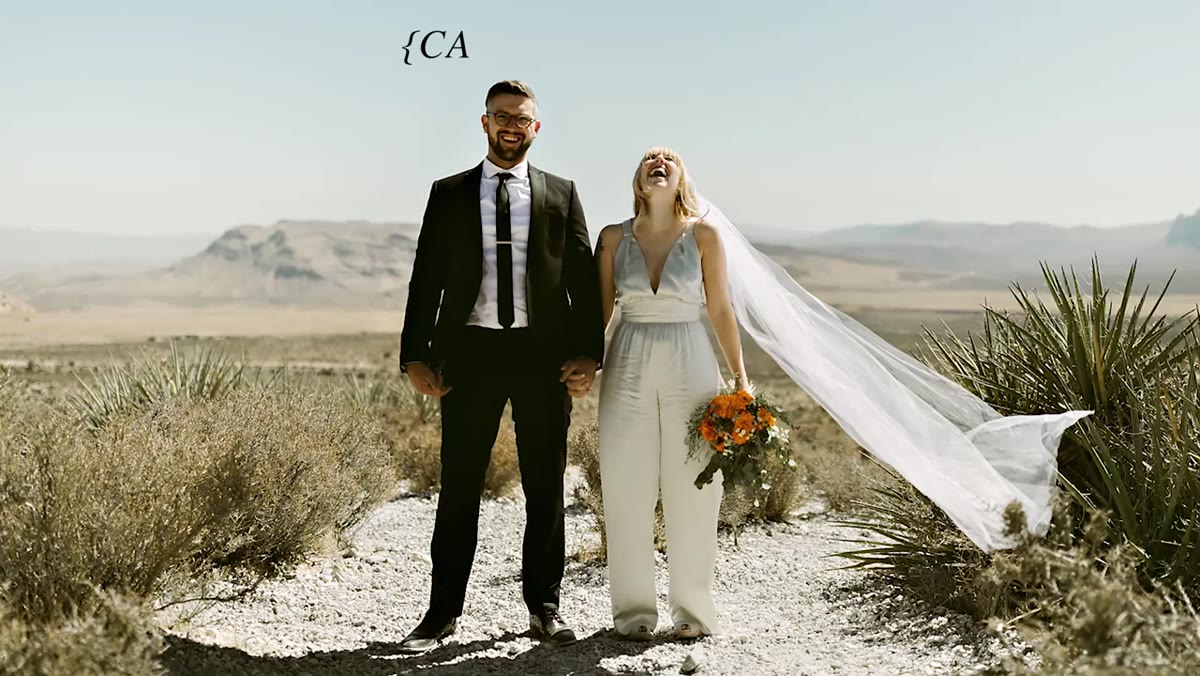 Photographer using 35mm lens during wedding coverage
The 35mm handles the bulk of the day. It’s wide enough to capture environmental context, fast enough to shoot in mixed light, and compact enough to move around guests without being intrusive. Think of it as your storytelling lens.
Photographer using 35mm lens during wedding coverage
The 35mm handles the bulk of the day. It’s wide enough to capture environmental context, fast enough to shoot in mixed light, and compact enough to move around guests without being intrusive. Think of it as your storytelling lens.
The 85mm comes out for tighter work: couples portraits, wedding party groupings when you have room to step back, and ceremony shots from a distance when you can’t physically get close to the altar. The longer focal length compresses the background and flatters faces, which is why portrait photographers have defaulted to the 85mm for decades. The f/1.2 aperture on the Canon version is exceptional in low light, though it does require care with focus precision at that depth of field.
Step 6: Add a Quality Flash and Diffuser for Reception Coverage
 Canon Speedlite 600EX-RT mounted on camera
Once the natural light is gone, the flash becomes your primary tool. Rachel and Daniel use the Canon Speedlite 600EX-RT, and they’re direct about this: a reception is not the place to cut corners on flash equipment. You need power, a fast recycle time so you’re not missing shots while the unit charges, and the ability to trigger it off-camera for more flexible lighting setups.
Canon Speedlite 600EX-RT mounted on camera
Once the natural light is gone, the flash becomes your primary tool. Rachel and Daniel use the Canon Speedlite 600EX-RT, and they’re direct about this: a reception is not the place to cut corners on flash equipment. You need power, a fast recycle time so you’re not missing shots while the unit charges, and the ability to trigger it off-camera for more flexible lighting setups.
They pair the Speedlite with a MagSphere diffuser from Mag Mods. A bare flash produces harsh, direct light. The MagSphere scatters that light so it wraps more naturally around the subject, reducing hard shadows and producing a look that’s far closer to ambient light. The tradeoff is added weight on the camera body, which becomes noticeable after a long shoot day. It’s worth building that into how you balance your kit.
The Budget Angle: What This Kit Teaches Beyond Canon
I’ve tested a lot of gear on the cheaper end of the market, and what Mango Street’s kit really illustrates is the logic of the build, not the brand names. The principle of shooting prime over zoom for better low-light performance and shallower depth of field? That applies to a $200 vintage 50mm just as much as a $1,800 Canon L lens. The reasoning behind using a diffuser on your flash applies whether you’re running a $60 Godox unit or a $350 Canon Speedlite.
Where I’d genuinely push back on budget substitutes is the flash recycle time. At a wedding reception, a slow-recycling flash will cost you real shots. That’s one area where spending more, or at minimum testing thoroughly before the job, pays off in a way that’s hard to recover from in post.
The core lesson from this tutorial is that gear choices at a professional level are driven by specific performance requirements, not brand loyalty or spec sheet numbers. Build your kit around the problems you need to solve, and you’ll spend less and shoot better.
Watch the full tutorial on YouTube to see Rachel and Daniel walk through each piece of kit in their own words.
Comments
Leave a Comment