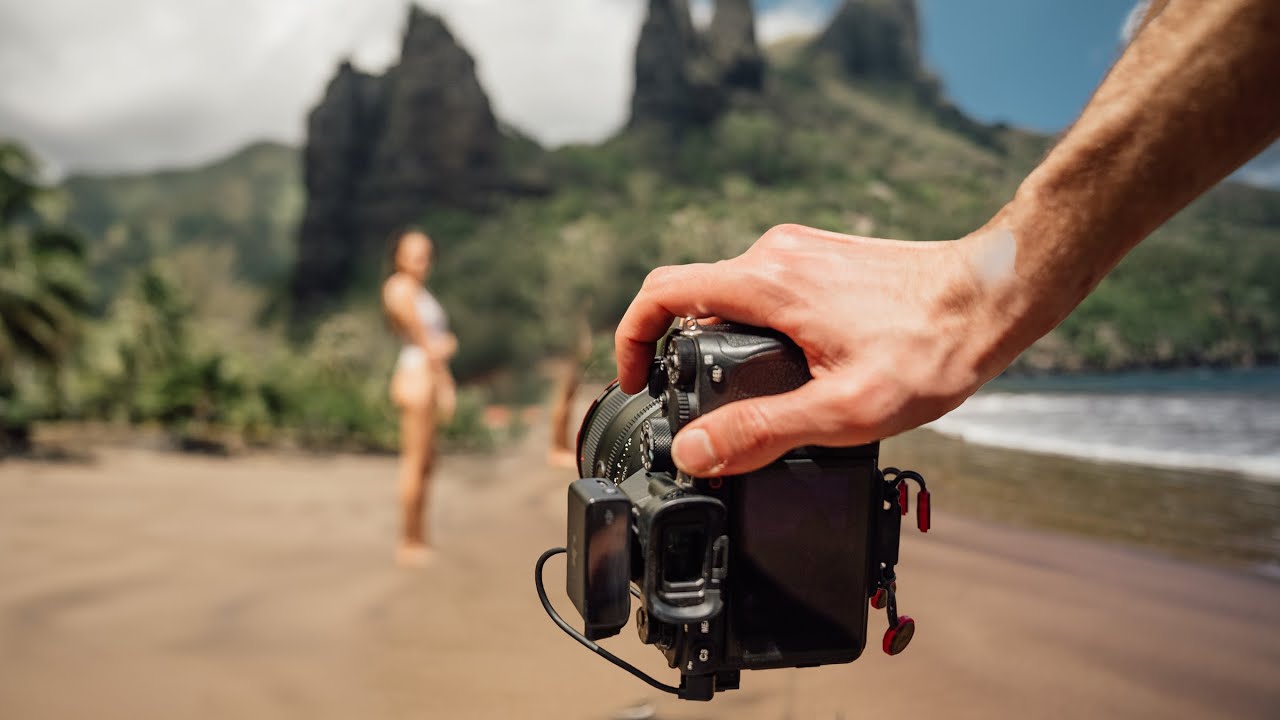
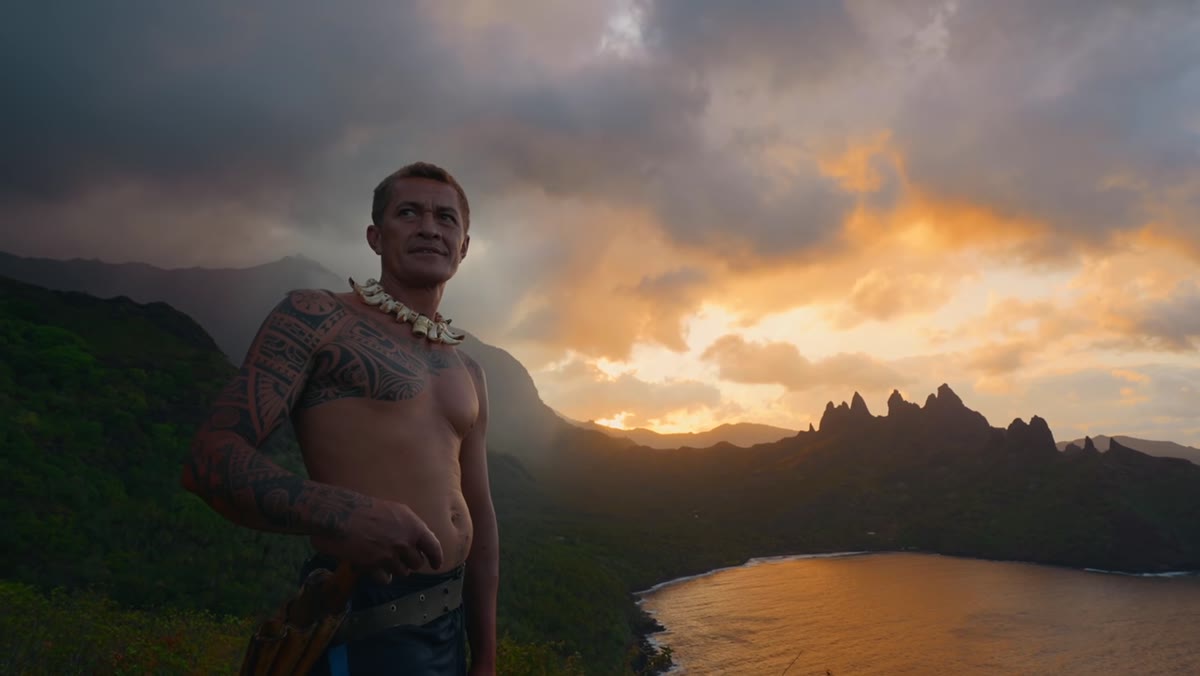
There’s a particular kind of photographer ego that gets humbled fast the moment you leave a controlled environment. I’ve shot in plenty of uncomfortable spots around Denver, but nothing strips your workflow down to its essentials like a remote location where the wrong call costs you the whole shoot. That’s exactly what makes this Pierre T. Lambert tutorial so worth dissecting. In it, he documents a full day of travel photography on Ua Pou in the Marquesas Islands, a genuinely hard-to-reach corner of French Polynesia, and things go sideways in almost every way imaginable. He loses a drone to the mountains, gets rained out overnight, and still walks away with compelling work.
What I kept coming back to watching this wasn’t the exotic location. It was the decision-making under pressure. The same decisions Lambert makes on a volcanic island in the Pacific are the ones any photographer faces on a bad-weather weekend shoot in the mountains or a corporate travel job where nothing goes to plan. Watch the full tutorial on YouTube and then come back here for the breakdown.
Step 1: Build a Multi-Focal-Length Kit Before You Arrive
 Lambert listing lenses from the back of a truck
Lambert runs through his lens lineup from the back of a moving truck on the way to a sunset location. He’s carrying a 16-35mm, 24-70mm, 70-200mm, 14-24mm, 35mm, and a 50mm. That’s not a flex, it’s a field strategy. When you’re hours from the nearest gear store and shooting an environment you’ve only scouted on maps, you want focal length options for every scenario: wide for landscape context, mid-range for environmental portraits, and telephoto for compression and subject isolation.
Lambert listing lenses from the back of a truck
Lambert runs through his lens lineup from the back of a moving truck on the way to a sunset location. He’s carrying a 16-35mm, 24-70mm, 70-200mm, 14-24mm, 35mm, and a 50mm. That’s not a flex, it’s a field strategy. When you’re hours from the nearest gear store and shooting an environment you’ve only scouted on maps, you want focal length options for every scenario: wide for landscape context, mid-range for environmental portraits, and telephoto for compression and subject isolation.
The practical takeaway here is to plan your kit around the unknown. Think about the widest and tightest shot you might realistically need and make sure you have glass that covers both. If you’re shooting budget like I usually am, a 18-55mm kit lens plus a cheap 70-300mm covers a surprising amount of ground for under $300 combined on the used market.
Step 2: Treat Unplanned Locations as Legitimate Opportunities
 Lambert reacting to goats at an unexpected spot
Lambert is blunt about it: they ended up at the goat field by mistake. It wasn’t the dramatic coastal overlook they had planned. His instinct, though, is to immediately pivot and shoot what’s in front of him rather than waste time being annoyed about missing the original spot. He starts working the goats as portrait subjects, directing them the way he would a human model, watching for eye contact and light.
Lambert reacting to goats at an unexpected spot
Lambert is blunt about it: they ended up at the goat field by mistake. It wasn’t the dramatic coastal overlook they had planned. His instinct, though, is to immediately pivot and shoot what’s in front of him rather than waste time being annoyed about missing the original spot. He starts working the goats as portrait subjects, directing them the way he would a human model, watching for eye contact and light.
This is a muscle worth building deliberately. When a location doesn’t match your pre-visualized shot, ask yourself what’s actually interesting about where you are right now, not where you meant to be. Set a five-minute timer and force yourself to find three different compositions before you move on. More often than not, one of them surprises you.
Step 3: Read Candid Moments and Capture Them Fast
 Lambert noticing a natural, unposed expression
One of his group points out that the funniest frame from the goat session is the one where Lambert’s making an absurd face in the background. The image works precisely because it wasn’t staged. Lambert calls it out: candid equals natural, and natural photographs well because light reads authenticity differently than a posed expression.
Lambert noticing a natural, unposed expression
One of his group points out that the funniest frame from the goat session is the one where Lambert’s making an absurd face in the background. The image works precisely because it wasn’t staged. Lambert calls it out: candid equals natural, and natural photographs well because light reads authenticity differently than a posed expression.
For portraits especially, shoot in bursts around the moment the subject thinks the camera is lowered or when someone in the group says something funny. The keepers are almost always in those in-between seconds. I’ve found this true even at sponsored product shoots where the client expects polished. The shot they end up using on Instagram is usually the outtake.
Step 4: When Gear Is Lost, Assess Quickly and Keep Shooting
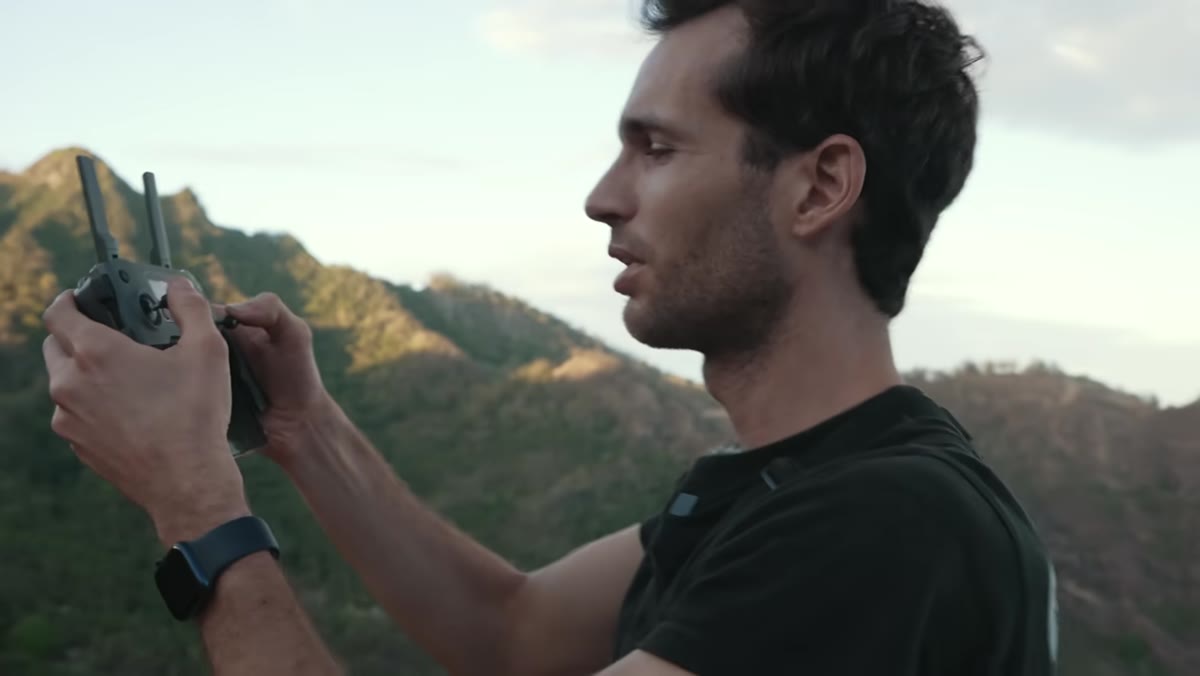 Lambert reacting to losing the drone in the mountains
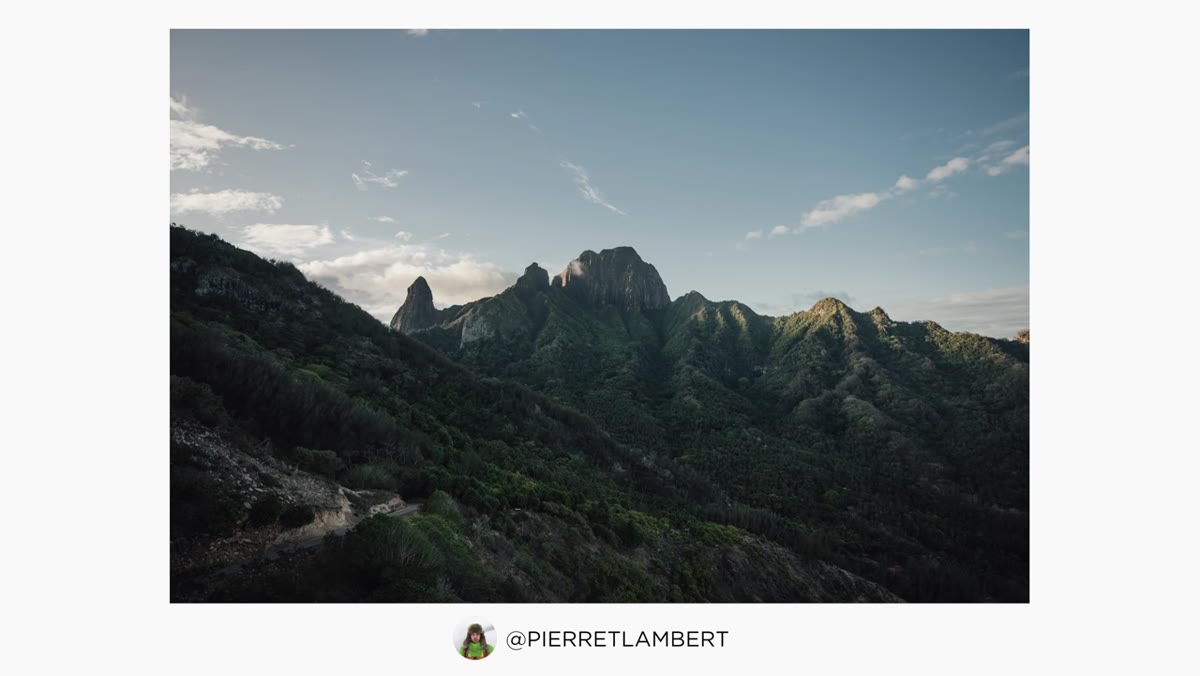
Lambert loses his drone somewhere in the mountainous terrain and there’s a short window where you can see him run through the stages of frustration in real time. Then he makes a clear-headed call: if he can’t retrieve it, he can’t retrieve it, and dwelling on it costs him the remaining light. He picks up his camera and keeps working.
Lambert reacting to losing the drone in the mountains
Lambert loses his drone somewhere in the mountainous terrain and there’s a short window where you can see him run through the stages of frustration in real time. Then he makes a clear-headed call: if he can’t retrieve it, he can’t retrieve it, and dwelling on it costs him the remaining light. He picks up his camera and keeps working.
The gear-loss moment is a practical reminder to always have a backup plan for your most critical tool. If your primary camera fails, what’s in your bag that still lets you deliver? I carry a small mirrorless body as a second unit on any job that actually matters. It’s not about spending more, it’s about not letting a single point of failure end your whole shoot.
Step 5: Protect Gear Proactively During Overnight Weather Changes
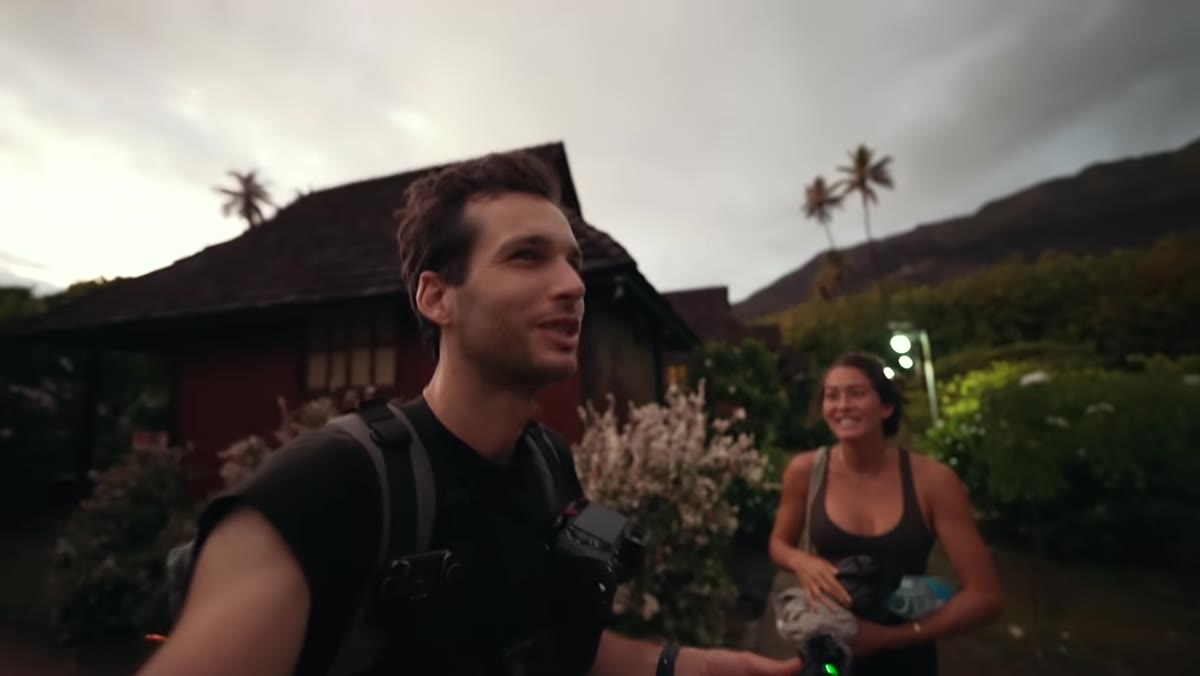 Lambert describing wet conditions and moving gear to safety
After a night of heavy rain that he didn’t see coming, Lambert mentions waking up and immediately moving his gear away from a leaking section of the room. He does it almost automatically, the instinct of a working photographer who has learned that equipment storage is part of the job, not an afterthought.
Lambert describing wet conditions and moving gear to safety
After a night of heavy rain that he didn’t see coming, Lambert mentions waking up and immediately moving his gear away from a leaking section of the room. He does it almost automatically, the instinct of a working photographer who has learned that equipment storage is part of the job, not an afterthought.
Before you sleep on any outdoor or overnight shoot, take five minutes to assess where your bags are sitting relative to windows, vents, doors, and anything overhead. Silica gel packs are cheap. A dry bag for your primary body costs almost nothing. If you’re traveling in the tropics or anywhere with sudden weather swings, treat moisture as the default threat and gear placement as your first defense.
Step 6: Use Simpler Lens Choices in Low-Energy Conditions
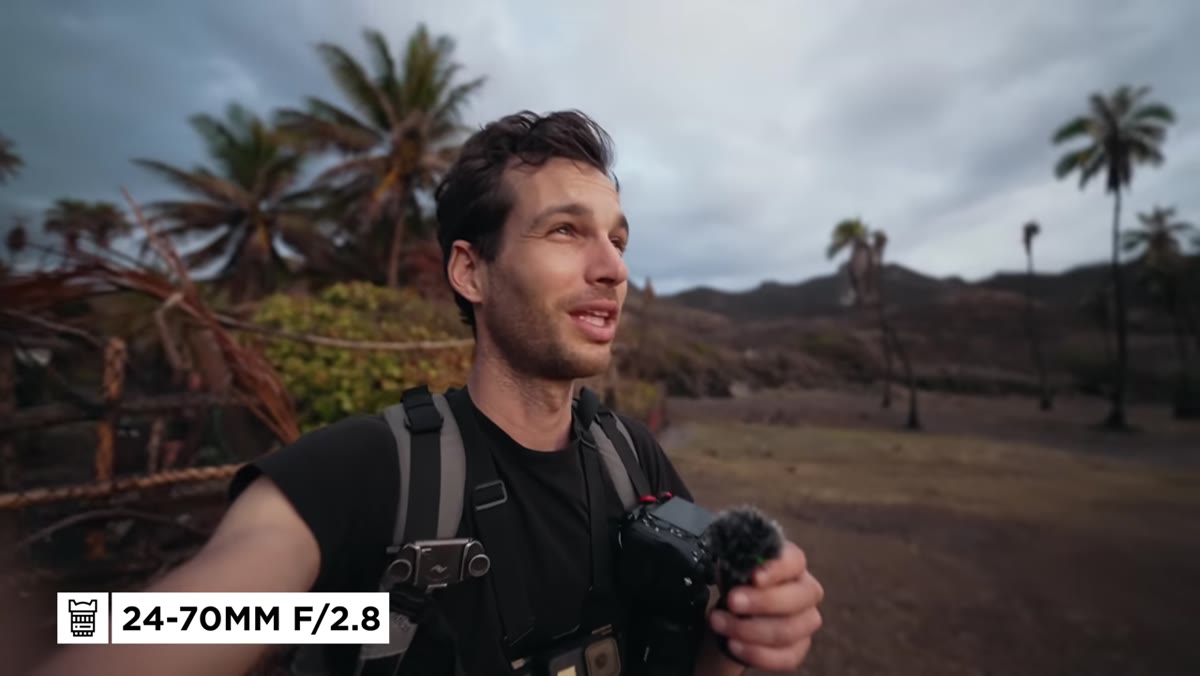 Lambert choosing the 24-70mm for simplicity at sunrise
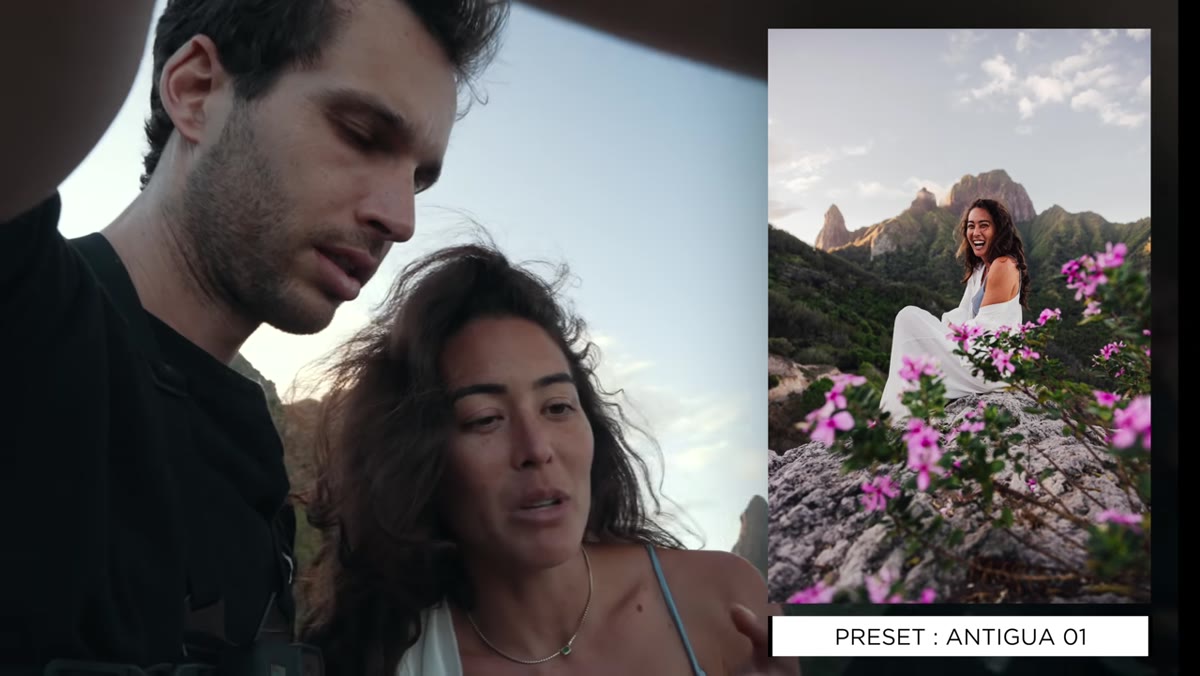
After a rough night, Lambert chooses to shoot the sunrise hike with just the 24-70mm. His stated reason is practical: he doesn’t want to think too much. One versatile lens lets him stay present and react rather than stop to swap glass every few minutes.
Lambert choosing the 24-70mm for simplicity at sunrise
After a rough night, Lambert chooses to shoot the sunrise hike with just the 24-70mm. His stated reason is practical: he doesn’t want to think too much. One versatile lens lets him stay present and react rather than stop to swap glass every few minutes.
This is underrated advice for high-fatigue shooting conditions. When you’re tired, cold, or emotionally drained after a bad day, simplify your kit. The cognitive load of managing multiple primes can actually make your compositions worse because your brain is splitting attention. One good zoom and a clear head beats five lenses and a scattered eye.
What I’d Add From My Own Experience
Lambert shoots at a level where losing a drone stings but doesn’t break the budget. For most of us, that’s not the reality. My version of this lesson is about building redundancy without overspending. A secondhand wide zoom and a cheap telephoto gets you 80% of Lambert’s focal length coverage for a fraction of the price. The harder skill he demonstrates, staying adaptable when the plan falls apart, doesn’t cost anything at all. It just takes reps.
I’ve shot in enough changing conditions around the Rockies to know that the photographers who come home with the best work are rarely the ones with the best gear. They’re the ones who adjusted fastest when the weather shifted or the location changed. Lambert’s day in Ua Pou is basically a masterclass in that adjustment, just with more dramatic scenery than most of us will ever access.
The single most useful thing this video teaches is simple: your contingency plan matters more than your original plan. Build a kit with options, protect it from the environment, and stay sharp enough to recognize the shot that’s actually in front of you. Watch the full tutorial on YouTube to see how Lambert works through every one of these moments in real time.
Comments
Leave a Comment