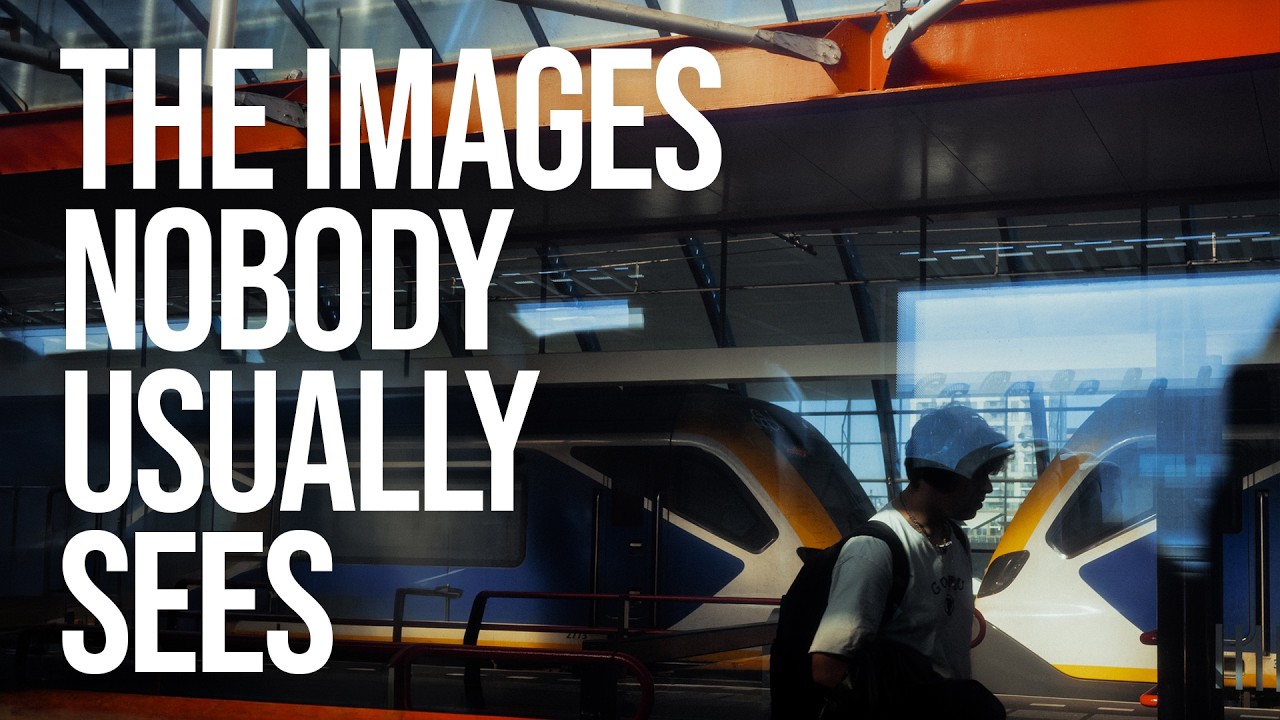
Street photography has a gatekeeping problem. Open any forum thread about it and you’ll find someone insisting you need a rangefinder, a specific focal length, or a decade of experience before your shots are worth anything. I’ve been pushing back on that narrative since I started this site, and most of the time I do it with price tags and test results. But sometimes the most convincing argument isn’t a budget lens review. Sometimes it’s watching a genuinely skilled photographer work through a full day and seeing how much of their success comes from mindset and observation, not equipment.
That’s why I keep coming back to this one from Sean Tucker. Watch the full tutorial on YouTube before or after reading this, but either way, know what you’re getting into: it’s a full unfiltered day of street shooting in Amsterdam, including every mediocre frame Tucker made before landing on the keepers. For anyone who has ever felt like their hit rate was embarrassingly low, this video is medicine. For anyone thinking about what gear to bring on a travel shoot, Tucker’s kit choices are worth studying closely.
What struck me most was how deliberate his approach is without being rigid. He’s not following a shot list. He’s reading light, reading spaces, and moving through the city with a specific visual language already in his head. This walkthrough breaks down exactly how he does that, step by step, so you can apply it on your own next shoot.
Step 1: Choose Your Gear Based on the Light, Not Your Ego
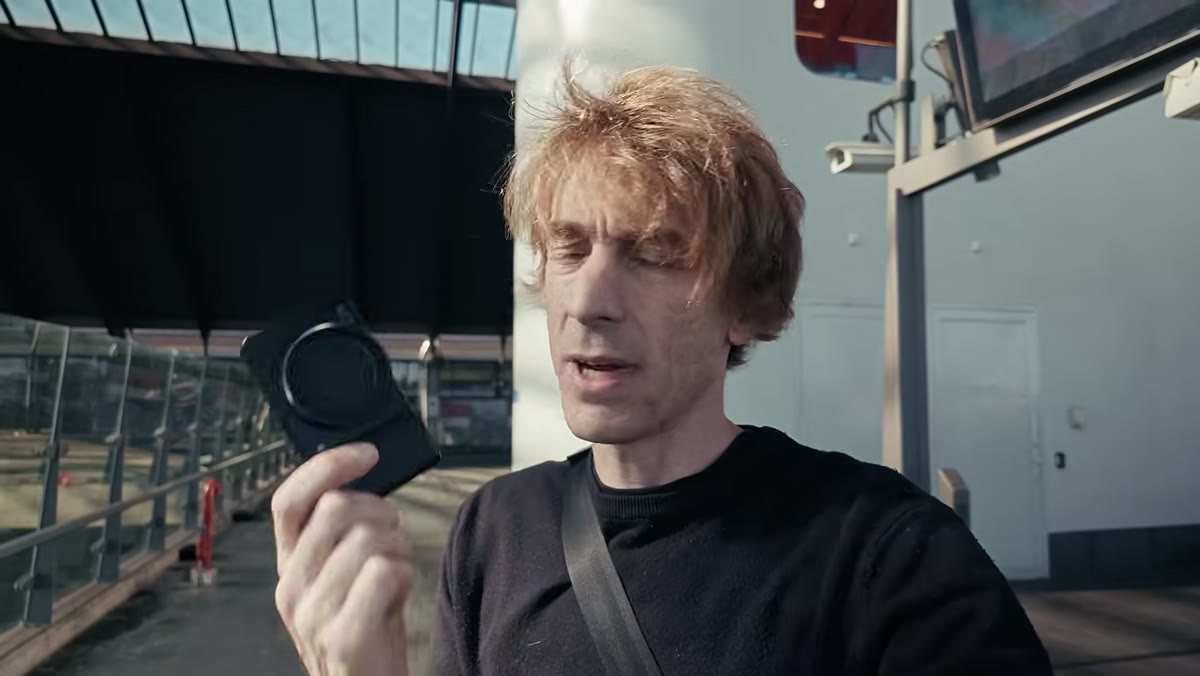 Tucker holding the Ricoh GR IIIx in natural light
Tucker shows up to Amsterdam with two items: a Ricoh GR IIIx with a fixed 40mm equivalent lens, and a tiny Insta360 for behind-the-scenes footage. That’s it. No zoom, no full-frame body, no bag full of primes. His reasoning is direct and practical: when the light is strong and contrasty, a small sensor and fixed lens give you everything you need to work with shadows and highlights. He explicitly says he would reach for a full-frame body only if the light were flat or dim, where he’d need a faster lens and shallower depth of field to separate subjects.
Tucker holding the Ricoh GR IIIx in natural light
Tucker shows up to Amsterdam with two items: a Ricoh GR IIIx with a fixed 40mm equivalent lens, and a tiny Insta360 for behind-the-scenes footage. That’s it. No zoom, no full-frame body, no bag full of primes. His reasoning is direct and practical: when the light is strong and contrasty, a small sensor and fixed lens give you everything you need to work with shadows and highlights. He explicitly says he would reach for a full-frame body only if the light were flat or dim, where he’d need a faster lens and shallower depth of field to separate subjects.
Before your next street shoot, ask yourself what the light is actually going to be, not what gear makes you feel ready. A compact camera you can pocket and grab instantly will get you more shots than a mirrorless setup you hesitate to pull out. I’ve tested enough budget compacts to know the Ricoh GR IIIx sits at a premium price, but its logic applies to any fixed-lens camera. Travel light or go home early.
Step 2: Scout for Light Architecture Before You Scout for Subjects
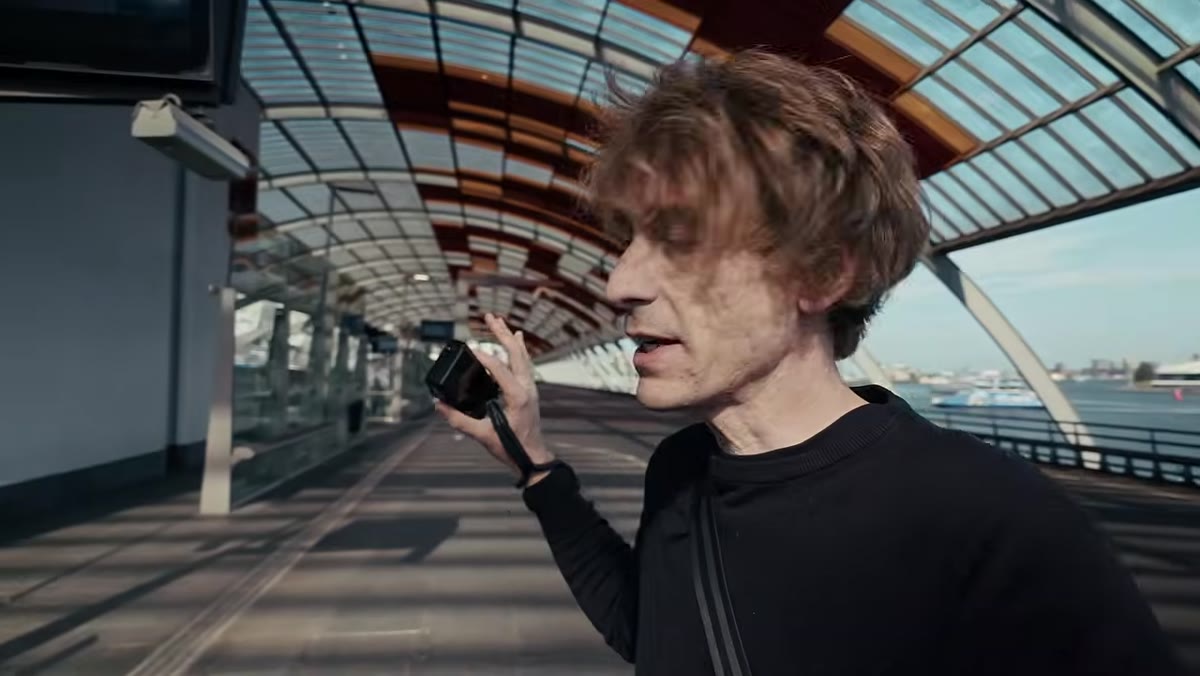 Tucker looking up at colored glass ceiling in bus terminal
Tucker’s first stop isn’t a picturesque canal or a busy market. It’s a bus terminal with colored glass overhead, throwing red and yellow light onto the floor. He spends nearly an hour there, not because it’s beautiful by default, but because the structural light is interesting and predictable enough to build compositions around.
Tucker looking up at colored glass ceiling in bus terminal
Tucker’s first stop isn’t a picturesque canal or a busy market. It’s a bus terminal with colored glass overhead, throwing red and yellow light onto the floor. He spends nearly an hour there, not because it’s beautiful by default, but because the structural light is interesting and predictable enough to build compositions around.
The practical move here is to arrive at any location and look up, look at the floor, and look at walls before you look at people. What is the light doing to the architecture? Where are the shadows landing? Identify those zones first, then position yourself and wait for subjects to walk through them. Tucker calls stations and transit spaces “intermediate zones” where people are relaxed, often pensive, and not performing for anyone. Those emotional states read well in photographs.
Step 3: Work Reflections as a Compositional Layer
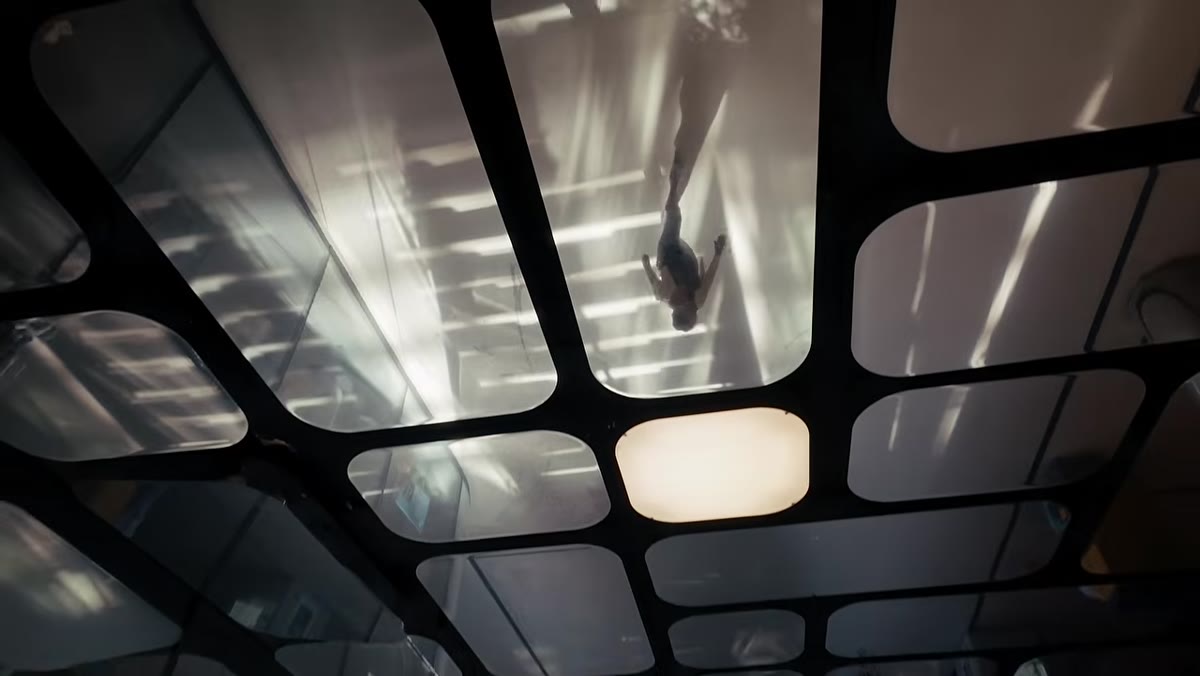 Tucker experimenting with mirrored tile ceiling reflections
After the bus terminal, Tucker moves to the train station entrance and immediately spots a ceiling covered in mirrored tiles with rounded corners. He doesn’t walk past it. He stops and works it, experimenting with angles until the reflections create something worth keeping.
Tucker experimenting with mirrored tile ceiling reflections
After the bus terminal, Tucker moves to the train station entrance and immediately spots a ceiling covered in mirrored tiles with rounded corners. He doesn’t walk past it. He stops and works it, experimenting with angles until the reflections create something worth keeping.
Reflections are free compositional complexity. A mirrored surface turns a single frame into a layered scene with foreground, subject, and a parallel reality happening above or beside them. On your next shoot, specifically look for wet pavement, shop windows, mirrored building facades, and puddles. The technique is simple: position yourself so the reflection and the direct subject are both visible and relate to each other. The rounded tiles Tucker found created distortion that added a slightly surreal quality. You don’t need a special lens to get that effect. You need to notice the surface is there.
Step 4: Accept a Low Hit Rate as Part of the Process
 Tucker beginning the full image review section
This is the section that makes the video genuinely useful for anyone feeling discouraged. Tucker shows every frame from the day, including the obvious misfires, the almost-theres, and the shots he clearly took just to test an angle. The ratio of strong images to total frames is not flattering. It never is, for anyone.
Tucker beginning the full image review section
This is the section that makes the video genuinely useful for anyone feeling discouraged. Tucker shows every frame from the day, including the obvious misfires, the almost-theres, and the shots he clearly took just to test an angle. The ratio of strong images to total frames is not flattering. It never is, for anyone.
The lesson isn’t that you should be comfortable with mediocrity. It’s that the path to a strong image runs directly through a bunch of weak ones, and experienced photographers know this and keep shooting anyway. If you’re deleting your test shots before you even review them because you feel embarrassed, you’re cutting the process short. Shoot the questionable frame. Move on. The act of shooting and missing calibrates your eye faster than studying other people’s work.
Step 5: Let the Light Change, Then Respond to It
 Tucker walking Amsterdam canals watching light shift
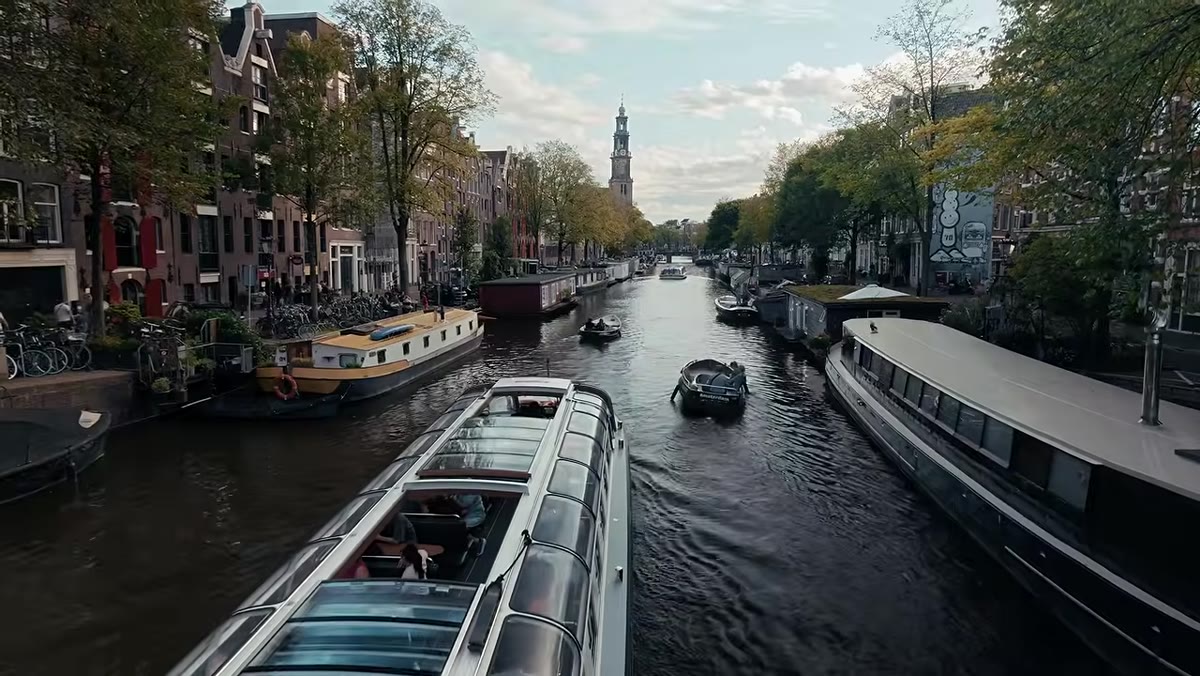
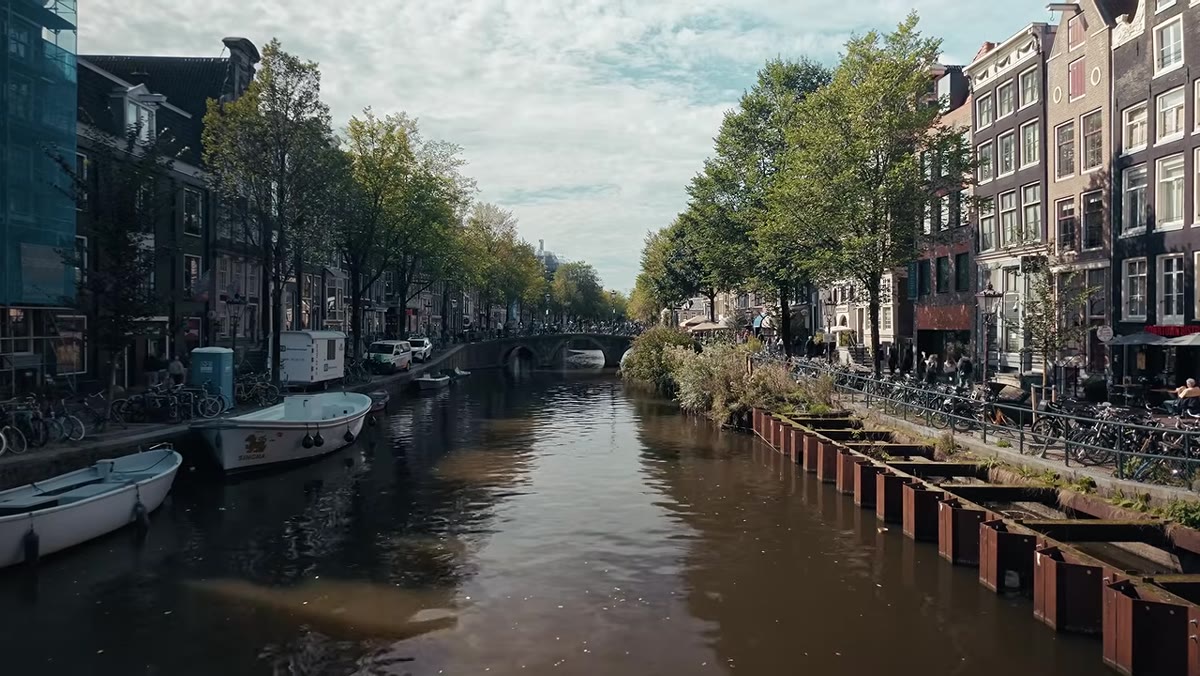
Tucker spends a few hours along the canals not chasing specific shots but watching the light move. This is a patience practice as much as a photography one. Light at midday hits differently than light an hour before golden hour, and a scene that looked flat at noon can become graphic and contrasty by mid-afternoon.
Tucker walking Amsterdam canals watching light shift
Tucker spends a few hours along the canals not chasing specific shots but watching the light move. This is a patience practice as much as a photography one. Light at midday hits differently than light an hour before golden hour, and a scene that looked flat at noon can become graphic and contrasty by mid-afternoon.
The practical application: give yourself a longer window than you think you need when shooting in a new city. If you have three hours, don’t try to cover three neighborhoods. Cover one and stay long enough to see it change. Tucker’s canal shots work because he waited for the light to do something interesting rather than forcing compositions in whatever conditions existed when he arrived.
Step 6: Set Honest Expectations Before You Edit
 Tucker on camera discussing expectations for the day
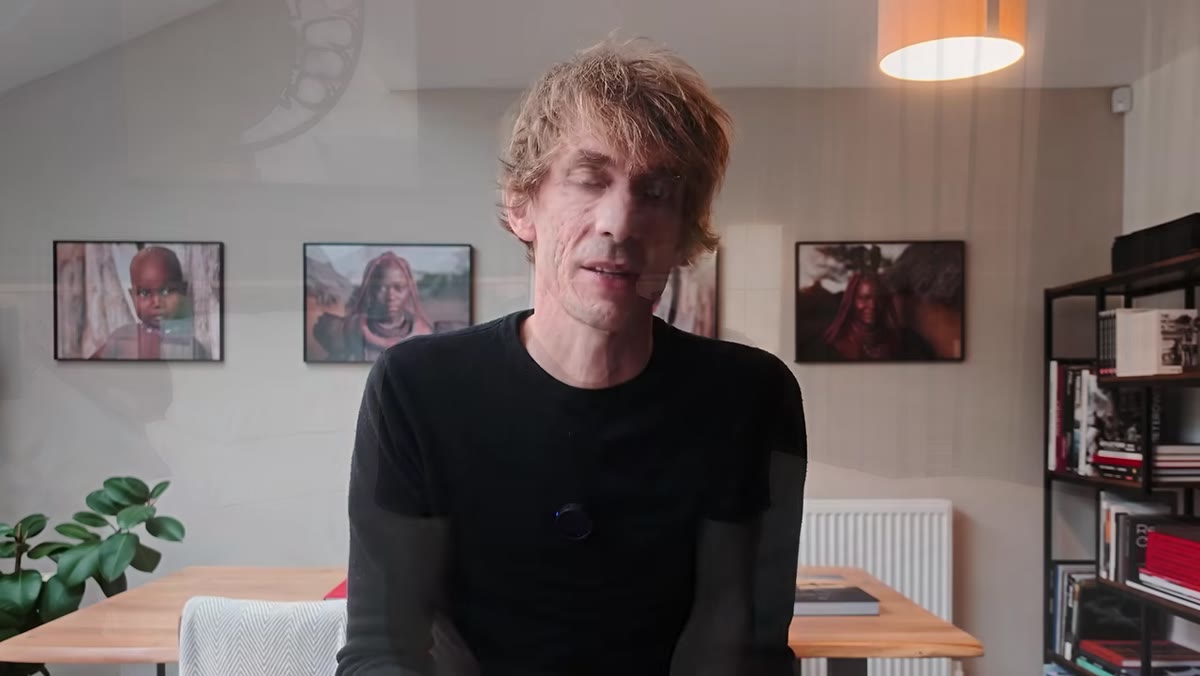
Near the end of the video, Tucker sits down and addresses what the day actually produced versus what he hoped for. This is a rare moment of transparency from a photographer with a large audience, and it’s worth taking seriously. He doesn’t oversell the results. He contextualizes them honestly within the conditions and his own state of mind that day.
Tucker on camera discussing expectations for the day
Near the end of the video, Tucker sits down and addresses what the day actually produced versus what he hoped for. This is a rare moment of transparency from a photographer with a large audience, and it’s worth taking seriously. He doesn’t oversell the results. He contextualizes them honestly within the conditions and his own state of mind that day.
Build this habit into your own workflow. Before you sit down to edit a shoot, write two sentences about what you were trying to do and what was working against you. Weather, crowds, your own energy level. That context will make you a fairer judge of your own work and will help you learn from the session rather than just feeling good or bad about it.
What I’d Add From My Own Experience
Tucker’s kit philosophy lines up with something I’ve seen consistently in my own testing: the constraint of a fixed lens forces better movement and spatial thinking. When I ran a blind test at a local meetup where nobody could identify which shots came from a $500 camera versus a $2,000 one, the images that performed best were almost always from photographers who had moved closer or repositioned rather than zoomed. A fixed 40mm makes that instinct mandatory.
If you want to run Tucker’s approach on a budget, the Ricoh GR IIIx is excellent but expensive. The original GR III with its 28mm equivalent is cheaper and still delivers the same compact, fast, high-contrast shooting experience he’s describing. And if you’re starting out, any fixed-lens compact will teach you the same lesson. The focal length matters less than the commitment to working within a constraint.
The single takeaway from Tucker’s Amsterdam day is this: the quality of your street photography is determined by how long you’re willing to stay in a space and how carefully you’re watching the light, not by what’s in your bag. The gear just has to be small enough that you don’t talk yourself into going home early.
Watch the full tutorial on YouTube to see every frame Tucker made that day, including the ones that didn’t work. That’s where the real education is.
Comments
Leave a Comment