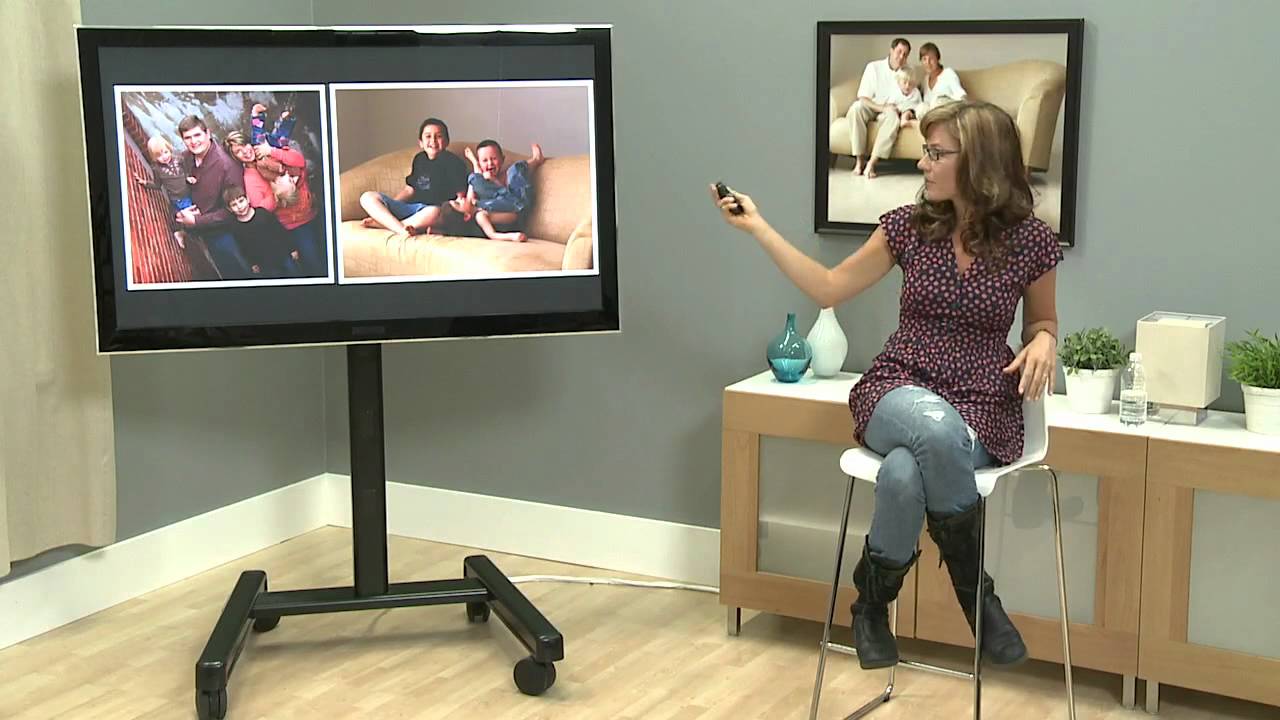
Here’s something I’ve noticed after years of shooting on a budget and reviewing gear for a living: the photographers who actually sell their work aren’t always the ones with the cleanest lighting setups. They’re the ones who know how to work a chaotic scene, pull something real out of it, and move it through a workflow fast enough to stay profitable. That skill gap has nothing to do with camera bodies or lens lineups. It’s process. It’s decision-making on the fly.
That’s exactly why I kept coming back to this CreativeLive tutorial with Vicki Taufer, focused on pets and people photography. Watch the full tutorial on YouTube – it’s the kind of session review content that actually shows you what happened, not just the highlight reel. Vicki walks through images from a live studio shoot the day before, unretouched, with full commentary on what worked, what didn’t, and what she’d fix in post. For anyone trying to build a real portrait business, this is the tutorial that fills in the gaps the polished portfolio videos skip entirely.
The session she’s reviewing was genuinely difficult – dogs with their tongues out, kids moving, the controlled chaos that defines most real family shoots. What makes this tutorial valuable isn’t that everything went perfectly. It’s that she treats the hard session as the educational material, not something to hide.
Step 1: Show Clients Proofed Images, Not Final Edits – and Know the Difference
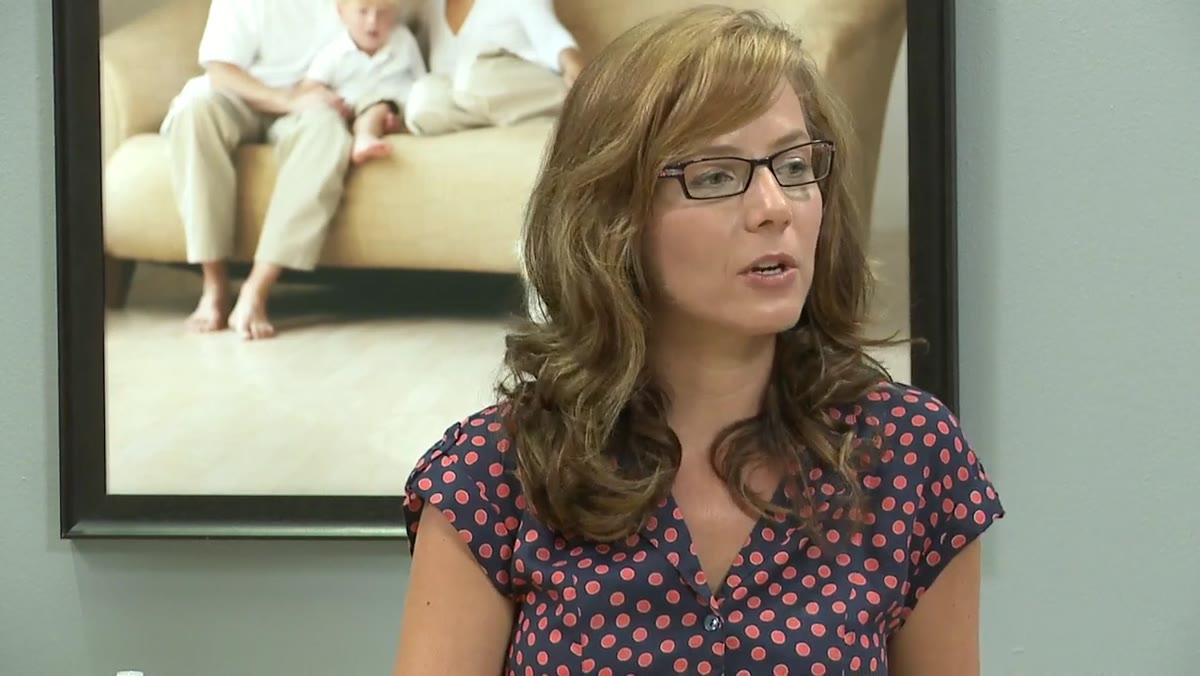 Unretouched proofed images displayed during tutorial review
Vicki is upfront that what she’s showing are proofed images, not finished work. A basic action has been applied – maybe a color pop, maybe edge vignetting – but no retouching has been done. This is a deliberate part of her workflow, not a shortcut. Proofed images let clients make selections without the studio investing full retouching hours into every frame. If you’re spending an hour on a photo the client never orders, you’re burning money. Proof first, retouch on demand.
Unretouched proofed images displayed during tutorial review
Vicki is upfront that what she’s showing are proofed images, not finished work. A basic action has been applied – maybe a color pop, maybe edge vignetting – but no retouching has been done. This is a deliberate part of her workflow, not a shortcut. Proofed images let clients make selections without the studio investing full retouching hours into every frame. If you’re spending an hour on a photo the client never orders, you’re burning money. Proof first, retouch on demand.
For anyone running their own portrait business, this matters practically: build or download a simple proofing action in Photoshop or Lightroom that gives images a consistent, presentable look without being final. Apply it in bulk. Deliver the gallery. Retouch only what sells.
Step 2: Schedule Post-Production as a Separate, Dedicated Workflow Phase
 Vicki referencing tomorrow’s post-production session with Jed
Vicki explicitly names her post-production collaborator and sets up a separate session to actually work through the images. She’s not trying to do everything in one sitting. The shoot, the proof review, and the detailed retouching are three distinct phases – each handled intentionally. This separation keeps creative decisions from getting muddled with technical ones.
Vicki referencing tomorrow’s post-production session with Jed
Vicki explicitly names her post-production collaborator and sets up a separate session to actually work through the images. She’s not trying to do everything in one sitting. The shoot, the proof review, and the detailed retouching are three distinct phases – each handled intentionally. This separation keeps creative decisions from getting muddled with technical ones.
The practical takeaway: don’t retouch during culling, and don’t cull during the shoot. Each phase has a different cognitive load. Blending them slows everything down and leads to worse decisions across the board. Block them as separate calendar events if you have to.
Step 3: Plan Composite and Repair Work Before You Close the Session
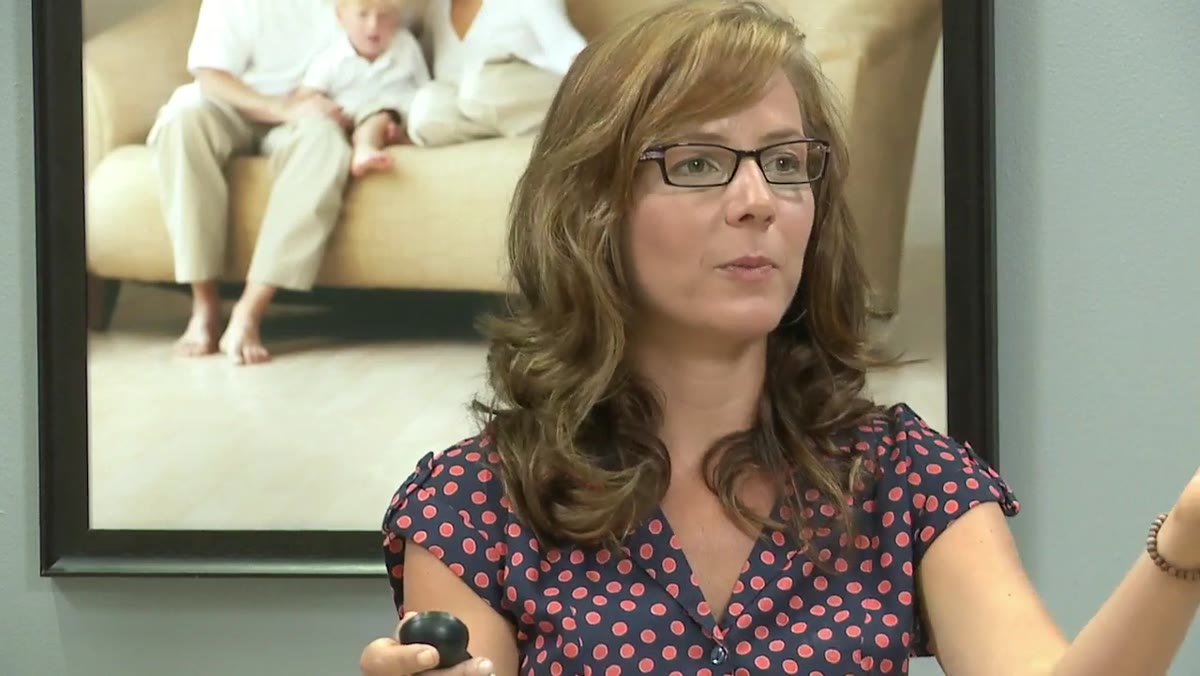 Discussing head swaps and combining specific frames from the shoot
During the review, Vicki flags specific frames that are good candidates for compositing – a better expression from one shot combined with better dog positioning from another. She also identifies frames where a dog’s tongue is slightly visible and notes those for cleanup. This isn’t reactive; she’s mentally cataloguing repair work while the session is still fresh.
Discussing head swaps and combining specific frames from the shoot
During the review, Vicki flags specific frames that are good candidates for compositing – a better expression from one shot combined with better dog positioning from another. She also identifies frames where a dog’s tongue is slightly visible and notes those for cleanup. This isn’t reactive; she’s mentally cataloguing repair work while the session is still fresh.
The habit to build here is tagging images immediately after a shoot, while you still remember the context. Star or color-label frames that need head swaps, tongue removal, blink corrections, or other targeted fixes. A week later, you won’t remember which alternate frame had the better expression. Do this in the same sitting as your initial cull.
Step 4: Prioritize How the People Look, Not Just the Pets
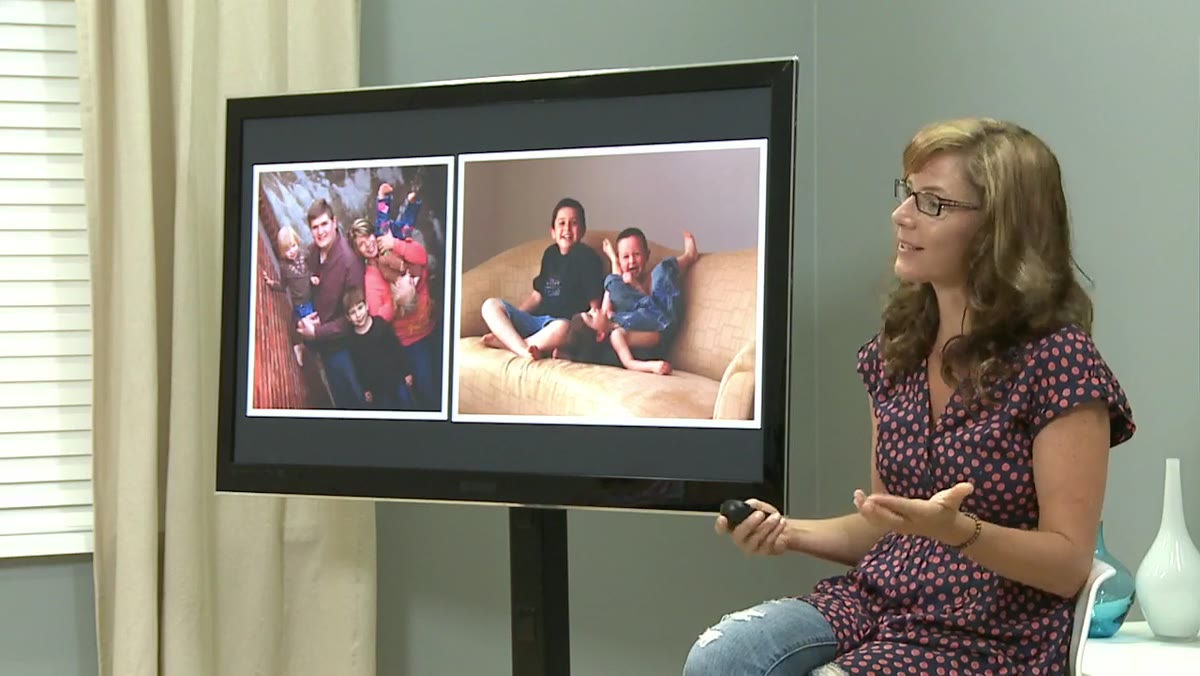 Vicki noting that people in the frame need to look good too
This one caught me off guard because the whole tutorial is framed around pet photography. But Vicki makes a sharp point: in a pets-and-people session, the humans are the ones writing the check. They need to look good. She admits she’d been so focused on the pet-specific challenges that she’d underweighted posing and flattering the human subjects.
Vicki noting that people in the frame need to look good too
This one caught me off guard because the whole tutorial is framed around pet photography. But Vicki makes a sharp point: in a pets-and-people session, the humans are the ones writing the check. They need to look good. She admits she’d been so focused on the pet-specific challenges that she’d underweighted posing and flattering the human subjects.
When you’re shooting with animals, it’s easy to treat the people as props – just get them positioned and wait for the pet to do something. But bad posture, unflattering angles, or awkward expressions on the human will kill the sale even if the dog looks perfect. Keep your eye on both.
Step 5: Treat Outtakes as a Real Product Category
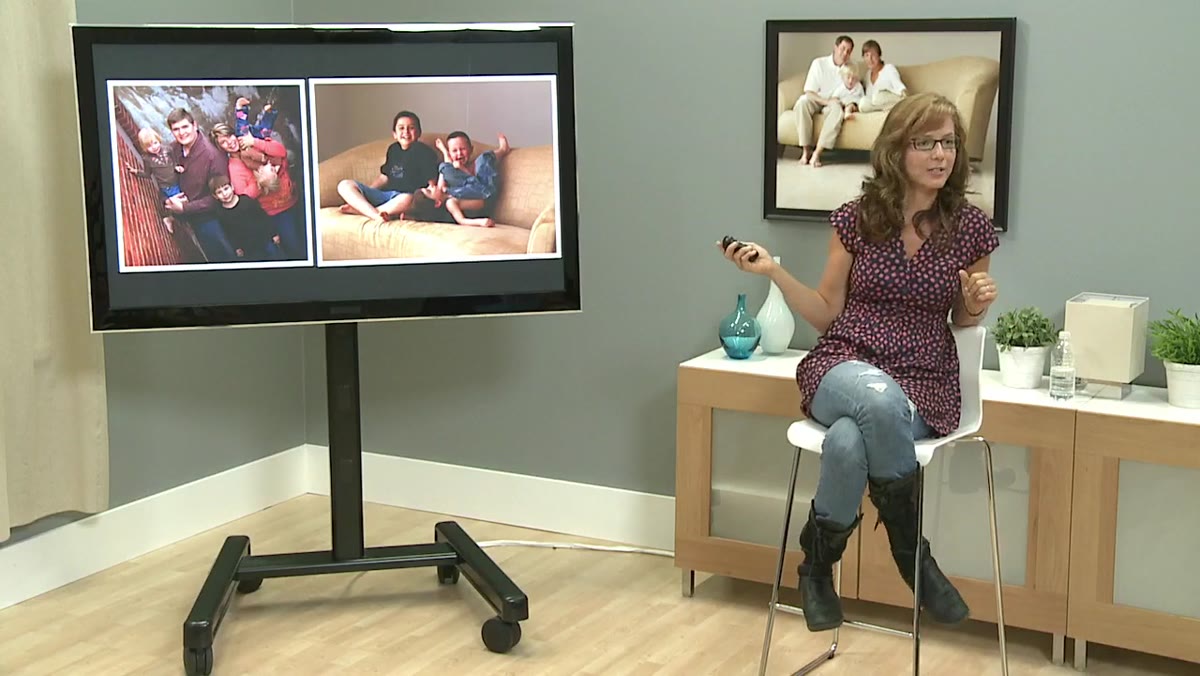 Discussing outtakes and their sales potential as wall portraits
Vicki describes selling wall portraits from what she calls outtakes – the frames where the dog is mid-jump, the kid is laughing uncontrollably, and nothing is posed. For some families, that image is more true to their daily life than the composed, everyone-looking-at-the-camera version. And clients respond to that emotionally.
Discussing outtakes and their sales potential as wall portraits
Vicki describes selling wall portraits from what she calls outtakes – the frames where the dog is mid-jump, the kid is laughing uncontrollably, and nothing is posed. For some families, that image is more true to their daily life than the composed, everyone-looking-at-the-camera version. And clients respond to that emotionally.
The workflow implication: don’t dump your outtakes folder before the client ordering session. Flag a few of the best “real moment” frames and include them in the proof gallery. Present them with confidence. I’ve talked to photographers who were shocked when a client picked the wild candid over the clean portrait. It happens more than you’d think.
Step 6: Use Animoto or a Similar Tool for Quick Client Previews
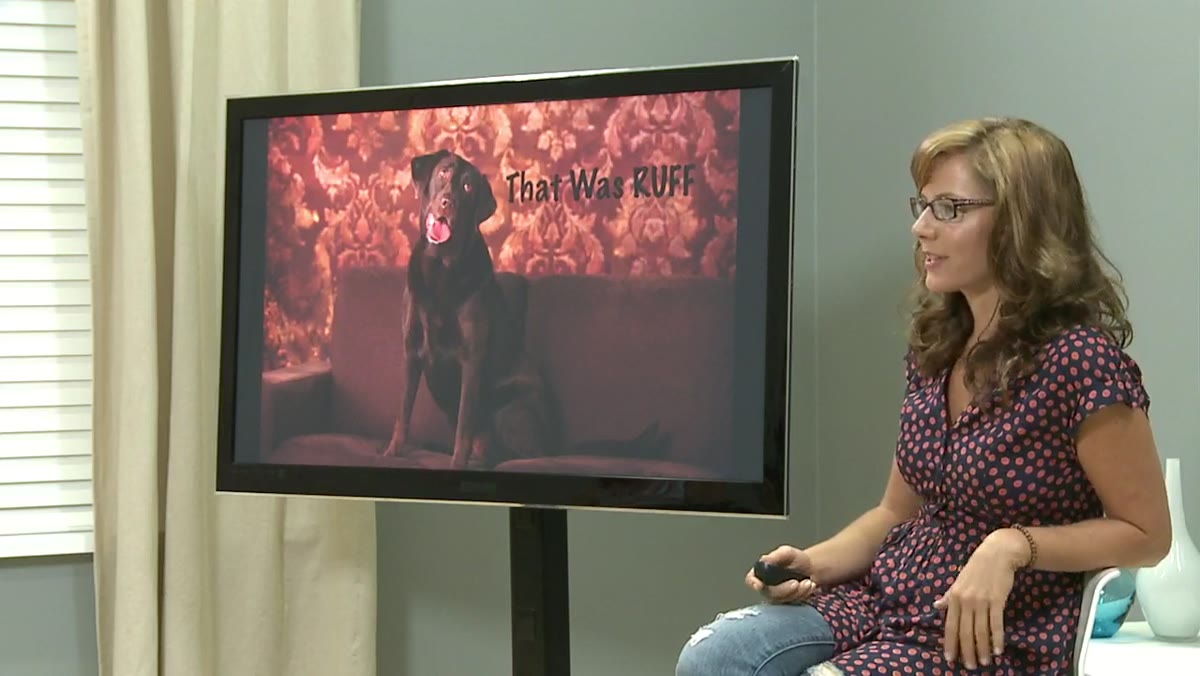 Vicki showing a short Animoto slideshow of session images
To present the session images, Vicki put together a quick Animoto slideshow – she mentions it took just minutes and runs under a minute long. This isn’t about selling Animoto specifically. It’s about having a fast, low-friction way to present images in motion before the ordering session. A slideshow with music creates an emotional response that static thumbnails don’t.
Vicki showing a short Animoto slideshow of session images
To present the session images, Vicki put together a quick Animoto slideshow – she mentions it took just minutes and runs under a minute long. This isn’t about selling Animoto specifically. It’s about having a fast, low-friction way to present images in motion before the ordering session. A slideshow with music creates an emotional response that static thumbnails don’t.
If you’re handing clients a Lightroom gallery link and wondering why conversion is low, try sending a 45-second slideshow first. You’re not replacing the ordering session – you’re priming the emotional response before it happens.
What I’d Add From My Own Experience
Vicki’s workflow is studio-based, but the proof-before-retouch logic transfers directly to outdoor and on-location shoots too. The mistake I made early on was over-editing every frame I liked from a session before ever knowing what the client wanted. I’d spend three hours on images that never got ordered. Now I cull hard, proof light, and only go deep on the frames that are actually going to print.
The other thing I’d stress: her point about outtakes connects to something bigger. Authenticity sells. Not because it’s trendy, but because clients recognize their actual family in it. The chaotic frame with the dog mid-lick and the kid mid-laugh is the one that ends up on the wall because it’s true. Shoot with that in mind from the start, and you’ll stop being frustrated when the “perfect” pose never quite comes together.
The single most important thing this tutorial teaches is that a hard session isn’t a failed session. The images Vicki’s reviewing came from a genuinely difficult shoot, and she’s still walking away with sellable frames, clear retouching targets, and a workflow moving forward. That’s the standard to hold yourself to. Watch the full tutorial on YouTube and pay close attention to how she talks through the images – the commentary is where the real education lives.
Comments
Leave a Comment