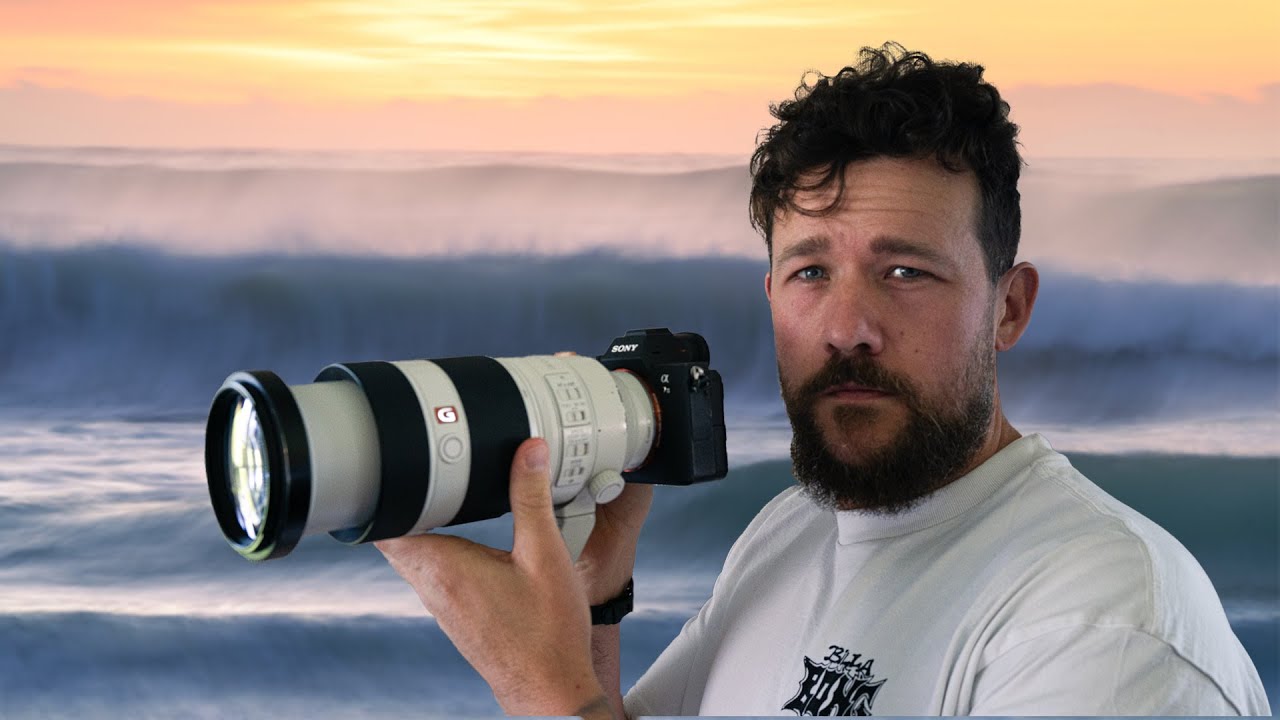
I’ll be honest: for a long time I wrote off telephoto lenses for landscape work. My mental model was wide-angle or bust. Get close to the rocks, show the sweeping sky, fill the frame with drama. It wasn’t until I started stress-testing budget telephoto options for a comparison piece that I realized I’d been leaving a whole category of images on the table. Then I came across this William Patino tutorial, shot on the east coast of Australia at sunrise, and it reframed how I think about coastal photography entirely. Watch the full tutorial on YouTube
What makes this video worth your time isn’t just the pretty results. It’s that Patino walks through the actual thought process, the why behind every composition choice, every shutter speed, every pivot to a new subject. He’s been shooting this specific location for fifteen years and still found a perspective he’d never captured before, specifically because he committed to approaching it with no assumptions. That’s the part that stuck with me. Gear matters, but the willingness to look at a familiar scene differently matters more.
Here’s the full breakdown of what he does and how you can replicate it.
Step 1: Choose Your Subject Based on What the Light Is Actually Doing
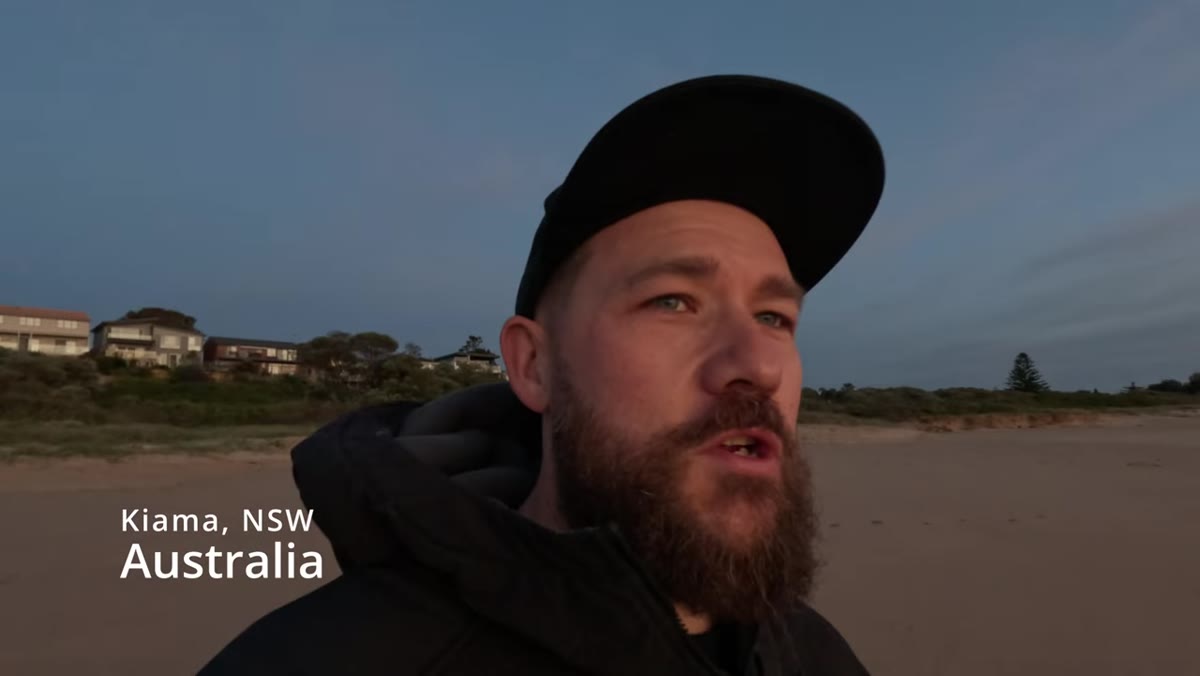 Will standing at the coast identifying two shooting directions
Before you raise the camera, Patino scans the scene and identifies two distinct subjects: the incoming wave sets with reflected sunrise light, and a cluster of sea stacks in the distance called Cathedral Rocks. He doesn’t default to a composition he’s used before. He asks what the light is hitting right now and works from there. For telephoto landscape work, this is the correct starting point. The compressed perspective of a long lens only works in your favor when there’s something worth isolating at distance.
Will standing at the coast identifying two shooting directions
Before you raise the camera, Patino scans the scene and identifies two distinct subjects: the incoming wave sets with reflected sunrise light, and a cluster of sea stacks in the distance called Cathedral Rocks. He doesn’t default to a composition he’s used before. He asks what the light is hitting right now and works from there. For telephoto landscape work, this is the correct starting point. The compressed perspective of a long lens only works in your favor when there’s something worth isolating at distance.
When you’re scouting, look for layered elements, foreground texture, midground mass, and a background anchor. A telephoto will stack those layers in a way a wide-angle physically cannot.
Step 2: Use Compression to Turn Wave Action Into Texture
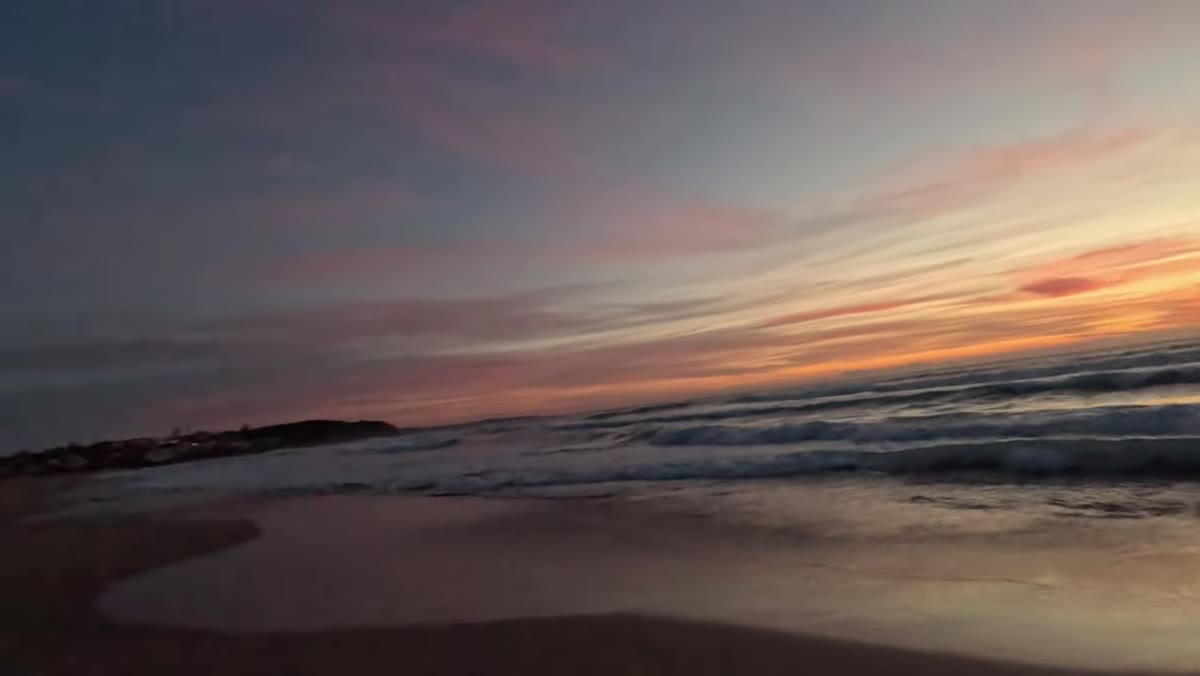 Zoomed-in view of incoming wave sets with layered light
Patino positions himself at a slight angle to the incoming waves, not front-on, and uses the 100-400mm range to compress the multiple wave sets into a single layered frame. The angle is key here. Shooting straight at a wave gives you a flat wall of water. A subtle diagonal reveals the texture, the ridges, the form of the moving surface.
Zoomed-in view of incoming wave sets with layered light
Patino positions himself at a slight angle to the incoming waves, not front-on, and uses the 100-400mm range to compress the multiple wave sets into a single layered frame. The angle is key here. Shooting straight at a wave gives you a flat wall of water. A subtle diagonal reveals the texture, the ridges, the form of the moving surface.
This is one of those techniques that sounds minor until you try it side by side. The telephoto compression turns what would be a chaotic scene into something with real structure. You’re essentially editing with your feet and your focal length before you ever touch a slider.
Step 3: Dial In Shutter Speed for the Water Texture You Actually Want
Patino lands on ISO 50, f/29, and 0.4 seconds for his wave shots. He’s explicit that there’s no universally correct shutter speed for water, it’s a creative decision, but he shares his own preference: smooth and soft, with visible strands and texture still present. That puts him in the range of roughly 1/4 second to 1 full second for most coastal work.
To hit those slow speeds in bright morning light, he pushes ISO to its lowest native value and stops the aperture down hard. If you’re shooting a kit telephoto without a built-in ND slot, you’ll want a variable ND filter in your bag. Even a budget option in the $25-40 range can get you there. The point is to give yourself shutter speed control without blowing the exposure.
Step 4: Shoot Intentional Camera Movement for Creative Variety
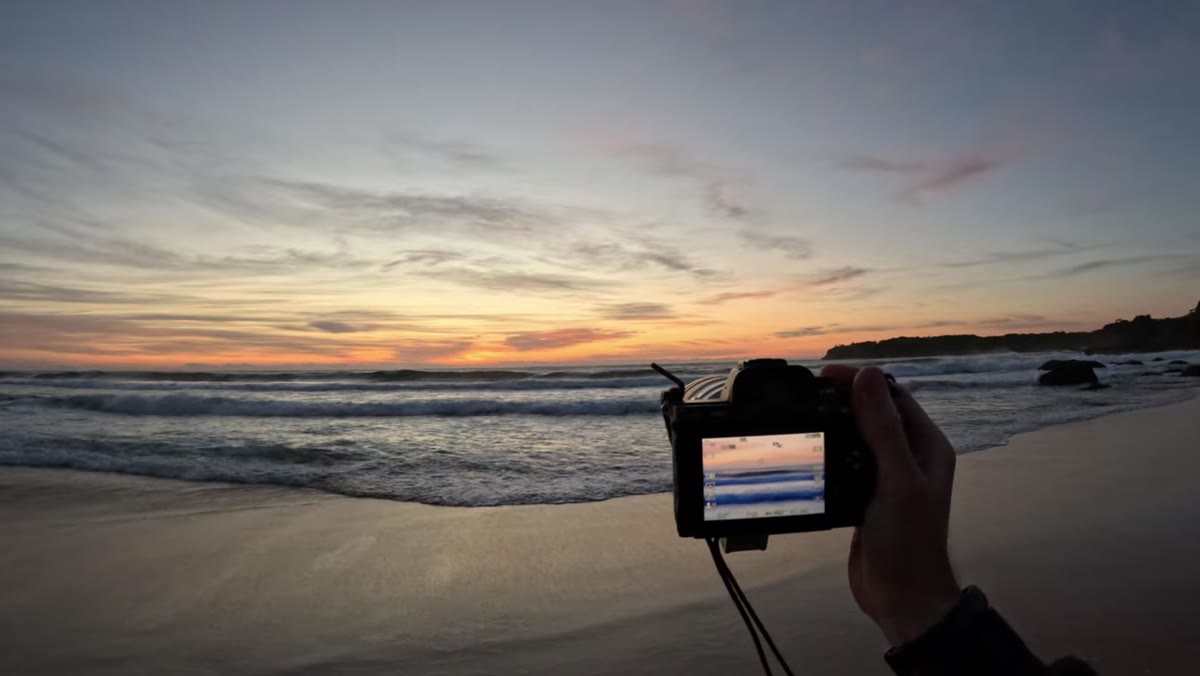 Blurred pan shot result showing motion across the wave horizon
Between the more deliberate exposures, Patino fires off some intentional camera movement shots at around half a second. He starts the pan from one side, moves smoothly across the horizon, and fires mid-movement. The results are impressionistic, streaky, and genuinely fun. He experiments with different horizontal layers, water and sky together, just water, or the full sand-to-sky sweep.
Blurred pan shot result showing motion across the wave horizon
Between the more deliberate exposures, Patino fires off some intentional camera movement shots at around half a second. He starts the pan from one side, moves smoothly across the horizon, and fires mid-movement. The results are impressionistic, streaky, and genuinely fun. He experiments with different horizontal layers, water and sky together, just water, or the full sand-to-sky sweep.
ICM with a telephoto is underrated. The longer focal length amplifies the motion blur effect compared to a wide-angle at the same shutter speed, which means you need less movement to get a dramatic result. Keep the pan smooth and slow. Jerky movement usually just looks like camera shake rather than intentional motion.
Step 5: Adjust Settings Fast When You Switch to a Static Subject
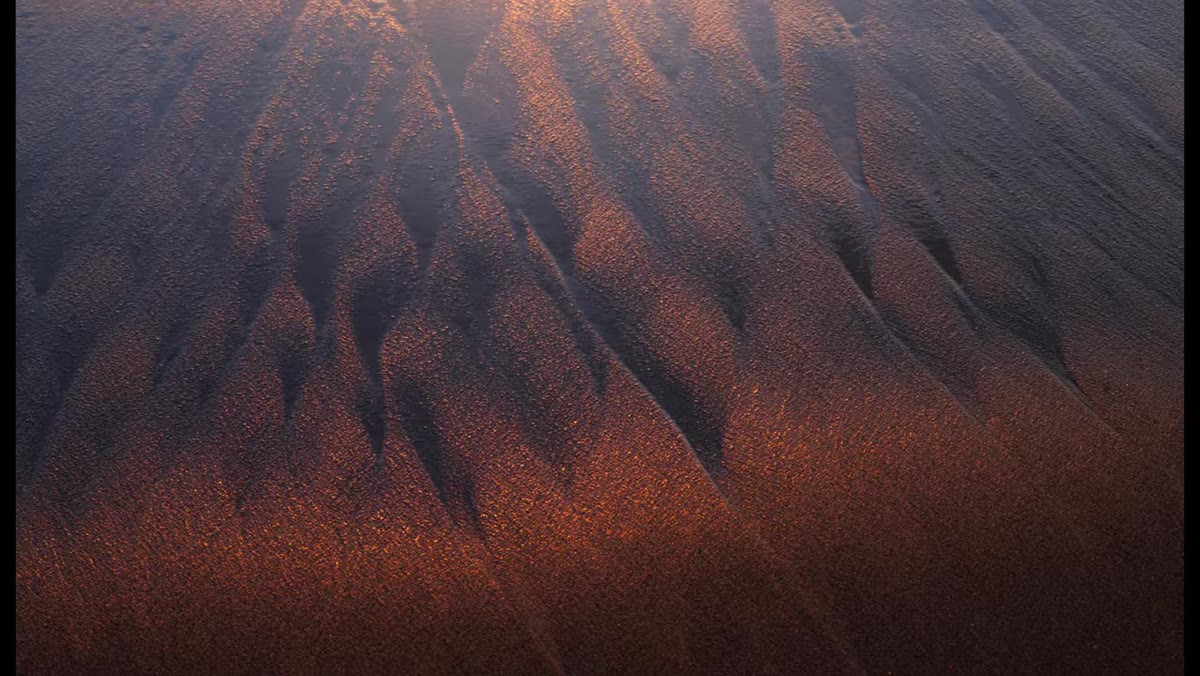 Sand pattern detail shot from above with telephoto compression
When Patino spots an interesting sand pattern below him with reflected light, he switches gears immediately. The sand isn’t moving, but he’s shooting at a steep angle with a telephoto, which creates a depth of field challenge across the field of view. He bumps the aperture to f/18, speeds the shutter to 1/125 of a second, and raises ISO to 640 to compensate.
Sand pattern detail shot from above with telephoto compression
When Patino spots an interesting sand pattern below him with reflected light, he switches gears immediately. The sand isn’t moving, but he’s shooting at a steep angle with a telephoto, which creates a depth of field challenge across the field of view. He bumps the aperture to f/18, speeds the shutter to 1/125 of a second, and raises ISO to 640 to compensate.
This is a good reminder that telephoto lenses compress depth of field in a way that requires more stopping down when you’re shooting on an angle. You can’t treat a steep overhead composition the same as a front-on wave shot. When in doubt, shoot a test frame and zoom into the corners on your LCD before moving on.
Step 6: Build Depth Into Distant Compositions With Foreground Layering
 Sea stack composition with stones in foreground and stacks behind
For the Cathedral Rocks shots, Patino gets low and works to place stones in the foreground, establish a midground layer, and frame the sea stacks in the background. He references a previous shot he captured during a workshop, a full moonrise behind the stacks, using the same layering logic.
Sea stack composition with stones in foreground and stacks behind
For the Cathedral Rocks shots, Patino gets low and works to place stones in the foreground, establish a midground layer, and frame the sea stacks in the background. He references a previous shot he captured during a workshop, a full moonrise behind the stacks, using the same layering logic.
The insight here is that a telephoto doesn’t have to mean flat. Most people assume a long lens collapses depth because it compresses the background. That’s true, but you can counteract the flat feeling by deliberately including foreground elements that give the eye something to travel through. Getting low with the long lens exaggerates that foreground-to-background separation more than you’d expect.
My Take: This Approach Punches Way Above Its Budget Implication
I’ve run a lot of budget telephoto lenses through my testing spreadsheet, and one pattern keeps showing up: telephoto technique is almost entirely transferable across price points. The compositions Patino is building here, the layering, the angled wave texture, the ICM pans, none of them require a $3,000 prime. A used 100-400mm or even a sharp 70-300mm in the $150-300 range will execute this workflow. The shutter speed and aperture discipline matters more than the glass.
If you’re primarily a wide-angle landscape shooter and you’ve been eyeing a budget telephoto, this tutorial is the clearest argument I’ve seen for adding one to your kit. It doesn’t replace your wide-angle work. It opens up a completely different set of images from the same locations you’ve already been shooting.
The single most important thing Patino demonstrates in this video has nothing to do with focal length: it’s showing up to a familiar place and forcing yourself to look for what you haven’t captured yet. The long lens just gives you a tool to act on that when you find it.
Watch the full tutorial on YouTube to see the Adobe Camera Raw processing breakdown he runs through at the end, that section alone is worth the watch time.
Comments
Leave a Comment