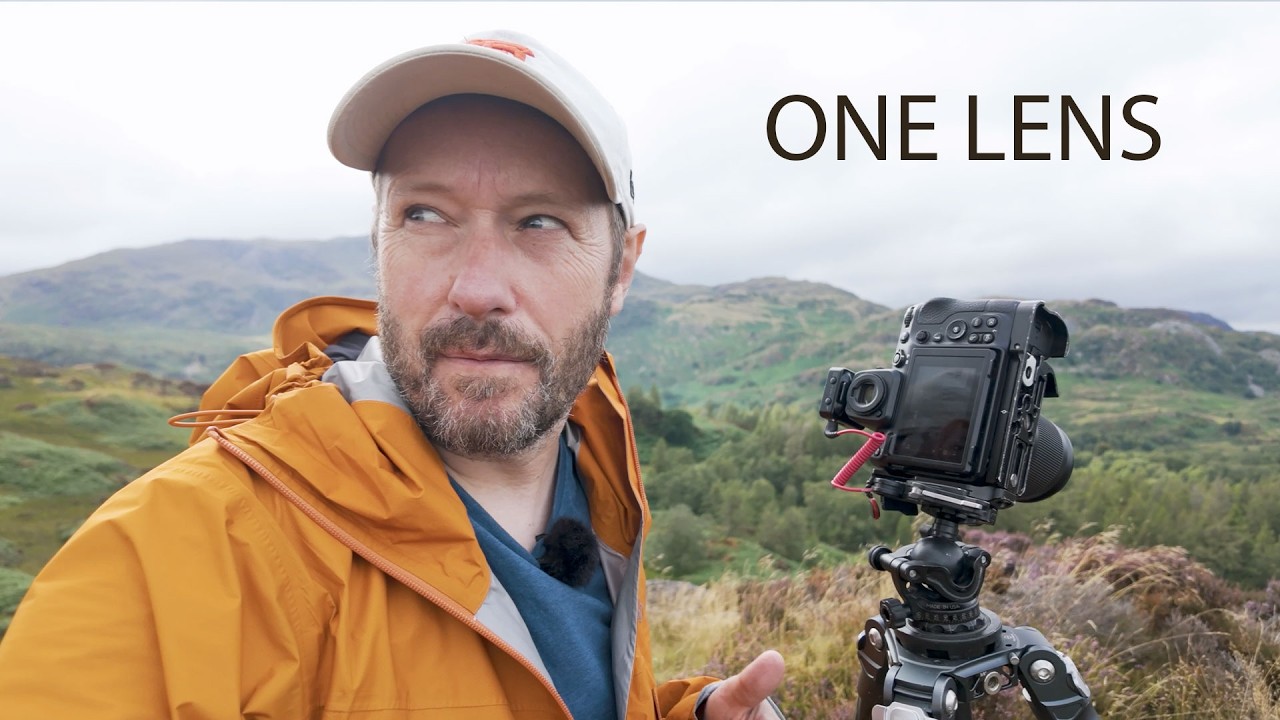
Most photographers I know are chasing golden hour like it’s the only game in town. I get it. I spent my first two years setting alarms for 5 a.m. and treating every flat midday sky like a personal insult. But here’s the thing I kept missing: some of the most dramatic landscape light happens in the middle of the afternoon, under clouds that most people would pack their bags and go home for. It took me a while to trust that instinct, and it took watching other photographers work through it out loud before it really clicked.
In this Nigel Danson tutorial shot on Helm Crag in the Lake District, Danson walks through an entire daytime session with a single lens, and the real teaching isn’t about gear at all. It’s about reading weather, building layered compositions, and knowing when to wait instead of shooting. Watch the full tutorial on YouTube before or after you read this. Either way works.
What I pulled out of this video is a repeatable framework. You don’t need the Lake District. You don’t need a Nikon Z8. You need to understand why the conditions Danson is describing produce better images than a perfect sunset in flat light, and how to compose for them when they show up.
Step 1: Scout the Location Before Conditions Are Perfect
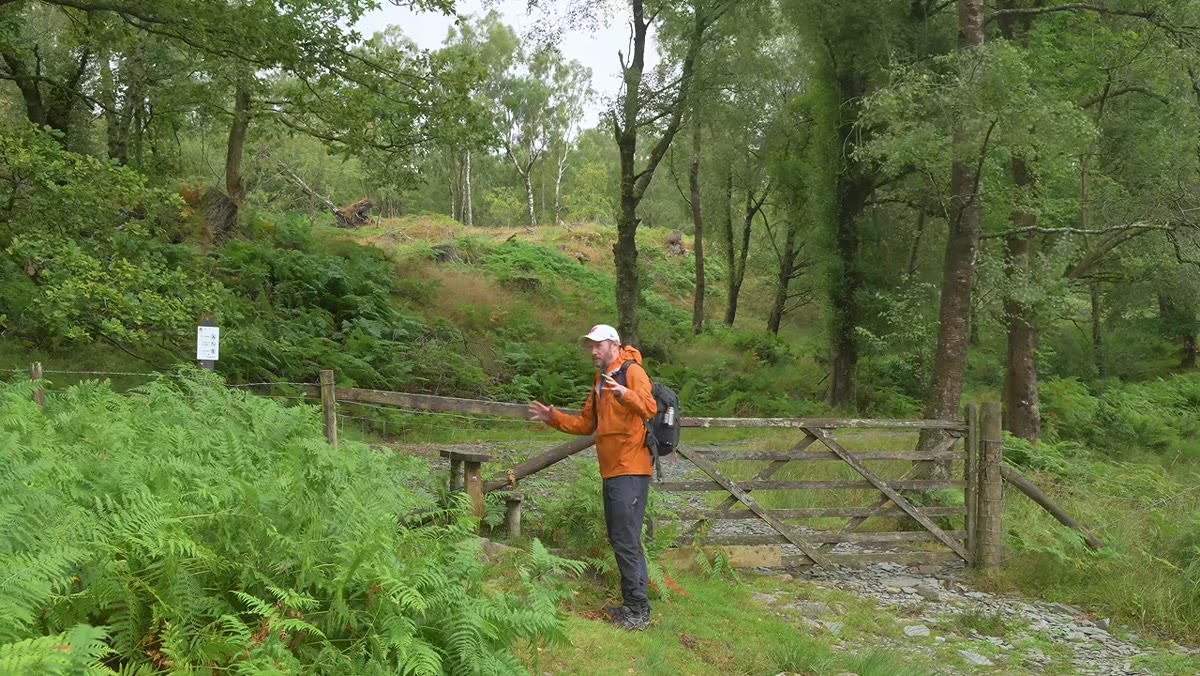 Danson walking a fell path at Helm Crag in morning light
Danson arrives at Helm Crag specifically to scout, not to get his hero shot. He says outright that the heather isn’t at peak yet and he’s planning to come back. This is the move most people skip. They show up when conditions look perfect on the weather app and then scramble to find compositions they’ve never thought through before.
Danson walking a fell path at Helm Crag in morning light
Danson arrives at Helm Crag specifically to scout, not to get his hero shot. He says outright that the heather isn’t at peak yet and he’s planning to come back. This is the move most people skip. They show up when conditions look perfect on the weather app and then scramble to find compositions they’ve never thought through before.
Do the scouting walk when the light is boring. Walk slowly. Stop at anything that catches your eye, even if it’s not a “final shot” moment. Danson pauses at a cut-down silver birch with ferns behind it. He calls it “pretty pretty” and grabs a quick frame. It’s not his portfolio shot. It’s a warm-up that gets his eye calibrated to what’s in front of him.
Step 2: Learn to Read Cloud Type, Not Just Cloud Cover
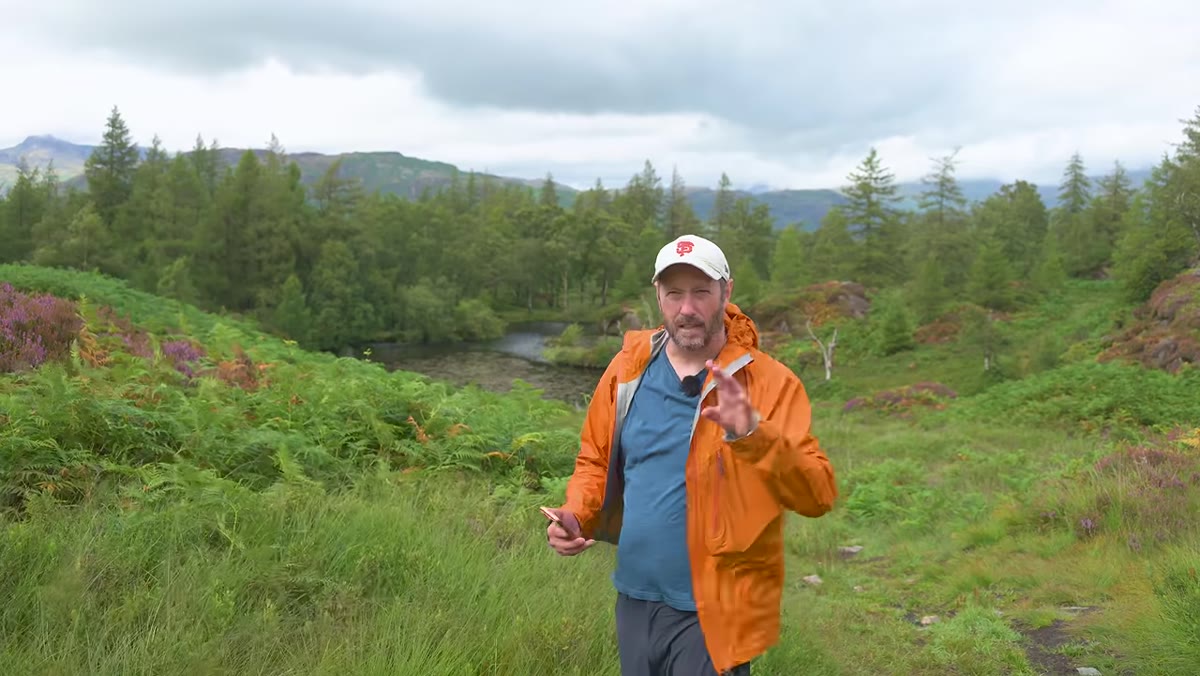 Danson explaining cloud layers using a weather app on screen
This is the section that genuinely changed how I check weather before a shoot. Danson pulls up a weather app and compares two days side by side. The previous day had stacked layers of high, medium, and low cloud with no rain. Looks dramatic from the description, but it produced flat, diffuse light with no interest. Today’s forecast shows mostly low cloud, almost no high or medium cloud, and incoming rain on a low front.
Danson explaining cloud layers using a weather app on screen
This is the section that genuinely changed how I check weather before a shoot. Danson pulls up a weather app and compares two days side by side. The previous day had stacked layers of high, medium, and low cloud with no rain. Looks dramatic from the description, but it produced flat, diffuse light with no interest. Today’s forecast shows mostly low cloud, almost no high or medium cloud, and incoming rain on a low front.
The difference matters because low cloud moves fast, breaks unpredictably, and produces those dramatic dark patches against bright foreground light. High cloud is the enemy. It diffuses everything evenly and kills contrast. What you want is low cloud with gaps. Check your weather app for cloud ceiling height and watch the wind speed. A high wind driving low cloud through a valley is often a better setup than a clear sunset.
Step 3: Prioritize Dark Cloud Over Direct Sun
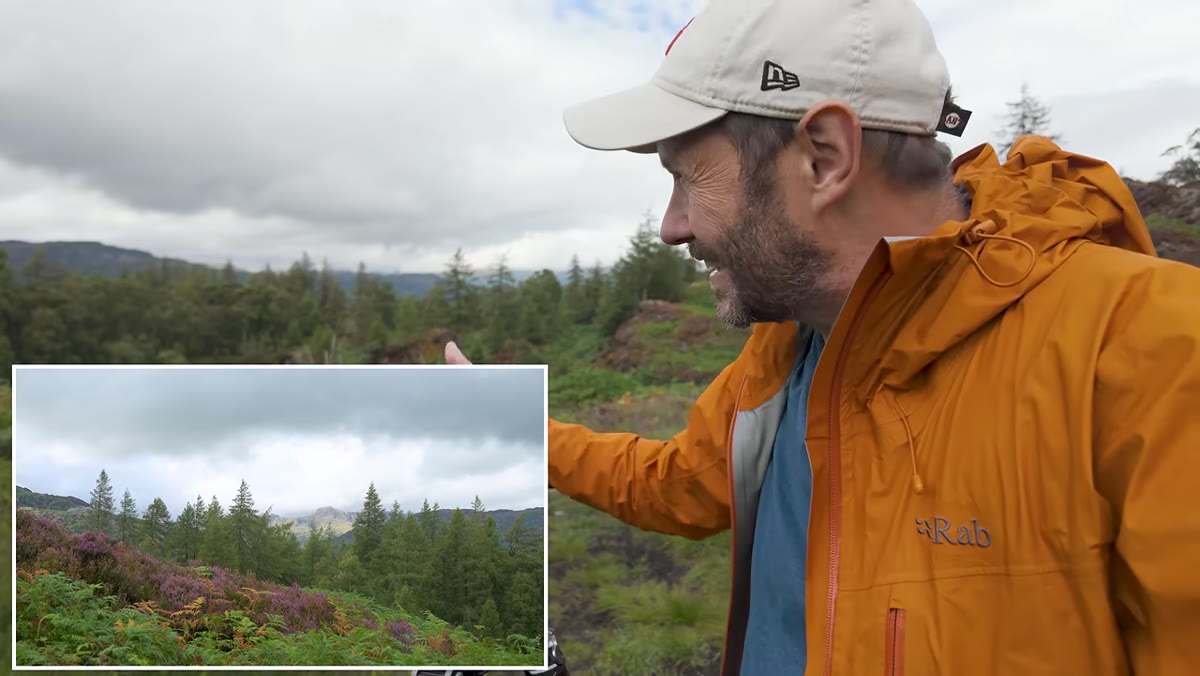
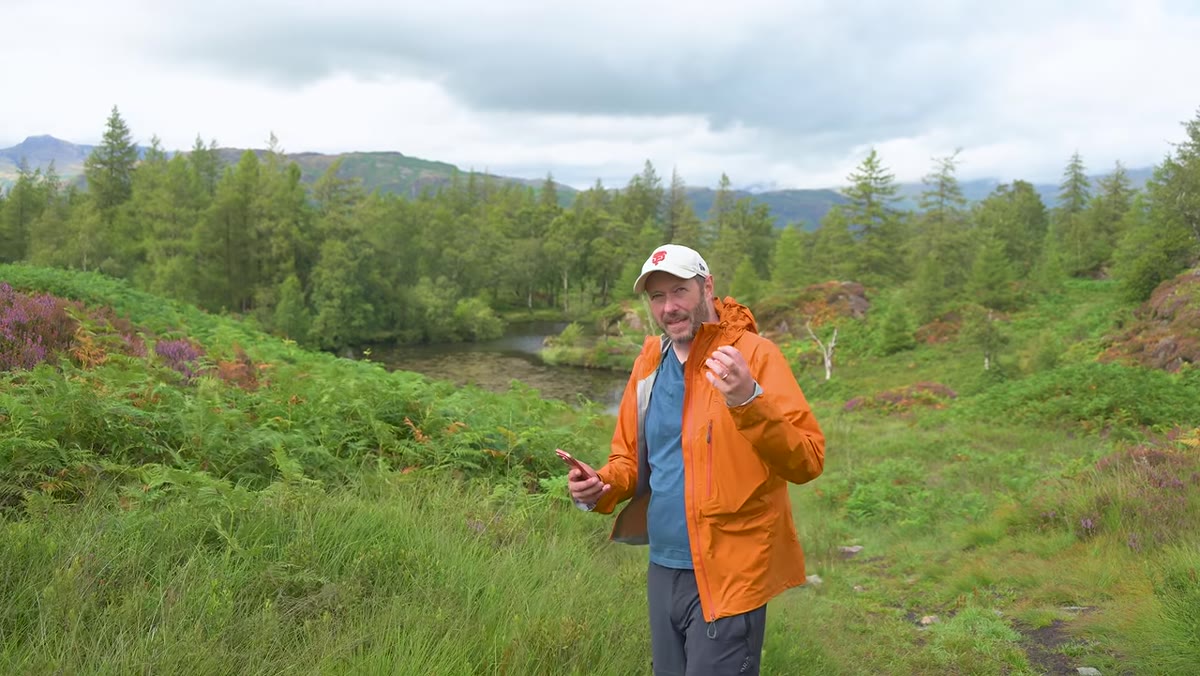 Dramatic dark clouds over the Langdale Pikes with heather in foreground
Danson frames up a shot with the Langdale Pikes in the background and heather in the foreground. The cloud above the mountains is dark and full, what he describes as “full of rain,” and that darkness is doing real compositional work. It creates contrast and weight in the sky without requiring a long exposure or a graduated filter to tame it.
Dramatic dark clouds over the Langdale Pikes with heather in foreground
Danson frames up a shot with the Langdale Pikes in the background and heather in the foreground. The cloud above the mountains is dark and full, what he describes as “full of rain,” and that darkness is doing real compositional work. It creates contrast and weight in the sky without requiring a long exposure or a graduated filter to tame it.
The instinct a lot of photographers have is to wait for a sunbeam or a bright patch. Danson’s instinct is the opposite. He’s looking at the dark cloud and treating it as the subject. If you’re shooting in similar conditions, expose for the bright areas and let the cloud go as dark as it naturally is. Don’t try to rescue shadow detail in the sky. The drama is the point.
Step 4: Build Your Composition in Layers, Bottom to Top
 Heather foreground, midground hills, mountain peaks, and dark sky in frame
The composition Danson lands on works because it has three clear layers: a band of heather at the bottom, the rolling Lakeland fells in the middle, and the dark sky over the Langdales at the top. Each layer has a distinct tone and texture. Nothing competes. The heather anchors the eye, the hills carry it upward, and the sky gives it somewhere to land.
Heather foreground, midground hills, mountain peaks, and dark sky in frame
The composition Danson lands on works because it has three clear layers: a band of heather at the bottom, the rolling Lakeland fells in the middle, and the dark sky over the Langdales at the top. Each layer has a distinct tone and texture. Nothing competes. The heather anchors the eye, the hills carry it upward, and the sky gives it somewhere to land.
He makes a specific note about the midground. When a shaft of light hits the middle distance but not the foreground or mountains, it flattens the layers and makes everything feel disconnected. He waits. He looks for either light on the heather or light on the peaks, ideally both, but never light only in the middle. That’s a detail worth memorizing. Light in the midground without contrast above or below it is a composition killer.
Step 5: Use a Diagonal Foreground Element to Direct the Eye
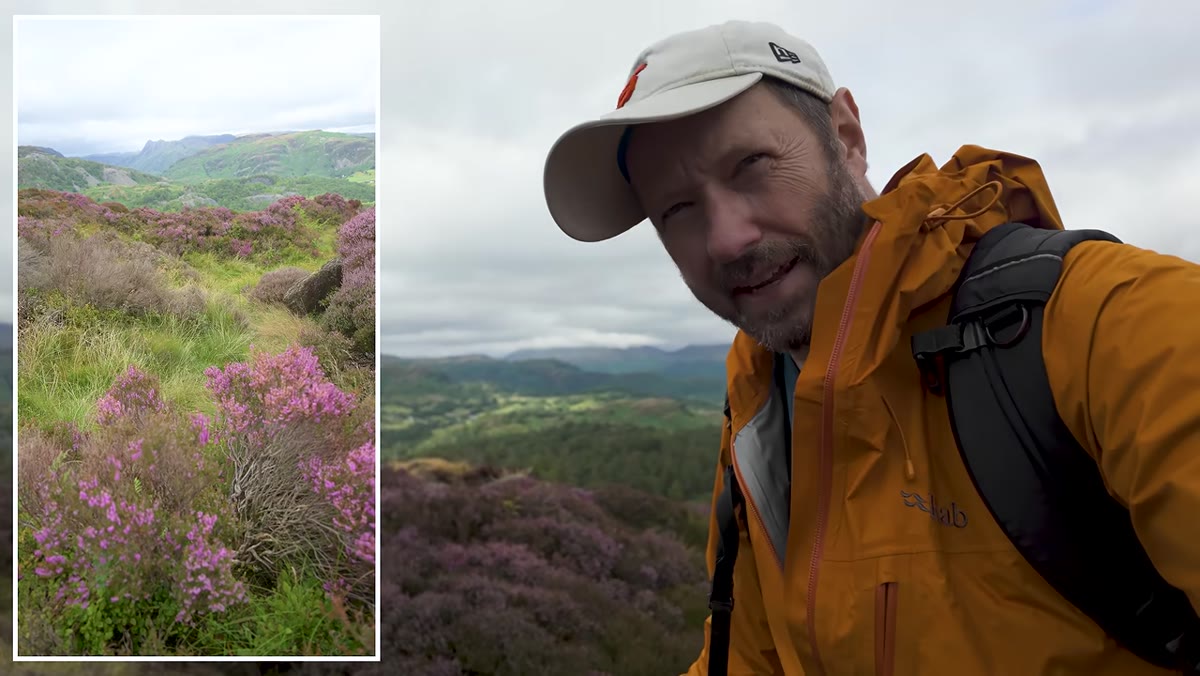 Heather line cutting diagonally through the lower foreground toward mountains
When Danson moves to a higher position, he finds a section of heather with a natural diagonal line running through it. That line starts at one corner of the frame and leads toward the Langdales. It’s not a path or a river. It’s just the shape of the heather growth. But it functions exactly the same way. Diagonal lines move faster across the frame than horizontal ones. They create energy and pull the eye toward the background.
Heather line cutting diagonally through the lower foreground toward mountains
When Danson moves to a higher position, he finds a section of heather with a natural diagonal line running through it. That line starts at one corner of the frame and leads toward the Langdales. It’s not a path or a river. It’s just the shape of the heather growth. But it functions exactly the same way. Diagonal lines move faster across the frame than horizontal ones. They create energy and pull the eye toward the background.
If you’re shooting wide in a landscape and your foreground feels static, crouch lower and look for a line within whatever is in front of you. Rocks, grass patterns, shadows, anything that runs at an angle rather than straight across. You often have to get lower than feels natural to isolate it properly.
Step 6: Experiment With Height to Change the Sky-to-Ground Ratio
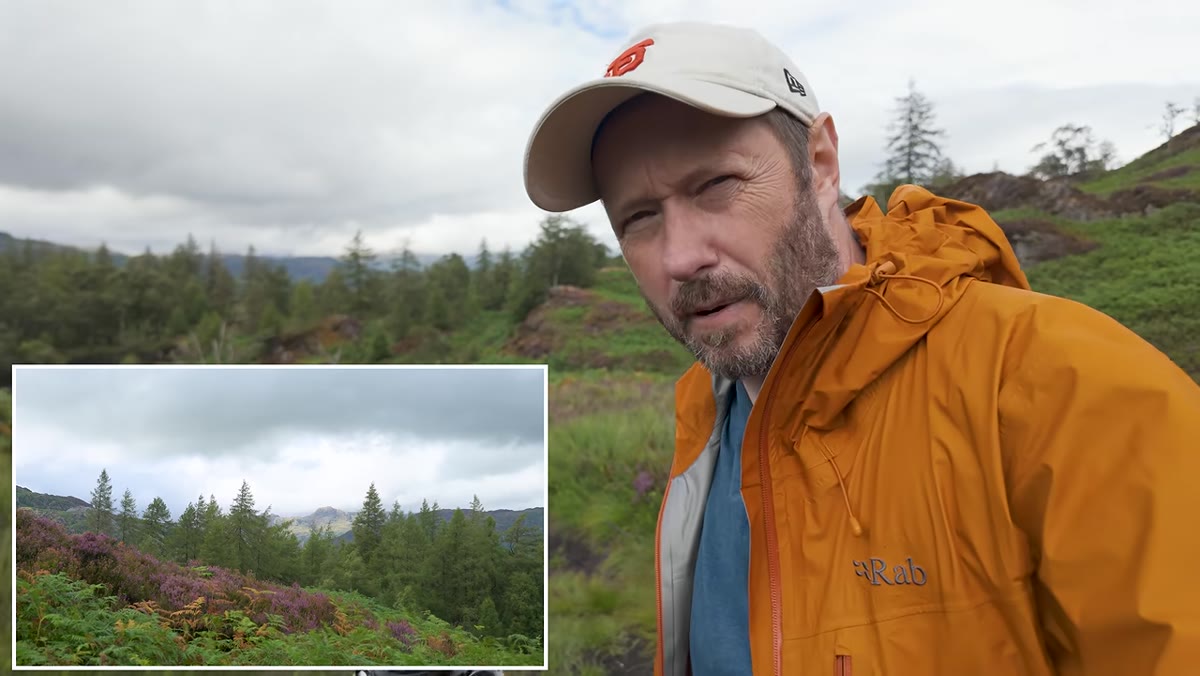 Danson adjusting tripod height while looking through viewfinder
After locking in a composition he likes, Danson immediately starts experimenting with height. Moving the camera up reduces foreground and increases sky. Moving it down does the opposite. When your sky is strong, give it more room. When it’s weak, push it out. This sounds obvious, but most people set the tripod at eye level and stay there.
Danson adjusting tripod height while looking through viewfinder
After locking in a composition he likes, Danson immediately starts experimenting with height. Moving the camera up reduces foreground and increases sky. Moving it down does the opposite. When your sky is strong, give it more room. When it’s weak, push it out. This sounds obvious, but most people set the tripod at eye level and stay there.
Try at least three heights before committing. The difference of six inches on a tripod leg changes the entire balance of a shot. In the heather composition, going slightly higher gave Danson a cleaner read on the diagonal line while keeping enough cloud to anchor the image. Small adjustments, real results.
My Take: Patience Is a Gear Choice Too
I’ve spent a lot of time comparing lenses and sensors, and I’ll keep doing it. But watching Danson work through this session reminded me that waiting for the right moment inside good conditions is worth more than most upgrades. He doesn’t rush to the next composition. He sits with the one in front of him and watches the light move. That’s a skill you can’t buy. I have a spreadsheet with 40 budget lenses on it, and not one of them will fix a shot I didn’t wait long enough to take.
If you’re shooting daytime landscapes and the sky has low cloud with movement, commit to it. Stay longer than feels comfortable. The conditions Danson describes, fast-moving low cloud, dark rain-filled sky, patches of light breaking through, are repeatable and learnable. You just have to be there when they happen.
The single most important lesson from this tutorial: stop treating daytime shooting as a fallback for when you missed sunrise. Dramatic low cloud in the afternoon is its own condition worth planning for. Watch the full tutorial on YouTube and pay close attention to the weather app breakdown around the two-minute mark. That two minutes alone is worth the watch.
Comments (1)
Bookmarked. Coming back to this one for sure.
Leave a Comment