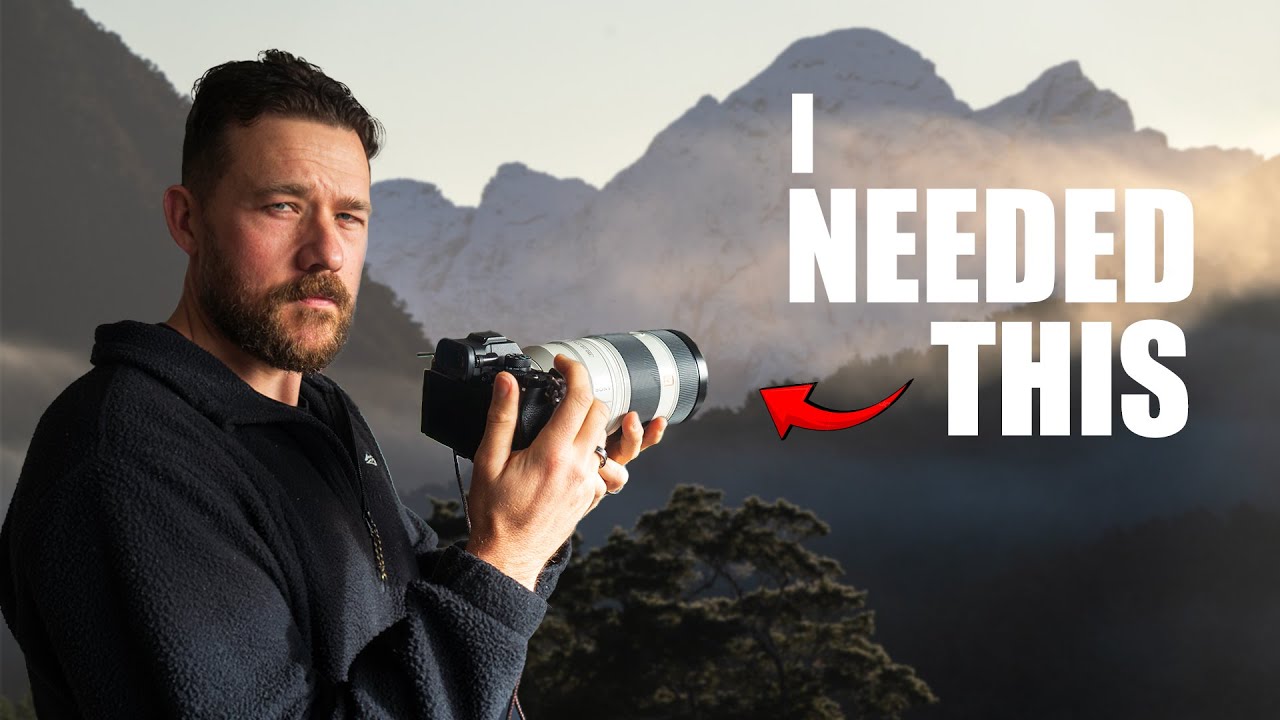
Most landscape photographers treat their telephoto lens like a backup option. It stays in the bag while the wide angle does all the work. I used to do the same thing. My 100-400mm would come out maybe once a session, usually when I spotted wildlife, then back in it went. Watching William Patino work through a frosty winter morning in New Zealand’s South Island genuinely changed how I think about that piece of glass. In this William Patino tutorial, he shoots an entire landscape session almost exclusively with a long zoom, and the results make a strong argument that the telephoto is underused by most of us. Watch the full tutorial on YouTube
What strikes me most about his approach is that it isn’t really a gear tutorial at all. It’s a mindset tutorial dressed up as a gear tutorial. He’s working in brutal cold, no gloves, no shot list, no predetermined composition. He’s just moving through the landscape and letting the telephoto help him find things. That’s the part most tutorials skip over, so I want to walk through exactly what he does and how you can replicate it on your next shoot.
Step 1: Go Out Without a Fixed Plan
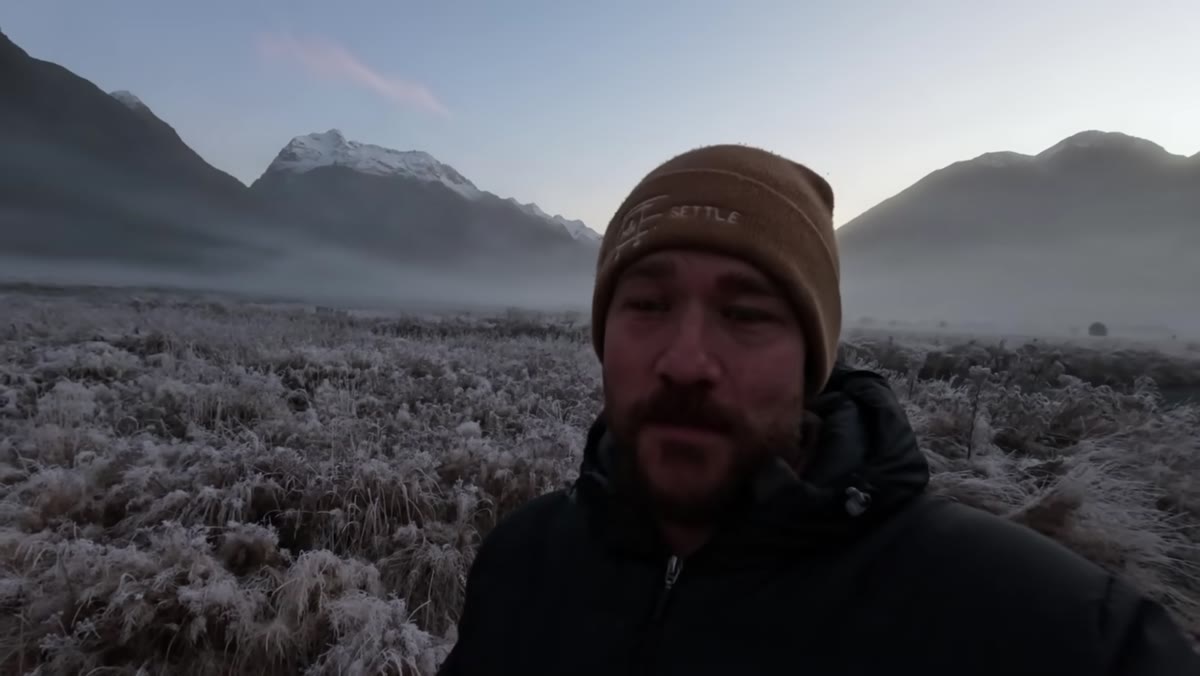 William walking through a frosted landscape at dawn
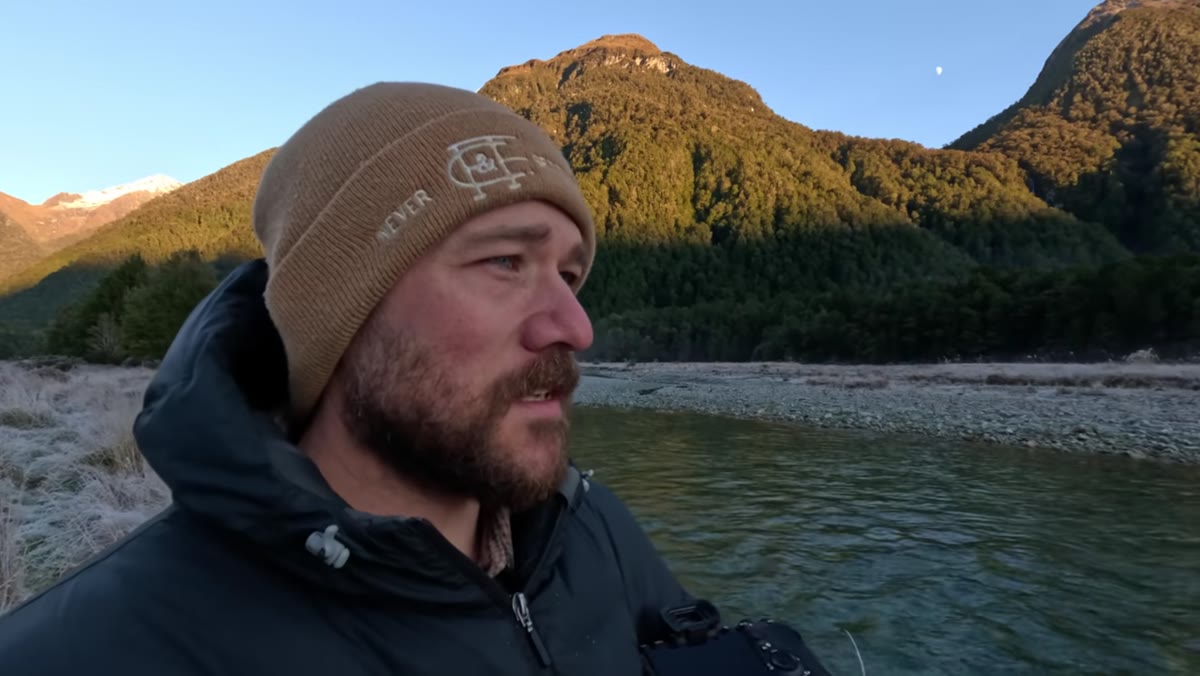
The hardest part of this whole approach is also the first step: showing up without a rigid agenda. Patino is explicit that he had no specific shot in mind when he arrived that morning. He describes it as having a conversation with the light rather than dictating terms to it. This isn’t laziness. It’s a deliberate choice to stay reactive so you don’t walk past something unexpected because you’re locked in on a shot you planned at home.
William walking through a frosted landscape at dawn
The hardest part of this whole approach is also the first step: showing up without a rigid agenda. Patino is explicit that he had no specific shot in mind when he arrived that morning. He describes it as having a conversation with the light rather than dictating terms to it. This isn’t laziness. It’s a deliberate choice to stay reactive so you don’t walk past something unexpected because you’re locked in on a shot you planned at home.
In practice, this means arriving early enough that conditions are still shifting, and committing to moving around rather than setting up a tripod in one spot and waiting. Your telephoto actually rewards this behavior because it lets you scout compositions from a distance without committing your feet.
Step 2: Use the Moon (or Any Distant Element) as a Compositional Anchor
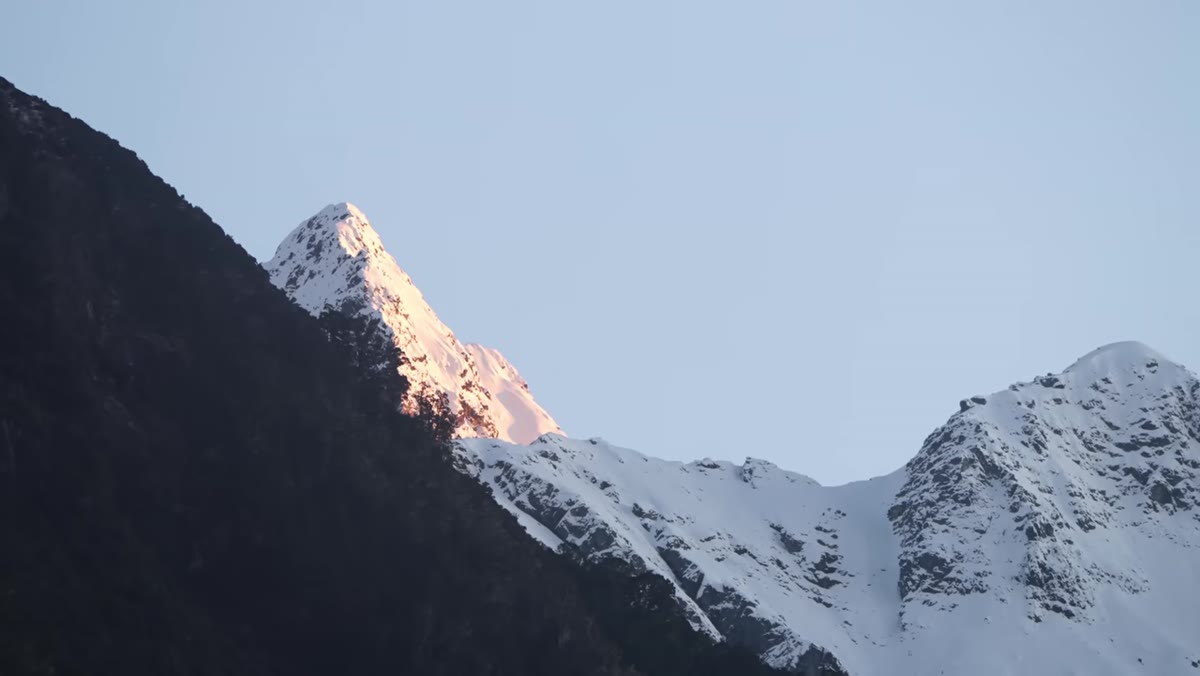 Moon visible above frosted trees in the distance
Patino spots the moon sitting above a line of frosted trees and immediately starts thinking about alignment. The key insight here is that with a telephoto, you can compress the apparent distance between subjects and make two things that are miles apart look like they exist in the same plane. The moon over those trees is a perfect example of that compression at work.
Moon visible above frosted trees in the distance
Patino spots the moon sitting above a line of frosted trees and immediately starts thinking about alignment. The key insight here is that with a telephoto, you can compress the apparent distance between subjects and make two things that are miles apart look like they exist in the same plane. The moon over those trees is a perfect example of that compression at work.
To use this yourself, identify a distant high-contrast element, a peak, the moon, a lit ridgeline, then think about what you could place in the foreground or mid-ground to pair with it. The telephoto at 400mm or longer will pull everything closer together and create relationships between subjects that simply don’t exist at wide angles.
Step 3: Move Your Body, Not Your Zoom
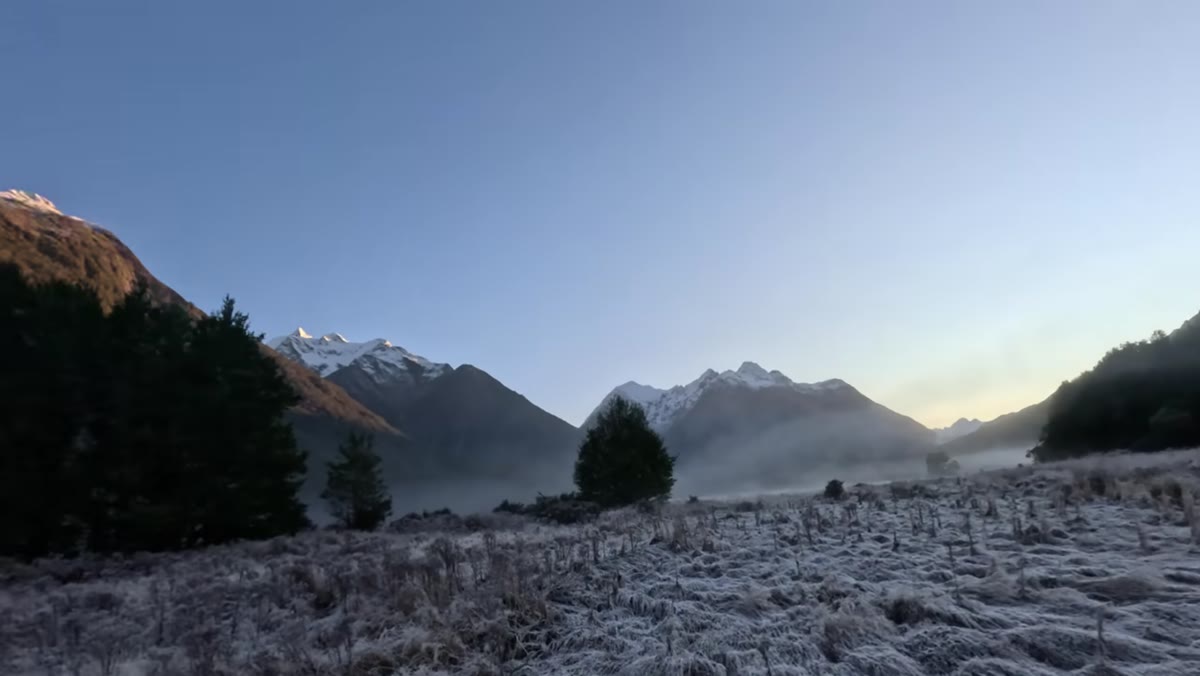 William walking several hundred meters to realign distant tree and mountain
This is the step that most people skip because it’s physically demanding. Patino walks several hundred meters just to shift the alignment between a single tree and a mountain peak in the background. With a wide angle, moving a few inches changes your frame. With a telephoto, you might need to reposition by hundreds of meters to achieve the same adjustment.
William walking several hundred meters to realign distant tree and mountain
This is the step that most people skip because it’s physically demanding. Patino walks several hundred meters just to shift the alignment between a single tree and a mountain peak in the background. With a wide angle, moving a few inches changes your frame. With a telephoto, you might need to reposition by hundreds of meters to achieve the same adjustment.
The practical takeaway is this: before you zoom in or out, move first. Walk parallel to your subject. Watch how the background elements shift relative to your foreground as you move. The telephoto rewards deliberate physical repositioning in a way that zooming alone never will. If you’re shooting a 100-400mm and you haven’t walked at least a few hundred feet in multiple directions, you haven’t explored the lens yet.
Step 4: Let the Atmosphere Do the Heavy Lifting
 Fog breaking apart behind trees creating layered depth
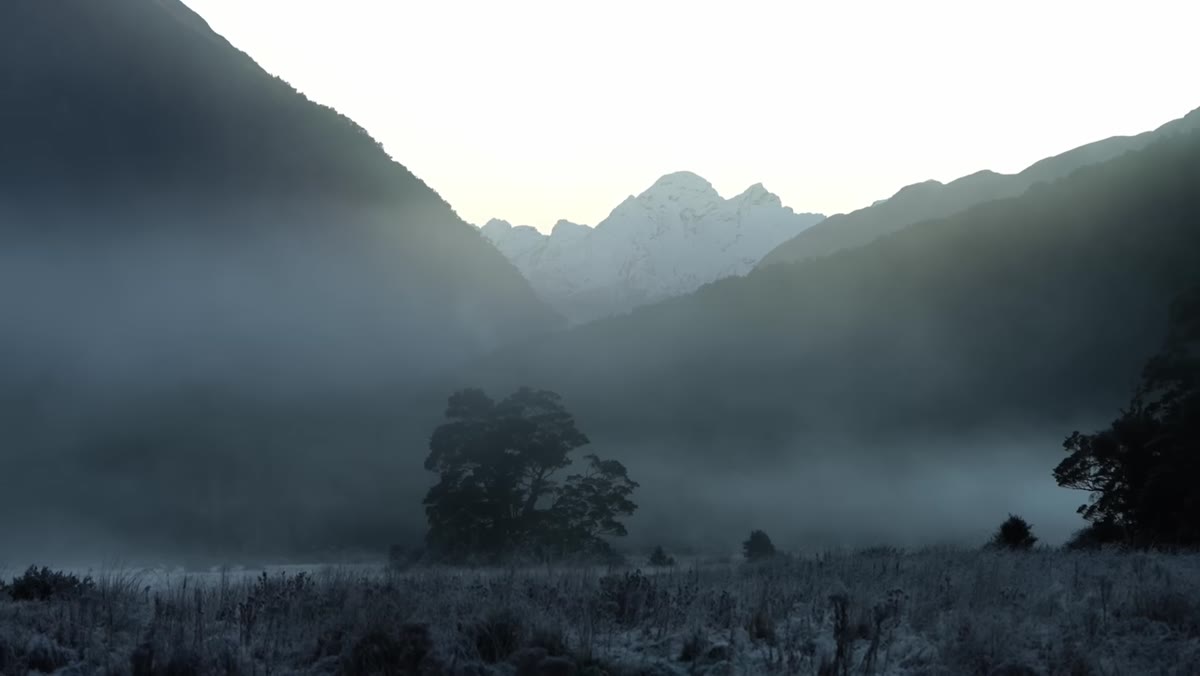
Patino makes a sharp observation about fog that I want to highlight because it applies to any atmospheric condition. He notices that the fog breaking up in the background is separating the tree layers and creating depth. He doesn’t add that depth through post-processing or clever exposure choices. He just recognizes it and shoots fast before it disappears.
Fog breaking apart behind trees creating layered depth
Patino makes a sharp observation about fog that I want to highlight because it applies to any atmospheric condition. He notices that the fog breaking up in the background is separating the tree layers and creating depth. He doesn’t add that depth through post-processing or clever exposure choices. He just recognizes it and shoots fast before it disappears.
Telephoto lenses compress depth, which can flatten a scene. Mist, fog, haze, and layered light counteract that compression by making each plane of the image tonally distinct. When you see atmospheric conditions like this, prioritize that shot. Set your aperture between f/7.1 and f/11 to keep the layers sharp, dial your shutter speed to match your focal length plus at least one stop for camera shake, and shoot immediately. Don’t chimp the first frame.
Step 5: Work the Small Scene Inside the Big Scene
 Tight telephoto composition isolating tree and peak from wider valley
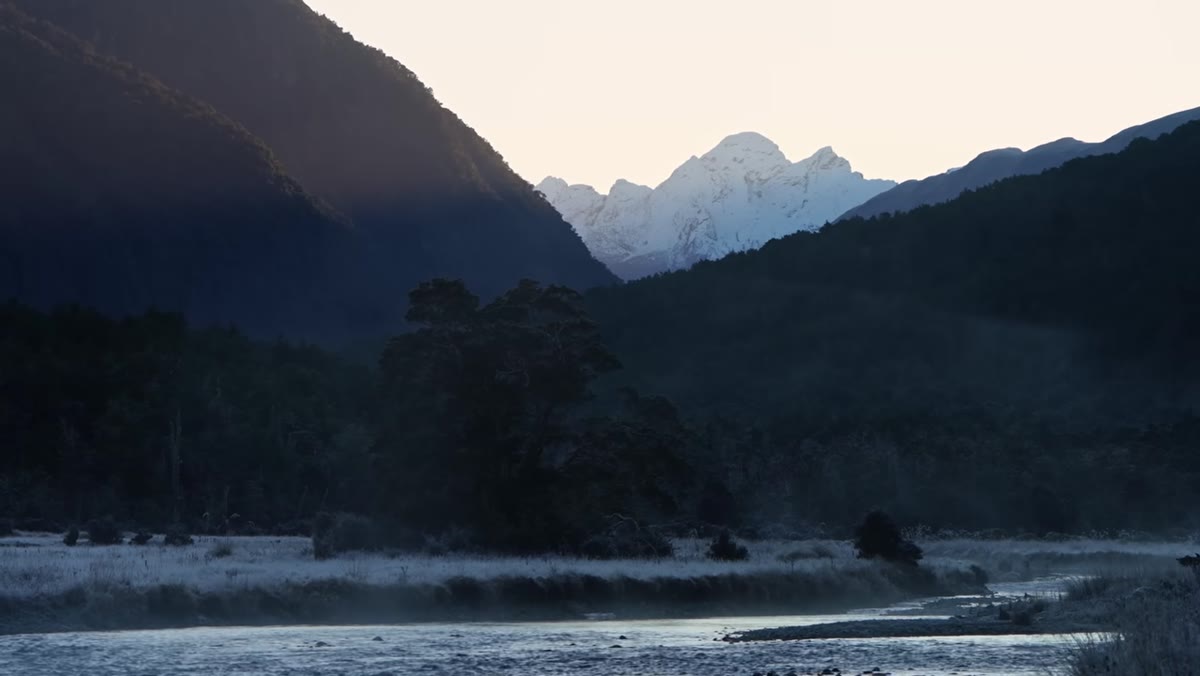
One of the cleanest ideas in the whole video is the concept of the small scene within the grand scene. A wide angle shows you the whole valley, the river, the mountains, the sky. The telephoto lets you extract a single meaningful moment from all of that and turn it into its own complete image.
Tight telephoto composition isolating tree and peak from wider valley
One of the cleanest ideas in the whole video is the concept of the small scene within the grand scene. A wide angle shows you the whole valley, the river, the mountains, the sky. The telephoto lets you extract a single meaningful moment from all of that and turn it into its own complete image.
Patino deliberately excludes the river from his frame even though it’s there and it’s beautiful, because it distracts from the specific relationship he’s building between the tree and the mountain. That kind of editorial restraint is what separates a good telephoto image from a chaotic one. Ask yourself: what is this frame actually about? Then remove anything that doesn’t answer that question.
Step 6: Shoot Fast When Conditions Peak, Then Let It Go
 Fog dispersing rapidly as morning light strengthens
The fog Patino is working with lasts maybe two or three minutes before the sun disperses it. He shoots quickly, adjusts the composition slightly between frames, then accepts that the moment is gone. No frustration, no regret. The image either happened or it didn’t.
Fog dispersing rapidly as morning light strengthens
The fog Patino is working with lasts maybe two or three minutes before the sun disperses it. He shoots quickly, adjusts the composition slightly between frames, then accepts that the moment is gone. No frustration, no regret. The image either happened or it didn’t.
This is a mental skill as much as a technical one. The telephoto in landscape work is almost always chasing fleeting conditions, compressed light, brief fog, the moon at a specific angle. Build the habit of identifying your critical settings before the moment arrives. Know your exposure, know your focal length range, and have the lens already extended so you’re not fumbling.
What I’d Add From My Own Testing
I’ve run budget 100-400mm alternatives against pricier options in field conditions similar to what Patino is shooting here, and the honest finding is that atmospheric scenes are actually more forgiving of optical imperfections. When you’ve got mist, soft backlight, and compressed layers, micro-contrast differences between a $900 lens and a $2,200 lens become nearly invisible. The technique Patino demonstrates here is doing more work than the glass. If you’ve been sitting on a mid-range telephoto zoom thinking you need to upgrade before you can shoot like this, run the test yourself before spending the money.
The single most important thing I took from this tutorial is that the telephoto is a lens for moving, not a lens for standing still and zooming around. If you aren’t physically walking to change alignment, you aren’t using it correctly. Everything else Patino demonstrates flows from that one idea.
Watch the full tutorial on YouTube and pay close attention to how much ground he covers in the first ten minutes. That movement is the technique.
Comments
Leave a Comment