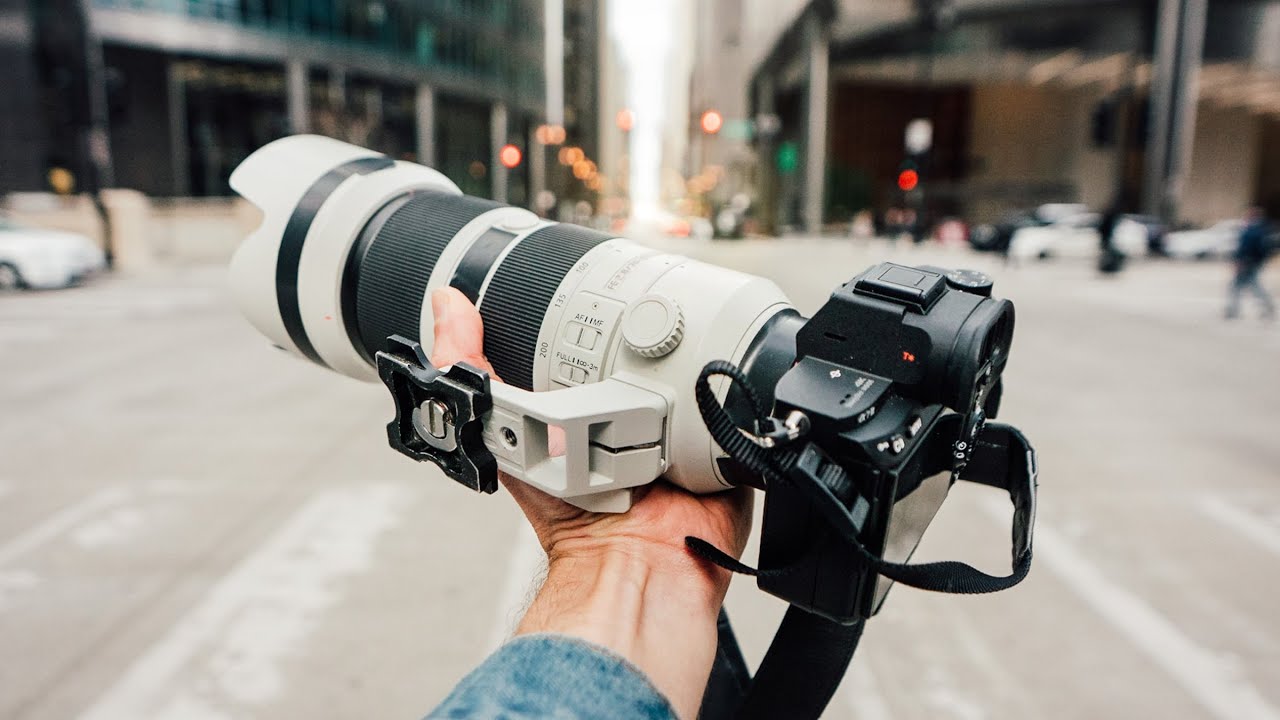
There’s a version of gear ownership where the “best” lens becomes a liability. I’ve watched it happen to shooters who carry a $2,000 zoom to a street market and spend more energy protecting the glass than actually shooting. The lens wins. The photos lose. In this Pierre T. Lambert tutorial, Pierre walks through a decision he’d been wrestling with for over a year: leaving his Sony 70-200mm f/2.8 at home for a trip to Tulum, Mexico, and replacing it with the Sony 85mm f/1.8. It’s not a camera test. It’s a real working photographer making a practical call, and the reasoning behind it is worth unpacking. Watch the full tutorial on YouTube
I’ve run into this exact wall myself. I built my whole approach around proving that lighter, cheaper gear gets you shooting more often, which usually means better results than hauling prestige glass you’re afraid to use. Pierre’s thinking here lines up with something I’ve tracked across dozens of lens comparisons: the gear you actually bring out is always more valuable than the gear sitting in your bag because it felt too risky or too heavy. What he works through in this video is a repeatable decision framework, not just a one-time swap.
Step 1: Identify the Real-World Cost of Your Current Lens
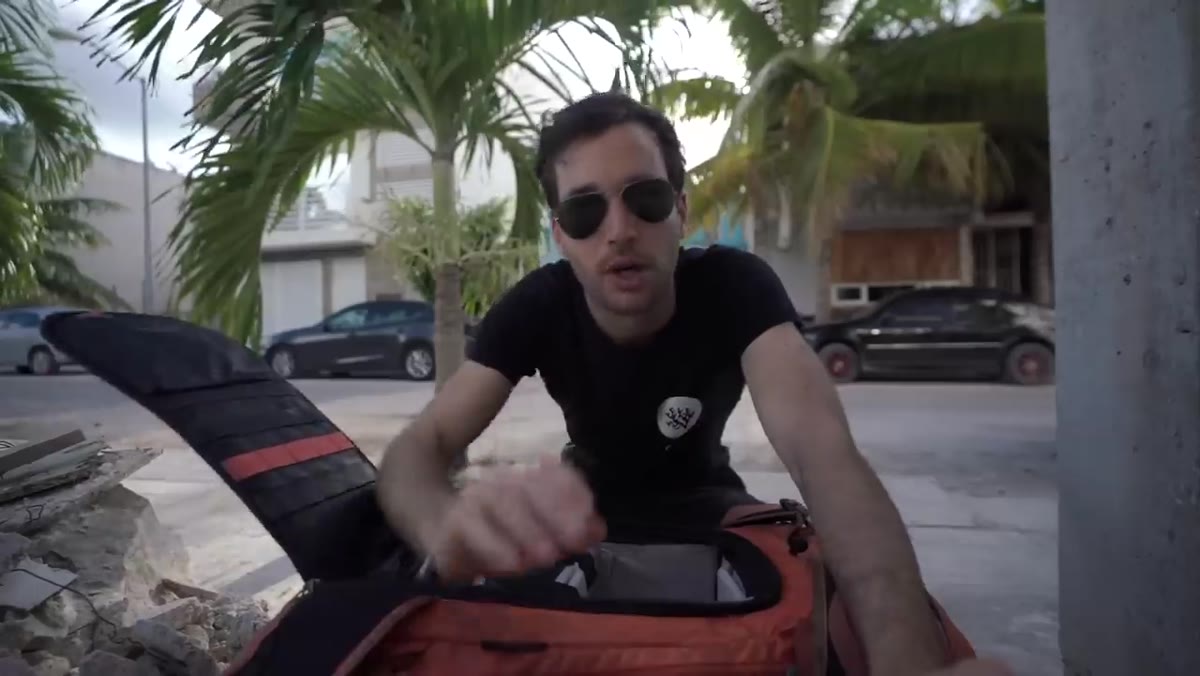 Pierre holding the large 70-200mm lens explaining its drawbacks
Before you swap anything, you need to name the specific friction your current lens creates. Pierre doesn’t say the 70-200mm is a bad lens. He says it causes him trouble in two specific ways: weight and visibility. Those are concrete, operational problems, not vague dissatisfaction. Write down what your go-to lens actually costs you in the field. Is it slowing you down physically? Making you conspicuous in situations where you need to blend in? Creating hesitation before you pull it out? If you can name the friction, you can shop against it.
Pierre holding the large 70-200mm lens explaining its drawbacks
Before you swap anything, you need to name the specific friction your current lens creates. Pierre doesn’t say the 70-200mm is a bad lens. He says it causes him trouble in two specific ways: weight and visibility. Those are concrete, operational problems, not vague dissatisfaction. Write down what your go-to lens actually costs you in the field. Is it slowing you down physically? Making you conspicuous in situations where you need to blend in? Creating hesitation before you pull it out? If you can name the friction, you can shop against it.
Step 2: Match the Lens to the Shooting Environment, Not Your Ego
 Pierre describing street shooting conditions in Mexico
Pierre is heading into street photography in Mexico, which means two things matter above almost everything else: discretion and mobility. A 70-200mm f/2.8 is a spectacular lens for portraits with separation, events, or wildlife. On a narrow street in Tulum where you want candid moments and need to move fast, it signals “professional camera operator” from fifty feet away. People tense up. Moments disappear. The right question isn’t “which lens is technically superior” but “which lens disappears into this environment.” Match your glass to the job, not to what looks impressive in a flat lay photo.
Pierre describing street shooting conditions in Mexico
Pierre is heading into street photography in Mexico, which means two things matter above almost everything else: discretion and mobility. A 70-200mm f/2.8 is a spectacular lens for portraits with separation, events, or wildlife. On a narrow street in Tulum where you want candid moments and need to move fast, it signals “professional camera operator” from fifty feet away. People tense up. Moments disappear. The right question isn’t “which lens is technically superior” but “which lens disappears into this environment.” Match your glass to the job, not to what looks impressive in a flat lay photo.
Step 3: Choose the Prime Focal Length That Doubles as Two Lenses
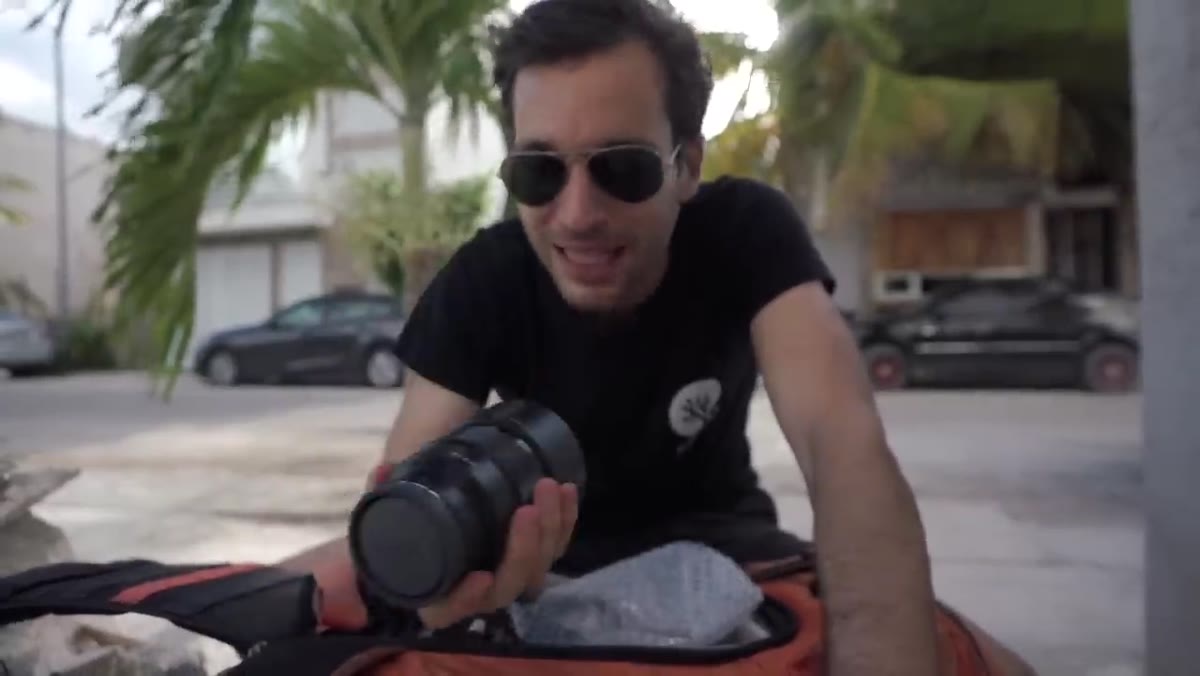 Pierre revealing the Sony 85mm f/1.8 and comparing its size
Pierre lands on the Sony 85mm f/1.8, and the size difference compared to the 70-200mm is immediate and obvious. But the smarter part of his reasoning comes when he factors in Sony’s APS-C crop mode. The Sony a7R III can switch into a crop mode that effectively turns the 85mm into a 116mm equivalent. You lose resolution, but on a high-megapixel body the output is still usable for most purposes. If you’re shooting on a full-frame Sony body, this is a built-in multiplier that costs you nothing extra. One lens, two working focal lengths. When I’m comparing primes for budget shooters, this kind of built-in flexibility always jumps up my ranking.
Pierre revealing the Sony 85mm f/1.8 and comparing its size
Pierre lands on the Sony 85mm f/1.8, and the size difference compared to the 70-200mm is immediate and obvious. But the smarter part of his reasoning comes when he factors in Sony’s APS-C crop mode. The Sony a7R III can switch into a crop mode that effectively turns the 85mm into a 116mm equivalent. You lose resolution, but on a high-megapixel body the output is still usable for most purposes. If you’re shooting on a full-frame Sony body, this is a built-in multiplier that costs you nothing extra. One lens, two working focal lengths. When I’m comparing primes for budget shooters, this kind of built-in flexibility always jumps up my ranking.
Step 4: Weigh f/1.8 vs f/1.4 With Size as a Deciding Variable
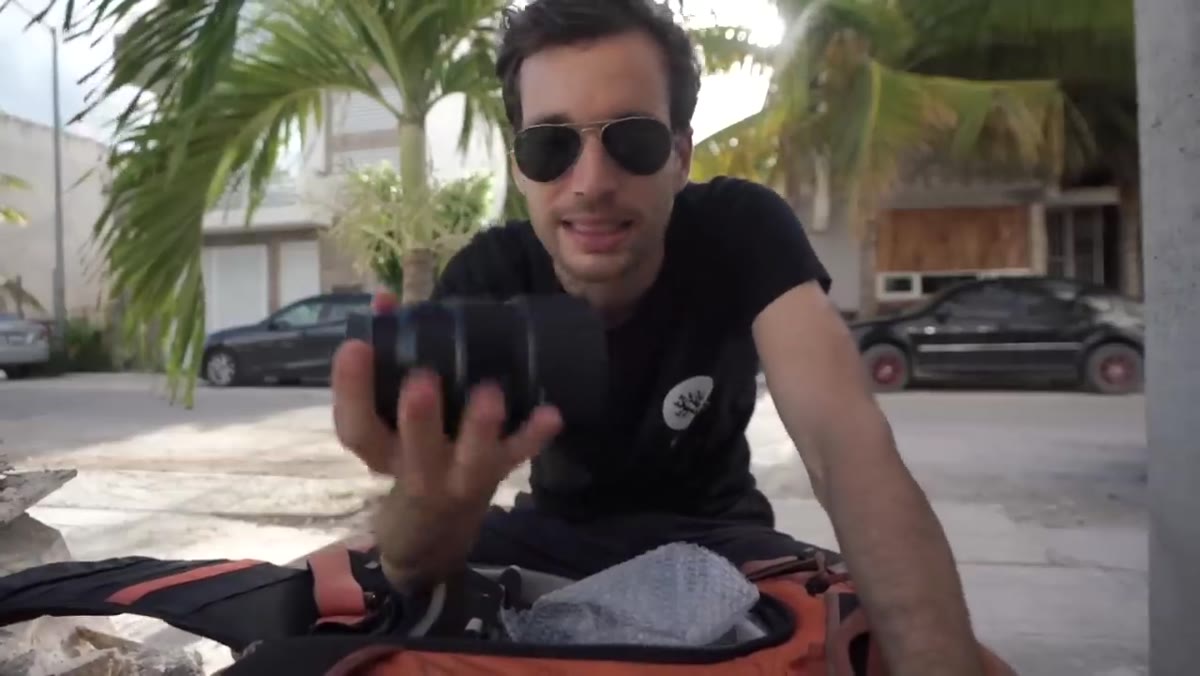 Pierre explaining why he chose f/1.8 over the GM f/1.4 version
Pierre explicitly passes on the Sony 85mm G Master f/1.4 in favor of the f/1.8, and the reason isn’t budget, it’s size. The GM is a bigger, heavier optic, and for street work that defeats the purpose. This is the kind of trade-off that gets ignored in spec-sheet comparisons. Yes, f/1.4 gives you another third of a stop. Yes, the GM produces stunning bokeh. But if the whole point is to carry a compact, low-profile kit, adding bulk to chase a marginal aperture gain is self-defeating. For travel and street use, f/1.8 with a smaller footprint is usually the smarter call. I’ve seen this same logic apply to budget lenses too: the “lesser” aperture version is often sharper, smaller, and handles better.
Pierre explaining why he chose f/1.8 over the GM f/1.4 version
Pierre explicitly passes on the Sony 85mm G Master f/1.4 in favor of the f/1.8, and the reason isn’t budget, it’s size. The GM is a bigger, heavier optic, and for street work that defeats the purpose. This is the kind of trade-off that gets ignored in spec-sheet comparisons. Yes, f/1.4 gives you another third of a stop. Yes, the GM produces stunning bokeh. But if the whole point is to carry a compact, low-profile kit, adding bulk to chase a marginal aperture gain is self-defeating. For travel and street use, f/1.8 with a smaller footprint is usually the smarter call. I’ve seen this same logic apply to budget lenses too: the “lesser” aperture version is often sharper, smaller, and handles better.
Step 5: Test the Lens in Context Before Judging the Results
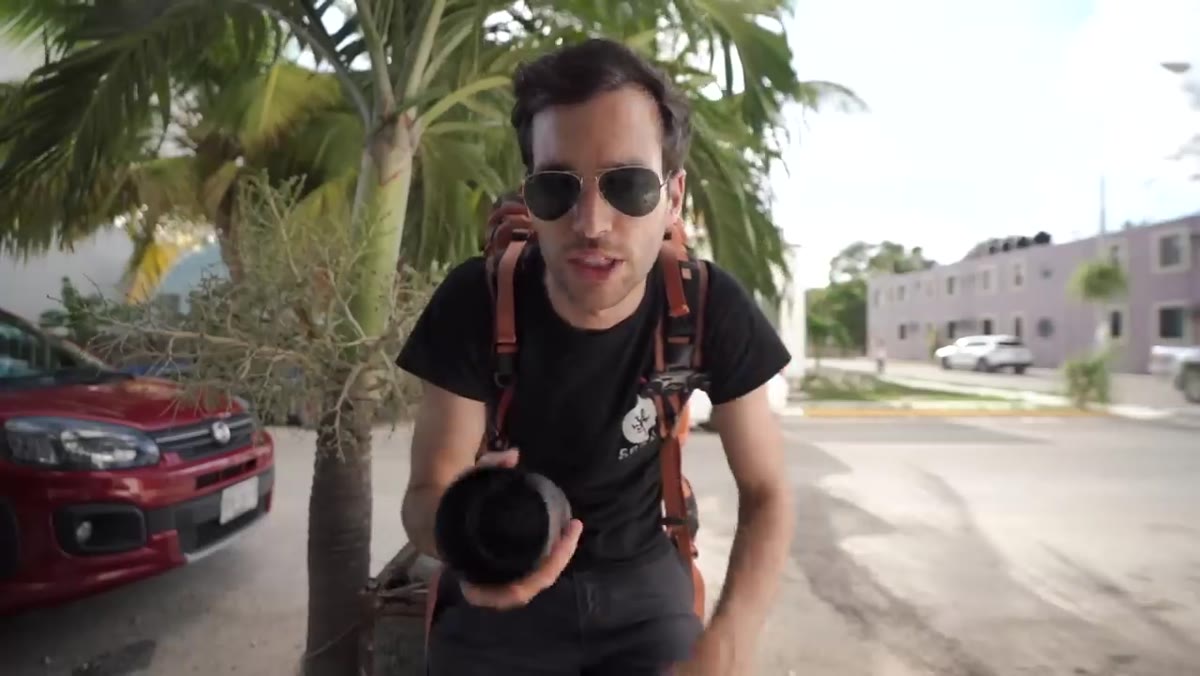 Pierre heading out to shoot the streets of Tulum with the 85mm
Pierre takes the 85mm straight into the streets of Tulum before forming any conclusions. He’s not pixel-peeping sample shots on a monitor. He’s using it in the actual conditions that motivated the switch. This matters because lenses behave differently in real shooting than they do in lab tests. Autofocus feel, handling balance on your specific body, the way you physically move with the lens, these things only surface when you’re working. Take your new glass somewhere that mirrors your actual use case before you decide whether the trade was worth it. One good session in the right environment tells you more than a dozen comparison charts.
Pierre heading out to shoot the streets of Tulum with the 85mm
Pierre takes the 85mm straight into the streets of Tulum before forming any conclusions. He’s not pixel-peeping sample shots on a monitor. He’s using it in the actual conditions that motivated the switch. This matters because lenses behave differently in real shooting than they do in lab tests. Autofocus feel, handling balance on your specific body, the way you physically move with the lens, these things only surface when you’re working. Take your new glass somewhere that mirrors your actual use case before you decide whether the trade was worth it. One good session in the right environment tells you more than a dozen comparison charts.
Step 6: Reserve Judgment for a Full Follow-Up Review
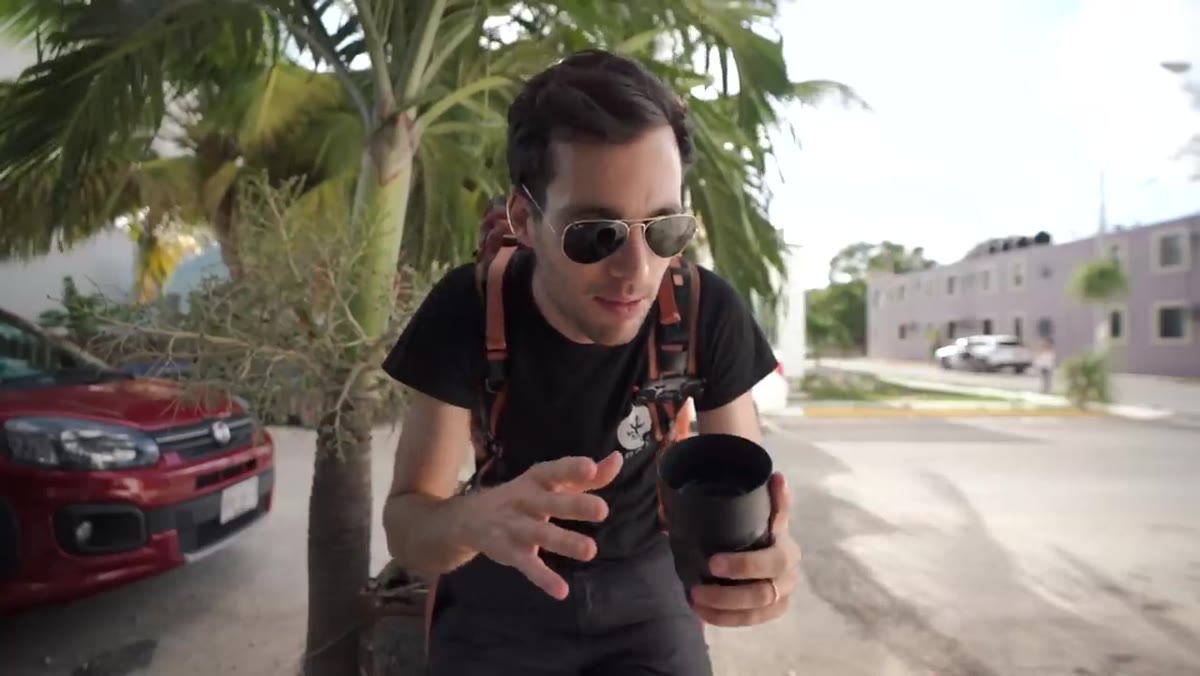 Pierre mentioning he will release a separate full lens review video
Pierre makes a deliberate choice not to cram a verdict into this video. He flags that a dedicated review is coming, because one trip doesn’t constitute a real-world test. This is the right instinct. A single session in good light in a visually interesting location will make almost any lens look great. You need fog, harsh midday sun, low-light interiors, moving subjects, and edge cases before you know what a lens actually does. If you’re testing a new piece of glass, give yourself at least three or four genuinely different shooting situations before you post a verdict anywhere.
Pierre mentioning he will release a separate full lens review video
Pierre makes a deliberate choice not to cram a verdict into this video. He flags that a dedicated review is coming, because one trip doesn’t constitute a real-world test. This is the right instinct. A single session in good light in a visually interesting location will make almost any lens look great. You need fog, harsh midday sun, low-light interiors, moving subjects, and edge cases before you know what a lens actually does. If you’re testing a new piece of glass, give yourself at least three or four genuinely different shooting situations before you post a verdict anywhere.
What Pierre’s Decision Confirms About Budget Lens Strategy
I’ve tested more lenses in the sub-$500 range than I can count, and the 85mm f/1.8 from Sony sits at the top of the value pile for full-frame shooters. It’s light, compact, and optically strong enough that it competes with glass that costs two or three times as much. The decision Pierre walks through here isn’t exclusive to Sony shooters either. Canon, Nikon, and third-party manufacturers like Samyang and Viltrox all offer 85mm f/1.8 options at accessible prices. The crop-mode trick also applies across multiple brands. The broader point is that a well-chosen prime at f/1.8 is often more useful in daily shooting than a heavy zoom you hesitate to bring out.
The single biggest lesson here is that gear friction is a real cost, and it shows up in your images whether you account for it or not. A lens you’re willing to carry everywhere beats a better lens sitting at the hotel. Pierre’s swap from the 70-200mm to the 85mm f/1.8 isn’t a downgrade. It’s an upgrade in usability for the specific work he was doing. Figure out where your current kit creates friction, and address that before you chase more megapixels or faster apertures.
Watch the full tutorial on YouTube
Comments (1)
Shared this with my photography group. Everyone loved it.
Leave a Comment