
I’ve tested more budget lenses than I care to admit. I’ve got a spreadsheet to prove it. And one pattern shows up over and over in my notes: ultra wide lenses consistently get underused, not because they’re bad, but because photographers don’t change how they shoot when they put one on. They treat it like a regular lens with a wider field of view. It’s not. It’s a completely different compositional tool, and using it wrong produces flat, empty, weirdly distorted images that make you want to sell it immediately.
That’s exactly what landscape photographer William Patino digs into in this tutorial. Watch the full tutorial on YouTube before or after reading this, because he walks through his own portfolio images in a way that makes the technique click visually. What I want to do here is lay out the actual steps so you can take them into the field without rewinding the video six times.
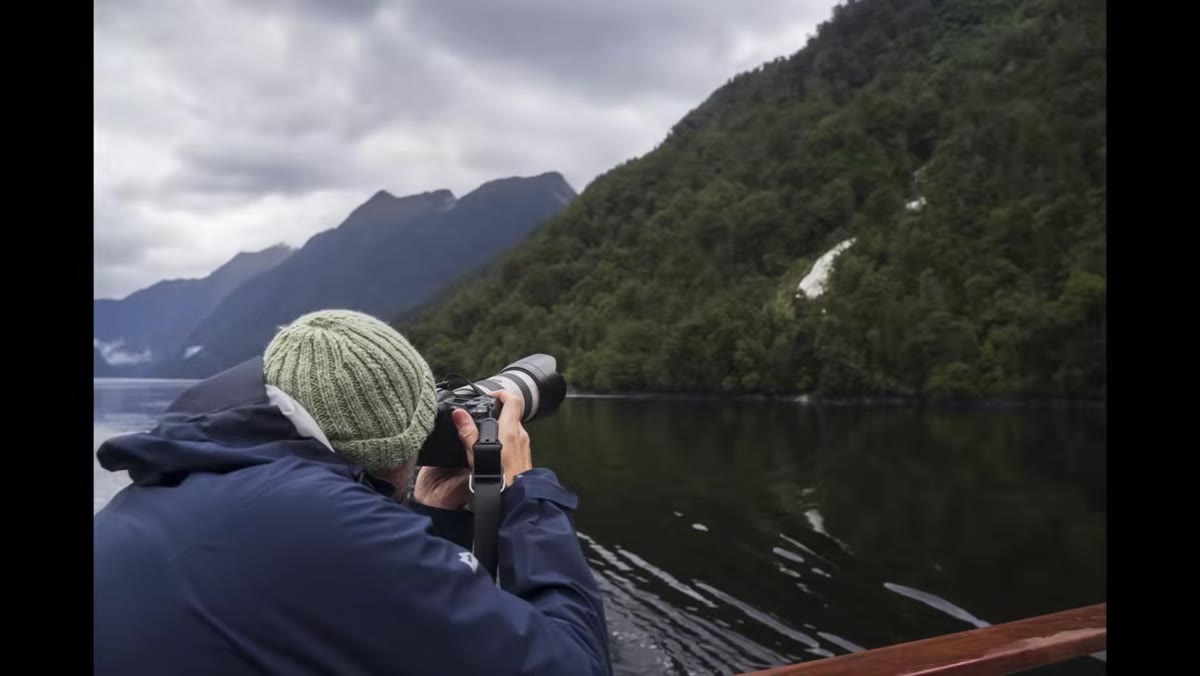
Patino mentions that roughly half his entire landscape portfolio was shot with an ultra wide in the 12-20mm range on full frame. That’s not a specialty lens for him. It’s the workhorse. And once you understand the core principle he’s teaching, that tracks completely.
Step 1: Understand What Makes the Ultra Wide Different
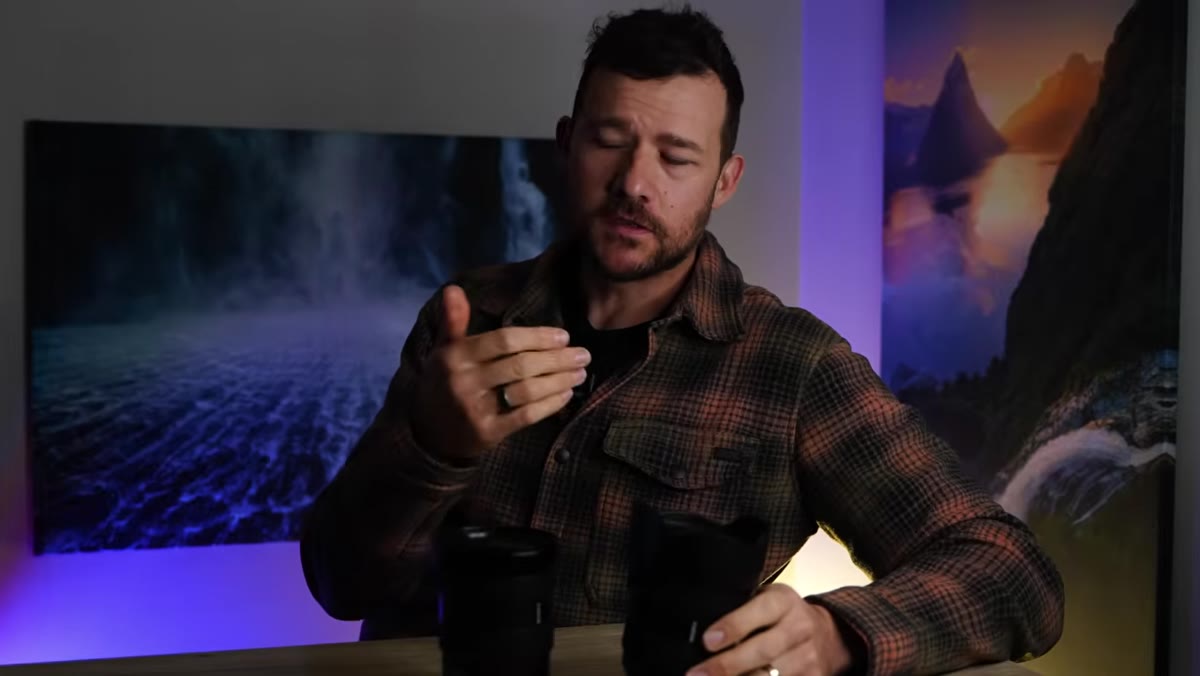
 Patino explaining the ultra wide as a specialist lens
The ultra wide is not just a wider version of your 24-70. It operates on a different visual logic entirely. Where a standard zoom compresses a scene and pulls distant elements closer together, an ultra wide exaggerates the distance between near and far objects. That exaggeration is the whole point. It’s what creates a sense of three-dimensional depth in a two-dimensional image.
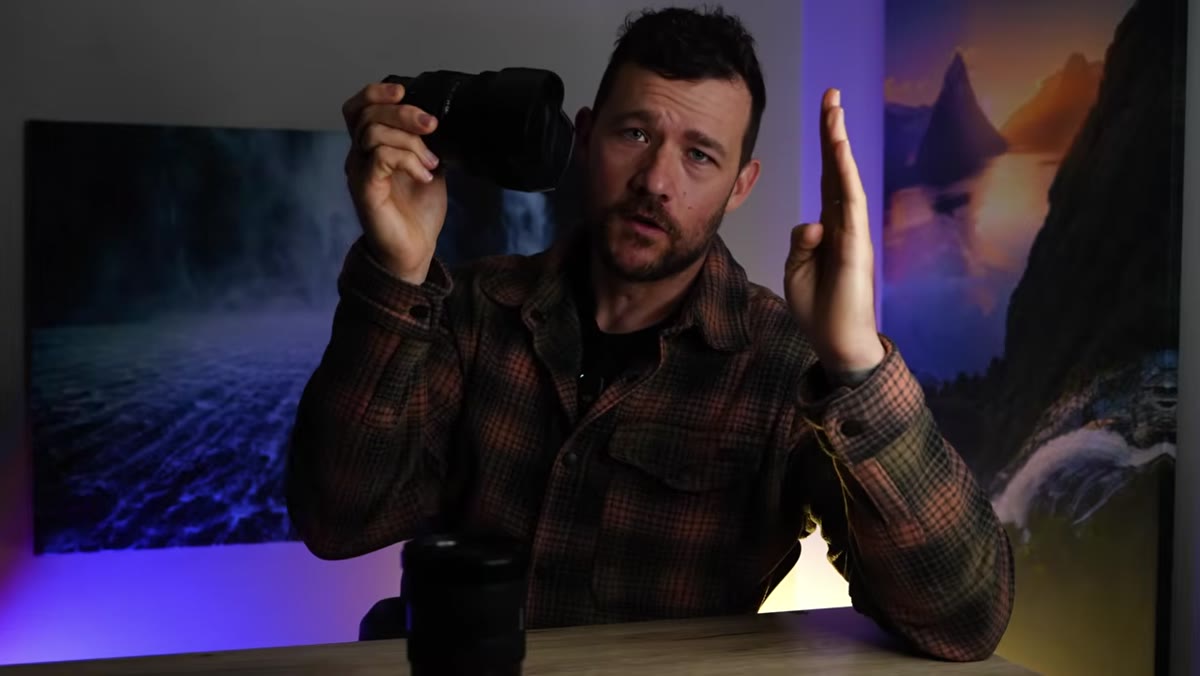
Patino explaining the ultra wide as a specialist lens
The ultra wide is not just a wider version of your 24-70. It operates on a different visual logic entirely. Where a standard zoom compresses a scene and pulls distant elements closer together, an ultra wide exaggerates the distance between near and far objects. That exaggeration is the whole point. It’s what creates a sense of three-dimensional depth in a two-dimensional image.
If you’re zooming your ultra wide out to 24mm or 35mm during a shoot, you are canceling out every advantage it offers. You’ve paid for a specialty tool and turned it into a mediocre standard zoom. Commit to the wide end.
Step 2: Identify Your Foreground Subject First
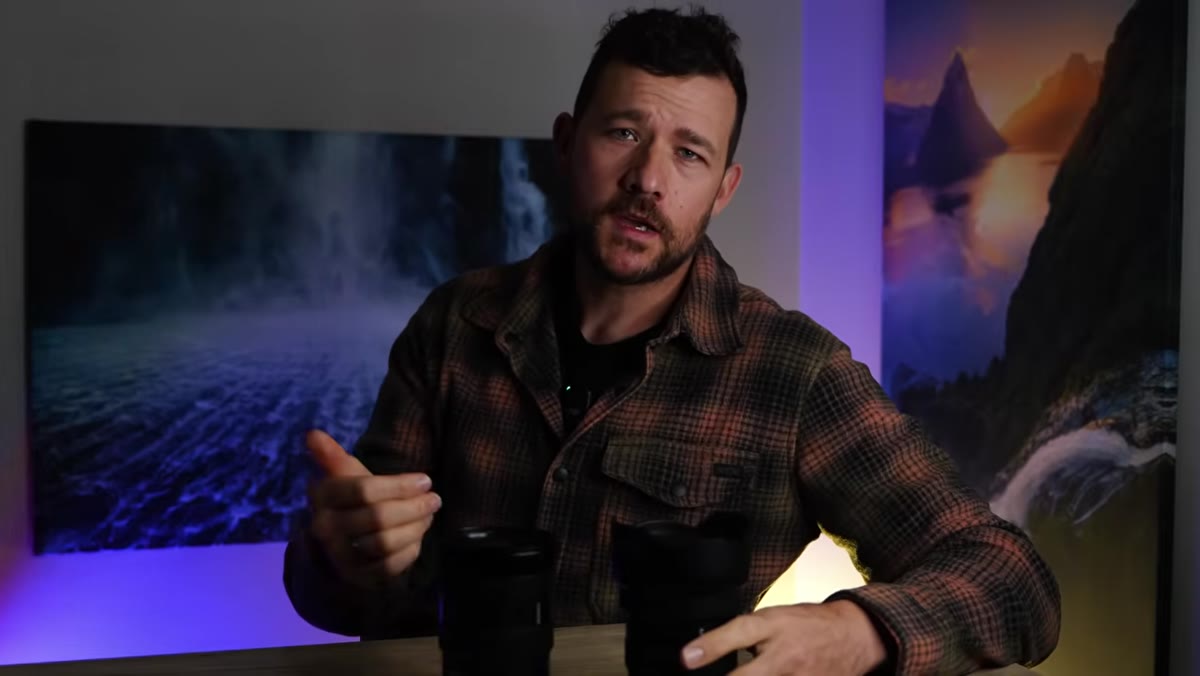
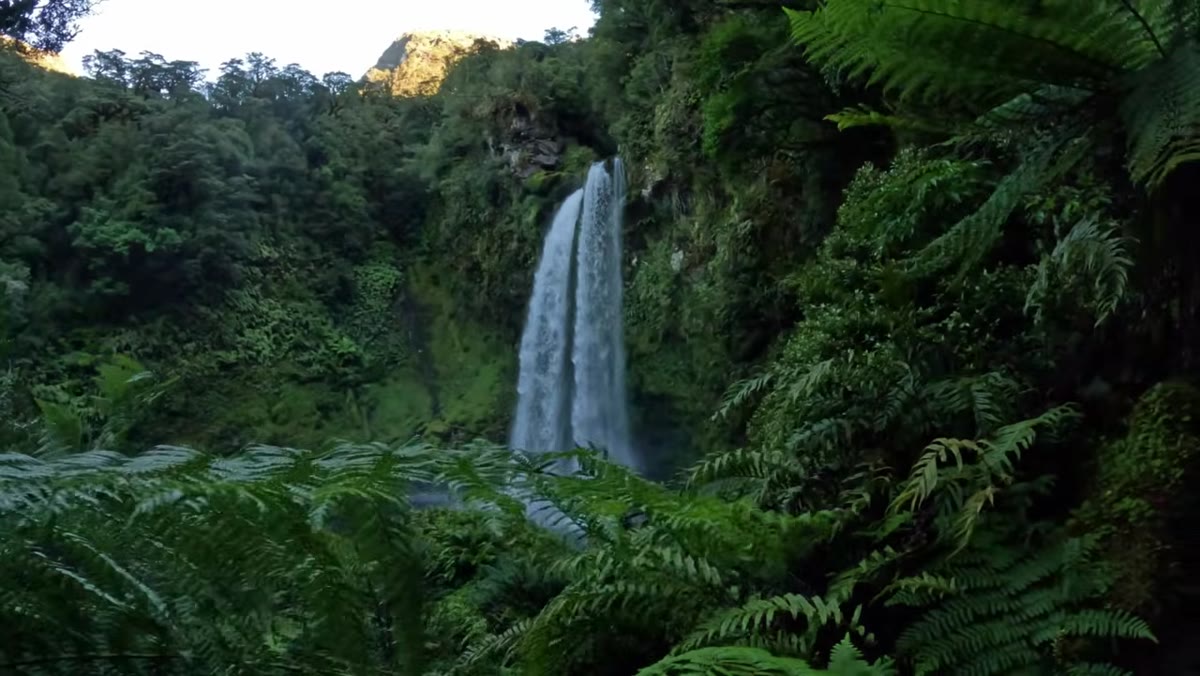
 Patino discussing foreground elements near the feet
Before you even think about the horizon or the mountains or the sky, find something interesting at or near your feet. Rocks, tide pools, wildflowers, cracked dirt, leading lines in the sand, it doesn’t matter what it is as long as it gives the frame a starting point. This is the element that anchors the shot.
Patino discussing foreground elements near the feet
Before you even think about the horizon or the mountains or the sky, find something interesting at or near your feet. Rocks, tide pools, wildflowers, cracked dirt, leading lines in the sand, it doesn’t matter what it is as long as it gives the frame a starting point. This is the element that anchors the shot.
The mistake most beginners make is composing for the background first and treating the foreground as an afterthought. With an ultra wide, you have to flip that. The foreground is the subject. Everything else is context.
Step 3: Get Physically Close, Much Closer Than Feels Natural
 Patino describing getting within a foot of foreground subject
This is the step that separates ultra wide shots that work from ones that don’t. Patino is talking about getting within a foot of that foreground element, sometimes closer. That proximity is what triggers the lens’s natural tendency to stretch and exaggerate scale. The foreground becomes large in the frame, and then everything behind it shrinks rapidly toward the horizon.
Patino describing getting within a foot of foreground subject
This is the step that separates ultra wide shots that work from ones that don’t. Patino is talking about getting within a foot of that foreground element, sometimes closer. That proximity is what triggers the lens’s natural tendency to stretch and exaggerate scale. The foreground becomes large in the frame, and then everything behind it shrinks rapidly toward the horizon.
That scaling effect is called diminishing perspective, and the ultra wide amplifies it dramatically when you’re close. If you’re standing two or three feet back, you lose most of the effect. The foreground looks small, the background looks small, and the whole frame looks flat. Get low, get close, and let the lens do what it’s designed to do.
Step 4: Use Diminishing Perspective to Build Depth
 Patino explaining the big-to-small flow in the frame
Once you’re close to the foreground, look through the viewfinder and trace the visual flow from front to back. You want to see a clear progression where objects appear large near the bottom of the frame and get progressively smaller as they move toward the horizon. This is the diminishing perspective in action.
Patino explaining the big-to-small flow in the frame
Once you’re close to the foreground, look through the viewfinder and trace the visual flow from front to back. You want to see a clear progression where objects appear large near the bottom of the frame and get progressively smaller as they move toward the horizon. This is the diminishing perspective in action.
The trick is making sure that progression is uninterrupted. If there’s a dead zone in the middle of your frame where nothing is happening, the depth illusion breaks. Strong ultra wide compositions have visual interest layered through the entire frame, not just at the front and back.
Step 5: Compose for Near and Far Subject Matter Together
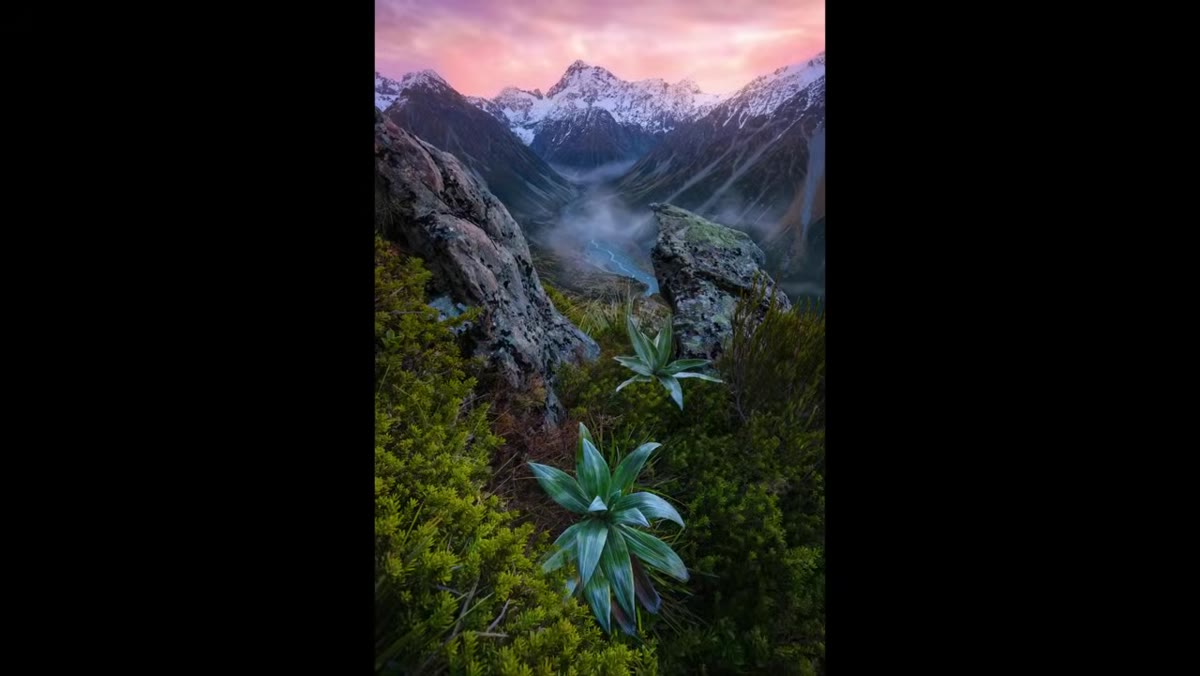 Patino showing near and far elements working together in a frame
Patino frames this as the core principle: near and far subject matter working together in a single image. The foreground pulls viewers into the frame. The background gives them somewhere to go. Both need to earn their place.
Patino showing near and far elements working together in a frame
Patino frames this as the core principle: near and far subject matter working together in a single image. The foreground pulls viewers into the frame. The background gives them somewhere to go. Both need to earn their place.
In practice this means scouting for scenes where something compelling exists at multiple distances. A rocky shoreline leading to sea stacks. A flower field leading to a mountain range. A winding trail leading to a forest. The ultra wide compresses that journey into a single frame while preserving the sense that there’s actual distance between those elements.
Step 6: Adjust Your Camera Position Until the Frame Balances
 Patino showing the effect of standing too far from foreground
The final step is iterative. Once you’re close to the foreground and have your near-far composition in mind, move up, down, left, and right in small increments until the frame balances. A few inches of height change can dramatically affect how large the foreground appears relative to the background.
Patino showing the effect of standing too far from foreground
The final step is iterative. Once you’re close to the foreground and have your near-far composition in mind, move up, down, left, and right in small increments until the frame balances. A few inches of height change can dramatically affect how large the foreground appears relative to the background.
Lower angles typically amplify the foreground and make it more dominant. Higher angles reduce its size and flatten the perspective. Neither is universally correct, but for maximum depth effect, shooting lower almost always wins with an ultra wide.
My Take: This Technique Works at Every Price Point
I’ve run the same test with a $200 used ultra wide and a $1,400 name-brand version of the same focal length range. Placed the shots in front of a group of photographers at a local meetup without labels. The responses split about evenly. Nobody reliably picked the expensive glass.
What made the better images better had nothing to do with the price tag on the lens. It was whether the photographer had committed to the foreground, gotten close, and let the diminishing perspective do its job. Patino’s technique is the variable that matters, not the gear budget. I’ve got five or six ultra wides in my test rotation right now ranging from around $179 to over $900, and the gap in image quality is much smaller than the gap in price once you’re using them correctly.
If you’re sitting on a budget ultra wide that you bought and then stopped using, give it another session with these steps in mind. Get embarrassingly close to something on the ground. Shoot toward the horizon. See what happens.
The single most important thing Patino teaches here is this: proximity to your foreground is not optional. It is the mechanism. Everything else follows from that.
Watch the full tutorial on YouTube to see his portfolio images alongside the explanation. Seeing the actual shots while he describes what he did to get them is worth your time.
Comments
Leave a Comment