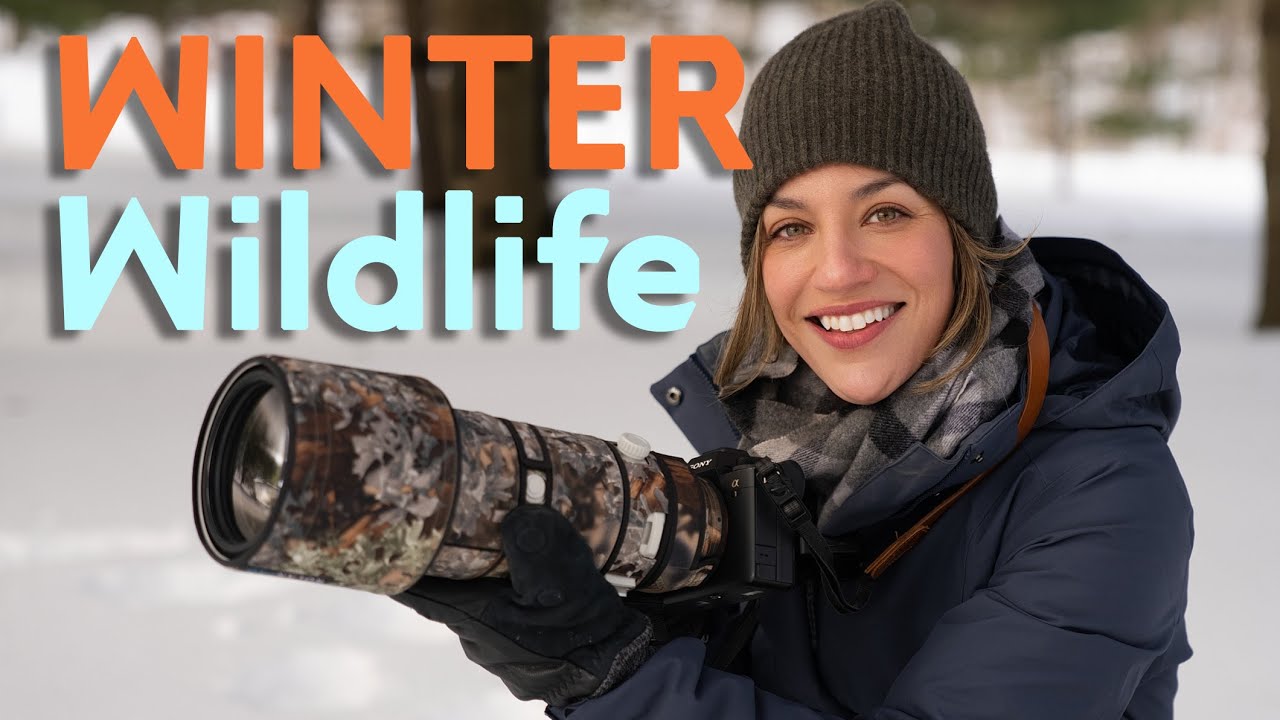
Living in Denver means I don’t get the luxury of skipping winter shooting seasons. The elk are out. The light is incredible. The temperatures are absolutely brutal. And for a while, I was doing everything wrong - bringing my camera straight from a 10-degree field into a 70-degree car, wondering why my lens kept fogging up, and draining batteries faster than I could swap them. I lost at least two solid shooting sessions to gear problems before I started taking cold-weather prep seriously.
In this Tony & Chelsea Northrup tutorial, Watch the full tutorial on YouTube, Chelsea breaks down a practical, no-fluff system for winter wildlife shooting that covers gear protection, battery management, and layering strategy. It’s the kind of field-tested advice that doesn’t require you to spend a fortune - which is exactly why it caught my attention. Here’s the full walkthrough so you can put it into practice before your next cold-weather session.
Step 1: Prevent Condensation When Transitioning Between Temperatures
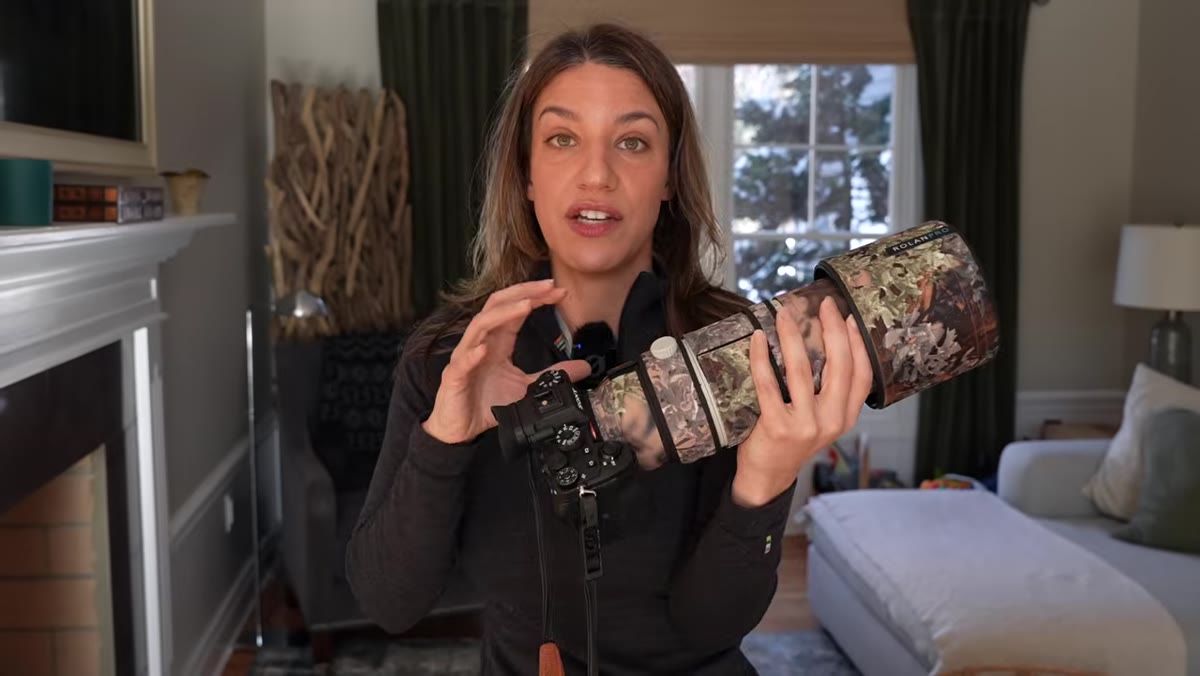 Camera bag closed during cold-to-warm temperature transition
The biggest hidden threat to your gear in winter isn’t snow - it’s the temperature swing between outside and inside. When you bring a cold camera body into a warm room, moisture in the warm air condenses on and inside the optics and electronics. That water can fry your sensor, your autofocus motor, or your lens coatings. The fix is simple but requires patience: when you’re done shooting, seal your camera inside your bag before you go inside, and leave it there for at least a couple of hours. Let it warm up gradually inside the bag rather than hitting it with warm air all at once. Think of it like letting a steak rest - rushing it causes problems.
Camera bag closed during cold-to-warm temperature transition
The biggest hidden threat to your gear in winter isn’t snow - it’s the temperature swing between outside and inside. When you bring a cold camera body into a warm room, moisture in the warm air condenses on and inside the optics and electronics. That water can fry your sensor, your autofocus motor, or your lens coatings. The fix is simple but requires patience: when you’re done shooting, seal your camera inside your bag before you go inside, and leave it there for at least a couple of hours. Let it warm up gradually inside the bag rather than hitting it with warm air all at once. Think of it like letting a steak rest - rushing it causes problems.
Step 2: Use Rain Protection When It’s Snowing
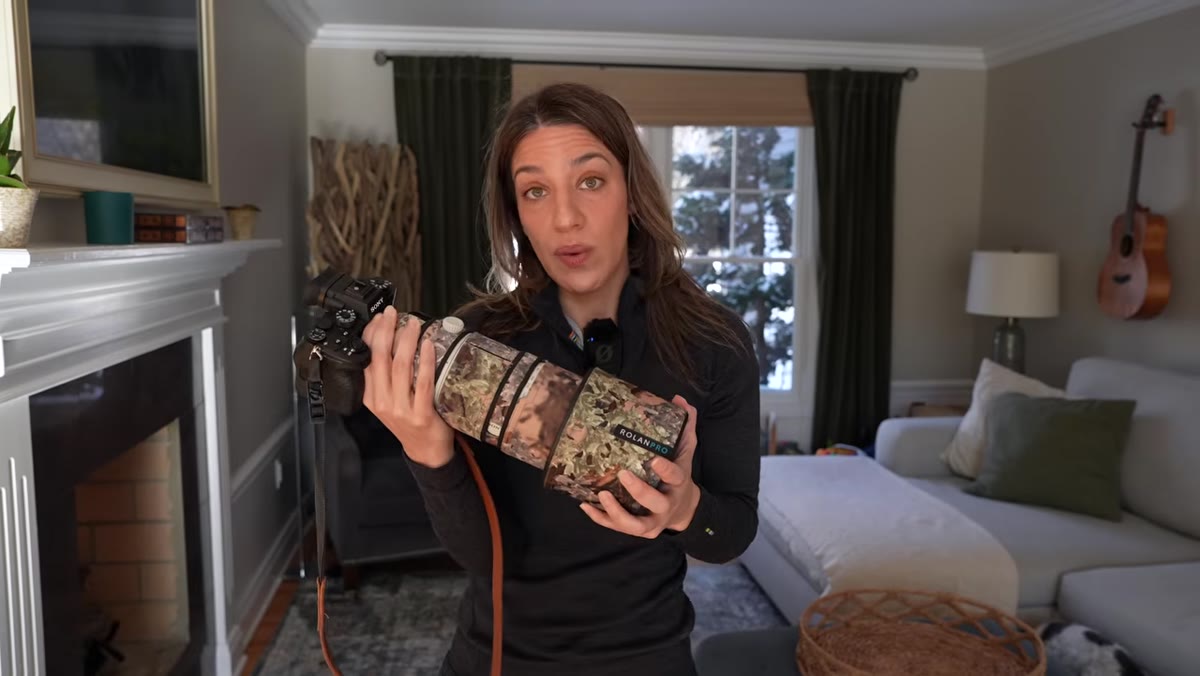 Rain cover being placed over camera and lens
Snow is just slow-motion water, and it will get into your lens if you’re not covering it. Chelsea recommends using a rain sleeve or cover whenever you’re shooting in active snowfall. Disposable ones work fine and are cheap enough to keep a few in your bag. If you’re shooting regularly in winter conditions, a reusable neoprene or ripstop rain cover is worth the small investment - you’ll recoup the cost fast compared to a single repair bill. The key detail here is making sure the cover actually seals around your lens hood and isn’t just loosely draped. Loose coverage gives you false confidence and still lets moisture sneak in at the edges.
Rain cover being placed over camera and lens
Snow is just slow-motion water, and it will get into your lens if you’re not covering it. Chelsea recommends using a rain sleeve or cover whenever you’re shooting in active snowfall. Disposable ones work fine and are cheap enough to keep a few in your bag. If you’re shooting regularly in winter conditions, a reusable neoprene or ripstop rain cover is worth the small investment - you’ll recoup the cost fast compared to a single repair bill. The key detail here is making sure the cover actually seals around your lens hood and isn’t just loosely draped. Loose coverage gives you false confidence and still lets moisture sneak in at the edges.
Step 3: Manage Battery Life With a Body-Heat Strategy
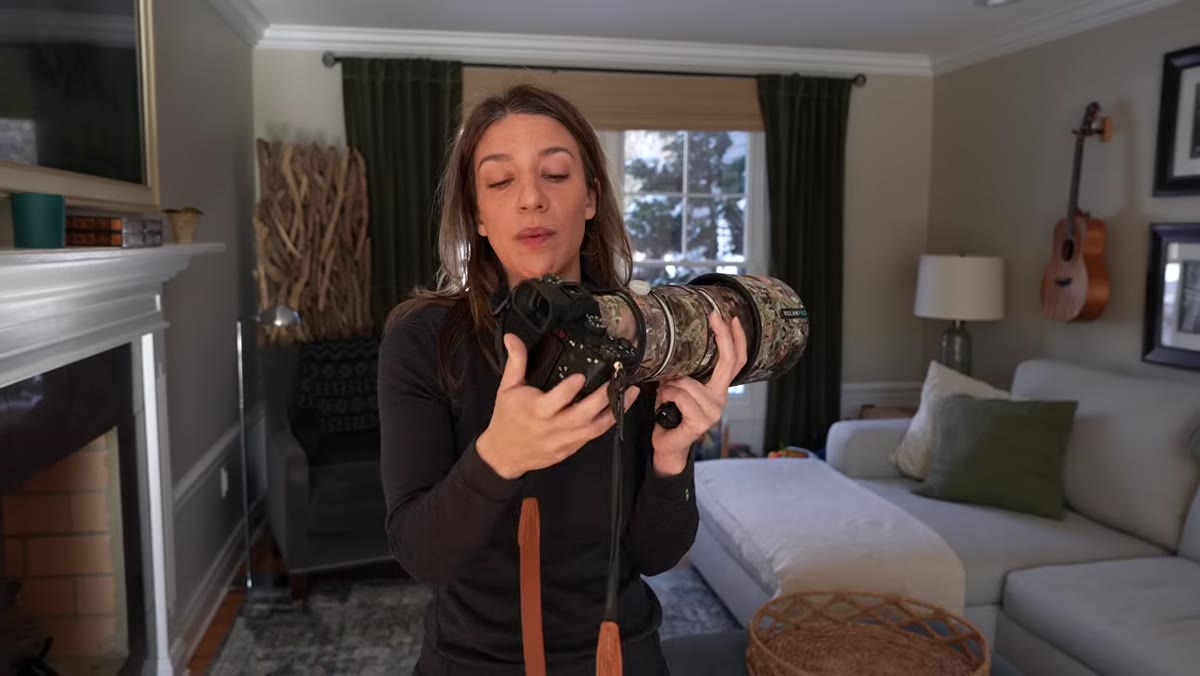 Spare batteries stored in interior jacket pocket near body
Cold temperatures destroy battery performance. A battery that gives you 400 shots in normal conditions might tap out after 150 in freezing weather. The solution isn’t a hand warmer strapped to your grip (though that works in a pinch) - it’s carrying multiple batteries and keeping the spares warm against your body. An interior jacket pocket works perfectly. Your body heat keeps the chemistry in the battery active, so when you swap it in, it performs closer to full capacity. Bring more batteries than you think you’ll need. In serious cold, “one extra” is rarely enough. Three spares is not overkill.
Spare batteries stored in interior jacket pocket near body
Cold temperatures destroy battery performance. A battery that gives you 400 shots in normal conditions might tap out after 150 in freezing weather. The solution isn’t a hand warmer strapped to your grip (though that works in a pinch) - it’s carrying multiple batteries and keeping the spares warm against your body. An interior jacket pocket works perfectly. Your body heat keeps the chemistry in the battery active, so when you swap it in, it performs closer to full capacity. Bring more batteries than you think you’ll need. In serious cold, “one extra” is rarely enough. Three spares is not overkill.
Step 4: Build Your Base Layer Around Wool, Not Synthetics
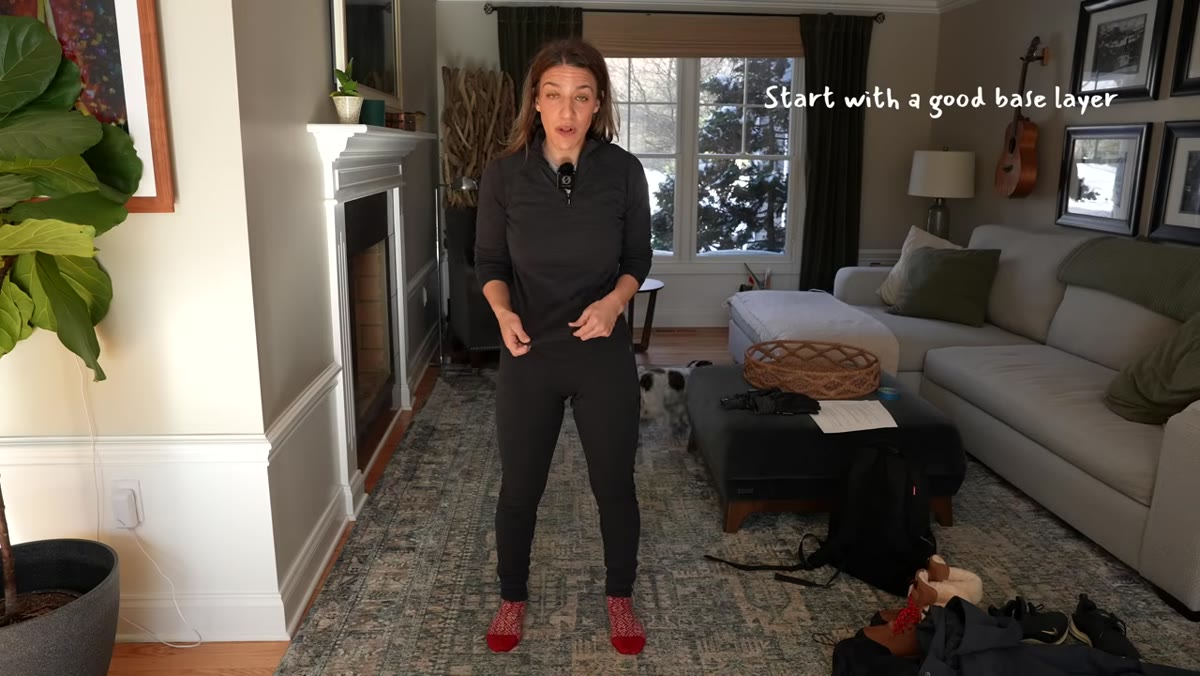 Merino wool base layer being shown close to camera
If you get cold and give up, you don’t get the shot. Chelsea starts with a merino wool base layer, and this is the right call for a specific reason: wool manages moisture differently than synthetics. When you’re hiking to your shooting location or adjusting your setup repeatedly, you sweat. Synthetic fabrics trap that moisture against your skin, and once you stop moving, that wet layer chills you fast. Merino wool wicks sweat away and retains warmth even when damp. It’s not the cheapest option, but a good merino base layer is a long-term investment that pays off every single winter.
Merino wool base layer being shown close to camera
If you get cold and give up, you don’t get the shot. Chelsea starts with a merino wool base layer, and this is the right call for a specific reason: wool manages moisture differently than synthetics. When you’re hiking to your shooting location or adjusting your setup repeatedly, you sweat. Synthetic fabrics trap that moisture against your skin, and once you stop moving, that wet layer chills you fast. Merino wool wicks sweat away and retains warmth even when damp. It’s not the cheapest option, but a good merino base layer is a long-term investment that pays off every single winter.
Step 5: Add Waterproof and Windproof Outer Pants
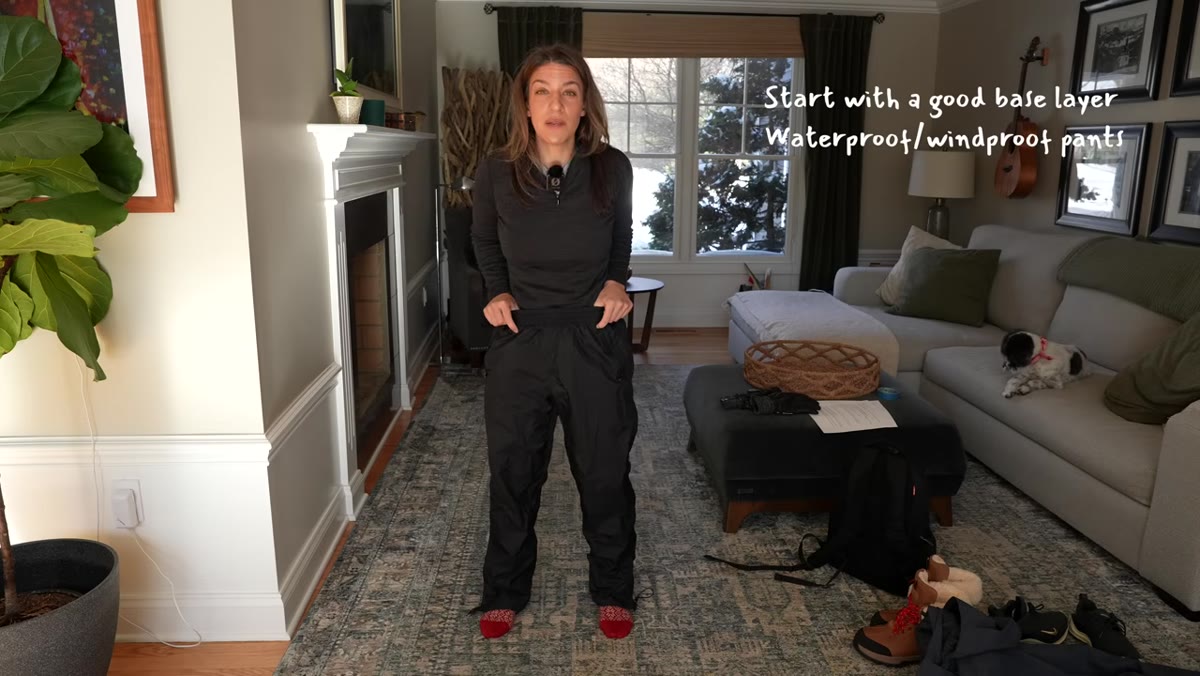 Waterproof shell pants being pulled on over base layer
Wind chill is underrated as a threat when you’re standing still waiting for an animal to move into frame. You might be stationary for 20 to 40 minutes at a time, and even a moderate breeze will drain your body heat fast without a wind barrier. Waterproof shell pants go over your base layer (or over regular pants if it’s especially brutal) and block both wind and moisture from snow or wet ground. Chelsea points out that these also matter because wildlife photographers sit and kneel - a lot. You don’t want to be soaked through your jeans 20 minutes into a session because you had to get low for a shot.
Waterproof shell pants being pulled on over base layer
Wind chill is underrated as a threat when you’re standing still waiting for an animal to move into frame. You might be stationary for 20 to 40 minutes at a time, and even a moderate breeze will drain your body heat fast without a wind barrier. Waterproof shell pants go over your base layer (or over regular pants if it’s especially brutal) and block both wind and moisture from snow or wet ground. Chelsea points out that these also matter because wildlife photographers sit and kneel - a lot. You don’t want to be soaked through your jeans 20 minutes into a session because you had to get low for a shot.
Step 6: Choose an Outer Jacket With a Waterproof Shell and High Fill Power
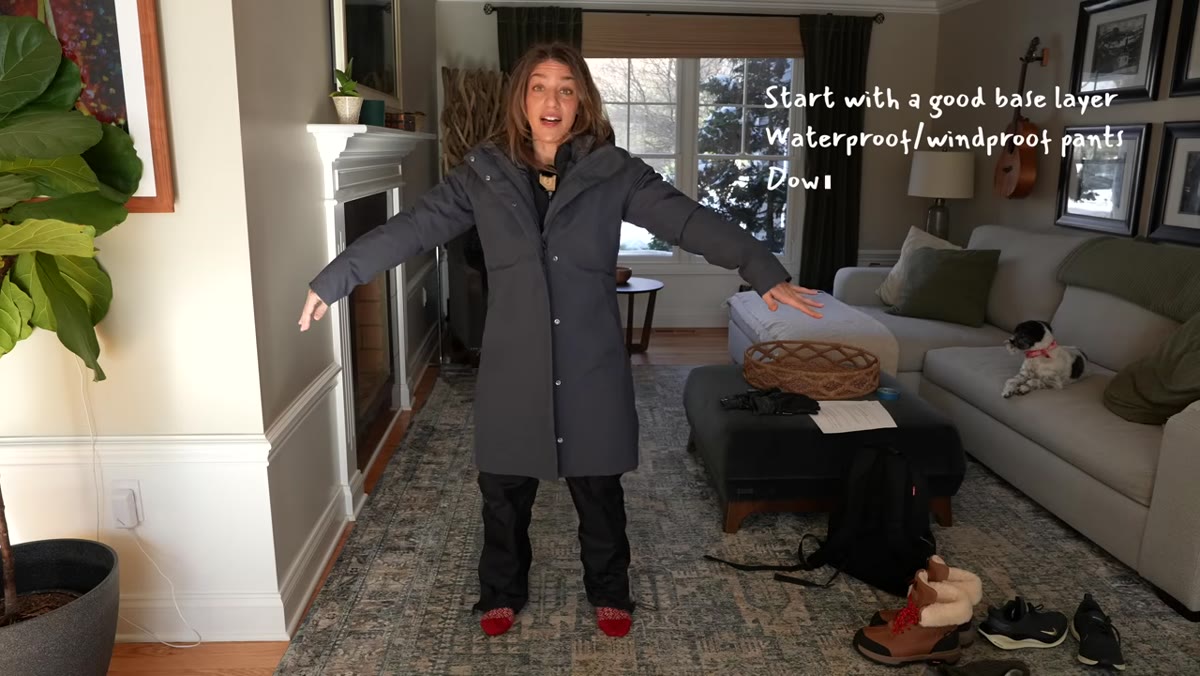 Down parka with removable waterproof outer shell shown on camera
Not all down jackets are built for actual weather. A lot of down coats are warm but have no waterproof outer shell, which means the moment snow or sleet hits them, they absorb moisture and lose their insulating ability. Chelsea specifically chose a parka with a removable waterproof outer shell - so the down stays dry, the wind doesn’t penetrate, and she still gets the warmth-to-weight ratio that makes down so useful. Look for fill power of 600 or higher for serious cold. Also worth noting: a longer cut that covers your thighs and seat makes a real difference when you’re standing or sitting in the snow for extended periods.
Down parka with removable waterproof outer shell shown on camera
Not all down jackets are built for actual weather. A lot of down coats are warm but have no waterproof outer shell, which means the moment snow or sleet hits them, they absorb moisture and lose their insulating ability. Chelsea specifically chose a parka with a removable waterproof outer shell - so the down stays dry, the wind doesn’t penetrate, and she still gets the warmth-to-weight ratio that makes down so useful. Look for fill power of 600 or higher for serious cold. Also worth noting: a longer cut that covers your thighs and seat makes a real difference when you’re standing or sitting in the snow for extended periods.
Step 7: Use Your Jacket Pocket as a Battery Warmer
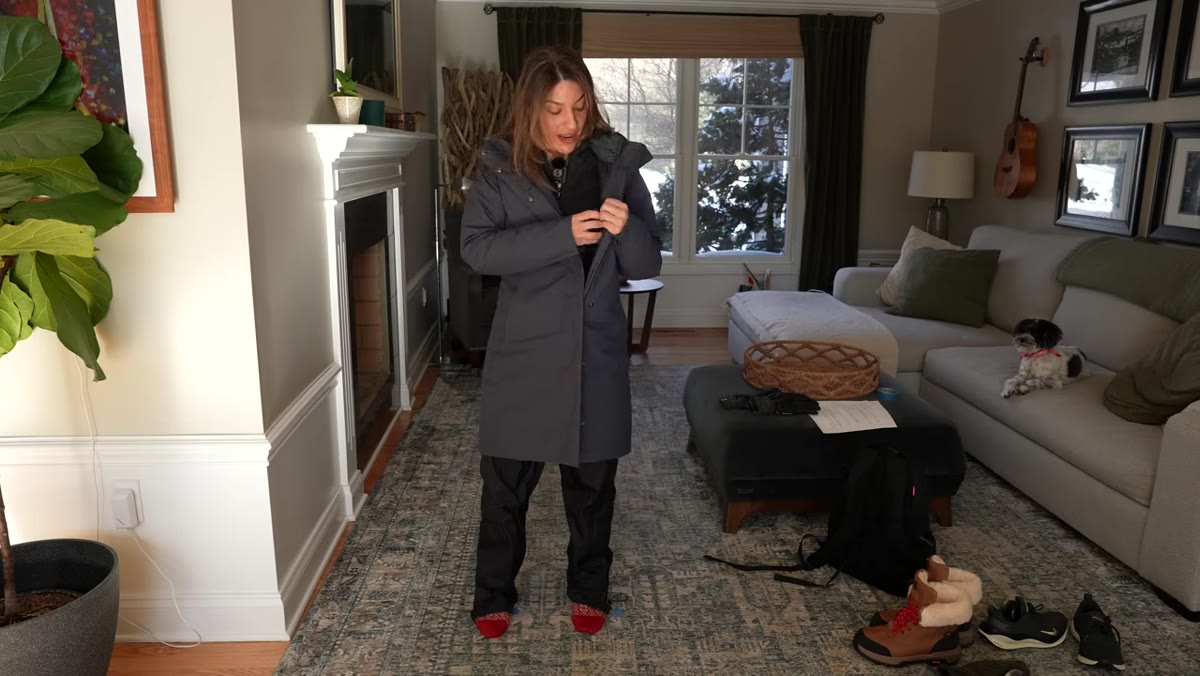 Battery stored in interior chest pocket of parka during shoot
This is the detail that ties steps 3 and 6 together. Chelsea uses the interior chest pocket of her jacket specifically to store her spare batteries during a shoot - not just when she’s walking to the location. Keeping batteries warm is an active, ongoing process, not just a pre-shoot step. Swap a cold, depleted battery into that pocket to recover some charge while the fresh warm one takes over. In extremely cold conditions, a partially recovered battery can still give you a useful burst of extra shots when you need it most.
Battery stored in interior chest pocket of parka during shoot
This is the detail that ties steps 3 and 6 together. Chelsea uses the interior chest pocket of her jacket specifically to store her spare batteries during a shoot - not just when she’s walking to the location. Keeping batteries warm is an active, ongoing process, not just a pre-shoot step. Swap a cold, depleted battery into that pocket to recover some charge while the fresh warm one takes over. In extremely cold conditions, a partially recovered battery can still give you a useful burst of extra shots when you need it most.
My Take: Budget Gear Holds Up Fine - If You Protect It
I’ve shot Colorado winters with mid-range bodies that aren’t rated for extreme weather, and the condensation and battery steps above have kept me out of trouble every time. The layering system Chelsea walks through isn’t expensive if you build it incrementally - shell pants can be had for under $40 if you watch for sales, and a merino base layer under $50 isn’t hard to find on discount. The piece of advice I’d add: keep a small microfiber cloth in your pocket too, not in your bag. When your lens front element fogs from breath or light snow, you want to address it immediately without digging through a cold, gloved fumble into your bag.
The single most important thing to take away from this tutorial is the condensation warning. It’s the gear-killer most photographers don’t think about until it’s too late, and the fix costs nothing - it’s just patience and a zipped bag. Protect the glass on the way in, keep the batteries warm, and dress like you’re planning to stay out twice as long as you think you will.
Watch the full tutorial on YouTube to see Chelsea demonstrate each step in the field and walk through how she edits the final winter wildlife shots in Lightroom.
Comments (1)
This is exactly what I needed today. Been struggling with this for weeks.
Leave a Comment