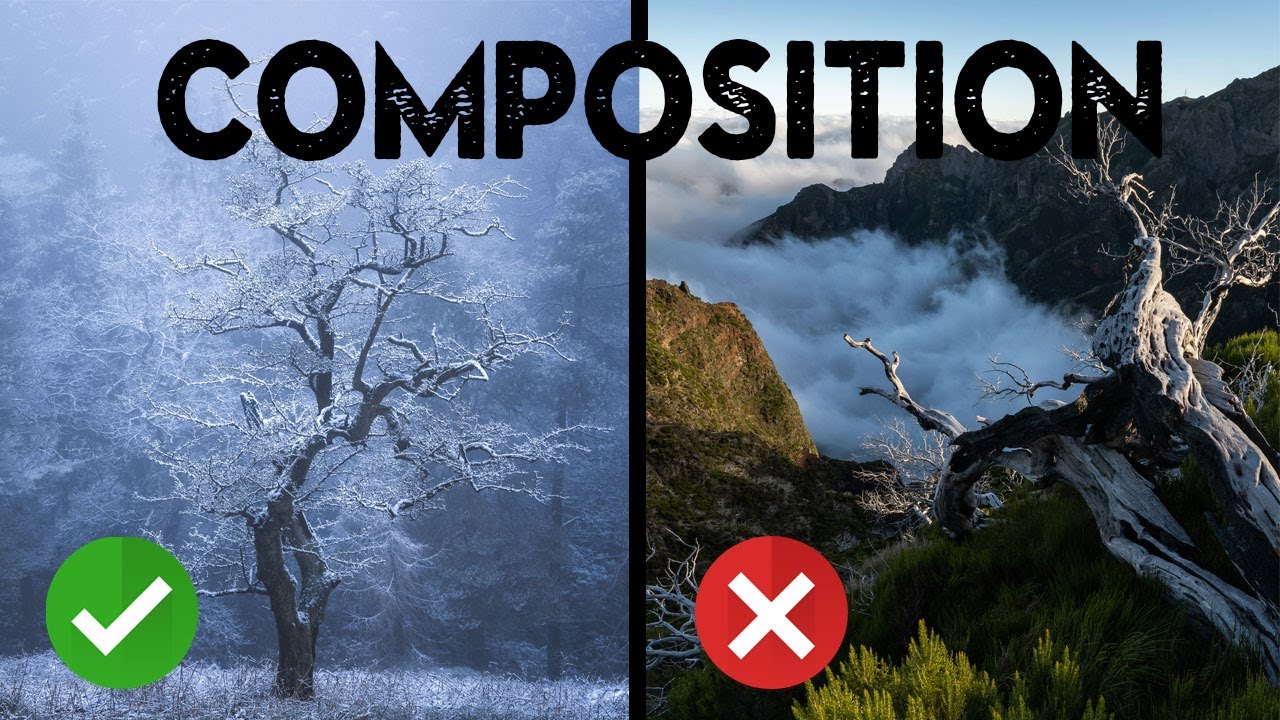
There’s a specific kind of disappointment I know too well: you’re out shooting, the light is perfect, the subject is right there, and you feel like you’re absolutely nailing it. Then you get home, pull the images up on your monitor, and something is just… off. The photo doesn’t land. You can’t quite explain why, but it doesn’t work. For a long time I chalked this up to gear. Different lens, maybe. Better camera body. That’s the trap budget gear reviewers fall into constantly, and I’ve fallen into it myself. The real culprit, almost every time, is composition awareness. Not composition rules. Awareness. There’s a difference.
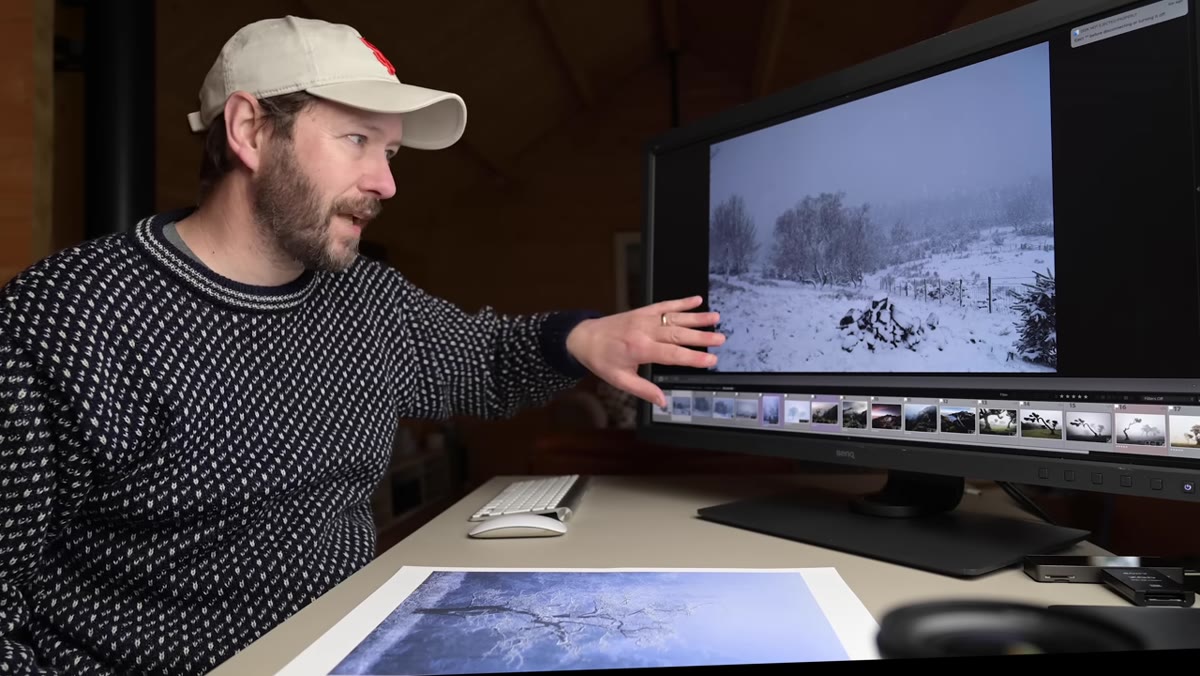
In this Nigel Danson tutorial, Watch the full tutorial on YouTube, Danson does something most photographers are too proud to do: he pulls up his own failed shots and walks through exactly why they didn’t work. Not in a vague “rule of thirds” way, but with honest, specific reasoning. He also shows what he did to fix some of them, and when he couldn’t fix them, he admits that too. It’s the kind of critique that actually teaches you something because it’s grounded in real field conditions, real mistakes, and real decision-making under pressure.
Step 1: Start by Identifying What’s Competing for Attention
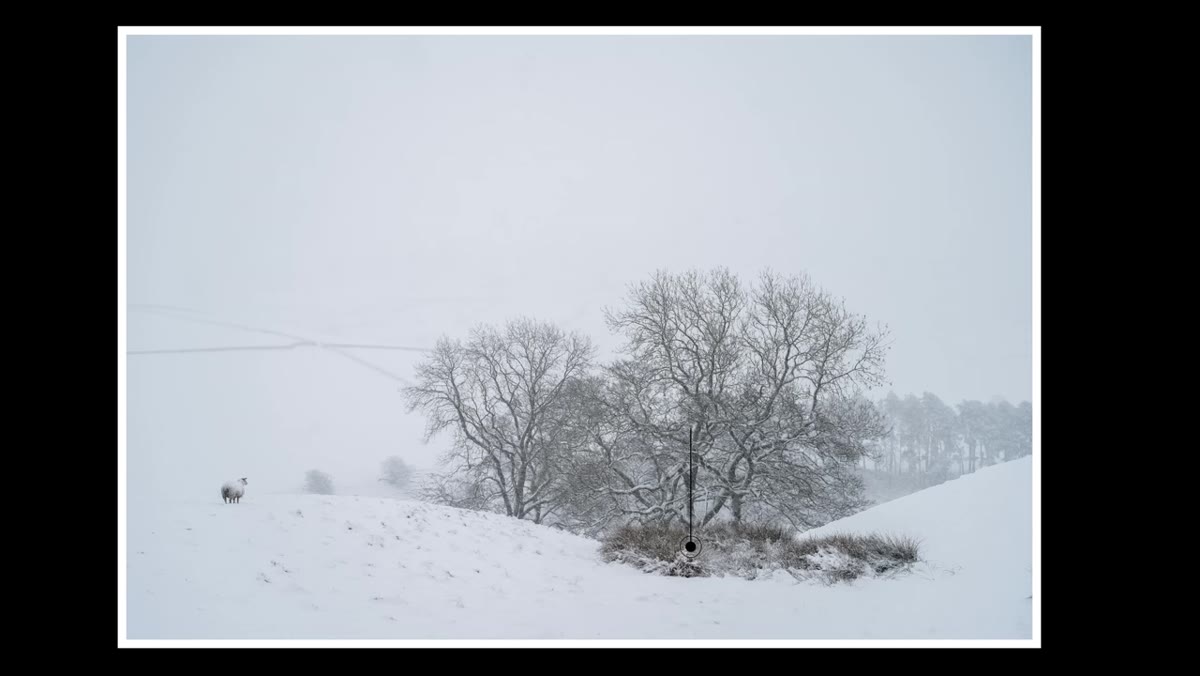 Danson pointing to messy bush area in snowy sheep photo
The first image Danson critiques is a snowy landscape with a sheep, taken in the Peak District. On the surface it looks like a strong shot: atmospheric snow, clean subject, interesting trees in the background. But there’s a cluster of scrubby bushes in the mid-ground that nobody would notice consciously in the field, and it kills the image. Your eye keeps drifting to that messy patch instead of moving naturally through the frame.
Danson pointing to messy bush area in snowy sheep photo
The first image Danson critiques is a snowy landscape with a sheep, taken in the Peak District. On the surface it looks like a strong shot: atmospheric snow, clean subject, interesting trees in the background. But there’s a cluster of scrubby bushes in the mid-ground that nobody would notice consciously in the field, and it kills the image. Your eye keeps drifting to that messy patch instead of moving naturally through the frame.
The lesson here isn’t “avoid bushes.” It’s that your eye in the field processes a scene very differently than a camera does. When you’re cold, excited, and working fast, your brain edits out distractions the lens doesn’t. Before you shoot, ask yourself: what is pulling my attention right now that I’m actively ignoring? That thing will show up in your photo.
Step 2: Move Before You Settle on a Composition
 Wide messy shot with stone in foreground during heavy snowfall
Danson’s second sequence is instructive because he actually shows three or four frames taken within minutes of each other as he physically moved toward his main subject. The first frame is too wide and complicated. He’d grabbed a foreground stone thinking it would anchor the composition, but the frame becomes cluttered and unfocused. The real interest in the scene was a single tree.
Wide messy shot with stone in foreground during heavy snowfall
Danson’s second sequence is instructive because he actually shows three or four frames taken within minutes of each other as he physically moved toward his main subject. The first frame is too wide and complicated. He’d grabbed a foreground stone thinking it would anchor the composition, but the frame becomes cluttered and unfocused. The real interest in the scene was a single tree.
The practical takeaway is simple: take a frame, then move. Don’t treat your first position as your composition. Shoot it, look at it critically for five seconds, then take three steps in any direction and compare. Danson essentially live-demos this process, and watching him work through it step by step is more useful than any diagram about leading lines.
Step 3: Check Your Edges and Corners Before You Shoot
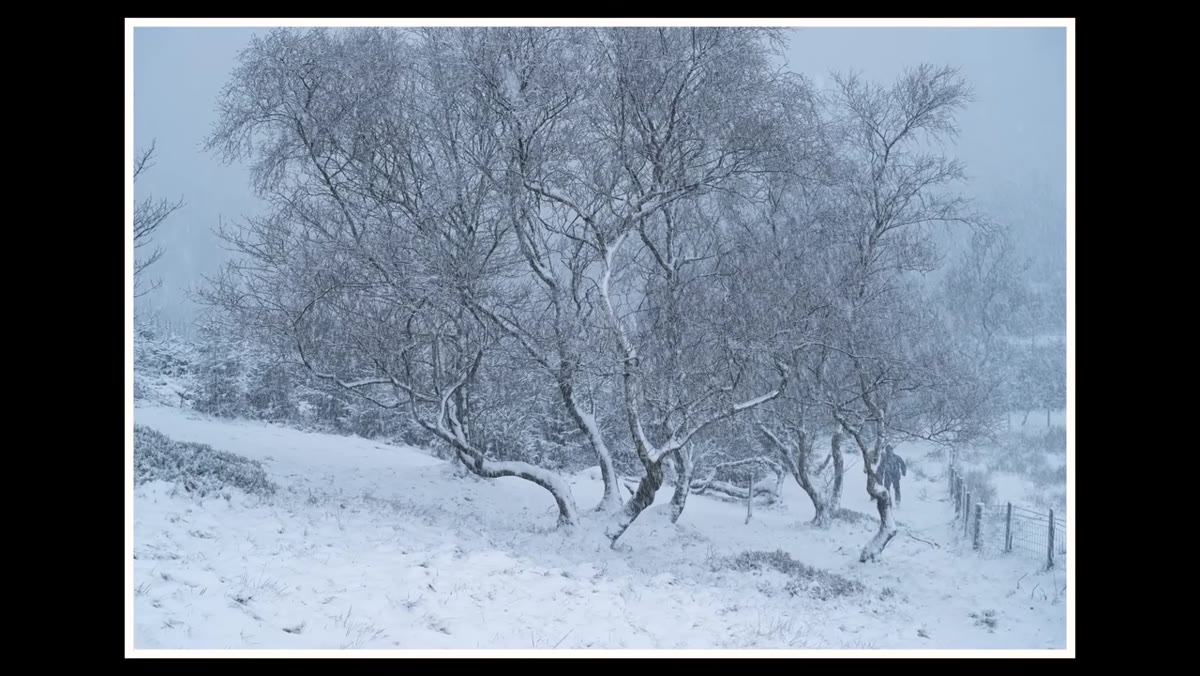 Closer frame with tops of trees cut off at image edge
One of Danson’s in-between frames clips the tops of the trees. He immediately identifies this as too close and backs up. This sounds obvious, but edge-checking is a habit most photographers develop slowly, usually after cropping out important elements in post dozens of times.
Closer frame with tops of trees cut off at image edge
One of Danson’s in-between frames clips the tops of the trees. He immediately identifies this as too close and backs up. This sounds obvious, but edge-checking is a habit most photographers develop slowly, usually after cropping out important elements in post dozens of times.
Build a quick pre-shot checklist into your muscle memory: scan all four edges of your frame before pressing the shutter. Are you cutting off anything that matters? Are you including anything you don’t want? This takes about two seconds and saves a lot of grief later. Your camera’s frame lines exist for a reason. Use them intentionally, not just as a rough guide.
Step 4: Evaluate Visual Weight, Not Just Visual Interest
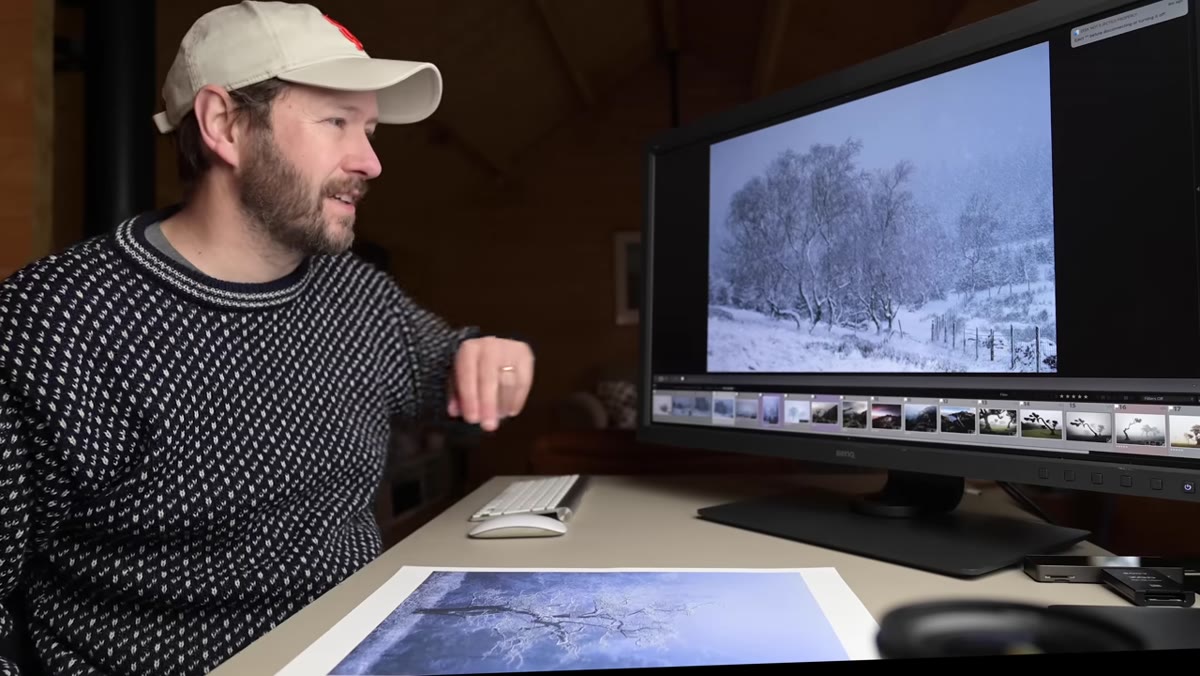 Final snow scene with fence running across lower frame
This is where Danson gets into something more nuanced. His final frame from that snowy sequence is close to working. He has the atmosphere, the right shutter speed to render the falling snow properly, good depth. But a fence runs across the lower portion of the frame and, as he puts it, it carries too much visual weight. Your eye snaps to it and stays there. It’s not that the fence is ugly. It’s that it’s visually heavy relative to everything else in the scene.
Final snow scene with fence running across lower frame
This is where Danson gets into something more nuanced. His final frame from that snowy sequence is close to working. He has the atmosphere, the right shutter speed to render the falling snow properly, good depth. But a fence runs across the lower portion of the frame and, as he puts it, it carries too much visual weight. Your eye snaps to it and stays there. It’s not that the fence is ugly. It’s that it’s visually heavy relative to everything else in the scene.
Visual weight isn’t just about brightness or contrast. Fences, straight lines, and hard geometric shapes all pull attention in ways that organic shapes don’t. When you’re composing, think about what each element asks of the viewer’s eye. Something can be small in the frame and still dominate it. A fence or a power line doesn’t have to be large to be a problem.
Step 5: Know When to Walk Away From a Location
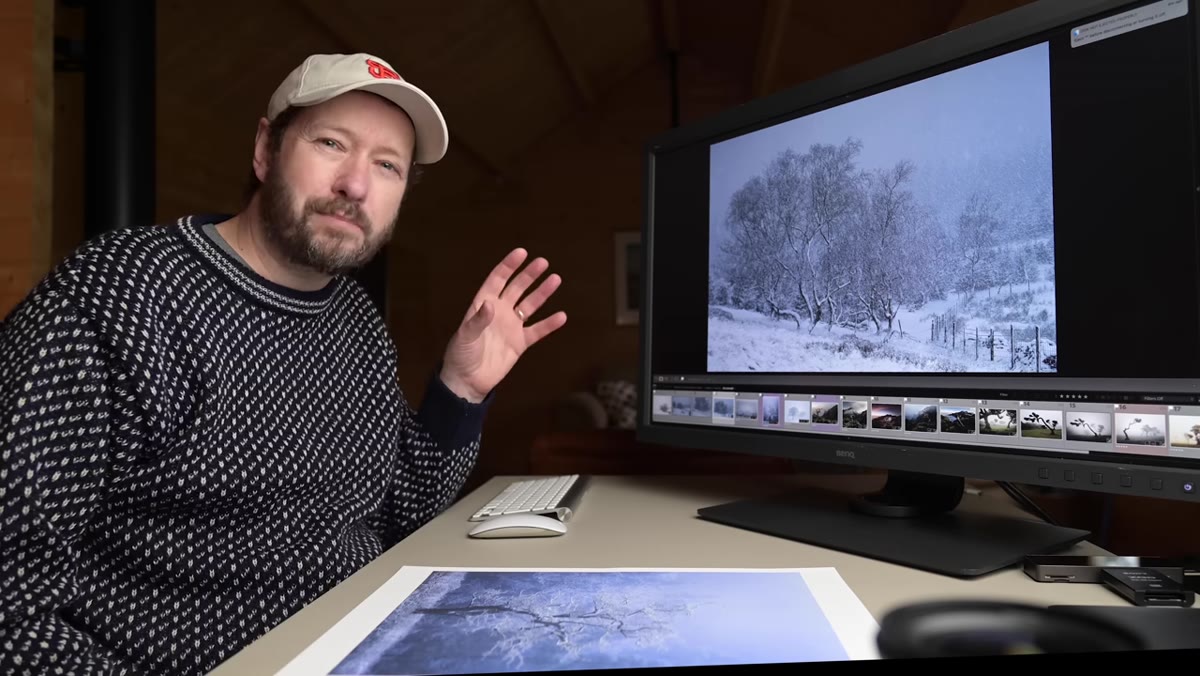 Danson acknowledging the composition may not have a good solution
Danson does something here that I genuinely respect: he admits he might not have found the right composition at this location, and that’s okay. He considers whether cropping tighter would help, decides the image still needs breathing room, and lands at a “seven or eight out of ten” assessment. He doesn’t try to oversell it.
Danson acknowledging the composition may not have a good solution
Danson does something here that I genuinely respect: he admits he might not have found the right composition at this location, and that’s okay. He considers whether cropping tighter would help, decides the image still needs breathing room, and lands at a “seven or eight out of ten” assessment. He doesn’t try to oversell it.
This is a real skill. Knowing when a location or a moment doesn’t have a great shot in it, and accepting that, keeps you from wasting time in post trying to rescue something unfixable. Not every outing produces a hero image. That’s not a gear problem or a skill problem. It’s just how photography works.
What I’d Add: The “Review on Location” Habit
I started doing something a few years back that changed how many usable shots I come home with. Instead of chimping after every single frame, I pick one moment mid-shoot to stop completely, walk to a different spot, and review the last ten frames on my LCD with fresh eyes. Not to judge them as final images, but to ask: what am I missing in this scene? What did I walk past?
Danson’s critiques all point to the same root problem: in-the-moment tunnel vision. You get fixated on the thing that excited you (the sheep, the snow, the tree) and stop seeing the full frame. A mid-session review breaks that tunnel vision before you’ve exhausted the light or the location. It costs you maybe three minutes and it’s the cheapest compositional improvement I’ve ever made. No gear required.
The single most important thing Danson demonstrates in this video is that composition problems are almost always visible in the field if you train yourself to look. You don’t need better glass or a newer body. You need to slow down by about ten seconds per shot and actually audit what’s in your frame before you commit to it. The difference between a shot that works and one that doesn’t is usually something small you already noticed and decided to ignore.
Watch the full tutorial on YouTube and pay attention to how Danson thinks out loud during each critique. That reasoning process is the actual lesson.
Comments
Leave a Comment