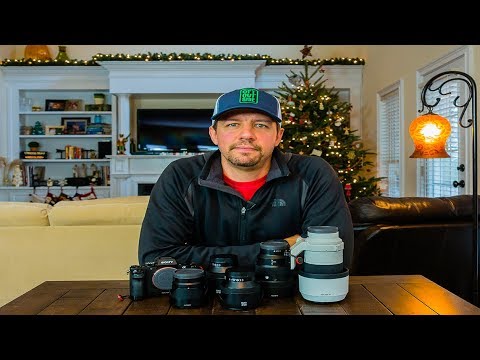
One of the questions I get most often from readers is some version of “what lenses should I actually own?” Not what the spec sheets say, not what wins lab tests, but what a working photographer reaches for when they’re standing on a wet coastline at 5am trying not to drop anything. That’s a harder question to answer than it looks, because the honest answer is almost always “it depends on how you shoot.” What I love about this breakdown from landscape photographer Mark Denney is that he answers it the way I try to answer gear questions: with context, not just specs.
Watch the full tutorial on YouTube
In this Mark Denney tutorial, he walks through his entire Sony mirrorless lens collection, explains why he bought each one, and is refreshingly upfront about which ones he doesn’t use that often. He shoots on a Sony A7R Mark II, which is worth noting because that sensor rewards sharp glass. But the real value here isn’t the specific model numbers. It’s the decision-making process behind each purchase, which maps directly onto the kinds of choices any landscape shooter faces when building a kit from scratch.
Step 1: Start With the Deal You Can Actually Get
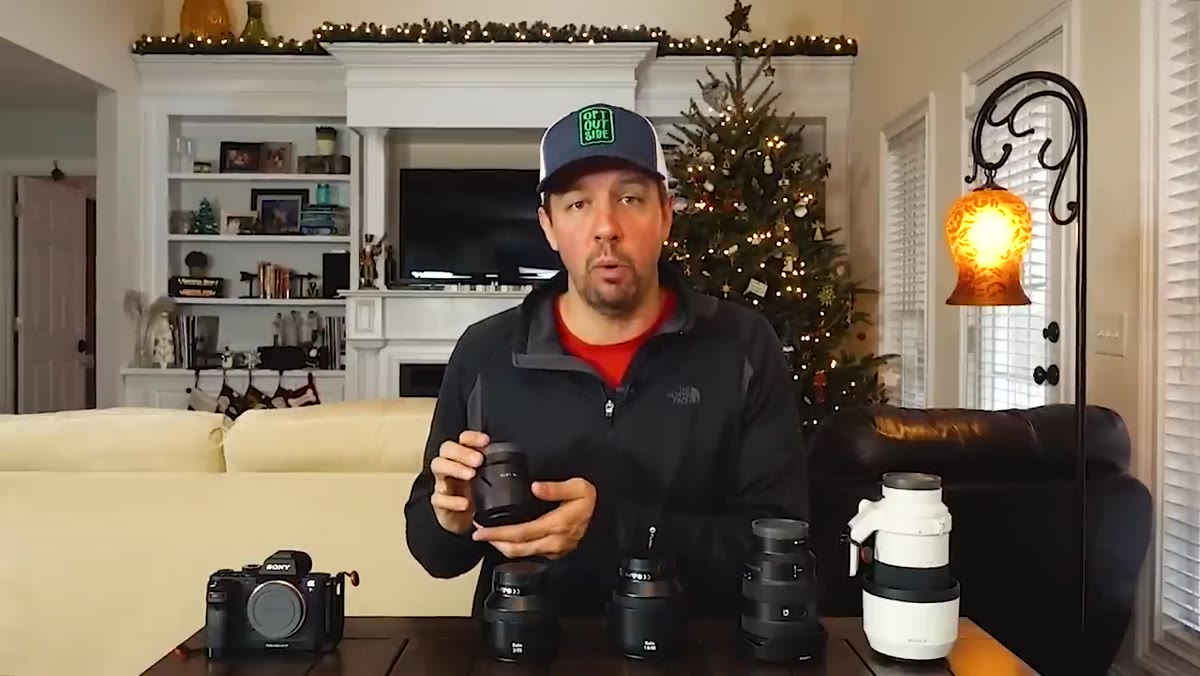 Mark holding the Sony 55mm 1.8 lens
Denney’s first lens for the A7R Mark II was the Sony Zeiss 55mm f/1.8, and he’s upfront that it wasn’t a calculated landscape choice. He was ordering the camera body from B&H, a bundle discount appeared, and he pulled the trigger. The lens is widely reviewed as one of the sharpest in the Sony E-mount lineup, and that reputation held up for him in practice.
Mark holding the Sony 55mm 1.8 lens
Denney’s first lens for the A7R Mark II was the Sony Zeiss 55mm f/1.8, and he’s upfront that it wasn’t a calculated landscape choice. He was ordering the camera body from B&H, a bundle discount appeared, and he pulled the trigger. The lens is widely reviewed as one of the sharpest in the Sony E-mount lineup, and that reputation held up for him in practice.
The practical takeaway here isn’t “buy the 55mm.” It’s that a great deal on a genuinely sharp lens beats waiting for the theoretically perfect lens. The 55mm became his primary lens for nearly a year. If you’re building a Sony kit and a sharp fast prime shows up at a meaningful discount, the move is to understand what you’re getting and commit to shooting with it, not hold out indefinitely for the “right” focal length.
Step 2: Understand What Makes a Prime Worth Carrying
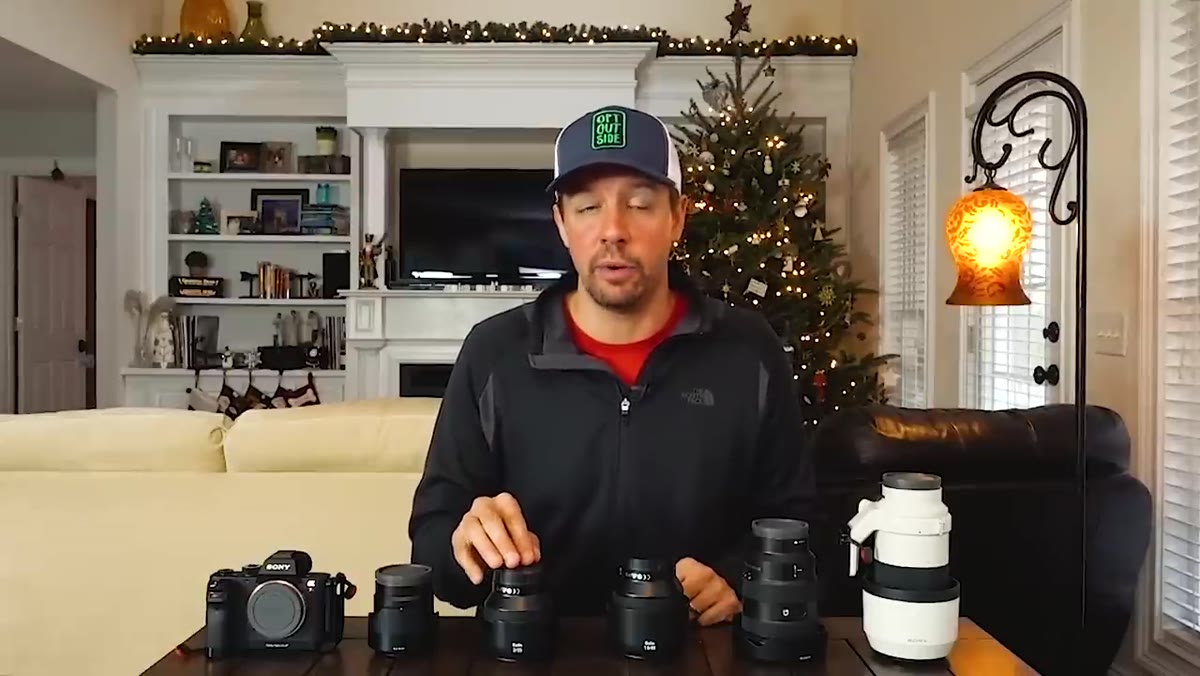 Zeiss Batis 25mm f/2 lens close-up
The lens Denney actually fell in love with was the Zeiss Batis 25mm f/2. This became his main landscape lens for an extended stretch, paired with the A7R Mark II as a tight, capable two-piece kit. His reasons are practical: small physical size, light enough to not punish you on a long hike, and images with a rendering quality he describes as having real depth and micro-contrast.
Zeiss Batis 25mm f/2 lens close-up
The lens Denney actually fell in love with was the Zeiss Batis 25mm f/2. This became his main landscape lens for an extended stretch, paired with the A7R Mark II as a tight, capable two-piece kit. His reasons are practical: small physical size, light enough to not punish you on a long hike, and images with a rendering quality he describes as having real depth and micro-contrast.
That Zeiss “3D pop” he mentions is a real and documented characteristic of Sony’s Zeiss-branded glass. It comes from the lens coating and optical formula working together to produce strong local contrast between adjacent tonal zones. It’s especially visible in large prints. If you’re doing any printing with your landscape work, that characteristic matters more than it does on a phone screen, and it’s worth factoring in when comparing lenses at similar price points.
Step 3: Know When to Buy a Lens for One Job
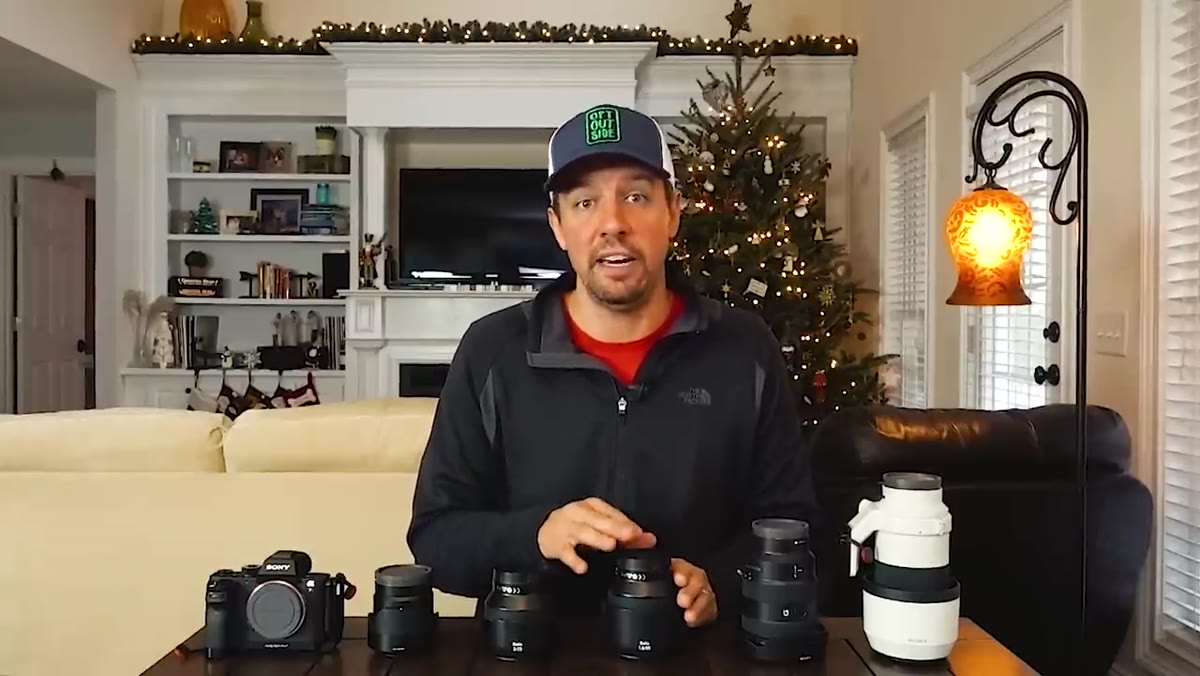 Zeiss Batis 85mm f/1.8 lens shown alongside the 25mm
Denney also carries a Zeiss Batis 85mm f/1.8, and he’s clear that it’s not a landscape lens for him. He bought it for a specific portrait shoot and keeps it because he still does occasional portrait work. It earns its place in the bag because it’s genuinely the best tool for that one use case, not because he’s trying to own every focal length.
Zeiss Batis 85mm f/1.8 lens shown alongside the 25mm
Denney also carries a Zeiss Batis 85mm f/1.8, and he’s clear that it’s not a landscape lens for him. He bought it for a specific portrait shoot and keeps it because he still does occasional portrait work. It earns its place in the bag because it’s genuinely the best tool for that one use case, not because he’s trying to own every focal length.
This is a discipline that saves real money over time. Buying a lens for a defined purpose, rather than a vague “someday I might need this” logic, keeps your kit lean. Ask yourself before any lens purchase: what exact situation does this solve that my current glass can’t? If the answer is specific, buy it. If the answer is fuzzy, wait.
Step 4: Recognize the Physical Limits of Prime Lenses in the Field
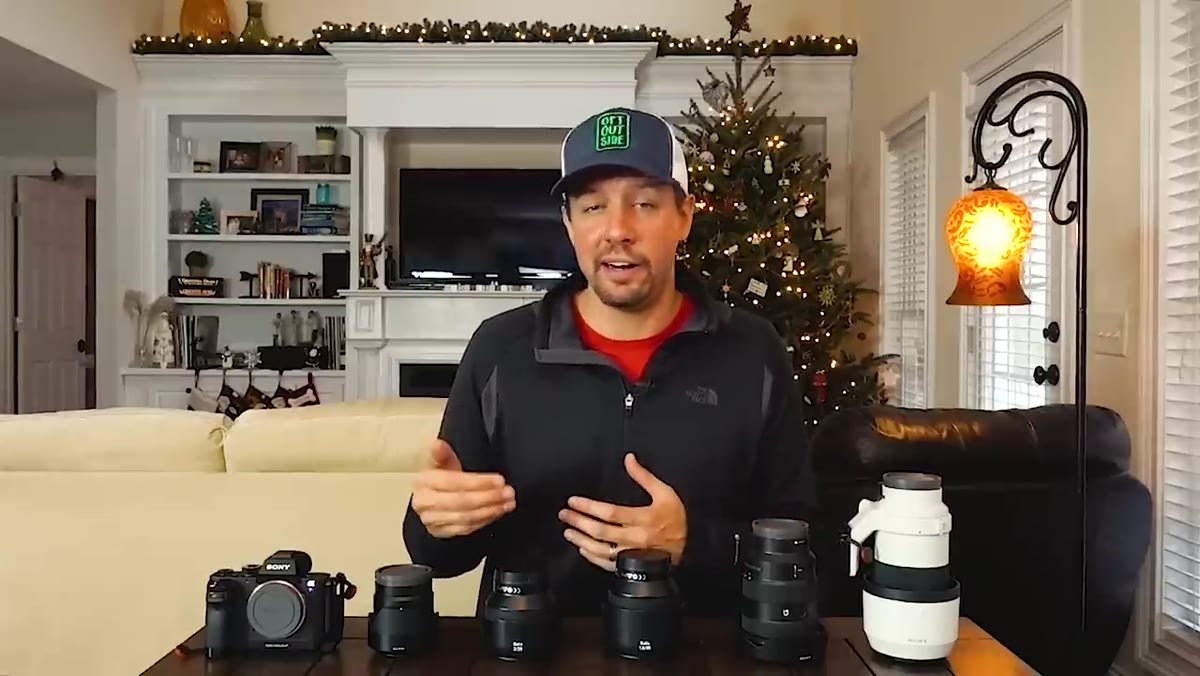 Mark describing shooting at cliff edges and coastlines
This is the pivot point of the whole video. Denney had been a committed prime lens shooter for the usual reasons: better image quality per dollar, simpler optics, lighter weight. But he kept running into a specific field problem. When you’re standing on the edge of a cliff or knee-deep in coastal water, you can’t reframe by walking forward or backward. Your feet are your zoom with a prime, and sometimes the terrain simply won’t cooperate.
Mark describing shooting at cliff edges and coastlines
This is the pivot point of the whole video. Denney had been a committed prime lens shooter for the usual reasons: better image quality per dollar, simpler optics, lighter weight. But he kept running into a specific field problem. When you’re standing on the edge of a cliff or knee-deep in coastal water, you can’t reframe by walking forward or backward. Your feet are your zoom with a prime, and sometimes the terrain simply won’t cooperate.
If you do any shooting in constrained environments, whether that’s rocky coastlines, cliff edges, forest interiors with no room to back up, or canyon walls, this limitation gets real fast. It’s not a beginner problem. It’s a landscape-specific problem that primes handle poorly regardless of how good the glass is. Recognizing that pushed Denney toward his next purchase.
Step 5: Choose Your Zoom Focal Range Based on Where You Shoot
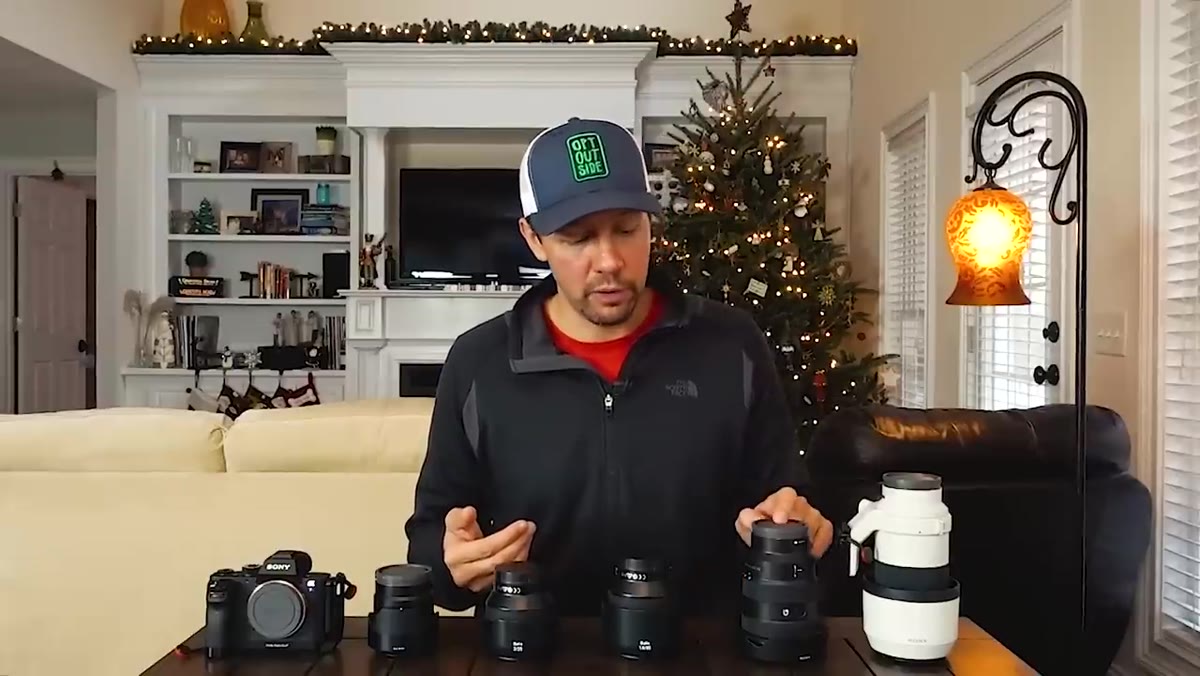 Mark explaining the 16-35mm focal length decision
With the field limitations of primes clear, Denney decided he needed a wide-angle zoom and landed on the 16-35mm focal range. For landscape work, this range covers the classic use case: wide enough to capture sweeping environments and foreground interest, long enough at 35mm to compress slightly when the scene calls for it.
Mark explaining the 16-35mm focal length decision
With the field limitations of primes clear, Denney decided he needed a wide-angle zoom and landed on the 16-35mm focal range. For landscape work, this range covers the classic use case: wide enough to capture sweeping environments and foreground interest, long enough at 35mm to compress slightly when the scene calls for it.
He specifically waited for Sony’s G Master version of the 16-35mm rather than adapting a third-party option. That’s a personal call and one that reflects his priority on native mount performance with a high-resolution body. If you’re on a tighter budget, third-party options in this range from Tamron and Sigma for Sony E-mount have closed the gap considerably and are worth comparing before assuming you need the G Master price tag.
My Take: The Budget Angle Denney Doesn’t Cover
Denney’s kit is excellent and his reasoning is sound. But it’s worth noting that every lens in his collection sits at a premium price point. The Batis 25mm alone runs over $1,000. For shooters who are building a Sony landscape kit without that budget, the principles here still apply even if the specific lenses don’t.
The Tamron 17-28mm f/2.8 covers similar territory to the wide zoom Denney describes for a fraction of the cost, and in my own comparison testing it performs well enough that I genuinely can’t see the difference at typical web or moderate print sizes. The Sony 55mm f/1.8 he praises is genuinely hard to beat for sharpness at its price, but the Sigma 45mm f/2.8 Contemporary is a compact, affordable alternative that punches above its weight on the A7 series. The lesson from Denney’s process is which roles to fill, and you can fill most of them without spending G Master money.
The clearest thing this tutorial reinforces is that lens selection should follow your actual shooting conditions, not an abstract ideal of what a “complete kit” looks like. Denney arrived at his wide-angle zoom not because a YouTube comment told him to, but because the terrain kept forcing his hand. Let your own field problems drive your gear decisions and you’ll buy far less gear you don’t actually use.
Watch the full tutorial on YouTube to see each lens discussed in full and hear Denney’s direct take on image quality and rendering characteristics from his own experience.
Comments (1)
This is going in my reference folder. Incredibly useful.
Leave a Comment