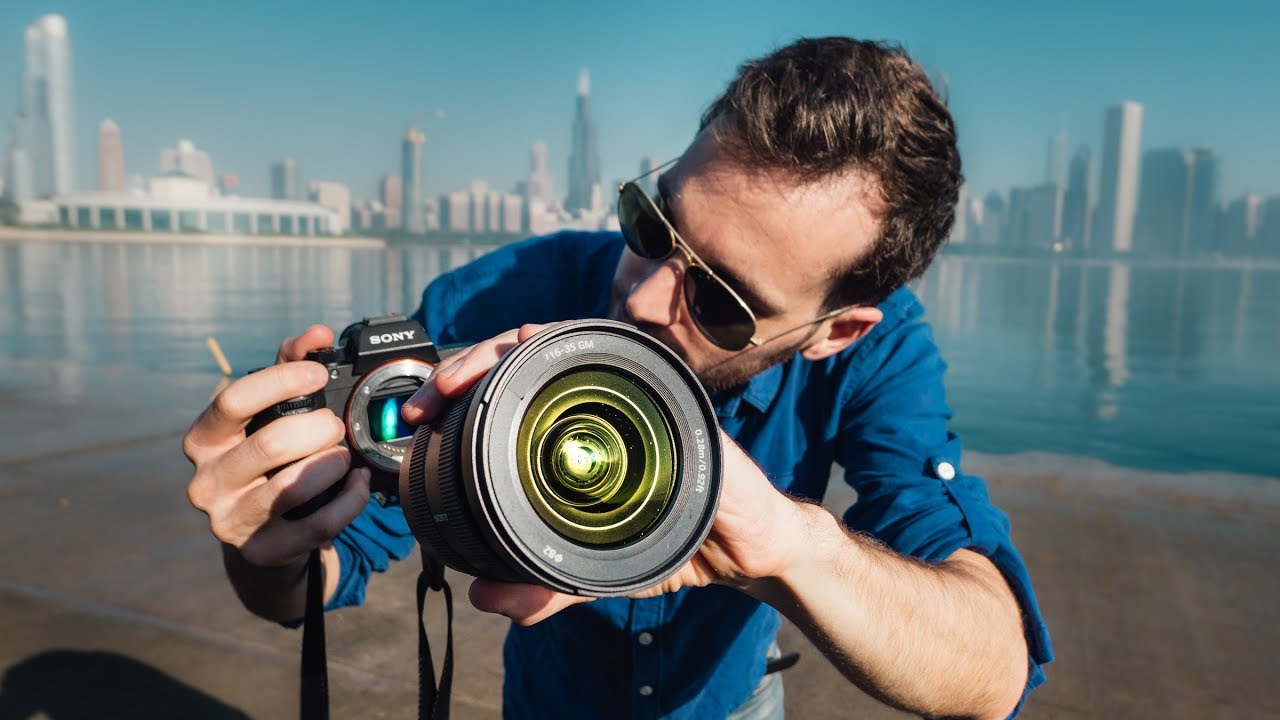
Wide angle lenses are one of those purchases that sounds obvious until you actually use one. I remember the first time I screwed a wide angle onto my body expecting landscapes to look cinematic and dramatic, and instead got weirdly distorted garbage that I couldn’t explain. Nobody warned me. Nobody told me the rules change completely when you go below 24mm. That’s exactly why I keep coming back to tutorials like this one from Pierre T. Lambert, who has a real knack for cutting through the fluff and explaining the mechanical “why” behind what you’re seeing in the viewfinder.
In this Pierre T. Lambert tutorial, he walks through seven things you need to know before you start shooting with a wide angle lens. It’s aimed at shooters who just picked one up or are seriously considering it, and it saves you the painful trial-and-error phase that most of us went through alone. Watch the full tutorial on YouTube - then come back here for the breakdown.
What I appreciate about his approach is that he’s not just listing facts. He’s demonstrating each point on camera so you can see the effect in real time. That’s the kind of visual proof that actually sticks. Here’s how to work through his seven points in a way you can apply immediately.
Step 1: Understand What “Wide Angle” Actually Means
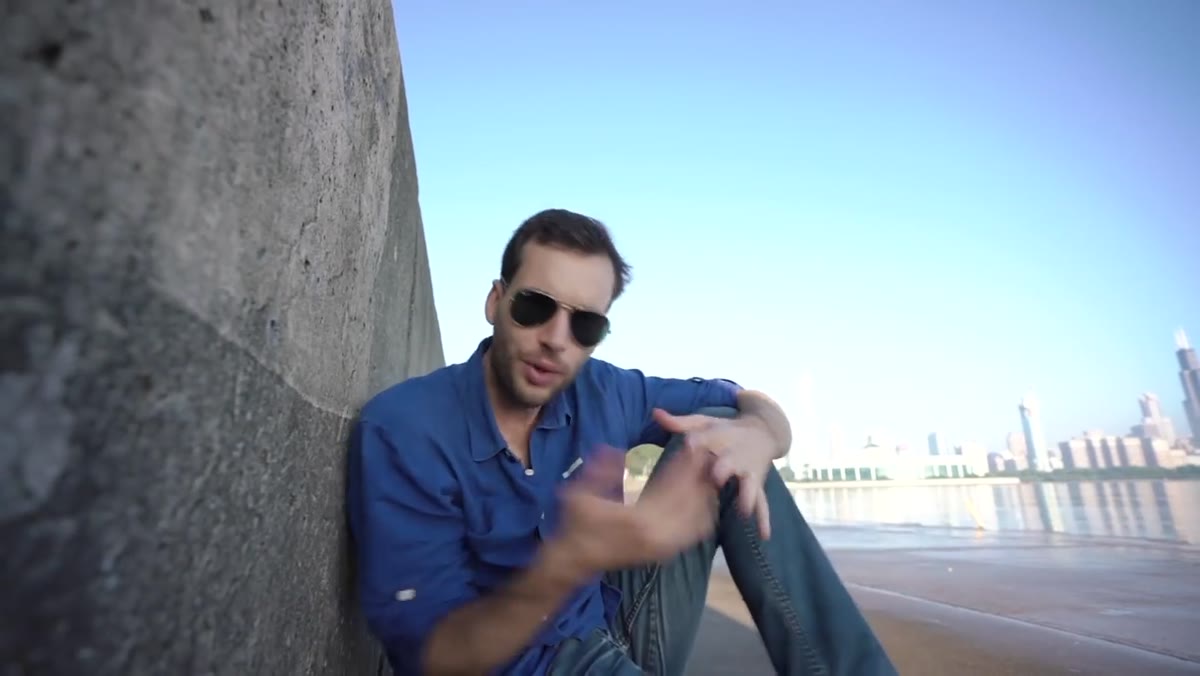 Pierre explaining focal length definition for wide angle lenses
A wide angle lens is technically any lens with a focal length under 24mm on a full-frame sensor. If you’re shooting on a crop sensor camera (like a Canon Rebel or similar entry-level body), that threshold shifts down to around 18mm. Micro Four Thirds shooters are looking at 12mm and below. The practical definition matters more than the technical one, though: a wide angle lens is designed to cram an enormous field of view into a single frame. Sky, foreground, everything. That’s the point.
Pierre explaining focal length definition for wide angle lenses
A wide angle lens is technically any lens with a focal length under 24mm on a full-frame sensor. If you’re shooting on a crop sensor camera (like a Canon Rebel or similar entry-level body), that threshold shifts down to around 18mm. Micro Four Thirds shooters are looking at 12mm and below. The practical definition matters more than the technical one, though: a wide angle lens is designed to cram an enormous field of view into a single frame. Sky, foreground, everything. That’s the point.
Step 2: Expect Distortion - and Learn to Work With It
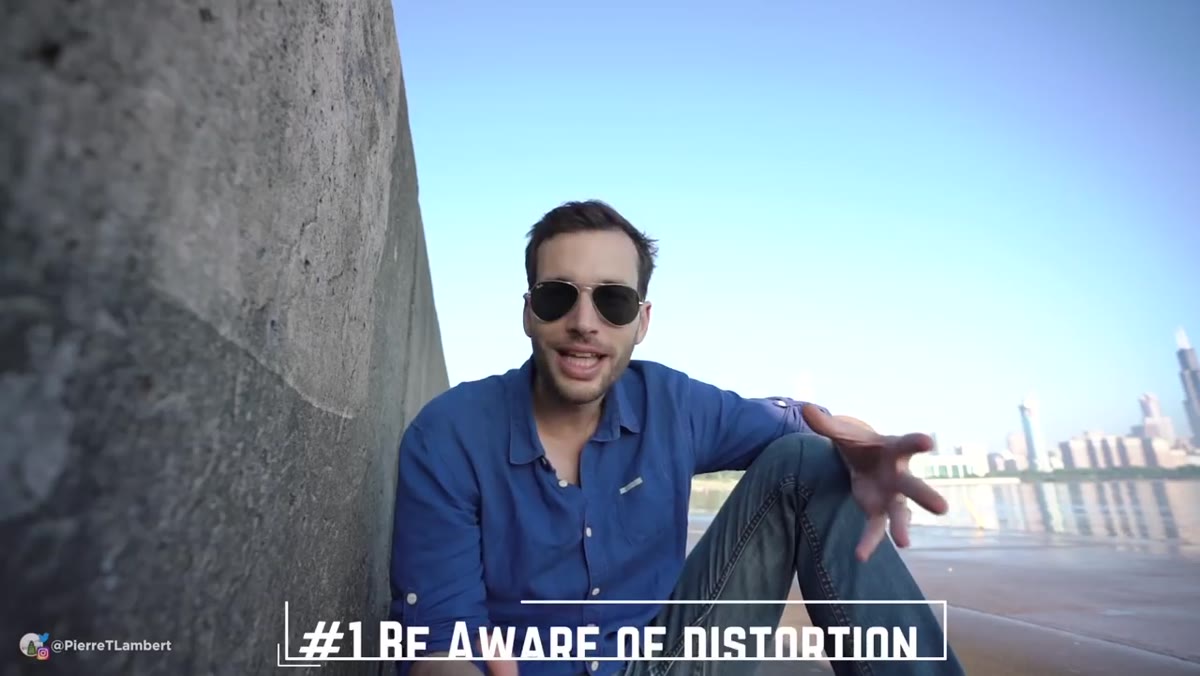 Pierre demonstrating barrel distortion on wide angle lens
The first thing wide angles do is distort. Lines that should be straight start to bow outward, especially near the edges of the frame. This is called barrel distortion, and it’s not a defect, it’s physics. The lens is bending a massive field of view to fit a small sensor. Understanding that this is happening - and that it’s predictable - means you can account for it in your compositions rather than fighting it blindly. If you’re shooting architecture, you’ll want to correct for it in post. If you’re shooting landscapes, it often doesn’t matter at all.
Pierre demonstrating barrel distortion on wide angle lens
The first thing wide angles do is distort. Lines that should be straight start to bow outward, especially near the edges of the frame. This is called barrel distortion, and it’s not a defect, it’s physics. The lens is bending a massive field of view to fit a small sensor. Understanding that this is happening - and that it’s predictable - means you can account for it in your compositions rather than fighting it blindly. If you’re shooting architecture, you’ll want to correct for it in post. If you’re shooting landscapes, it often doesn’t matter at all.
Step 3: Know That Distance Is Deceptive
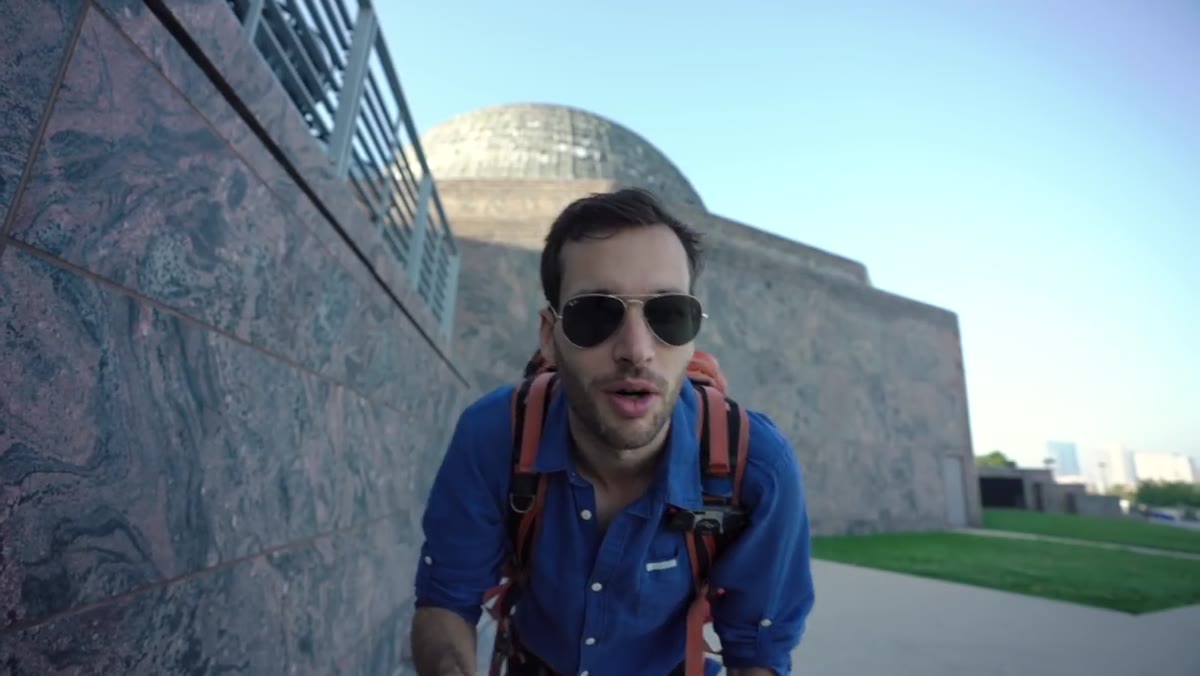 Pierre standing close to lens showing size distortion effect
One of the most disorienting things about wide angles is that objects appear much farther away than they actually are. Pierre demonstrates this directly on camera: standing right up against a 16mm lens, he barely looks like he takes up any space. Step back even slightly and you practically disappear. This is the same optical illusion printed on your car’s side mirror. The field of view is so wide that your subject becomes a small piece of a very large puzzle. The fix is simple: get closer. Much closer than feels natural. If you think you’re close enough, take one more step forward.
Pierre standing close to lens showing size distortion effect
One of the most disorienting things about wide angles is that objects appear much farther away than they actually are. Pierre demonstrates this directly on camera: standing right up against a 16mm lens, he barely looks like he takes up any space. Step back even slightly and you practically disappear. This is the same optical illusion printed on your car’s side mirror. The field of view is so wide that your subject becomes a small piece of a very large puzzle. The fix is simple: get closer. Much closer than feels natural. If you think you’re close enough, take one more step forward.
Step 4: Do Not Shoot Standard Portraits With a Wide Angle
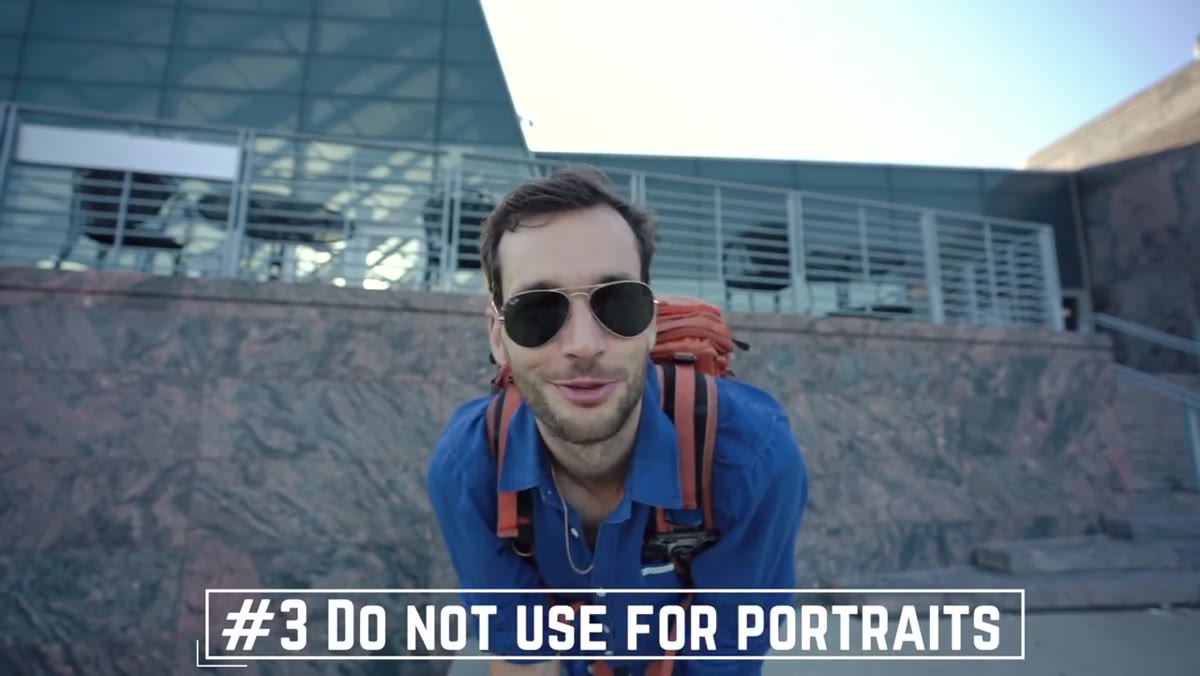 Pierre’s face visibly distorted shooting portrait with wide angle
This one hurts people. If you put a subject’s face near the center of a wide angle frame and shoot at a normal portrait distance, the result looks like a funhouse mirror. The face stretches and bloats, the nose gets exaggerated, and the body shrinks behind it. It’s unflattering in a way that’s hard to fix in editing because the distortion is built into the geometry of the shot. Portrait lenses run from about 50mm and up, with 85mm being the classic sweet spot for a reason. Keep your wide angle away from faces unless you’re deliberately going for a stylized effect.
Pierre’s face visibly distorted shooting portrait with wide angle
This one hurts people. If you put a subject’s face near the center of a wide angle frame and shoot at a normal portrait distance, the result looks like a funhouse mirror. The face stretches and bloats, the nose gets exaggerated, and the body shrinks behind it. It’s unflattering in a way that’s hard to fix in editing because the distortion is built into the geometry of the shot. Portrait lenses run from about 50mm and up, with 85mm being the classic sweet spot for a reason. Keep your wide angle away from faces unless you’re deliberately going for a stylized effect.
Step 5: Use Distortion Intentionally When Shooting People
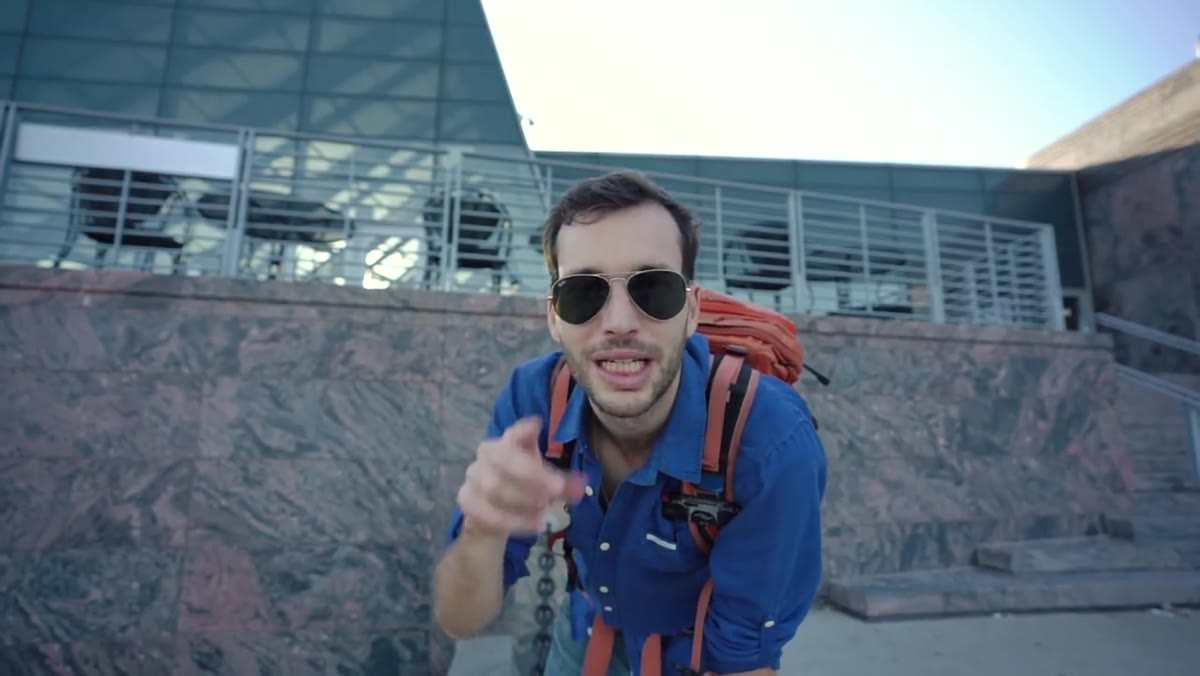 Pierre showing edge placement technique to minimize facial distortion
Here’s where it gets interesting. Wide angles and people aren’t a total mismatch - you just have to understand where the distortion lives. The worst stretching happens at the edges of the frame and along the center axis when your subject is too close. If you’re shooting an environmental portrait or want to include a person alongside a big landscape, position them thoughtfully within the frame. Keeping faces more toward the center and pulling back slightly reduces the worst of the distortion. You can also use the edge distortion creatively, it elongates and dramatizes, which works for certain styles of editorial or street work.
Pierre showing edge placement technique to minimize facial distortion
Here’s where it gets interesting. Wide angles and people aren’t a total mismatch - you just have to understand where the distortion lives. The worst stretching happens at the edges of the frame and along the center axis when your subject is too close. If you’re shooting an environmental portrait or want to include a person alongside a big landscape, position them thoughtfully within the frame. Keeping faces more toward the center and pulling back slightly reduces the worst of the distortion. You can also use the edge distortion creatively, it elongates and dramatizes, which works for certain styles of editorial or street work.
Step 6: Get Low and Use Foreground to Add Depth
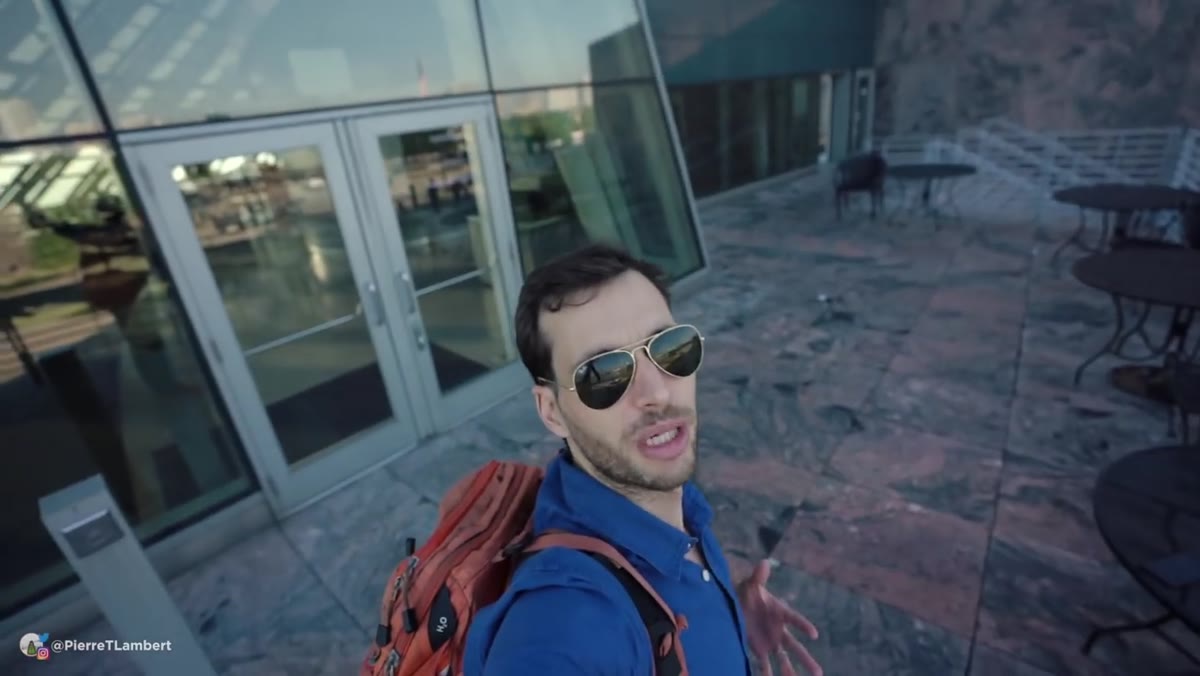 Pierre crouching showing foreground elements pulled into frame
Wide angles reward photographers who get physically low and lean into foreground elements. Because the lens captures so much vertical space, dropping down pulls rocks, flowers, water, or pavement into the bottom of the frame and creates a strong sense of depth and scale. This is one of the signature moves in landscape photography, and it works because the wide field of view exaggerates the distance between the near foreground and the far background. Try it even in environments where you wouldn’t think to bother: urban streets, beaches, forest floors. The results are almost always more interesting than shooting from eye level.
Pierre crouching showing foreground elements pulled into frame
Wide angles reward photographers who get physically low and lean into foreground elements. Because the lens captures so much vertical space, dropping down pulls rocks, flowers, water, or pavement into the bottom of the frame and creates a strong sense of depth and scale. This is one of the signature moves in landscape photography, and it works because the wide field of view exaggerates the distance between the near foreground and the far background. Try it even in environments where you wouldn’t think to bother: urban streets, beaches, forest floors. The results are almost always more interesting than shooting from eye level.
Step 7: Use Lines and Architecture to Your Advantage
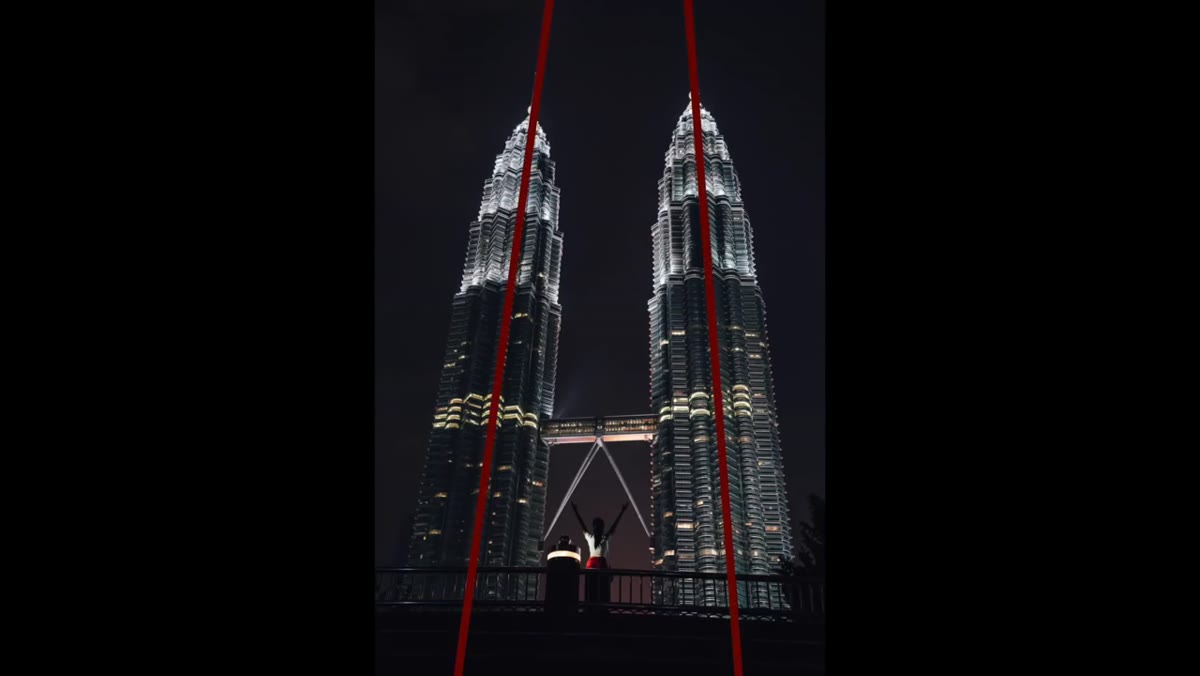 Pierre framing architectural scene with wide angle leading lines
Straight lines in architecture become powerful compositional tools with a wide angle. The natural tendency of the lens to converge parallel lines can create dramatic leading lines that pull the viewer’s eye deep into the frame. Point the camera slightly upward at a building and the vertical lines will converge toward the top, creating a sense of height and scale that a standard lens simply can’t replicate. Shoot down a corridor or alley and the same effect happens horizontally. This is not a bug. Embrace it, frame deliberately, and the distortion becomes a visual asset.
Pierre framing architectural scene with wide angle leading lines
Straight lines in architecture become powerful compositional tools with a wide angle. The natural tendency of the lens to converge parallel lines can create dramatic leading lines that pull the viewer’s eye deep into the frame. Point the camera slightly upward at a building and the vertical lines will converge toward the top, creating a sense of height and scale that a standard lens simply can’t replicate. Shoot down a corridor or alley and the same effect happens horizontally. This is not a bug. Embrace it, frame deliberately, and the distortion becomes a visual asset.
What I’d Add From My Own Testing
I’ve run a lot of budget wide angles through their paces (it’s basically a hobby at this point), and the one thing Pierre’s tutorial doesn’t cover - probably because he’s working with quality glass - is how much these principles are amplified on cheaper lenses. Barrel distortion is significantly worse on no-name wide angles under $150, and edge sharpness drops fast. That doesn’t mean budget glass isn’t worth buying. It means you need to know going in that you’ll be correcting more in Lightroom and framing tighter to keep subjects away from the soft corners. The techniques in this tutorial still apply completely - you just have to work a little harder to execute them cleanly.
The single most important thing to take away here is this: a wide angle lens requires you to change how you physically interact with your scene. You move closer, you get lower, you think about foreground, and you keep faces out of the frame unless you know exactly what you’re doing. Once that clicks, the lens stops being confusing and starts being one of the most versatile tools in your bag. Watch the full tutorial on YouTube to see every point demonstrated live - Pierre’s hands-on approach makes the geometry of all this much easier to internalize.
Comments
Leave a Comment