
I’ve always had a complicated relationship with the 70-200mm focal range. It’s the lens I recommend to almost everyone who asks, and it’s the lens I personally avoided for years because the size and weight made it a liability when I was trying to travel light. If you’ve ever tried to cram a traditional 70-200mm into a carry-on alongside everything else you’re hauling, you know exactly what I mean. The glass is worth it. The bulk is not.
That tension is exactly what makes Canon’s RF 70-200mm such an interesting piece of gear to watch closely. In this Peter McKinnon tutorial, he does a live, unscripted first-look unboxing that’s genuinely useful because he’s not reading from a spec sheet. He’s reacting in real time, comparing the new RF version against the EF version he’s been shooting with for years, and flagging the details that actually matter on a shoot. Watch the full tutorial on YouTube
What follows is a breakdown of every meaningful observation from that video, organized so you can use it as a practical reference when you’re deciding whether this lens deserves a spot in your kit.
Step 1: Understand What You’re Actually Comparing
 Side-by-side of EF and RF 70-200mm on a table
Before you evaluate any new lens, you need a honest baseline. McKinnon makes the comparison concrete immediately by placing the RF version next to the EF version he’s been using. The RF lens is dramatically shorter. That’s not marketing language. The internal zoom design means the barrel doesn’t extend as the focal length increases, so what you’re holding at 70mm and at 200mm is the same physical size. The EF version, by contrast, telescopes out and becomes a noticeably longer object in your hand and in your bag.
Side-by-side of EF and RF 70-200mm on a table
Before you evaluate any new lens, you need a honest baseline. McKinnon makes the comparison concrete immediately by placing the RF version next to the EF version he’s been using. The RF lens is dramatically shorter. That’s not marketing language. The internal zoom design means the barrel doesn’t extend as the focal length increases, so what you’re holding at 70mm and at 200mm is the same physical size. The EF version, by contrast, telescopes out and becomes a noticeably longer object in your hand and in your bag.
If you’re shooting events, weddings, or any run-and-gun work where you’re not locked into a tripod, that physical footprint matters more than most spec comparisons will tell you.
Step 2: Evaluate the Build Quality Upgrades
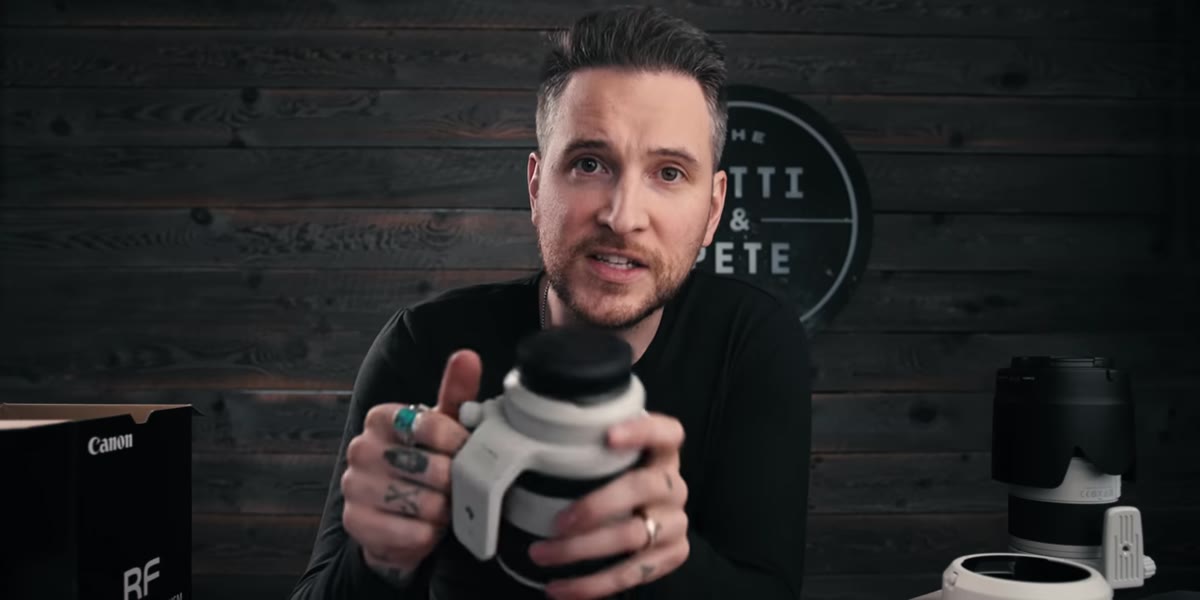 Close-up of the tripod collar on the RF 70-200mm
McKinnon notes that the tripod collar on the RF version feels meaningfully sturdier than what shipped with the EF. This isn’t a minor cosmetic refresh. A wobbly tripod collar introduces micro-vibration and makes repositioning the camera on a head more frustrating than it needs to be. The RF collar feels tighter, more refined, and more like something you’d expect on a lens released in the current era rather than a holdover from an older design cycle.
Close-up of the tripod collar on the RF 70-200mm
McKinnon notes that the tripod collar on the RF version feels meaningfully sturdier than what shipped with the EF. This isn’t a minor cosmetic refresh. A wobbly tripod collar introduces micro-vibration and makes repositioning the camera on a head more frustrating than it needs to be. The RF collar feels tighter, more refined, and more like something you’d expect on a lens released in the current era rather than a holdover from an older design cycle.
The lens hood has also been updated. It’s wider to match the optical design, but it feels like it was designed alongside the lens rather than adapted from something else. These are the kinds of details that don’t show up in sample image galleries but matter on the third hour of a long shoot.
Step 3: Check the Zoom Throw Before You Commit
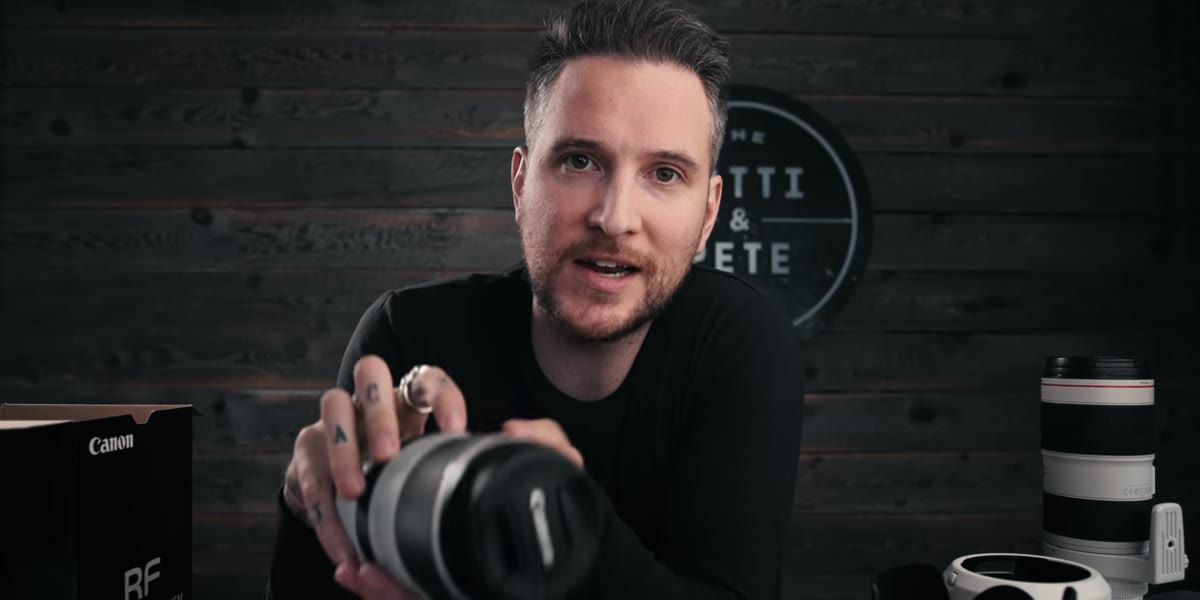 Hand demonstrating the zoom ring rotation from 70 to 200mm
This is the one area where McKinnon flags a real-world tradeoff. The zoom throw on the RF version, meaning how far you rotate the ring to go from 70mm to 200mm, is longer than on the EF version. It takes more wrist movement to travel the full focal range. For documentary-style or event shooting where you’re constantly adjusting on the fly, that longer throw can slow you down slightly in the moment.
Hand demonstrating the zoom ring rotation from 70 to 200mm
This is the one area where McKinnon flags a real-world tradeoff. The zoom throw on the RF version, meaning how far you rotate the ring to go from 70mm to 200mm, is longer than on the EF version. It takes more wrist movement to travel the full focal range. For documentary-style or event shooting where you’re constantly adjusting on the fly, that longer throw can slow you down slightly in the moment.
It’s not a dealbreaker, but it’s worth knowing before you pick this up expecting it to handle identically to the EF. If you’re coming from the EF version, budget a few shooting sessions to recalibrate your muscle memory on the ring.
Step 4: Assess the Weight Reduction
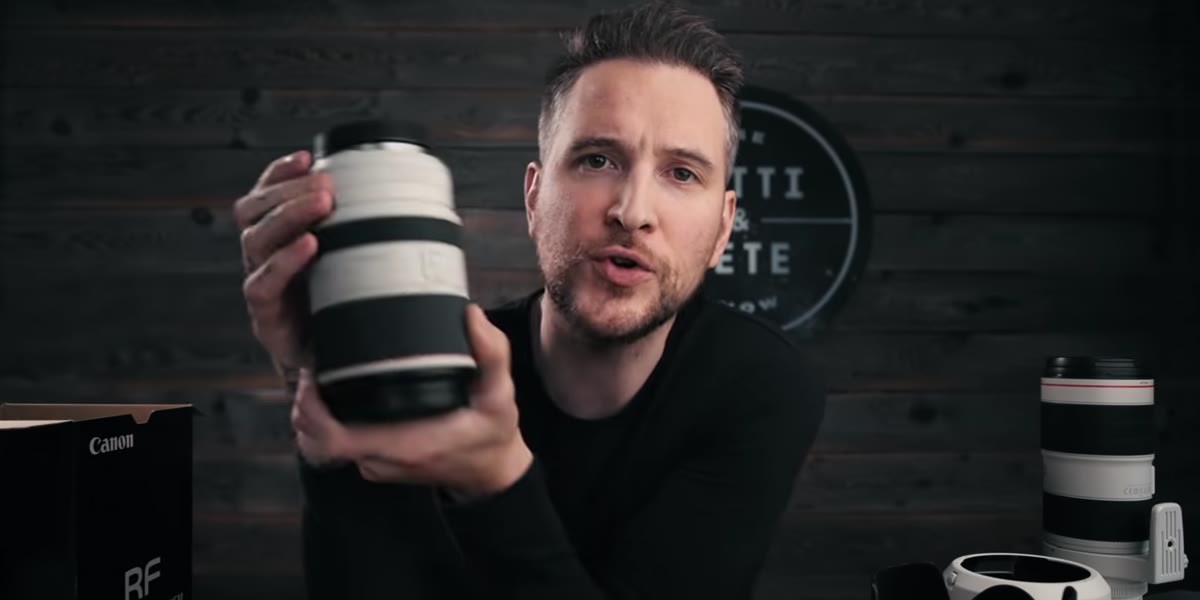
 McKinnon comparing both lenses in each hand
McKinnon didn’t have a scale on hand during the unboxing, but his hands tell the story clearly enough. The RF version feels lighter. When you’re carrying glass across a full day of shooting, every ounce removed from the end of your camera reduces fatigue and makes handheld shooting more stable over time. This is one of the core arguments for the mirrorless system generally, and the RF 70-200mm leans into it hard.
McKinnon comparing both lenses in each hand
McKinnon didn’t have a scale on hand during the unboxing, but his hands tell the story clearly enough. The RF version feels lighter. When you’re carrying glass across a full day of shooting, every ounce removed from the end of your camera reduces fatigue and makes handheld shooting more stable over time. This is one of the core arguments for the mirrorless system generally, and the RF 70-200mm leans into it hard.
The internal zoom design is a big part of why the weight savings are possible. There’s less glass moving forward and back during focal length changes, which means the engineering can be tighter and lighter overall.
Step 5: Decide Whether the Control Ring Is Useful for Your Workflow
 Finger resting on the control ring near the lens mount
The RF mount introduced a customizable control ring on Canon’s native lenses, and the 70-200mm has one. McKinnon is honest here: he hasn’t found a use for it. You can map it to aperture, ISO, or exposure compensation depending on how you shoot, but if your hands are already on the camera controls and you’ve built habits around those, adding another input on the lens barrel can create more confusion than efficiency.
Finger resting on the control ring near the lens mount
The RF mount introduced a customizable control ring on Canon’s native lenses, and the 70-200mm has one. McKinnon is honest here: he hasn’t found a use for it. You can map it to aperture, ISO, or exposure compensation depending on how you shoot, but if your hands are already on the camera controls and you’ve built habits around those, adding another input on the lens barrel can create more confusion than efficiency.
That said, if you’re a video shooter who wants physical control over exposure without diving into menus, this ring could be genuinely useful. It’s programmable, it’s there, and for the right shooter it’s a feature rather than an afterthought.
Step 6: Consider the Internal Zoom as a Practical Advantage
 Lens staying the same length while zoom ring is turned
Internal zoom means the lens barrel stays the same physical length whether you’re at 70mm or 200mm. This matters for two reasons beyond aesthetics. First, it keeps the balance of the lens consistent throughout the zoom range, so you’re not fighting a shifting center of gravity while tracking a subject. Second, it means the front element doesn’t move, which is important if you’re using a polarizer or any filter that requires you to maintain a specific orientation.
Lens staying the same length while zoom ring is turned
Internal zoom means the lens barrel stays the same physical length whether you’re at 70mm or 200mm. This matters for two reasons beyond aesthetics. First, it keeps the balance of the lens consistent throughout the zoom range, so you’re not fighting a shifting center of gravity while tracking a subject. Second, it means the front element doesn’t move, which is important if you’re using a polarizer or any filter that requires you to maintain a specific orientation.
For photographers who stack filters frequently, this is a bigger deal than it might initially seem. You set the filter, you zoom, and the filter stays put.
What I’d Add From My Own Testing Experience
I haven’t personally shot a wedding with the RF 70-200mm yet, but I’ve been through enough lens comparisons to know that the spec that doesn’t get enough attention is the one McKinnon keeps circling back to: size. When I started out, I shot a full wedding with a kit that cost under $400 total. The images ended up in a local magazine. The bottleneck was never image quality. It was stamina. Carrying less weight for ten hours means your last shots are as sharp as your first ones, because you’re not compensating for tired arms.
The RF 70-200mm is still a significant investment. But if you’re already in the Canon mirrorless ecosystem and the EF version’s size has been your excuse not to bring it, this version removes that excuse.
The single most important thing McKinnon confirms in this video is that the core optics that made the 70-200mm the go-to lens for portraits, events, and compressed background work are still intact. Everything else got lighter, tighter, and more practical. That’s a rare combination in a lens update. Watch the full tutorial on YouTube to see the side-by-side comparisons in real time.
Comments
Leave a Comment