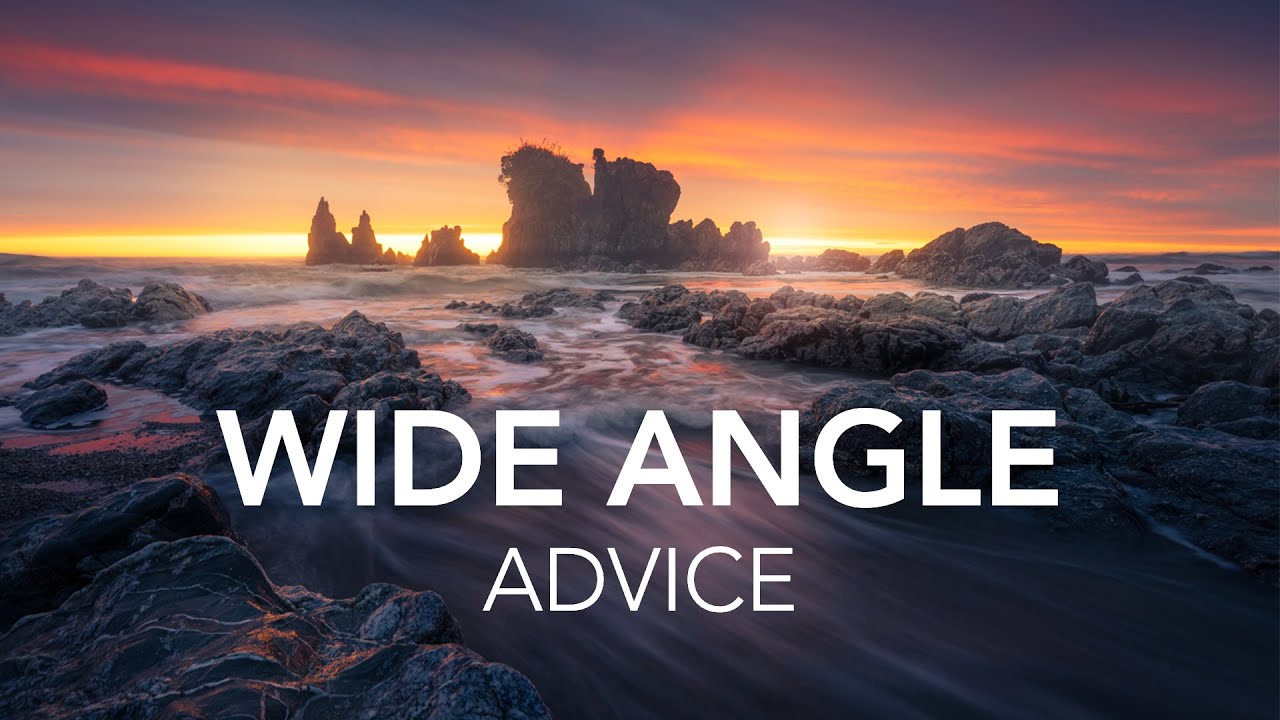
I’ll be honest: wide angle lenses have a reputation for being “easy” because they fit so much in the frame. Point them at a big landscape, click, done. Except that’s exactly the wrong way to use them, and it took me longer than I’d like to admit to figure that out. When I was starting out with a budget ultra-wide zoom, my landscape shots looked flat and lifeless even though I was standing in front of genuinely beautiful scenery. Something was missing, and I couldn’t name it.
In this William Patino tutorial, he breaks down the specific mechanics of why wide angle lenses fail in beginners’ hands and what to actually do about it. Watch the full tutorial on YouTube - but if you want the step-by-step breakdown you can follow in the field without pausing a video every 30 seconds, keep reading. Patino teaches workshops and has watched enough beginners fumble with ultra-wides to know exactly where people go wrong. The tips here apply whether you’re shooting on a $300 kit zoom or a professional-grade prime.
The core problem he identifies is something I’ve seen in my own old photos when I scroll back through them: everything in the frame looks like it’s at the same distance. No depth, no drama, no sense that you were actually standing in a place. The fix is a technique called diminishing perspective, and once you understand it, you can’t unsee it in every landscape photo you look at.
Step 1: Understand Why Wide Angle Lenses Confuse Beginners
 Photographer looking overwhelmed at wide field of view
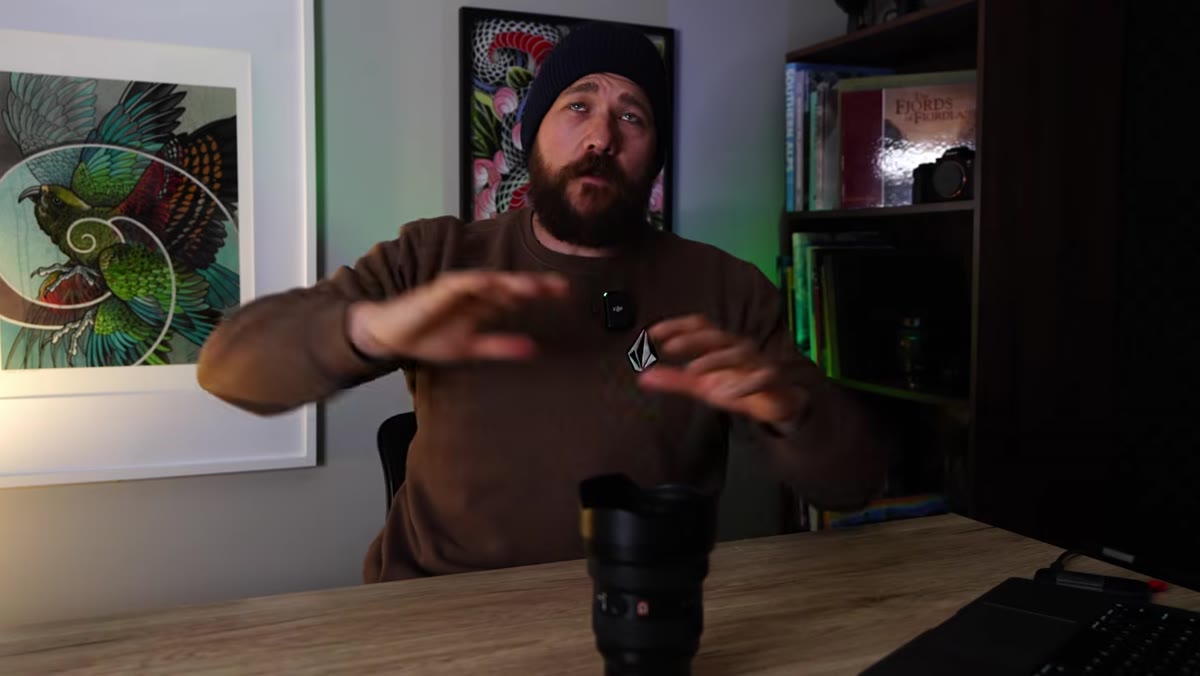
The first thing Patino addresses is the disorientation that hits when you mount an ultra-wide for the first time. The field of view is huge, which feels like a gift, but it creates two real problems. First, your subject gets lost because there’s so much competing information in the frame. Second, the rounded glass compresses distant subjects even further away than they already are. If you’ve ever tried to make a mountain range look dramatic with a wide angle and ended up with a distant smudge on the horizon, that’s the pincushion effect at work. Knowing these limitations upfront means you can shoot around them rather than fight them.
Photographer looking overwhelmed at wide field of view
The first thing Patino addresses is the disorientation that hits when you mount an ultra-wide for the first time. The field of view is huge, which feels like a gift, but it creates two real problems. First, your subject gets lost because there’s so much competing information in the frame. Second, the rounded glass compresses distant subjects even further away than they already are. If you’ve ever tried to make a mountain range look dramatic with a wide angle and ended up with a distant smudge on the horizon, that’s the pincushion effect at work. Knowing these limitations upfront means you can shoot around them rather than fight them.
Step 2: Learn What Diminishing Perspective Actually Means
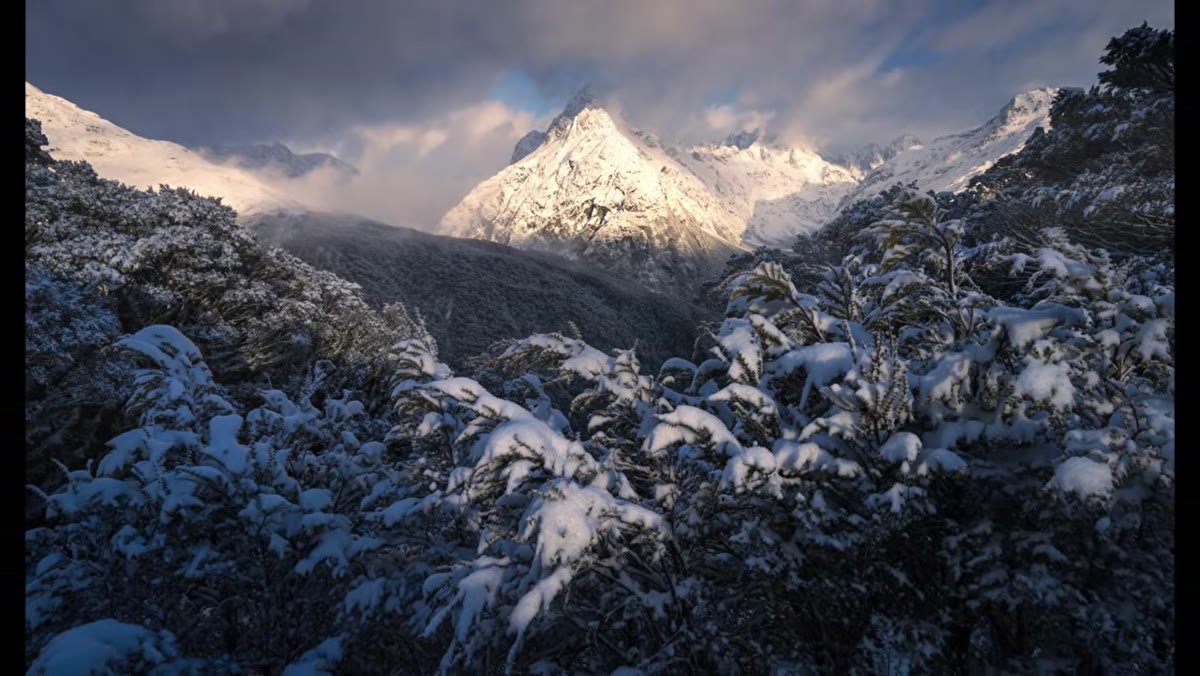 Diagram or scene showing large foreground shapes shrinking toward horizon
Diminishing perspective is the progression of shapes moving from large in the foreground to small in the background. It’s how our eyes naturally read depth in the real world. The wide angle lens is uniquely powerful here because it can exaggerate this progression beyond what the human eye normally perceives. Think of standing in the middle of a road: a wide angle will pull the lower corners of that road almost to the edges of your frame, then show the lane lines converging tightly off into the distance. That’s not distortion working against you. That’s the tool doing its job.
Diagram or scene showing large foreground shapes shrinking toward horizon
Diminishing perspective is the progression of shapes moving from large in the foreground to small in the background. It’s how our eyes naturally read depth in the real world. The wide angle lens is uniquely powerful here because it can exaggerate this progression beyond what the human eye normally perceives. Think of standing in the middle of a road: a wide angle will pull the lower corners of that road almost to the edges of your frame, then show the lane lines converging tightly off into the distance. That’s not distortion working against you. That’s the tool doing its job.
Step 3: Get Physically Close to Your Foreground Subject
 Photographer crouching within one foot of foreground rocks or ferns
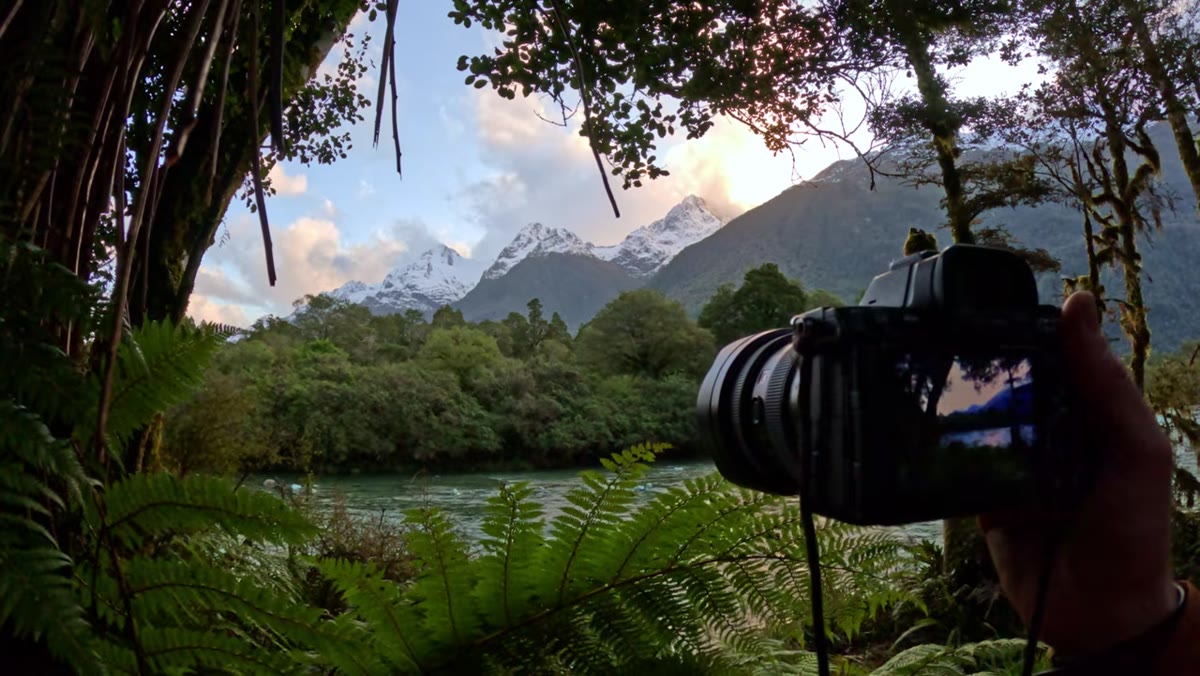
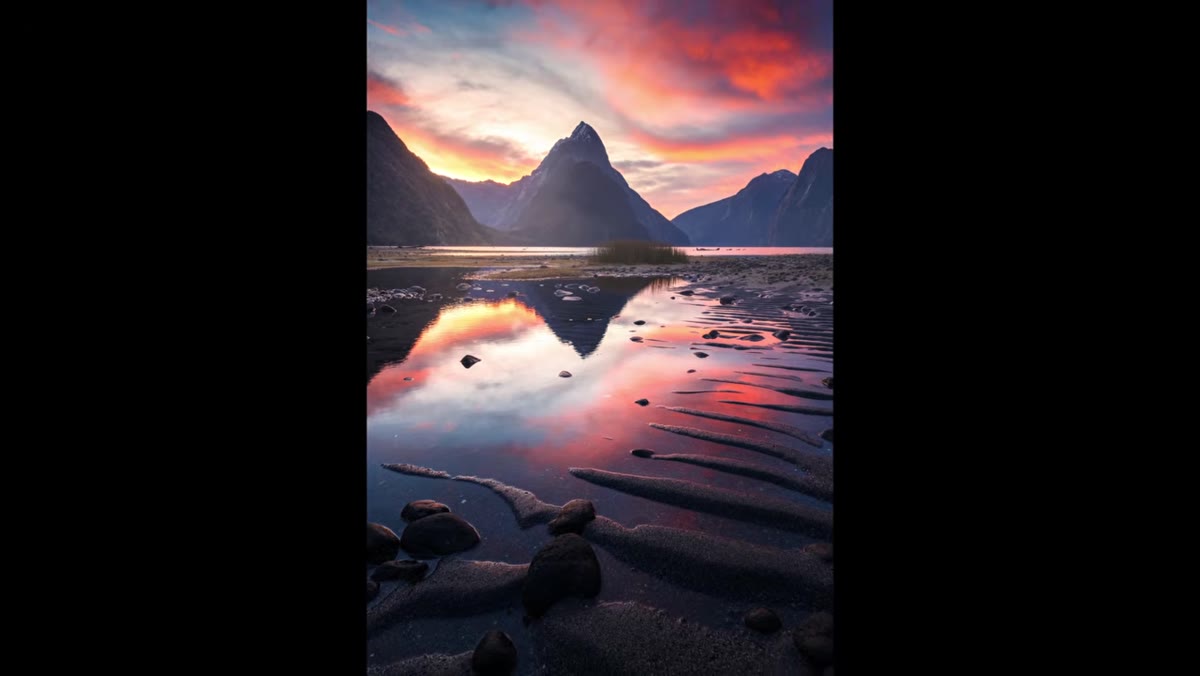
This is the one that changes everything and the one most beginners skip entirely. Patino recommends getting within one foot of your foreground subject. Not a few feet. One foot. When you get that close with a wide angle lens, the details nearest the glass stretch wide and become large and prominent, then fall off rapidly into the mid-ground and background. A patch of ferns, a cluster of rocks, wet sand at the shoreline: any of these becomes a dramatic foreground anchor that pulls the viewer’s eye straight into the scene. The size contrast between what’s close and what’s far is what creates the three-dimensional feeling that makes a landscape image worth looking at twice.
Photographer crouching within one foot of foreground rocks or ferns
This is the one that changes everything and the one most beginners skip entirely. Patino recommends getting within one foot of your foreground subject. Not a few feet. One foot. When you get that close with a wide angle lens, the details nearest the glass stretch wide and become large and prominent, then fall off rapidly into the mid-ground and background. A patch of ferns, a cluster of rocks, wet sand at the shoreline: any of these becomes a dramatic foreground anchor that pulls the viewer’s eye straight into the scene. The size contrast between what’s close and what’s far is what creates the three-dimensional feeling that makes a landscape image worth looking at twice.
Step 4: Stop Standing Far Back With Your Wide Angle
 Flat, uninspiring shot taken from standing distance with wide angle
Patino is direct about this, and rightly so. If you’re using an ultra-wide and just standing at normal shooting distance, you’ve essentially canceled out the lens’s main advantage. Everything in the frame ends up looking like it’s in the mid-ground. Nothing dominates, nothing recedes, and the image reads as flat. The wide angle only creates that exaggerated depth when there’s a genuine size difference between what’s close and what’s far. Without proximity to the foreground, you’re just paying for a wider frame with none of the visual impact that justifies the cost of the glass.
Flat, uninspiring shot taken from standing distance with wide angle
Patino is direct about this, and rightly so. If you’re using an ultra-wide and just standing at normal shooting distance, you’ve essentially canceled out the lens’s main advantage. Everything in the frame ends up looking like it’s in the mid-ground. Nothing dominates, nothing recedes, and the image reads as flat. The wide angle only creates that exaggerated depth when there’s a genuine size difference between what’s close and what’s far. Without proximity to the foreground, you’re just paying for a wider frame with none of the visual impact that justifies the cost of the glass.
Step 5: Use the Foreground to Lead the Eye Through the Frame
 Shot with strong foreground leading through mid-ground to background
Once you’re close to your foreground and you’ve got that size progression working, the composition almost guides itself. The viewer’s eye enters the frame at the large, detailed foreground element, follows the natural shrinking of shapes through the mid-ground, and lands on the background subject: a peak, a treeline, a dramatic sky. This is the “flow” that Patino talks about. It’s not about placing a rule-of-thirds grid over your scene. It’s about giving the eye a logical path to travel. The wide angle makes that path feel like a journey rather than a glance.
Shot with strong foreground leading through mid-ground to background
Once you’re close to your foreground and you’ve got that size progression working, the composition almost guides itself. The viewer’s eye enters the frame at the large, detailed foreground element, follows the natural shrinking of shapes through the mid-ground, and lands on the background subject: a peak, a treeline, a dramatic sky. This is the “flow” that Patino talks about. It’s not about placing a rule-of-thirds grid over your scene. It’s about giving the eye a logical path to travel. The wide angle makes that path feel like a journey rather than a glance.
Step 6: Practice the Technique on Ordinary Subjects First
 Close-up of mundane foreground like stones or plants showing dramatic effect
You don’t need to be in Iceland to practice this. Patino’s own examples include stones and ferns, nothing exotic. Find something textured at ground level, get uncomfortably close, and fire a few frames. Then step back five feet and shoot the same scene. Compare them side by side. The difference will be immediately obvious and it’ll rewire how you approach every outdoor shot going forward. This is the kind of practice that works better on a Tuesday afternoon in your local park than it does in a high-pressure travel situation where you’re rushing to beat the light.
Close-up of mundane foreground like stones or plants showing dramatic effect
You don’t need to be in Iceland to practice this. Patino’s own examples include stones and ferns, nothing exotic. Find something textured at ground level, get uncomfortably close, and fire a few frames. Then step back five feet and shoot the same scene. Compare them side by side. The difference will be immediately obvious and it’ll rewire how you approach every outdoor shot going forward. This is the kind of practice that works better on a Tuesday afternoon in your local park than it does in a high-pressure travel situation where you’re rushing to beat the light.
What I’d Add: Cheap Wide Angles Work Fine for This Technique
I’ve tested a lot of budget ultra-wide lenses, and the diminishing perspective technique Patino describes doesn’t require premium glass to execute. The physics are the same whether you’re using a $150 third-party zoom or a $1,800 name-brand prime. Where cheap lenses fall short is in sharpness toward the corners and chromatic aberration in high-contrast scenes. But the core compositional impact, that sense of depth and dimension you get from close foreground placement, is available at every price point. If you’ve been holding off on experimenting with wide angle work because you think you need to upgrade first, you don’t. Work the technique with what you have.
The single biggest takeaway from Patino’s tutorial is this: your wide angle lens rewards proximity. Get close, let the foreground dominate the bottom of your frame, and trust that the background will take care of itself. That one shift in approach will do more for your landscape photography than any upgrade you could buy.
Watch the full tutorial on YouTube to see Patino’s examples side by side. Seeing the before-and-after in motion makes the concept click in a way that’s hard to fully capture in text.
Comments
Leave a Comment