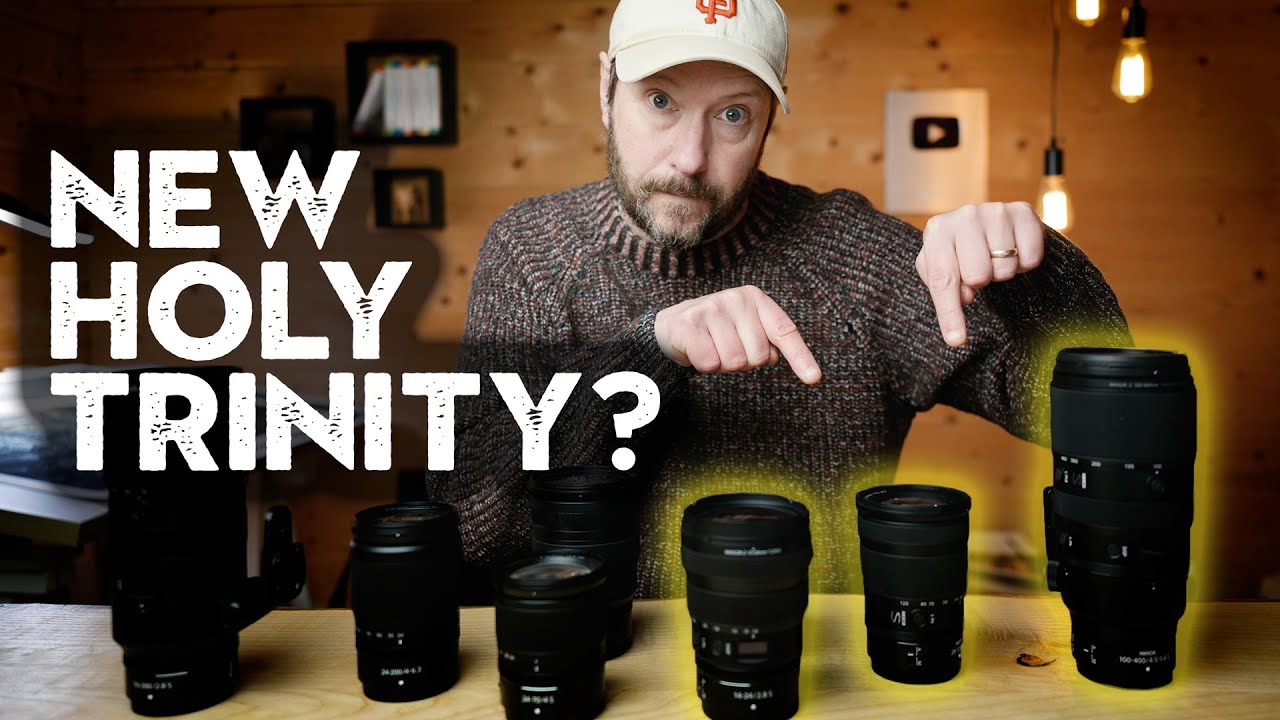
I’ll be honest: I’ve defended budget lenses so many times that I sometimes forget to question whether the lenses I’m actually reaching for are the right ones at all. Price versus performance is one thing. But what about the lens sitting in your bag that you keep telling yourself you’ll use more? That’s a different problem, and it’s one I hadn’t thought to measure until I watched Nigel Danson work through it on camera.
In this Nigel Danson tutorial on YouTube, he does something I haven’t seen many photographers bother to do: he pulls up a full year of his picked photos in Lightroom and filters them by lens, focal length, and camera to see exactly how he actually shot, not how he thought he shot. The gap between those two things turned out to be significant enough to change his entire kit. If you’ve ever bought a lens based on what you planned to shoot rather than what you really shoot, this one’s going to sting a little.
The technique itself doesn’t require any plugins, any exports, or any third-party software. Everything lives inside Lightroom’s Library module, and once you know where to look, you can run this audit in about ten minutes. Here’s how he does it.
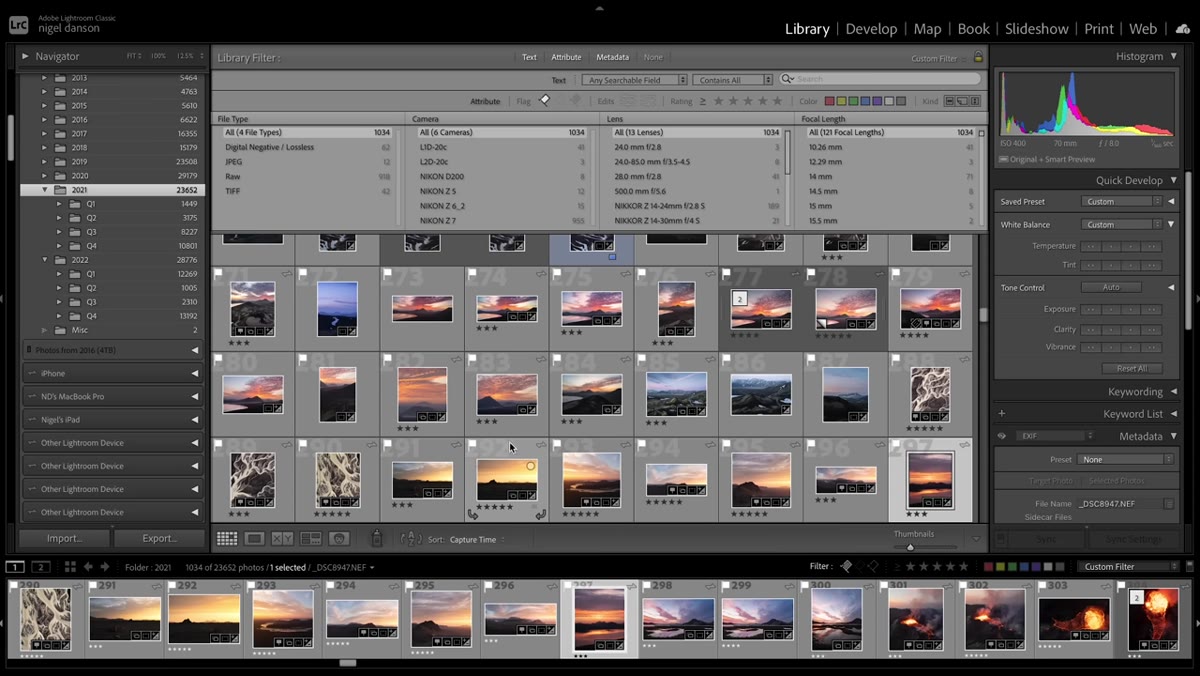
Step 1: Open the Library Module and Access the Find Panel
 Lightroom Library module with Find panel open
Start in Lightroom’s Library module, not Develop. Go to Edit, then Find (or use the keyboard shortcut Ctrl+F on Windows, Cmd+F on Mac). This opens a search panel that most people walk right past. The default search looks for text in filenames, but you want to switch the search type to Metadata.
Lightroom Library module with Find panel open
Start in Lightroom’s Library module, not Develop. Go to Edit, then Find (or use the keyboard shortcut Ctrl+F on Windows, Cmd+F on Mac). This opens a search panel that most people walk right past. The default search looks for text in filenames, but you want to switch the search type to Metadata.
Once you’re in Metadata mode, Lightroom lets you filter your entire catalog by camera body, lens, focal length, shutter speed, aperture, and more. This is where the real information lives.
Step 2: Filter by Year and Flag Status
 Filtered library showing flagged picks from 2021
Before you start breaking down lenses, narrow your dataset. Danson filters to a single calendar year and then layers on a flag filter to show only his picks, the images he actually rated as keepers. This is the critical move. You don’t want to analyze every test shot or throwaway frame. You want to know which lenses produced the images you were proud enough to keep.
Filtered library showing flagged picks from 2021
Before you start breaking down lenses, narrow your dataset. Danson filters to a single calendar year and then layers on a flag filter to show only his picks, the images he actually rated as keepers. This is the critical move. You don’t want to analyze every test shot or throwaway frame. You want to know which lenses produced the images you were proud enough to keep.
In Lightroom, you can set flag status using the filter bar at the top of the grid view. Set it to “Flagged” and then use the metadata filter to lock in a date range. What you’re left with is a clean, honest sample of your best work from that period.
Step 3: Sort Results by Lens and Note the Shot Counts
 Lens breakdown showing shot counts per lens model
With your filters active, add Lens as a metadata column. Lightroom will show you every lens in your filtered set along with how many flagged picks came from each one. Danson found that his results were dominated by a small number of lenses, with some gear he owned barely showing up at all.
Lens breakdown showing shot counts per lens model
With your filters active, add Lens as a metadata column. Lightroom will show you every lens in your filtered set along with how many flagged picks came from each one. Danson found that his results were dominated by a small number of lenses, with some gear he owned barely showing up at all.
Write these numbers down or screenshot them. The raw count isn’t the whole story, but it’s your starting point. A lens with 12 picks out of 1,000 is telling you something. Either you barely used it, or you used it and didn’t like what you got.
Step 4: Drill Into Focal Length Distribution Within Each Lens
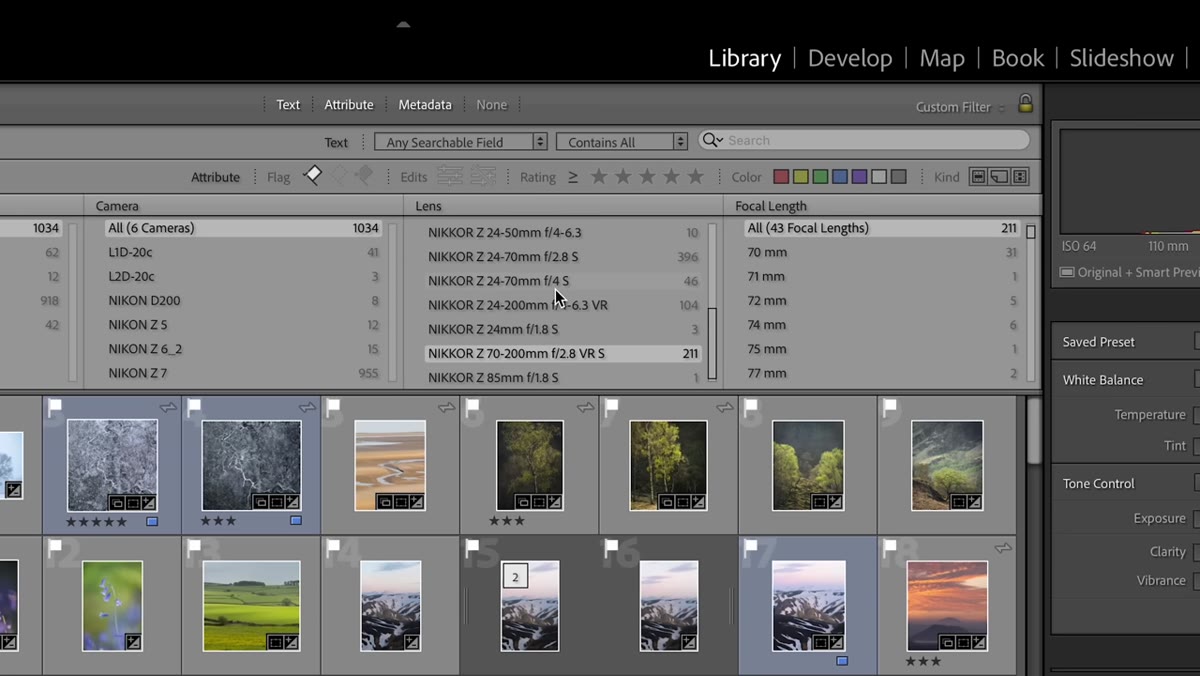 Focal length breakdown within the 24-70mm lens results
This is where Danson’s audit gets genuinely useful. Once you isolate a zoom lens in your filter, add a Focal Length column. What he found with his 24-70mm zoom was that a disproportionate number of his picks were shot at exactly 24mm or exactly 70mm, the extreme ends of the range.
Focal length breakdown within the 24-70mm lens results
This is where Danson’s audit gets genuinely useful. Once you isolate a zoom lens in your filter, add a Focal Length column. What he found with his 24-70mm zoom was that a disproportionate number of his picks were shot at exactly 24mm or exactly 70mm, the extreme ends of the range.
This pattern shows up because we instinctively push a zoom to its limit rather than swap glass. If most of your shots on a 24-70 are at 70mm, you probably needed more reach and were settling. If they’re all at 24mm, you were cramped for wide angle and compromising composition to avoid a lens change. The focal length distribution tells you whether a zoom is genuinely serving you or just acting as a single prime you’re too comfortable to swap out.
Step 5: Compare Image Quality Notes Against Actual Usage
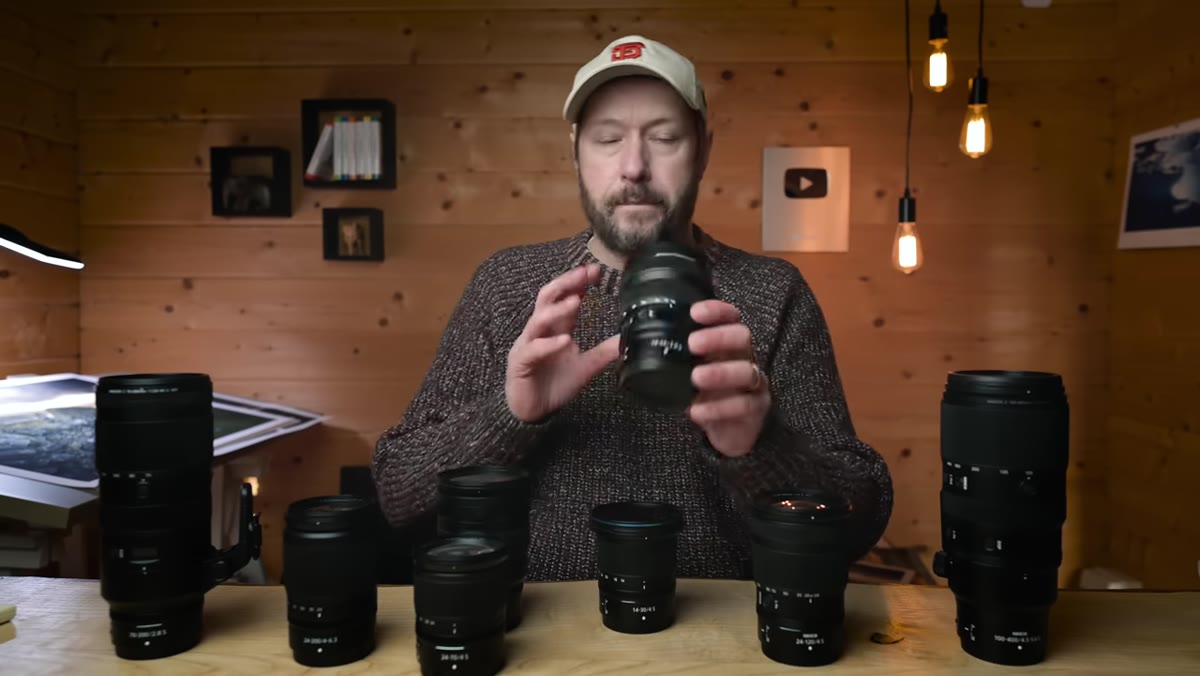 Side-by-side of 14-24mm and 14-30mm lenses in hand
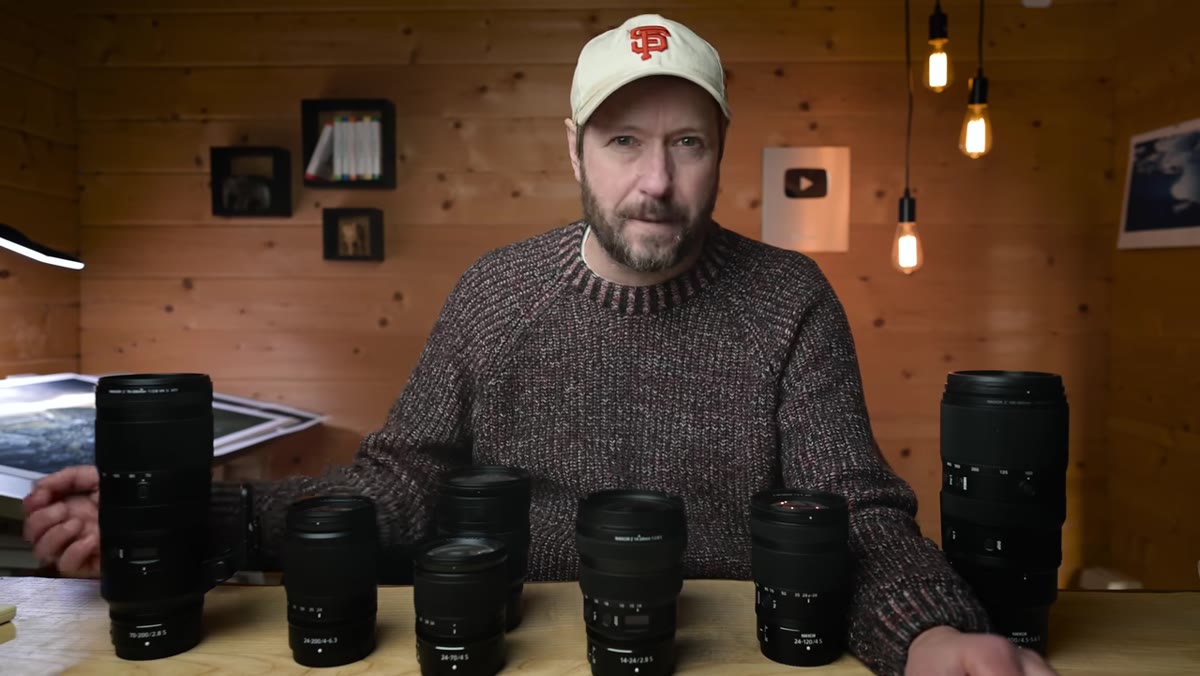
Danson uses this data alongside his own sharpness observations to re-evaluate which lenses are actually earning their place in his bag. He had a lighter, cheaper wide-angle zoom that he’d been slowly replacing with a heavier, more expensive option because the sharpness difference was real. But the audit forced him to confront whether sharpness alone was the deciding factor, or whether weight, size, and shooting context mattered more depending on the job.
Side-by-side of 14-24mm and 14-30mm lenses in hand
Danson uses this data alongside his own sharpness observations to re-evaluate which lenses are actually earning their place in his bag. He had a lighter, cheaper wide-angle zoom that he’d been slowly replacing with a heavier, more expensive option because the sharpness difference was real. But the audit forced him to confront whether sharpness alone was the deciding factor, or whether weight, size, and shooting context mattered more depending on the job.
Run the same comparison for yourself. Take your top three lenses by pick count and honestly assess whether the ones lower on the list are there because they underperformed or because you underused them.
Step 6: Use the Data to Make a Keep, Sell, or Reassign Decision
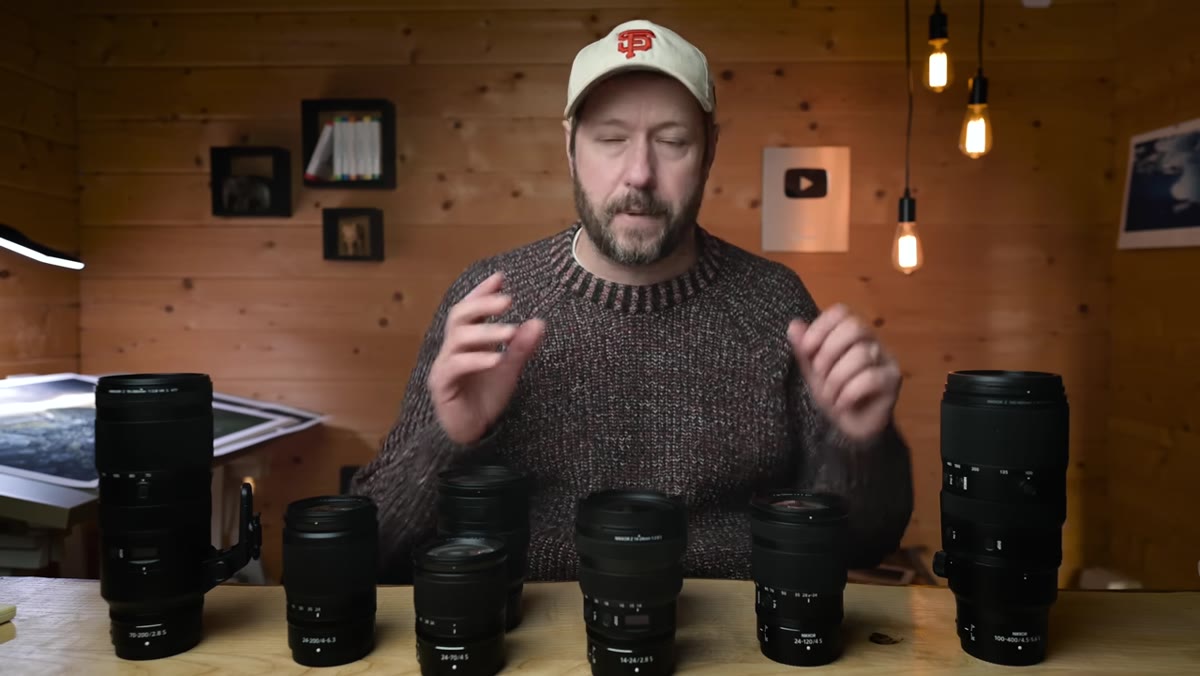
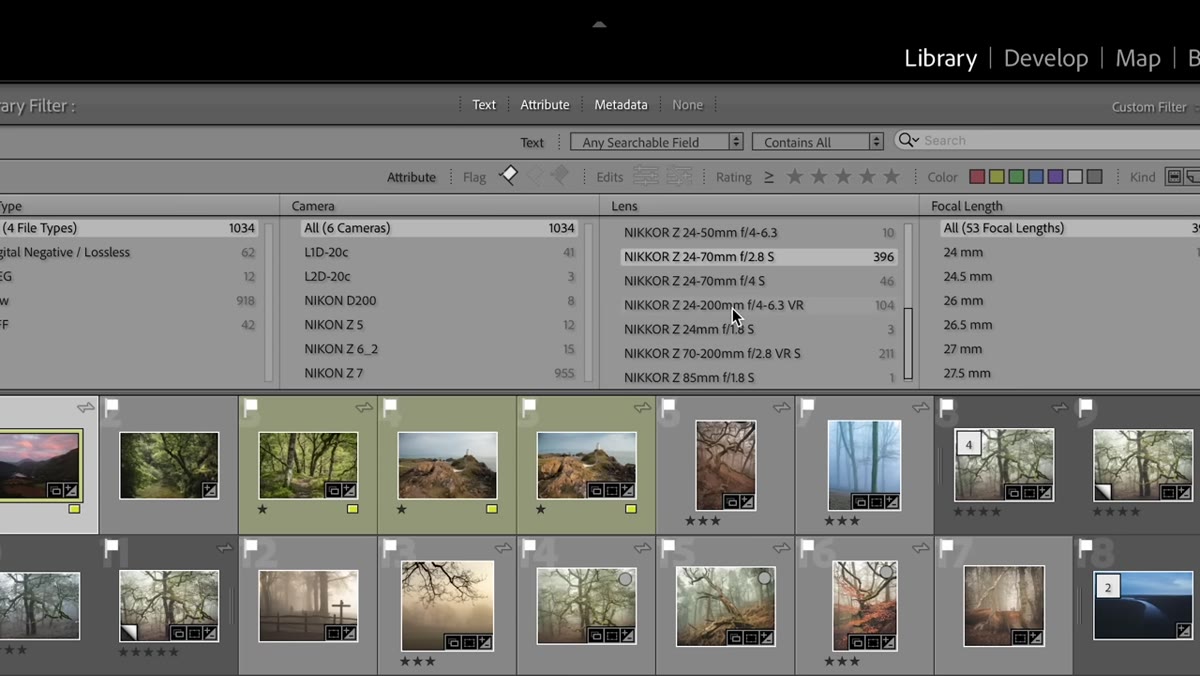 24-to-200mm lens discussed as a versatility compromise
Danson’s conclusion after running this audit was that some lenses that seemed logical on paper, like a versatile 24-200mm superzoom, weren’t showing up in his best work. The versatility was real, but the image quality at the extremes kept it out of his picks. He kept it as a specific-use tool for long hikes where weight mattered more than image quality, but stopped thinking of it as a primary lens.
24-to-200mm lens discussed as a versatility compromise
Danson’s conclusion after running this audit was that some lenses that seemed logical on paper, like a versatile 24-200mm superzoom, weren’t showing up in his best work. The versatility was real, but the image quality at the extremes kept it out of his picks. He kept it as a specific-use tool for long hikes where weight mattered more than image quality, but stopped thinking of it as a primary lens.
This is the decision point the audit is designed to reach. For every lens, you should be able to say: this is a primary lens, this is a specialty lens with a clear use case, or this is taking up space. There’s no wrong answer, but there should be an answer grounded in data, not gear attachment.
What I’d Add: Run This Before You Buy, Not After
I maintain a spreadsheet of every budget lens I’ve tested, and the one thing it’s taught me is that lens regret almost always comes from buying based on spec sheets rather than shooting patterns. Before you spend money on a new focal length, run this audit first. You might find that you already own the focal length you think you’re missing, buried in a zoom you’re not using to its full range. I’ve caught myself three times about to buy a prime that my existing zoom already covered at 80 percent of the optical quality for zero extra cost.
The other thing worth noting: if you’re shooting on a budget system and your lens lineup is smaller, this audit still works. Even with two or three lenses, the focal length distribution data alone will tell you whether you’re actually using the range you paid for.
The single most important takeaway from Danson’s approach is that your Lightroom catalog is already a record of your creative instincts. Most photographers never look at it that way. Spend twenty minutes running this audit and you’ll know more about how you actually shoot than any gear forum can tell you.
Watch the full tutorial on YouTube to see Danson walk through his full 2021 and 2022 lens comparison, including why he made the switch that changed his entire wide-angle approach.
Comments (3)
Just subscribed. If the rest of your content is this good, I'm in.
This is exactly what I needed today. Been struggling with this for weeks.
Well explained. I think my audience would really benefit from this — mind if I link to it?
Leave a Comment