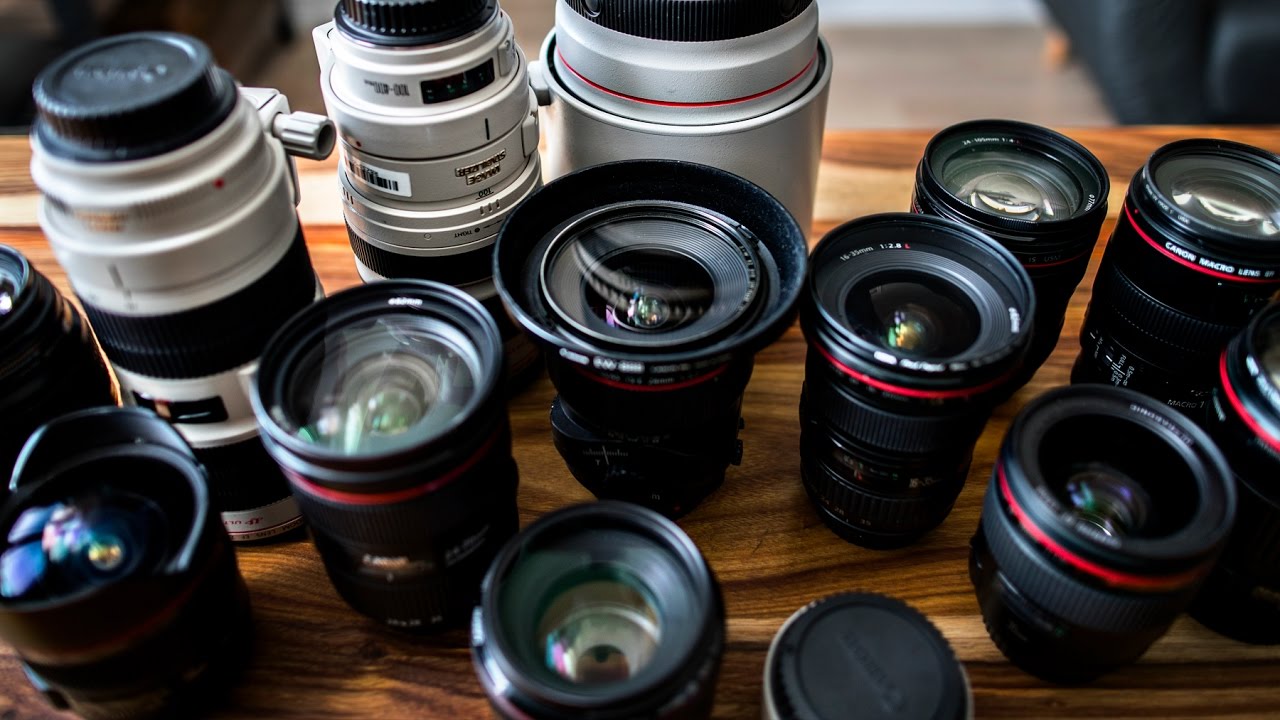
I spent an embarrassing amount of time last year researching lenses I couldn’t afford instead of actually shooting with the ones I had. Sound familiar? The problem isn’t that there’s too little information out there. It’s that most of it is written by people who are trying to sell you on a specific lens rather than help you figure out which one actually fits your situation. In this Peter McKinnon tutorial, he cuts through the noise with a deceptively simple framework that I wish someone had handed me when I was first building out my kit.
Watch the full tutorial on YouTube
McKinnon runs through a wide range of focal lengths on camera, from super-wide 14mm all the way out to a 400mm telephoto, and demonstrates how each one behaves on a real subject in a real environment. But the most valuable part of the video isn’t the gear porn. It’s the three-question filter he opens with, and the honest admission that even expensive lenses can be wrong for your specific workflow. Let me walk you through how to apply it.
Step 1: Ask Yourself Whether You’re Shooting Photo, Video, or Both
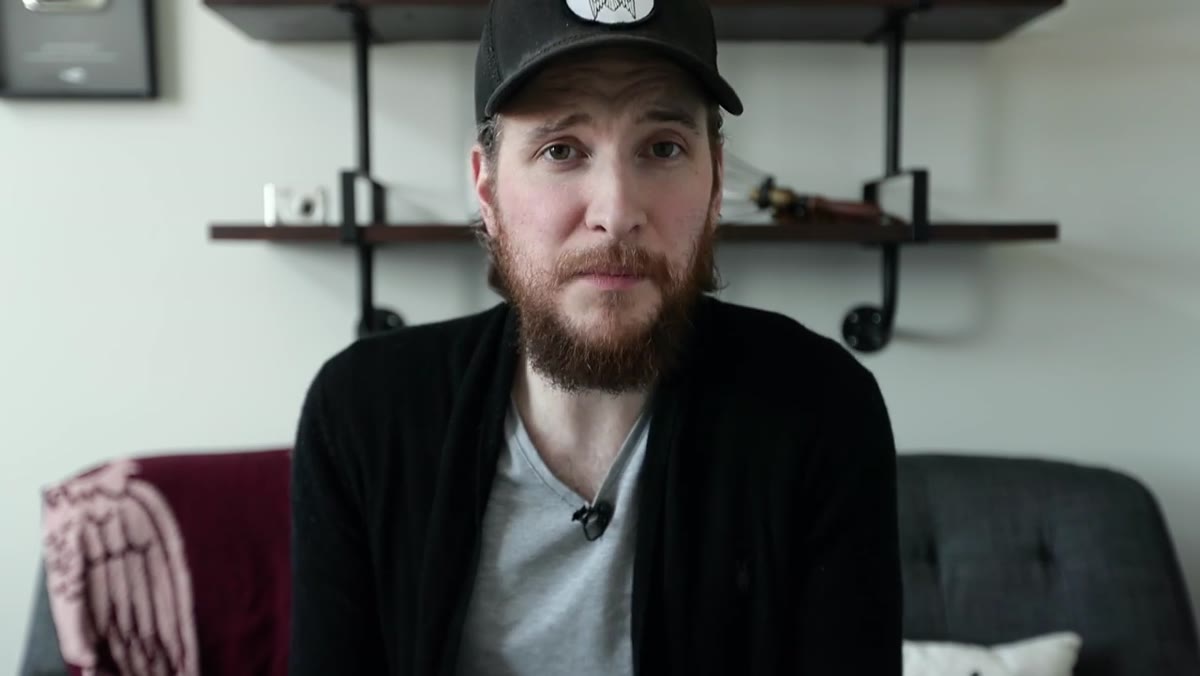 Peter explaining why photo vs video matters for lens choice
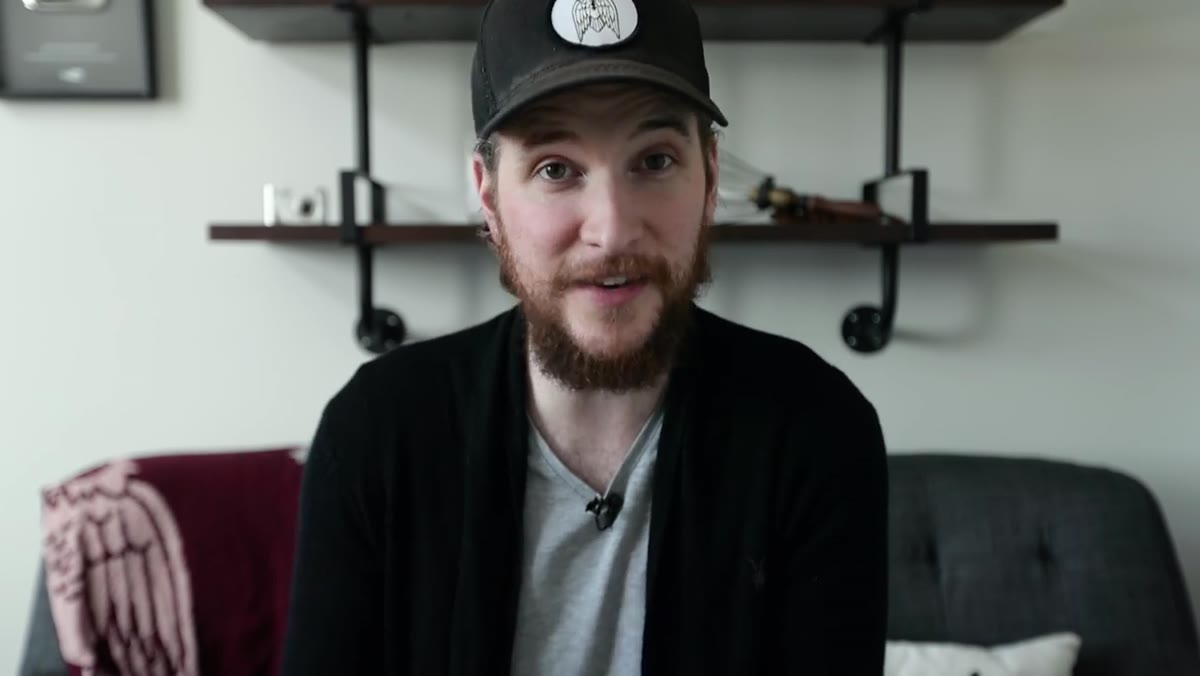
This is the first question McKinnon says you need to answer, and it’s not as obvious as it sounds. Some lenses are built in ways that make them genuinely better for one medium over the other. The autofocus behavior, the way a lens renders out-of-focus areas, and how it handles breathing during a focus pull all matter differently depending on whether you’re capturing stills or rolling footage.
Peter explaining why photo vs video matters for lens choice
This is the first question McKinnon says you need to answer, and it’s not as obvious as it sounds. Some lenses are built in ways that make them genuinely better for one medium over the other. The autofocus behavior, the way a lens renders out-of-focus areas, and how it handles breathing during a focus pull all matter differently depending on whether you’re capturing stills or rolling footage.
McKinnon uses his own gear decisions as the example here, which I appreciate because it’s honest. He owned a fast 50mm lens that looked incredible for interview-style video but kept letting him down on photo assignments where he needed consistent, sharp focus wide open. Rather than keep a lens that only did half the job well, he sold it and used the money toward something that served both formats more reliably. That kind of thinking, treating your kit as a system rather than a collection, is exactly how you avoid wasting money on glass that sits in a drawer.
Step 2: Define Your Subject Before You Define Your Focal Length
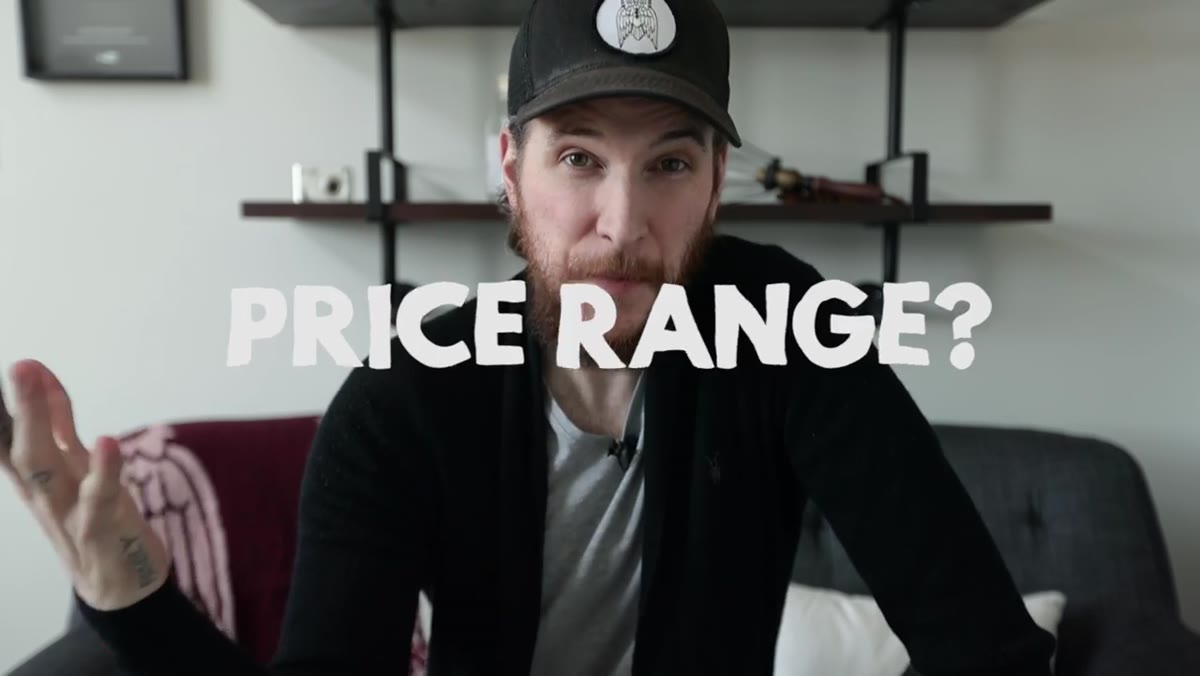 Peter listing subject types as the second key question
McKinnon’s second question is about what you’re actually photographing. This matters because focal length is not just a technical spec. It’s a creative tool that physically changes how your subject relates to its background. A portrait shot at 35mm looks fundamentally different from one shot at 135mm, even if the subject fills the same amount of frame in both images.
Peter listing subject types as the second key question
McKinnon’s second question is about what you’re actually photographing. This matters because focal length is not just a technical spec. It’s a creative tool that physically changes how your subject relates to its background. A portrait shot at 35mm looks fundamentally different from one shot at 135mm, even if the subject fills the same amount of frame in both images.
Think concretely here. If you’re shooting street photography, a wide or standard lens keeps you in the action and gives your images a sense of environment. If you’re shooting wildlife or sports, you need reach, which means longer focal lengths. If you’re doing product photography or food work, a macro lens opens up possibilities that a standard zoom simply can’t touch. Write down your three most common shooting situations before you even start browsing lenses. That list will eliminate half the options immediately.
Step 3: Set a Real Budget and Hold It
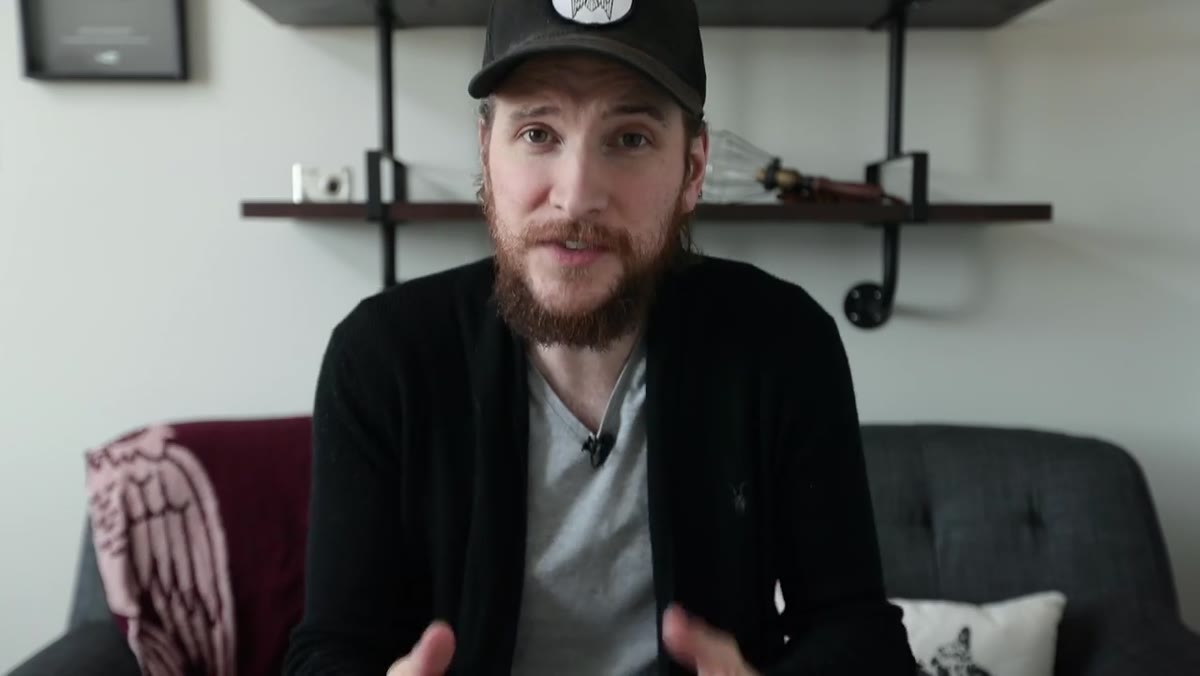 Peter raising the price range as the third question to answer
The third question McKinnon poses is about price range, and he addresses it directly by acknowledging that the Canon L-series lenses he’s demonstrating in the video are not what most people should go out and buy. He’s using them as examples of focal lengths and aperture ranges, not as purchase recommendations. The specific brand and tier matter far less than understanding the characteristics of a given focal length and maximum aperture.
Peter raising the price range as the third question to answer
The third question McKinnon poses is about price range, and he addresses it directly by acknowledging that the Canon L-series lenses he’s demonstrating in the video are not what most people should go out and buy. He’s using them as examples of focal lengths and aperture ranges, not as purchase recommendations. The specific brand and tier matter far less than understanding the characteristics of a given focal length and maximum aperture.
This is where I’d push back slightly on how most gear content handles budgeting. People treat it like a ceiling when they should treat it like a constraint that forces creativity. I have a running spreadsheet of third-party lenses across every major focal length, and the value you can find from brands like Sigma, Tamron, and Viltrox is genuinely remarkable right now. Set your number, then go find what delivers the most performance inside it, not just the most famous name.
Step 4: Understand What Focal Length Actually Does to Your Image
 Side-by-side portrait comparison across multiple focal lengths
McKinnon takes a subject and photographs them from a fixed position using lenses ranging from 16mm all the way up to 400mm, keeping the subject in roughly the same position in the frame each time. The difference is striking, and it illustrates something that reading about focal lengths never quite captures as clearly as seeing it.
Side-by-side portrait comparison across multiple focal lengths
McKinnon takes a subject and photographs them from a fixed position using lenses ranging from 16mm all the way up to 400mm, keeping the subject in roughly the same position in the frame each time. The difference is striking, and it illustrates something that reading about focal lengths never quite captures as clearly as seeing it.
Wider lenses introduce distortion, especially near the edges of the frame. At 16mm on a portrait, your subject’s features start to warp in ways that most people find unflattering. As you move into the 35mm to 85mm range, faces render more naturally. Push into the 100mm to 200mm range and you start to see compression, where the background appears to stack up closer behind your subject. That compression is why portrait photographers often reach for 85mm to 135mm. Understanding this isn’t just academic. It directly changes which lens makes sense for what you’re trying to create.
Step 5: Factor in Image Stabilization as a Real Decision Point
 Peter discussing the stabilized 70-200 as a multi-purpose solution
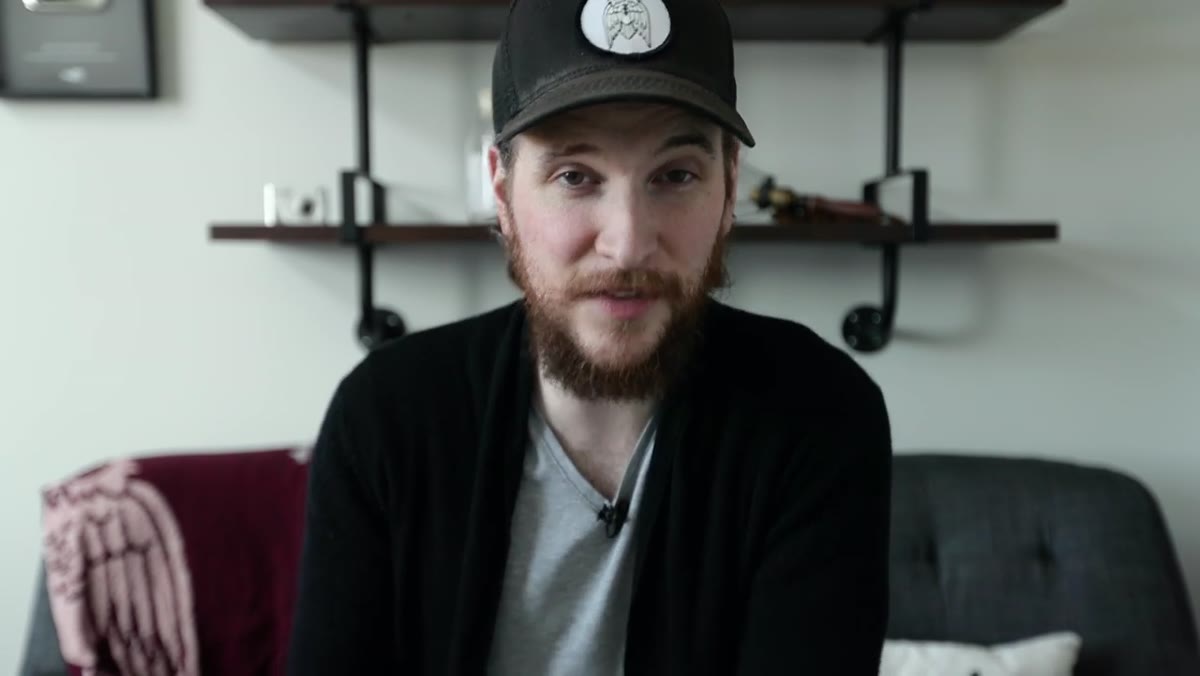
McKinnon mentions stabilization in the context of explaining why he consolidated two lenses into one. The lens he landed on covered a useful focal range and came with image stabilization built in, which for video shooters especially is not a minor feature. Stabilization can be the difference between usable handheld footage and something that looks like it was filmed during an earthquake.
Peter discussing the stabilized 70-200 as a multi-purpose solution
McKinnon mentions stabilization in the context of explaining why he consolidated two lenses into one. The lens he landed on covered a useful focal range and came with image stabilization built in, which for video shooters especially is not a minor feature. Stabilization can be the difference between usable handheld footage and something that looks like it was filmed during an earthquake.
If you’re primarily shooting stills, you can often compensate for a lack of optical stabilization by shooting at faster shutter speeds, assuming your lighting allows it. But if video is part of your workflow at all, optical stabilization in the lens becomes significantly more valuable. Some camera bodies now offer in-body image stabilization that works with unstabilized lenses, so factor in what your body already provides before paying a premium for a stabilized lens you might not need.
What I’d Add: The Third-Party Lens Angle McKinnon Doesn’t Cover
McKinnon is, by his own admission, a Canon shooter demoing Canon glass. That’s totally valid as a teaching tool, but it means the price context in the video skews high. The frameworks he teaches apply perfectly to lenses that cost a fraction of what he’s holding on camera.
Right now the 50mm and 35mm equivalents from Sigma’s Art line, Tamron’s SP series, and a growing number of Viltrox options for mirrorless systems are closing the optical gap with first-party glass in ways that would have seemed impossible five years ago. I started shooting on a $300 kit and got results good enough to land in print. The glass matters, but not as much as knowing which focal length serves your specific subject. Buy the right focal length at the right aperture for your use case, then find the best version of that spec inside your budget.
The single most important thing McKinnon’s video drills home is that no lens is universally correct. The right lens is the one that matches your subject, your medium, and your budget, in that order. Buying a fast 50mm because everyone says you need one, when you primarily shoot landscapes or events, is how you end up with a drawer full of lenses that don’t actually solve your problems.
Watch the full tutorial on YouTube to see the side-by-side focal length comparisons in action. The visual difference between shooting a portrait at 16mm versus 135mm is something you need to see rather than just read about.
Comments (3)
Shared this with my photography group. Everyone loved it.
The before and after really sells it. Incredible difference.
Excellent tutorial. I'd add that from a photoshop standpoint, this technique is incredibly versatile.
Leave a Comment