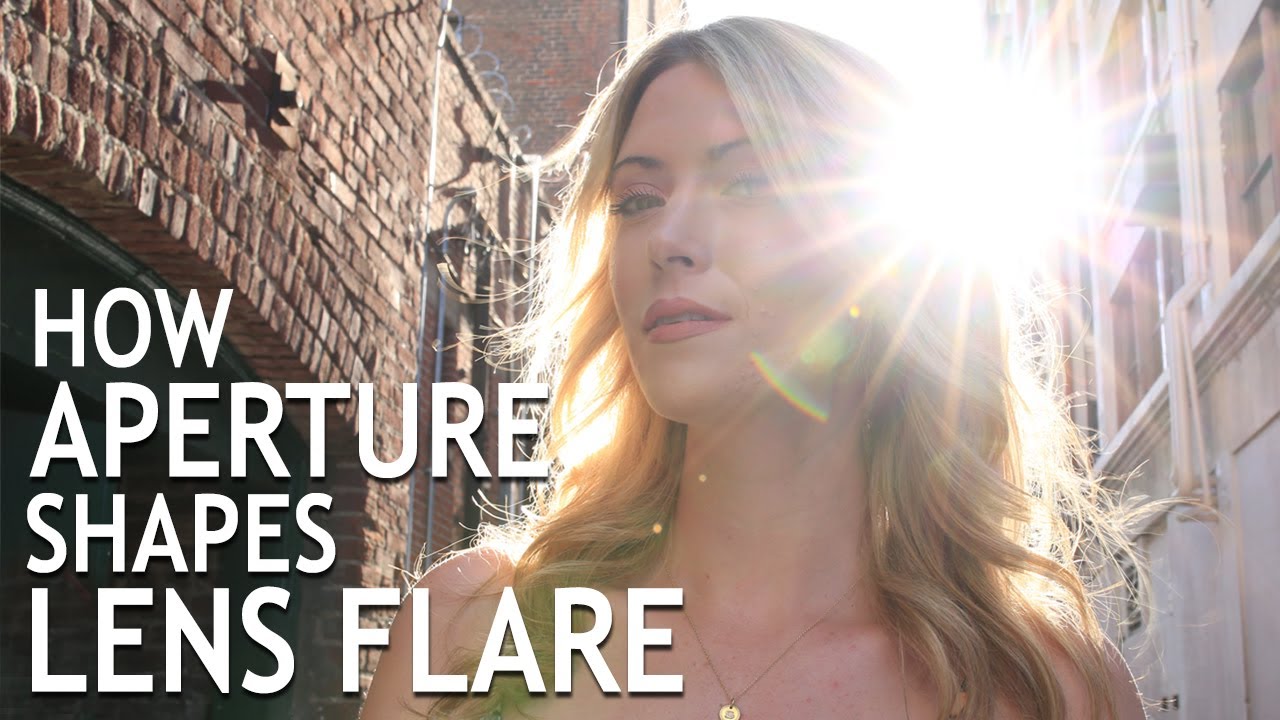
I used to add lens flare in Photoshop like everyone else. Slap on a filter, adjust the opacity, call it a day. It looked fine. It also looked fake in a way I couldn’t quite articulate until I started shooting more backlit portraits and realized the real thing has a quality that no filter fully replicates. The way it interacts with your subject, the way it breathes when you shift the camera slightly - that’s not something a Photoshop preset can fake convincingly.
In this The Slanted Lens tutorial, photographer Jay P. Morgan breaks down how to generate creative lens flare entirely in-camera, including the one variable most people overlook: aperture. Watch the full tutorial on YouTube. The tutorial is short, practical, and built around a real outdoor shoot with a real model, which means the instruction is grounded in actual working conditions, not a studio demo. Here’s the full walkthrough.
Step 1: Ditch the Lens Hood
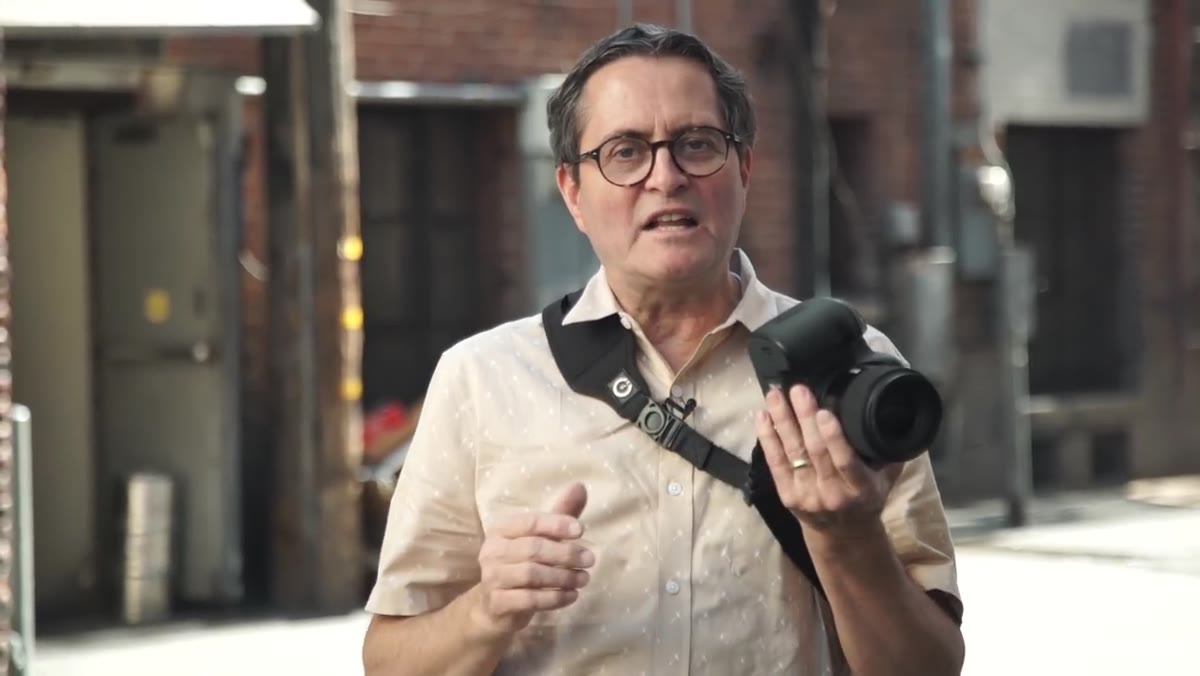 Jay removing lens hood from camera before shooting
This one sounds obvious until you realize how automatic it is to leave the hood on. The lens hood exists specifically to block stray light from hitting your front element - meaning it’s doing exactly the opposite of what you want when flare is the goal. Pull it off before you start. Beyond that, understand what you’re actually inviting in: when direct light hits your lens, it bounces between the internal glass elements and produces streaks, orbs, and star patterns across your frame. A little of this reads as an error. A lot of it reads as a creative choice. The difference is intent and control.
Jay removing lens hood from camera before shooting
This one sounds obvious until you realize how automatic it is to leave the hood on. The lens hood exists specifically to block stray light from hitting your front element - meaning it’s doing exactly the opposite of what you want when flare is the goal. Pull it off before you start. Beyond that, understand what you’re actually inviting in: when direct light hits your lens, it bounces between the internal glass elements and produces streaks, orbs, and star patterns across your frame. A little of this reads as an error. A lot of it reads as a creative choice. The difference is intent and control.
Step 2: Use a Flashlight (or Any Direct Light Source) for Low-Tech Flare
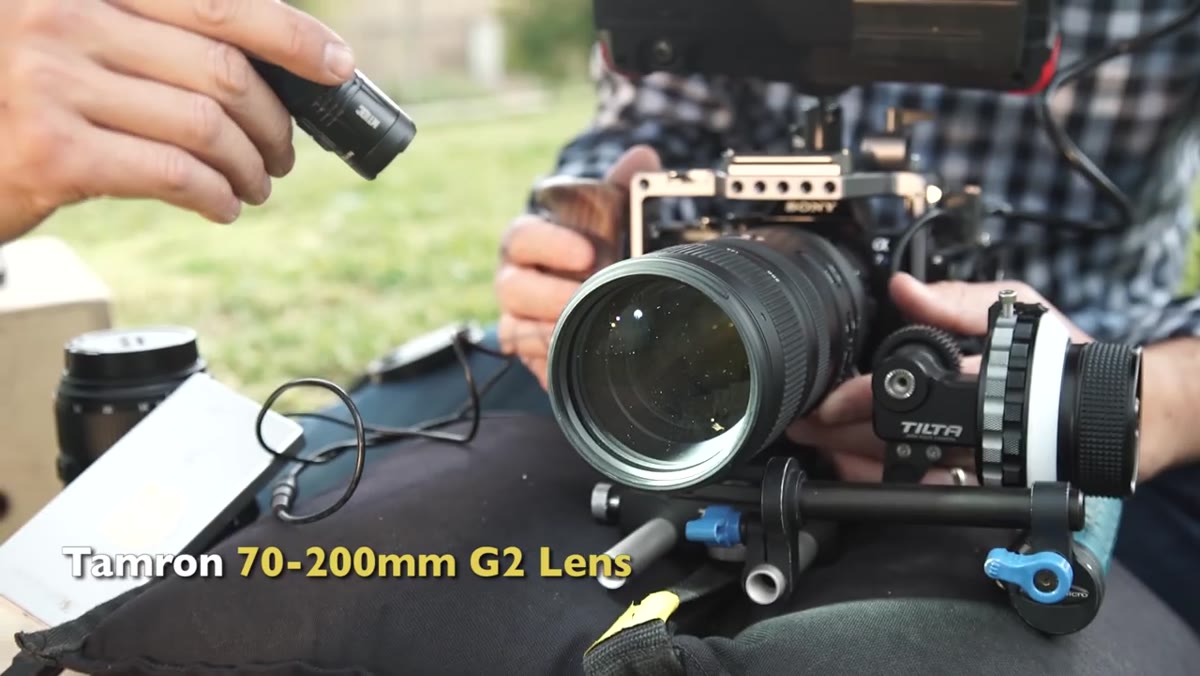 Jay demonstrating flashlight aimed into camera lens
You don’t need the sun to experiment with this. A basic flashlight held just outside the frame and aimed toward the lens gives you immediate, controllable flare. Jay suggests taking it further by shining that light through a glass bottle or any translucent object near the front of the lens - the shape of the object changes the character of the flare. This is genuinely useful for studio work or any situation where you’re not shooting in natural light. It’s also a great way to practice reading how your specific lens responds before you’re in a time-sensitive outdoor situation.
Jay demonstrating flashlight aimed into camera lens
You don’t need the sun to experiment with this. A basic flashlight held just outside the frame and aimed toward the lens gives you immediate, controllable flare. Jay suggests taking it further by shining that light through a glass bottle or any translucent object near the front of the lens - the shape of the object changes the character of the flare. This is genuinely useful for studio work or any situation where you’re not shooting in natural light. It’s also a great way to practice reading how your specific lens responds before you’re in a time-sensitive outdoor situation.
Step 3: Position Your Subject Between the Light and the Camera
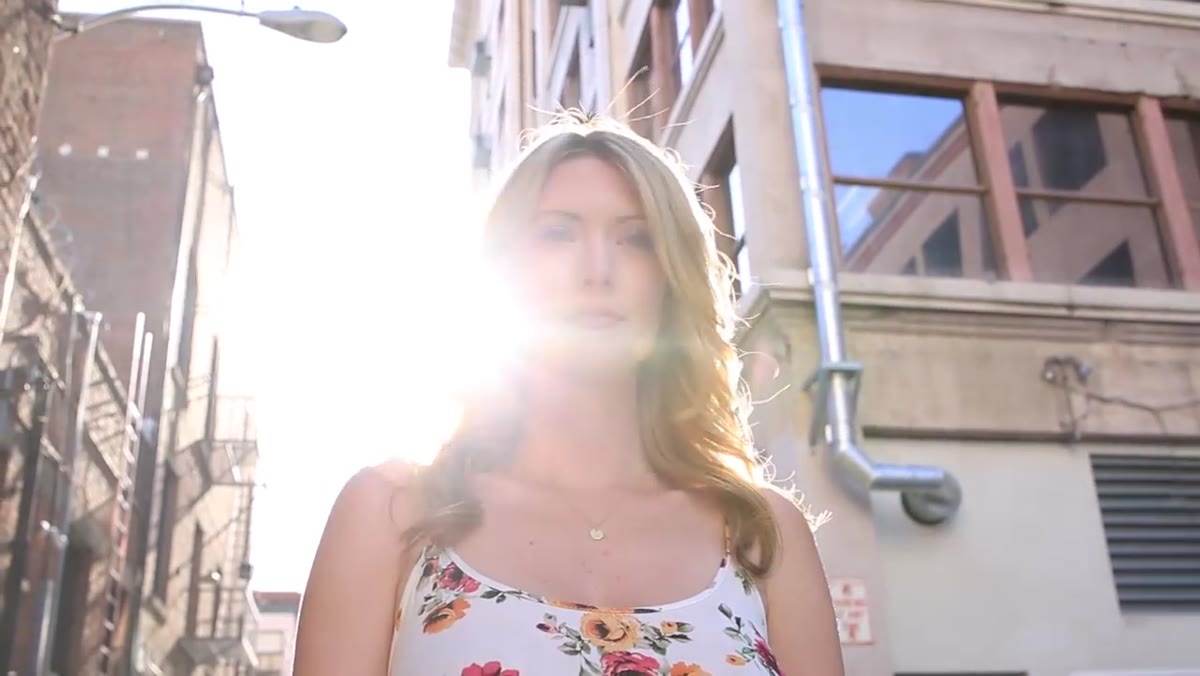 Subject positioned with sun directly behind her head
The classic backlit flare technique works by using your subject as a partial blocker for the light source. Put the sun or a strobe directly behind them, then shift your angle until the light just peeks out from behind their head or shoulder. That partial reveal is what generates the flare without completely blowing out the frame. For video, you can let the camera drift slightly so the light keeps appearing and disappearing from behind the subject - it creates a natural, living quality to the shot. For stills, work the edge until you see the flare bloom in your viewfinder, then shoot there.
Subject positioned with sun directly behind her head
The classic backlit flare technique works by using your subject as a partial blocker for the light source. Put the sun or a strobe directly behind them, then shift your angle until the light just peeks out from behind their head or shoulder. That partial reveal is what generates the flare without completely blowing out the frame. For video, you can let the camera drift slightly so the light keeps appearing and disappearing from behind the subject - it creates a natural, living quality to the shot. For stills, work the edge until you see the flare bloom in your viewfinder, then shoot there.
Step 4: Use Your Surroundings to Cut the Light
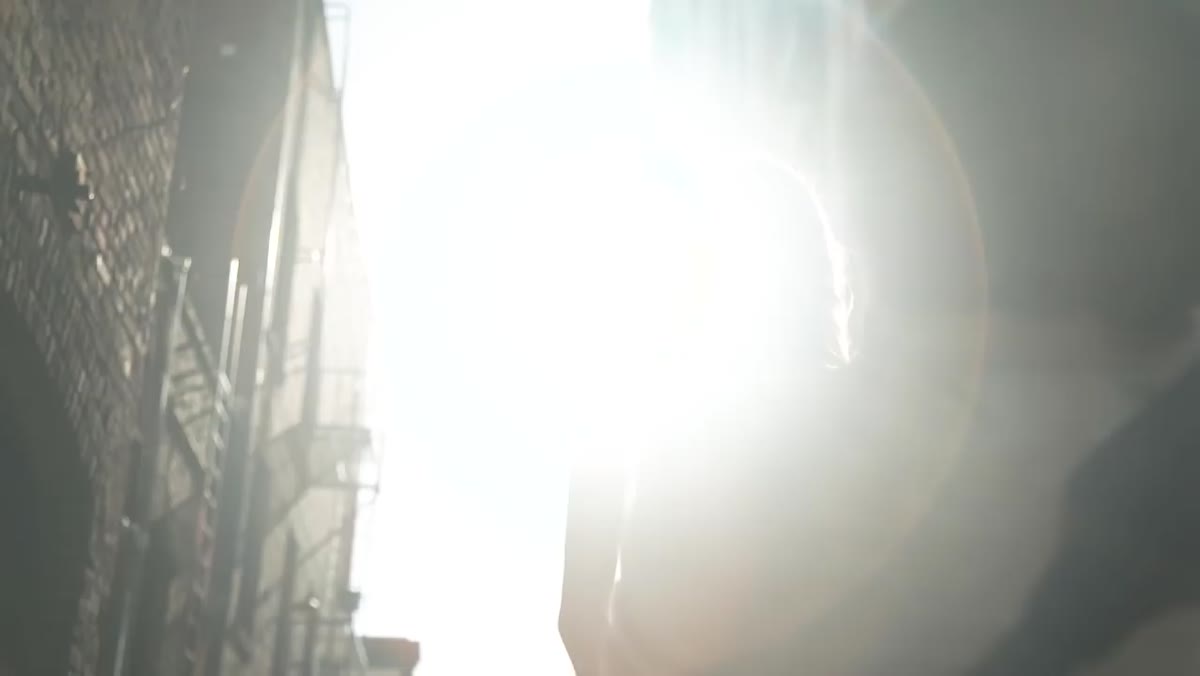 Sun partially hidden behind building edge during outdoor shoot
Direct midday sun is often too harsh to work with for flare - it blows everything out rather than giving you a clean streak or star. Jay’s solution on this particular shoot was simple: position the subject so a building cut off most of the sun, with only a sliver peeking out. This controlled the intensity without requiring any additional gear. The principle applies anywhere - trees, doorframes, a parked car, even your subject’s own body. You’re essentially using your environment as a natural flag to dial down the brightness to a usable range.
Sun partially hidden behind building edge during outdoor shoot
Direct midday sun is often too harsh to work with for flare - it blows everything out rather than giving you a clean streak or star. Jay’s solution on this particular shoot was simple: position the subject so a building cut off most of the sun, with only a sliver peeking out. This controlled the intensity without requiring any additional gear. The principle applies anywhere - trees, doorframes, a parked car, even your subject’s own body. You’re essentially using your environment as a natural flag to dial down the brightness to a usable range.
Step 5: Adjust Aperture to Control Flare Shape
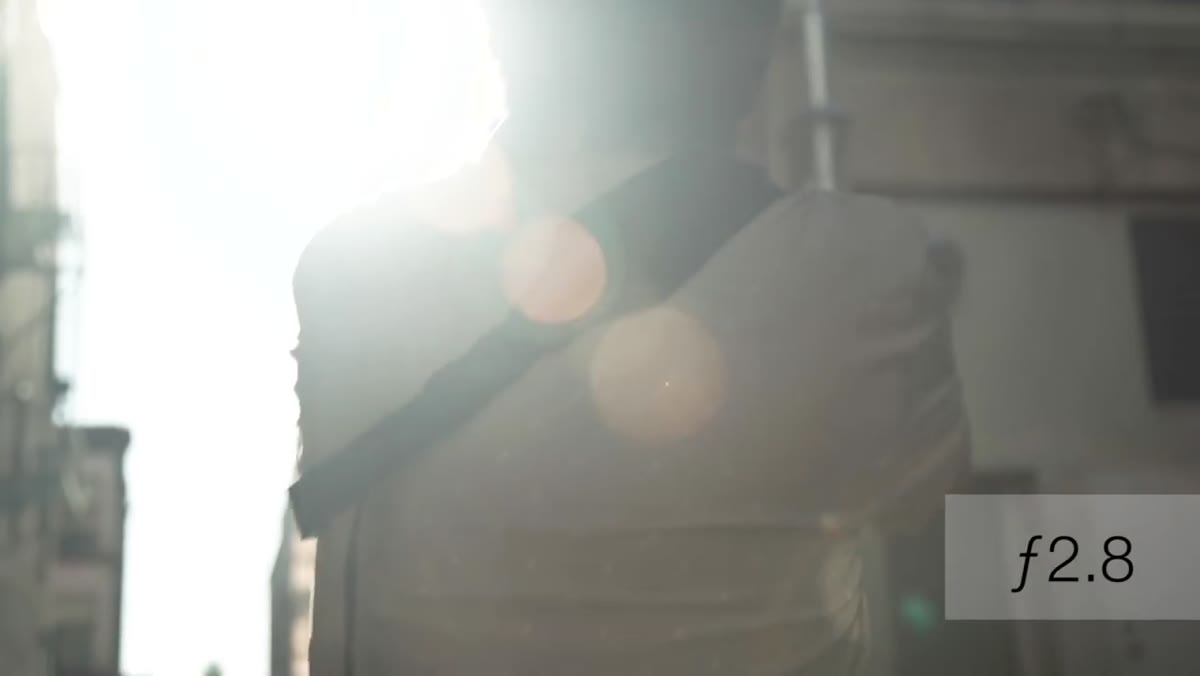 Jay explaining aperture blades create star-shaped flare at f/16
This is the part most tutorials skip entirely, and it’s the most useful thing in the whole video. Your aperture setting doesn’t just affect exposure - it fundamentally changes the visual character of the flare itself. At a wide aperture like f/2.8, flare shows up as a soft, large blob or streak that spreads across the image. It’s diffuse and atmospheric, but it can also look muddy. As you stop down toward f/11 or f/16, the aperture blades become visible in the flare pattern, producing the classic sunburst or starburst shape. The number of points on that star corresponds directly to the number of aperture blades in your lens - which is one reason different lenses produce noticeably different flare at equivalent settings.
Jay explaining aperture blades create star-shaped flare at f/16
This is the part most tutorials skip entirely, and it’s the most useful thing in the whole video. Your aperture setting doesn’t just affect exposure - it fundamentally changes the visual character of the flare itself. At a wide aperture like f/2.8, flare shows up as a soft, large blob or streak that spreads across the image. It’s diffuse and atmospheric, but it can also look muddy. As you stop down toward f/11 or f/16, the aperture blades become visible in the flare pattern, producing the classic sunburst or starburst shape. The number of points on that star corresponds directly to the number of aperture blades in your lens - which is one reason different lenses produce noticeably different flare at equivalent settings.
Step 6: Combine Aperture, Subject Placement, and Environmental Blocking
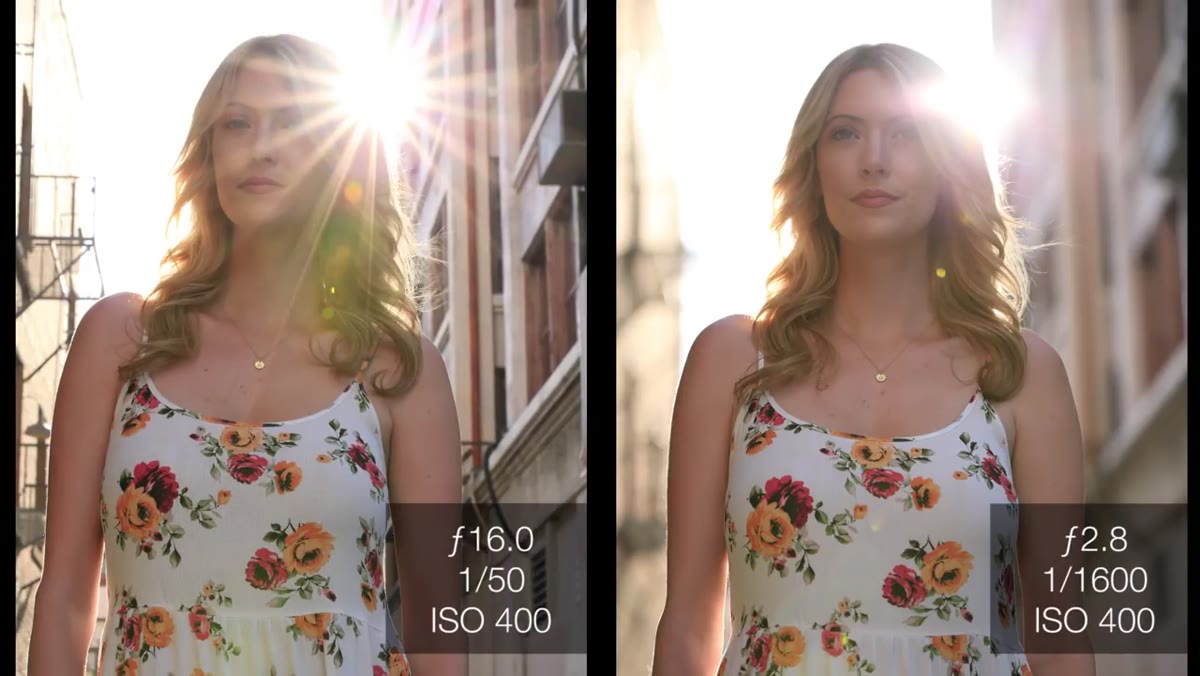 Jay shooting at f/16 with subject, sun behind building, star flare visible
The tutorial’s outdoor demo ties the previous steps together in a way that’s worth walking through deliberately. Jay is shooting at f/16 to get the starburst, he’s used the building to reduce the sun’s intensity, and he’s framed the subject so the light source sits just behind her hair. Three variables, all working together. This is the kind of layered decision-making that separates intentional flare from accidental haze. None of these adjustments individually gets you there - it’s the combination that produces a clean, dramatic result.
Jay shooting at f/16 with subject, sun behind building, star flare visible
The tutorial’s outdoor demo ties the previous steps together in a way that’s worth walking through deliberately. Jay is shooting at f/16 to get the starburst, he’s used the building to reduce the sun’s intensity, and he’s framed the subject so the light source sits just behind her hair. Three variables, all working together. This is the kind of layered decision-making that separates intentional flare from accidental haze. None of these adjustments individually gets you there - it’s the combination that produces a clean, dramatic result.
Step 7: Try a Strobe as Your Flare Source
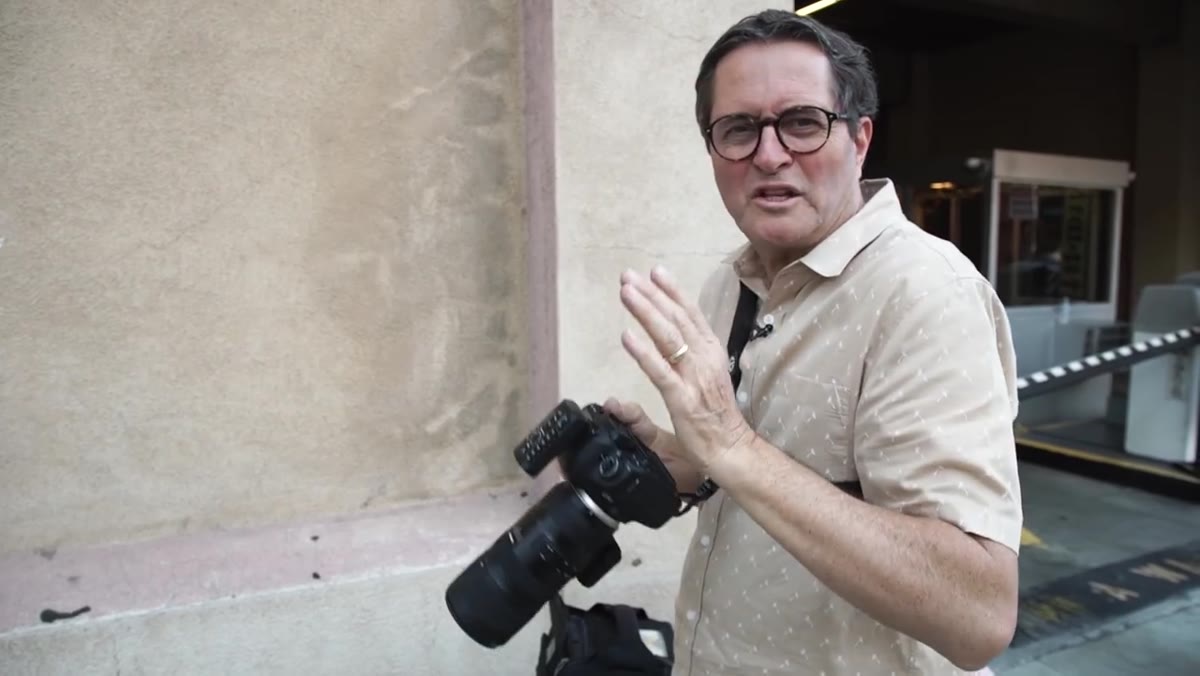 Baja B4 strobe in background creating rim light and flare effect
Jay also demos using an off-camera strobe as the flare light instead of the sun. He’s running it at very low power, just enough to create a bright highlight in the background that mimics sunlight. This gives you two things at once: a rim light on your subject and a source for the flare. Dialing the power way down keeps it from overpowering the scene - the goal is a subtle bloom that suggests warmth and sunlight, not a full backlight blowout. For photographers working in situations where you can’t rely on natural light timing, this is a practical way to manufacture the same effect on demand.
Baja B4 strobe in background creating rim light and flare effect
Jay also demos using an off-camera strobe as the flare light instead of the sun. He’s running it at very low power, just enough to create a bright highlight in the background that mimics sunlight. This gives you two things at once: a rim light on your subject and a source for the flare. Dialing the power way down keeps it from overpowering the scene - the goal is a subtle bloom that suggests warmth and sunlight, not a full backlight blowout. For photographers working in situations where you can’t rely on natural light timing, this is a practical way to manufacture the same effect on demand.
What I’d Add: Lens Character Matters More Than You Think
I’ve tested a lot of budget glass over the years - it’s basically a hobby at this point. One thing the tutorial doesn’t get into is how dramatically different lenses render flare, even at identical settings. Some cheaper lenses produce genuinely beautiful flare because their coatings are simpler. Some expensive lenses with heavy multi-coating suppress flare so aggressively that you can barely coax it out even at f/16 with the sun directly in frame. Vintage lenses, especially uncoated ones from the 1960s and 70s, are often incredible flare machines - and you can find them for $30 to $80 on eBay. If you want to experiment with in-camera flare and you’re working with a modern, heavily coated prime that just won’t cooperate, a cheap vintage lens adapted to your mount might give you better results than fighting your current glass.
The single most important idea from this tutorial is that aperture is a creative control for flare, not just exposure. Once you internalize that stopping down produces starburst patterns and opening up produces soft diffuse streaks, you can make intentional choices instead of hoping the effect shows up the way you want. That’s the shift from accident to technique.
Watch the full tutorial on YouTube - Jay walks through the outdoor shoot in real time and you can see exactly how the flare changes as he adjusts his angle and position.
Comments
Leave a Comment