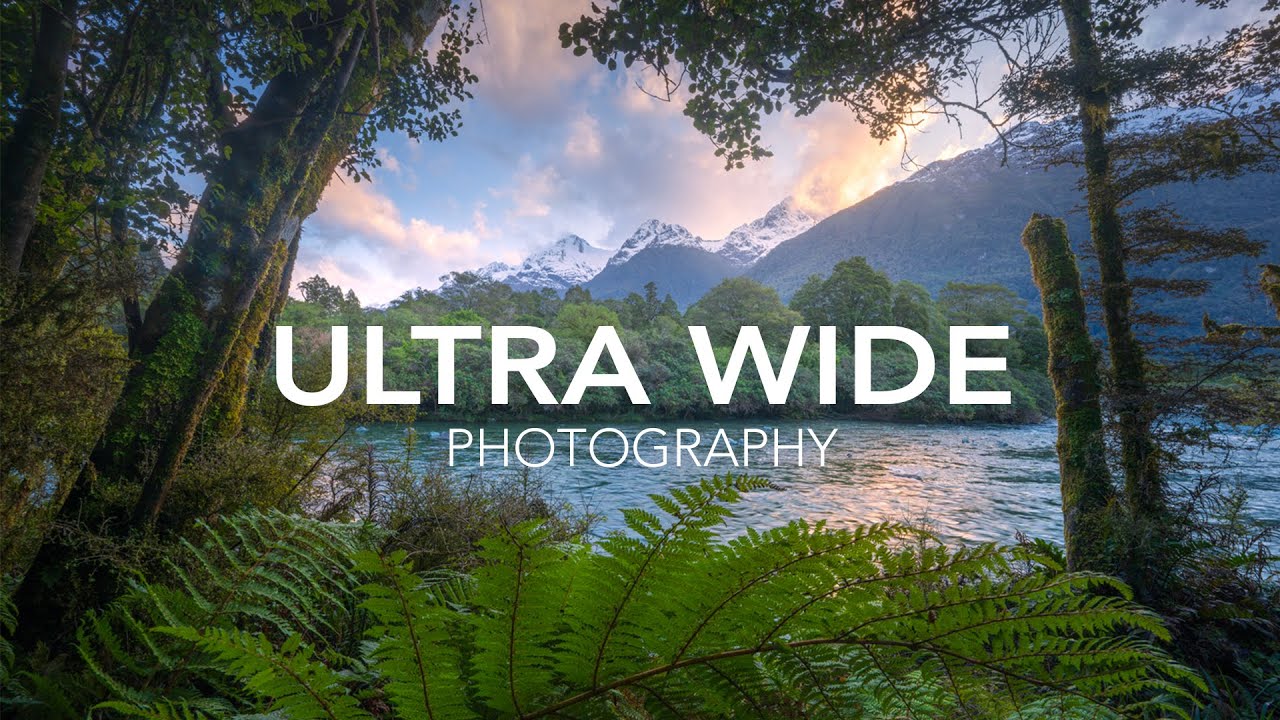
Wide angle lenses are one of those purchases I see people regret constantly. Not because the glass is bad, but because they grab a 12mm or 14mm, point it at a mountain, and wonder why the shot looks flat and uninteresting. The mountain is tiny. The foreground is dead space. Nothing works. I’ve been there. Most of us have.
What changed things for me was understanding that a wide angle lens isn’t a “fit more stuff in” tool. It’s a foreground tool. The whole game is building a layered scene where something close to the lens pulls the viewer into the frame, and the background earns its place as the payoff. In this William Patino tutorial, shot entirely off-trail in a rainforest with waterfalls and mountain peaks, Patino walks through his actual decision-making in the field. No studio setup, no perfect conditions. Just a working photographer figuring out compositions in real time, in the rain. That’s the version of a tutorial I trust.
The techniques he demonstrates here get genuinely advanced toward the end, but the foundational thinking is accessible to anyone. Here’s how he breaks it down.
Step 1: Explore First, Shoot Second
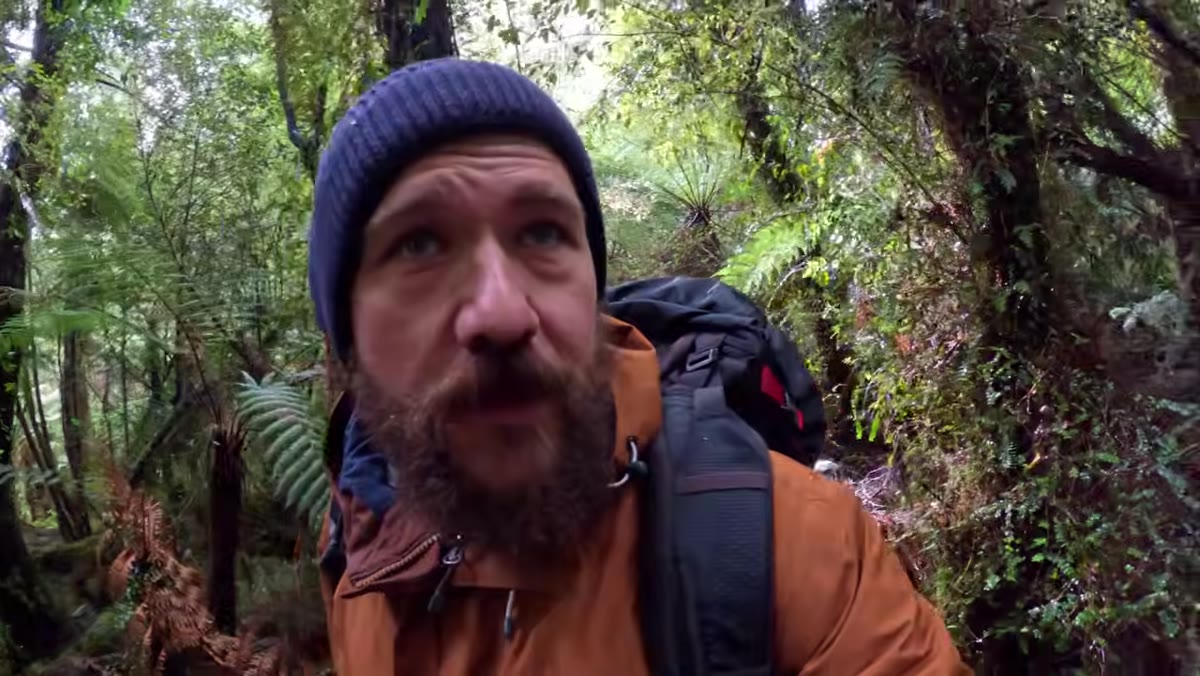 Photographer pushing through dense forest following a creek
Patino doesn’t set up his tripod the moment he sees something interesting. He follows the terrain, specifically water courses in this case, to discover scenes that haven’t been photographed. His approach is to treat the scouting itself as part of the process, not a preamble to it. He mentions finding a waterfall that likely has no existing photos of it. That’s the reward for going deeper than the trail.
Photographer pushing through dense forest following a creek
Patino doesn’t set up his tripod the moment he sees something interesting. He follows the terrain, specifically water courses in this case, to discover scenes that haven’t been photographed. His approach is to treat the scouting itself as part of the process, not a preamble to it. He mentions finding a waterfall that likely has no existing photos of it. That’s the reward for going deeper than the trail.
The practical takeaway: if you’re always shooting from the parking lot or the marked lookout, you’re competing with thousands of identical shots. Even moving 15 minutes off the standard path changes what you have access to. Use a topographic map app on your phone as a reference, but don’t rely on it as your only navigation tool. Patino carries an emergency beacon for serious backcountry work, which is worth noting if you’re pushing into unfamiliar terrain.
Step 2: Evaluate a Scene Honestly Before Committing
 Wide shot of water cascading over a log with framing branches
At one waterfall, Patino identifies natural framing from branches on the left and right, but immediately calls out the weakness: the foreground at the bottom of the frame is empty. He describes it as “a little bit simple” and captures the shot anyway, while acknowledging he’d like to find something to complement it. That honesty is the step most beginners skip.
Wide shot of water cascading over a log with framing branches
At one waterfall, Patino identifies natural framing from branches on the left and right, but immediately calls out the weakness: the foreground at the bottom of the frame is empty. He describes it as “a little bit simple” and captures the shot anyway, while acknowledging he’d like to find something to complement it. That honesty is the step most beginners skip.
Before you set up a tripod, ask what each zone of the frame is doing. Background, midground, foreground. If one of those is dead, the image is probably going to feel unfinished. With a wide lens, a weak foreground is especially punishing because you’ve exaggerated the distance between the viewer and the background. You need something in that near zone to justify the focal length.
Step 3: Build the Three-Layer Composition
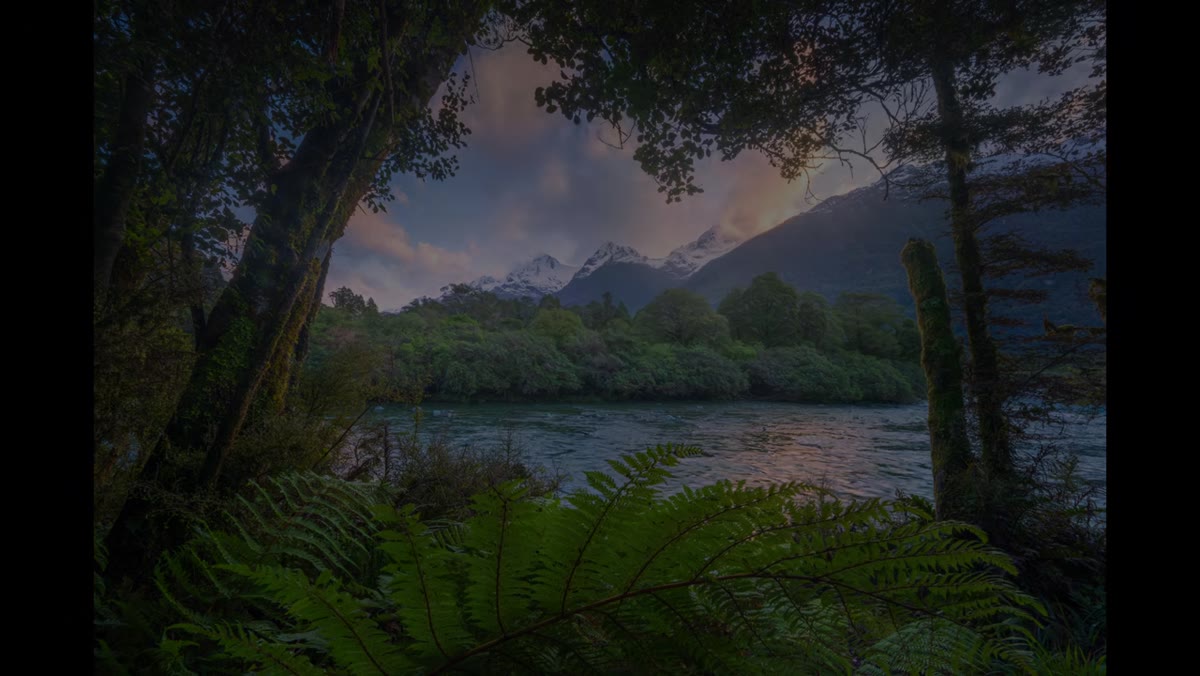
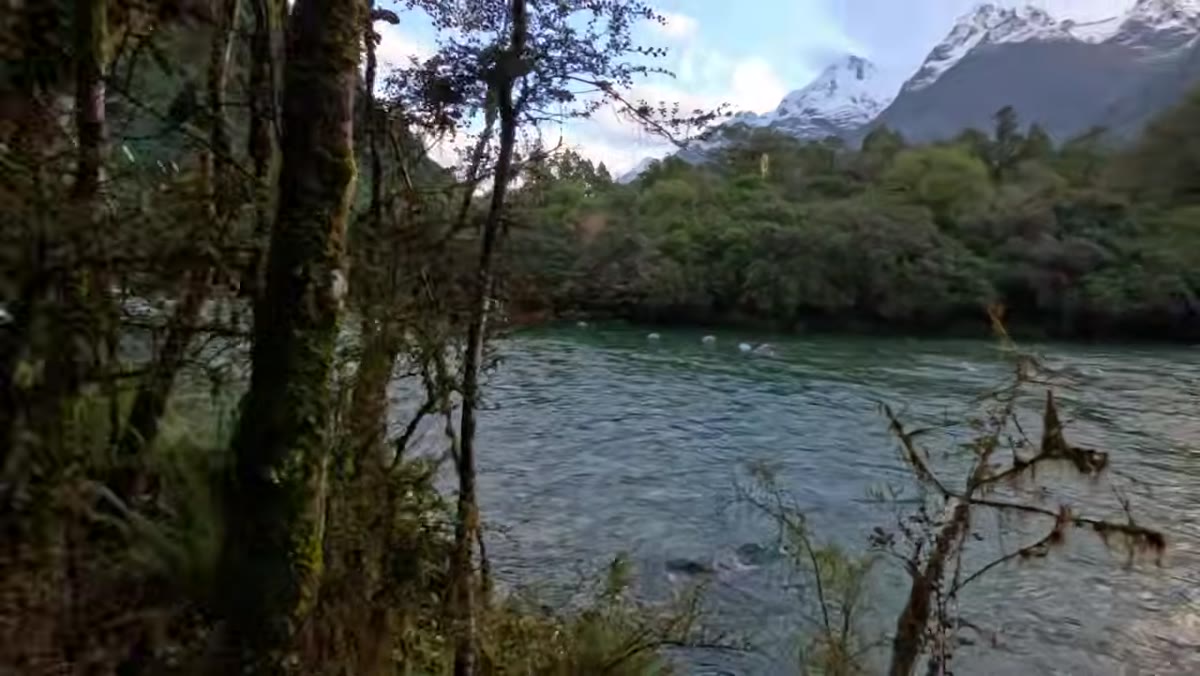 Photographer framing a shot with mountain peaks, river, and fern foreground
At a broader scene with mountain peaks in the background, Patino works through the layering out loud. Peaks in the background. River in the midground. Fern in the foreground. He walks around until he finds a single curved fern that creates a natural lead-in from the bottom of the frame toward the mountains. The trees on the right and left bracket everything and keep the eye inside the composition.
Photographer framing a shot with mountain peaks, river, and fern foreground
At a broader scene with mountain peaks in the background, Patino works through the layering out loud. Peaks in the background. River in the midground. Fern in the foreground. He walks around until he finds a single curved fern that creates a natural lead-in from the bottom of the frame toward the mountains. The trees on the right and left bracket everything and keep the eye inside the composition.
This is the core skill with wide angle work. You’re not capturing a scene, you’re constructing one. The fern he found wasn’t planted there. He moved his position until the fern, the trees, the river, and the peaks all aligned into something coherent. That took patience and physical movement, not a filter or a preset.
Step 4: Get the Lens Uncomfortably Close to the Foreground Subject
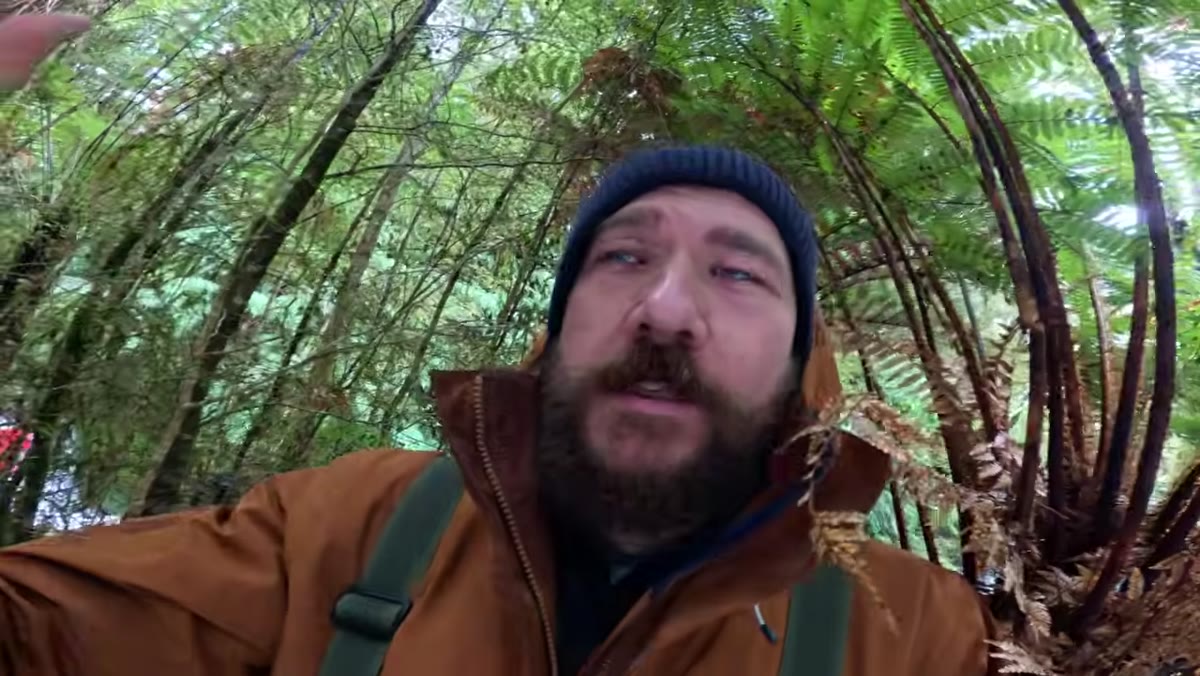
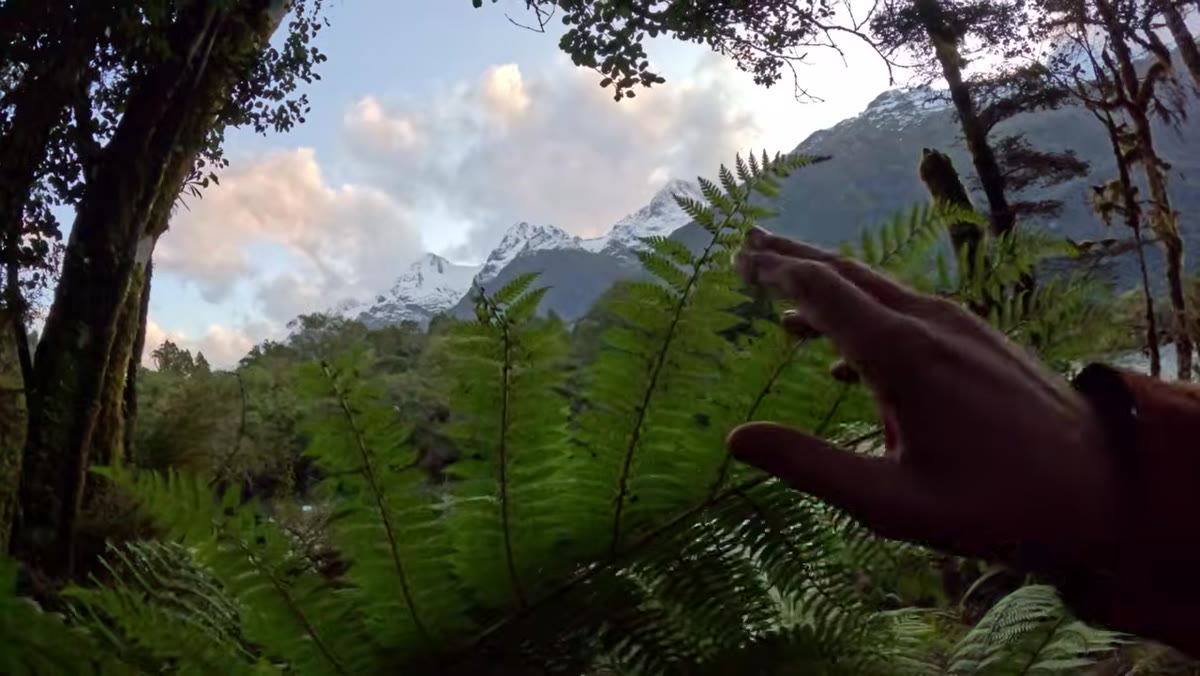
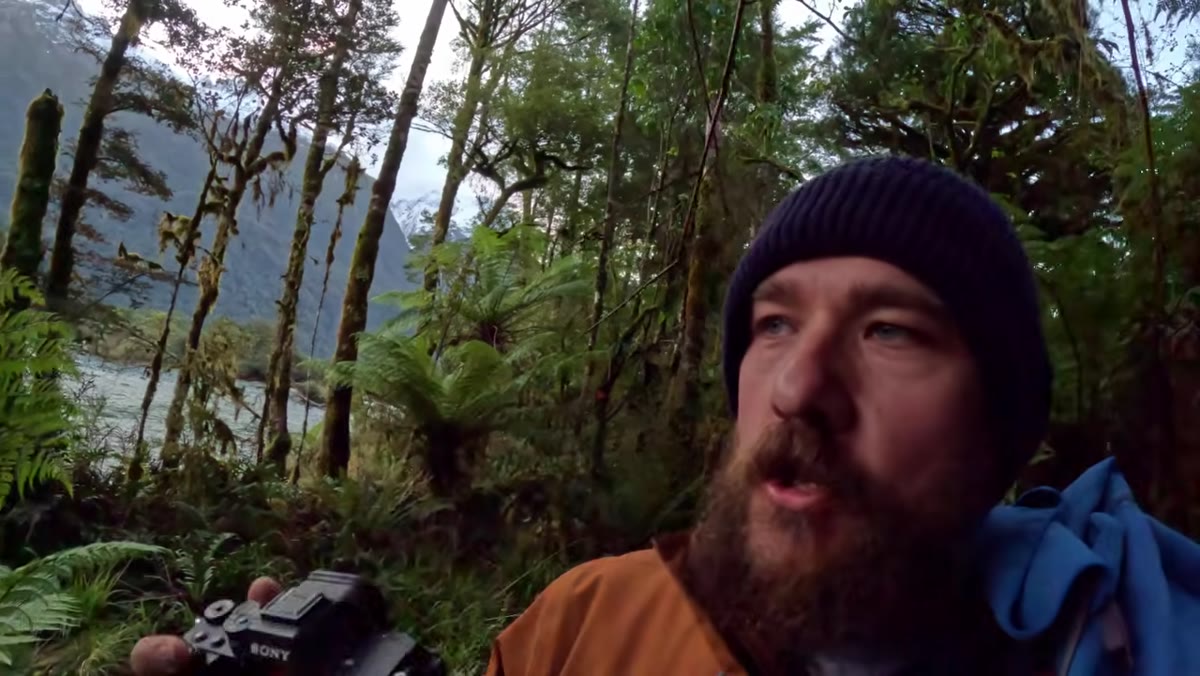 Photographer crouching with lens very close to fern fronds
This is the part nobody tells you when you’re new to wide angle shooting. Patino describes being physically this close to the fern, holding his fingers inches apart to illustrate. At 12mm, you need to be almost on top of your foreground subject to give it visual weight. If you back up even slightly, the foreground shrinks and loses its presence in the frame.
Photographer crouching with lens very close to fern fronds
This is the part nobody tells you when you’re new to wide angle shooting. Patino describes being physically this close to the fern, holding his fingers inches apart to illustrate. At 12mm, you need to be almost on top of your foreground subject to give it visual weight. If you back up even slightly, the foreground shrinks and loses its presence in the frame.
Getting that low and that close also means you’re shooting with a massive depth of field challenge. The fern might be 20 centimeters from the lens while the mountains are kilometers away. That’s not something a single aperture setting solves cleanly, which is where the next steps come in.
Step 5: Recognize When You Need a Focus Stack
 Camera positioned low near fern with river and mountains in background
Patino shoots at 12mm with the fern extremely close to the lens and the river and peaks far behind. To get everything sharp, he uses focus stacking: multiple exposures focused at different distances, blended in post. One frame focused on the fern. One or more focused further into the scene. Software does the blend. The result is a single image with sharpness across the entire frame that no single aperture could achieve without diffraction softening the whole thing.
Camera positioned low near fern with river and mountains in background
Patino shoots at 12mm with the fern extremely close to the lens and the river and peaks far behind. To get everything sharp, he uses focus stacking: multiple exposures focused at different distances, blended in post. One frame focused on the fern. One or more focused further into the scene. Software does the blend. The result is a single image with sharpness across the entire frame that no single aperture could achieve without diffraction softening the whole thing.
If you haven’t tried focus stacking yet, start simple. Two frames: one focused on your close foreground, one on infinity. Blend them in Lightroom or Photoshop using the Auto-Align and Auto-Blend Layers feature. It’s less intimidating than it sounds, and the difference in sharpness is immediate.
Step 6: Handle the Shutter Speed Conflict Deliberately
 River in midground with slow shutter blur visible on water surface
Here’s where Patino’s scene gets technically complex. He’s trying to slow the shutter to smooth the river, but the fern is moving in the breeze. A slow shutter that looks great on the water will turn the fern into a blur. A fast shutter that freezes the fern leaves the river looking choppy. Those two goals are in direct conflict.
River in midground with slow shutter blur visible on water surface
Here’s where Patino’s scene gets technically complex. He’s trying to slow the shutter to smooth the river, but the fern is moving in the breeze. A slow shutter that looks great on the water will turn the fern into a blur. A fast shutter that freezes the fern leaves the river looking choppy. Those two goals are in direct conflict.
His solution is a shutter speed blend combined with the focus stack. He shoots the river at a slow shutter for the silky water effect, and separately shoots the fern at a faster shutter to freeze it. In post, the sharp fern from the faster exposure replaces the blurred one from the slow exposure. He’s honest that this is about as technical as landscape photography gets, and suggests beginners attempt a single exposure version first and only go to the full blend workflow if needed. That’s good advice. Always try the simple version before reaching for the complex one.
My Take: Budget Glass Can Actually Do This
I’ve run this kind of wide angle foreground work with lenses that cost a fraction of what high-end primes go for. A used 10-18mm kit lens or a budget third-party wide prime in the $200 to $300 range gives you the focal length you need. The technical limitations Patino is working around, depth of field, shutter speed conflicts, are about physics and technique, not about how much you spent on the glass. A $350 wide angle gets you into the same compositional decisions he’s making here. The focus stack and shutter blend workflow works the same whether you’re using a $400 lens or a $1,400 one.
What actually separates the shots is willingness to get your knees wet, get close to the subject, and take the time to think through each layer of the frame before pressing the shutter.
The single most important thing Patino demonstrates here is this: with a wide angle lens, your foreground is the photograph. Everything else is context. Find the foreground first, then build backward.
Watch the full tutorial on YouTube to see the compositions come together in real time, including the backcountry footage that makes the whole thing click.
Comments
Leave a Comment