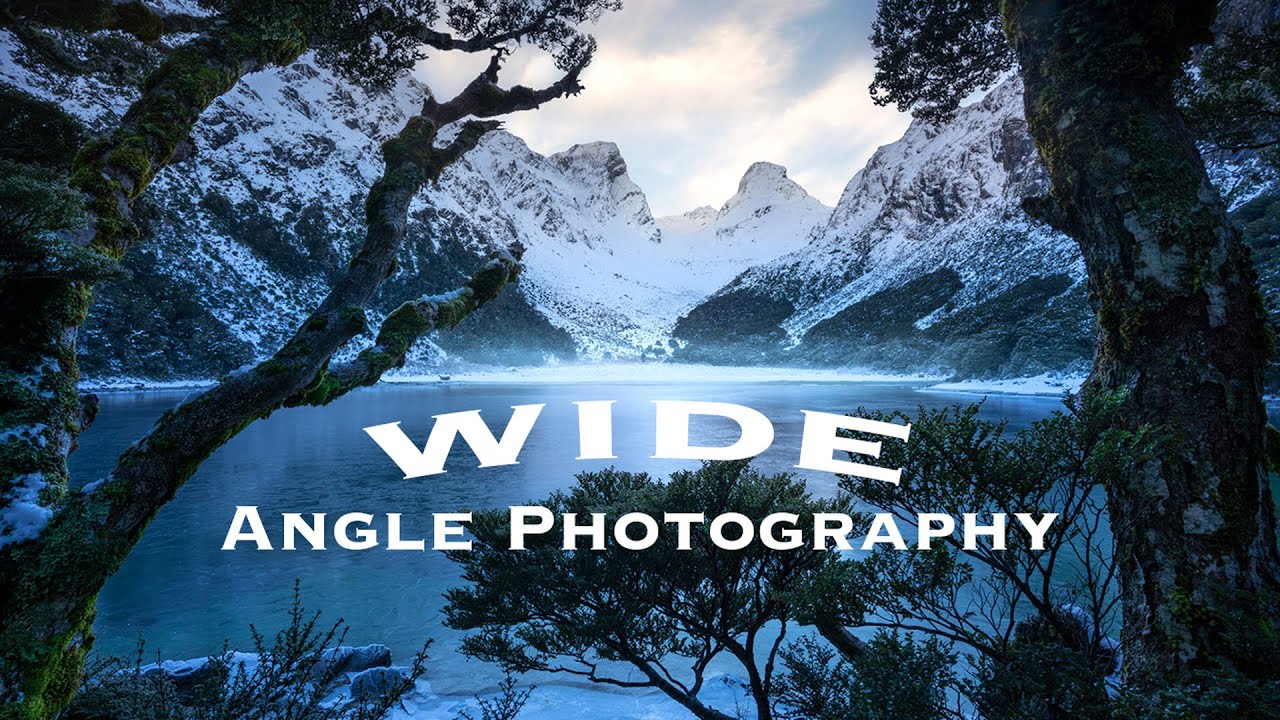
Most of my landscape shots from my first year looked like postcards someone else already made. Nice light, decent subject, totally flat. I kept blaming my gear, which is ironic given what I do for a living. The real problem was simpler: I was using a wide angle lens like a telephoto, just pointing it at the main subject from standing height and calling it done.
In this William Patino tutorial on wide angle lenses for landscape photography, he lays out the core habits that actually separate effective wide angle work from lazy snapping. Watch the full tutorial on YouTube – it’s worth your time. But if you want the technique broken down step by step before you head out to shoot, here’s how it works in practice.
Patino shoots the 16-35mm range as his primary landscape lens and says more than half his portfolio comes from it. That tracks with my own testing. Once I understood why the focal length works the way it does, not just what it is, my compositions improved fast. Let’s walk through it.
Step 1: Understand What “Wide Angle” Actually Means for Landscapes
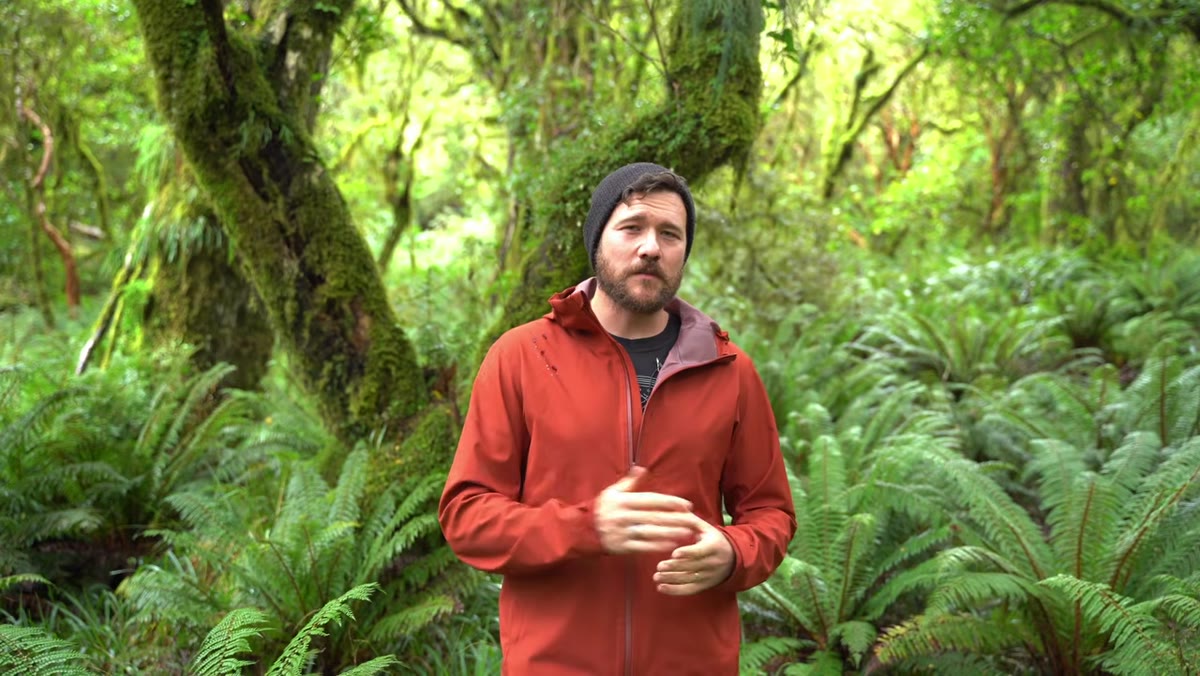 Patino explaining focal length ranges for wide angle lenses
When people say “wide angle,” they often mean anything under 35mm. Patino draws the line closer to 20mm and under – what you’d call ultra-wide. The useful landscape range he points to is 12-24mm, 14-24mm, or the 16-35mm he shoots personally. The core reason this matters for landscapes is layering: a true wide angle lets you include foreground details, a mid-ground, and a background horizon all in a single frame without compressing them together the way a longer focal length would.
Patino explaining focal length ranges for wide angle lenses
When people say “wide angle,” they often mean anything under 35mm. Patino draws the line closer to 20mm and under – what you’d call ultra-wide. The useful landscape range he points to is 12-24mm, 14-24mm, or the 16-35mm he shoots personally. The core reason this matters for landscapes is layering: a true wide angle lets you include foreground details, a mid-ground, and a background horizon all in a single frame without compressing them together the way a longer focal length would.
If you’re on a crop sensor camera – APS-C on Canon, Nikon, or Sony – you need to account for the crop factor, which is typically 1.5x or 1.6x depending on the brand. That means a 16mm on a crop sensor behaves closer to 24-25mm. Patino calls out the Tokina 11-16mm f/2.8 as a strong option for crop shooters, and honestly it holds up. I’ve run it through my budget lens spreadsheet and it punches well above what it costs used. Canon’s 10-20mm is another solid pick. The point is to be shooting at something that gives you a true wide field of view on whatever body you’re using.
Step 2: Change How You Look at a Scene Before You Raise the Camera
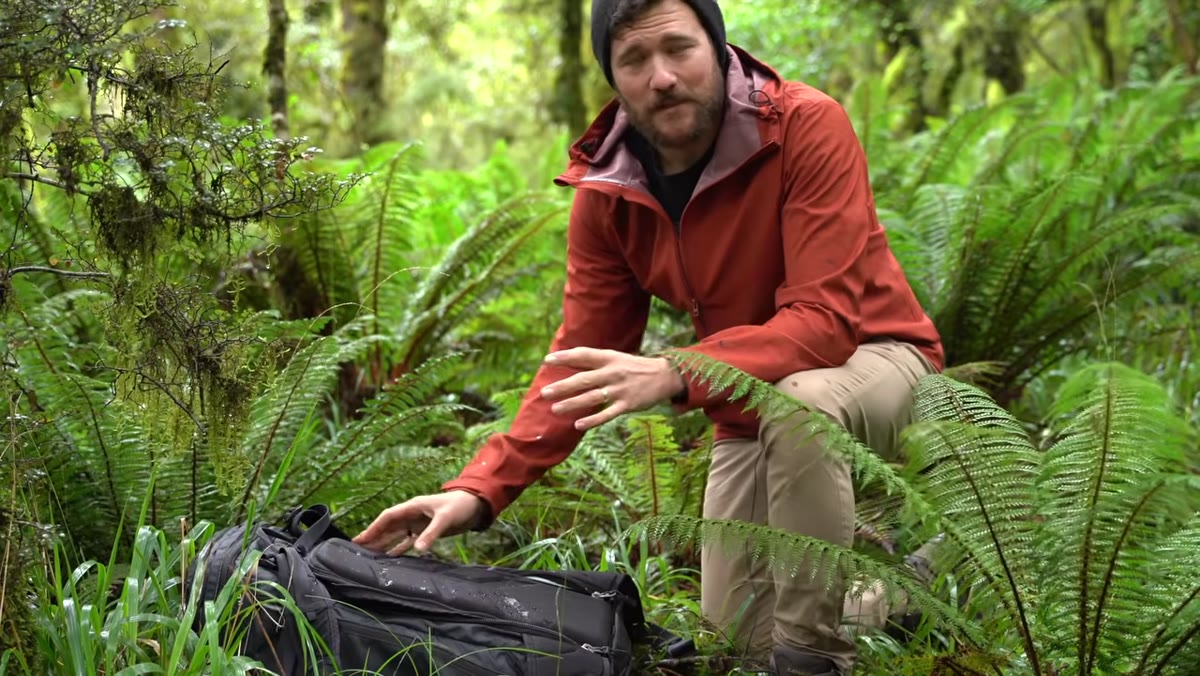 Patino standing in landscape, scanning environment before shooting
This is the step most people skip because it feels abstract. Patino’s advice here is concrete: when you arrive at a location, stop thinking about the main subject you came to photograph. You already know what that is. Now look around, and more importantly, look down.
Patino standing in landscape, scanning environment before shooting
This is the step most people skip because it feels abstract. Patino’s advice here is concrete: when you arrive at a location, stop thinking about the main subject you came to photograph. You already know what that is. Now look around, and more importantly, look down.
Wide angle lenses are designed to make things close to you large in the frame. If you’re used to shooting with a 24-70mm, your instinct is to find a composition that starts six to ten feet in front of you. With a 16mm or wider, you want to find compositions that start essentially at your feet. Shift your eye to the immediate foreground – rocks, water edges, patterns in sand or grass, anything with texture or shape. That’s your anchor. Everything else flows from there.
Step 3: Get Close to Your Foreground (Closer Than Feels Natural)
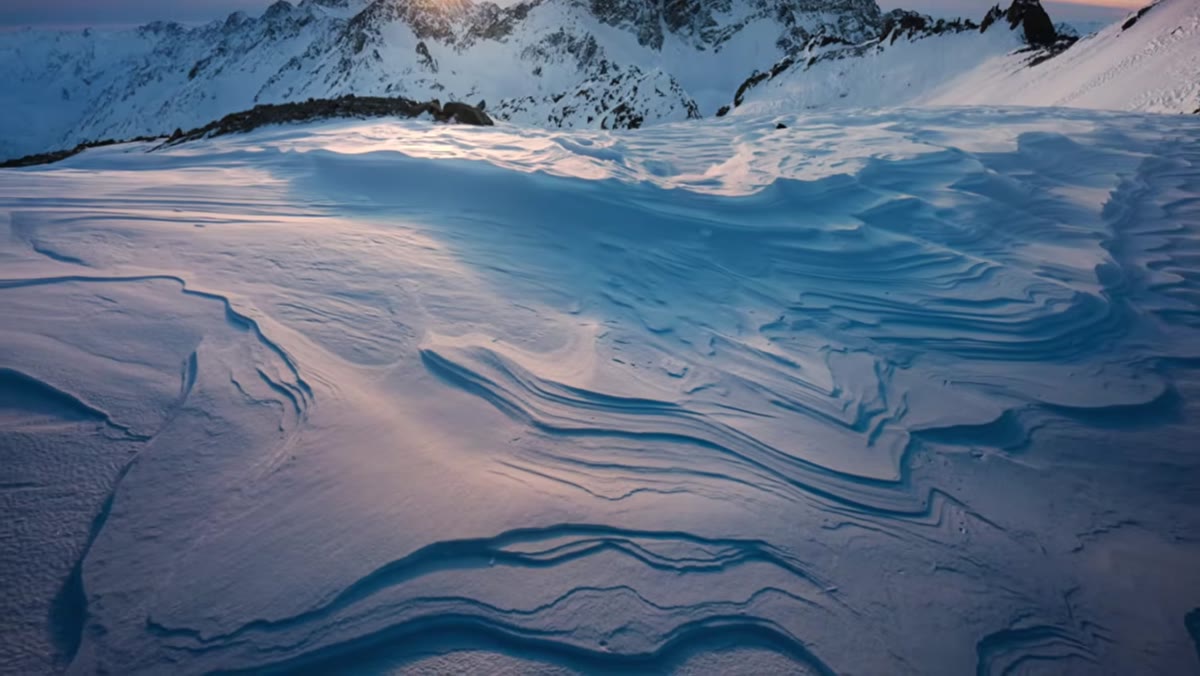 Camera positioned low and close to foreground subject in landscape
This is where wide angle shooting gets physical. Patino’s instruction is to get in close – uncomfortably close – to whatever foreground element you’ve chosen. The lens will still capture everything in the background. That’s the whole point of the focal length. But by moving close to the foreground, you’re making it large in the frame, and large elements in the lower portion of an image pull the viewer’s eye in immediately.
Camera positioned low and close to foreground subject in landscape
This is where wide angle shooting gets physical. Patino’s instruction is to get in close – uncomfortably close – to whatever foreground element you’ve chosen. The lens will still capture everything in the background. That’s the whole point of the focal length. But by moving close to the foreground, you’re making it large in the frame, and large elements in the lower portion of an image pull the viewer’s eye in immediately.
In practical terms: get your camera low, drop to a knee or even prone if the shot calls for it, and close the gap between your lens and the foreground subject. A rock that looks like a minor detail from standing height becomes a dominant visual element when you’re eight inches from it with a 16mm. Set your aperture to f/8 or f/11 to keep both the foreground and background sharp, and use a tripod if your shutter speed is dropping below 1/60s.
Step 4: Use Foreground Elements That Guide, Not Distract
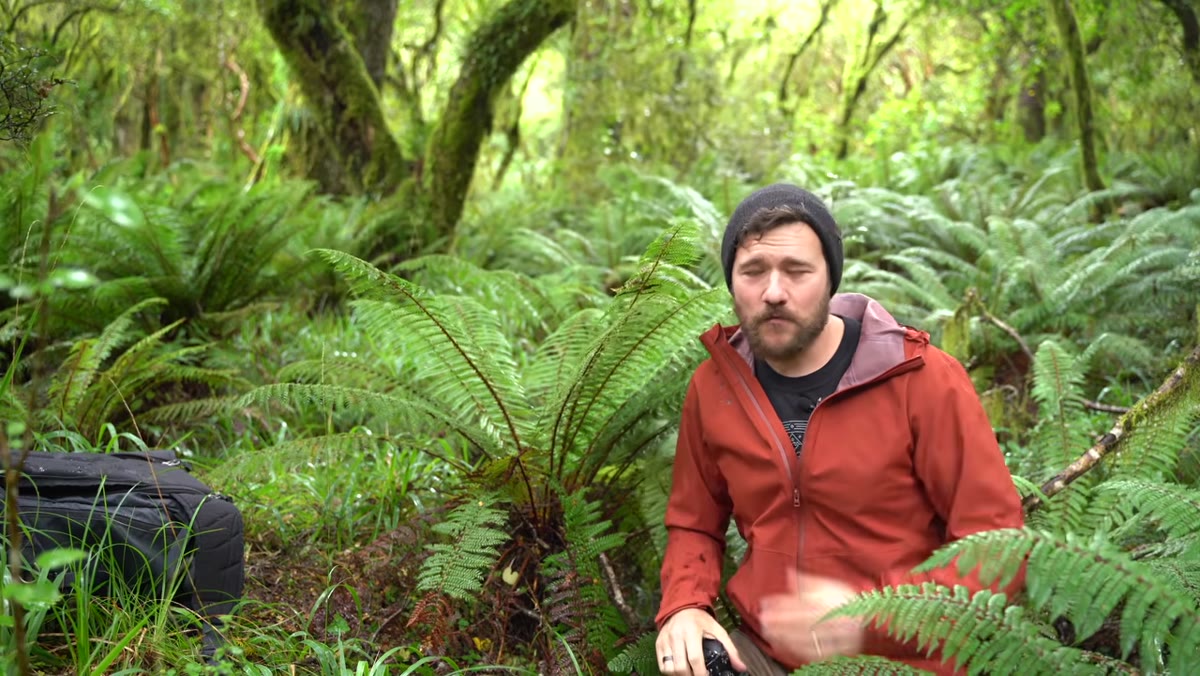 Patino identifying leading lines and framing elements in the landscape
Not every foreground element is a good one. Patino is specific here: you want foreground that frames the scene or creates leading lines toward the main subject, not something that competes with it visually. A strong rock formation or a curve in a shoreline that points toward a mountain in the background is working for you. A random clump of dead brush sitting in the middle of the frame with no relationship to anything else is working against you.
Patino identifying leading lines and framing elements in the landscape
Not every foreground element is a good one. Patino is specific here: you want foreground that frames the scene or creates leading lines toward the main subject, not something that competes with it visually. A strong rock formation or a curve in a shoreline that points toward a mountain in the background is working for you. A random clump of dead brush sitting in the middle of the frame with no relationship to anything else is working against you.
Leading lines are your most reliable tool. Anything that moves the eye from the bottom of the frame toward the horizon – a river, a path, a row of stones, a patch of contrasting color – gives the viewer a route to follow. That visual journey is what makes a wide angle landscape feel deep rather than just big.
Step 5: Stack Layers to Build Depth
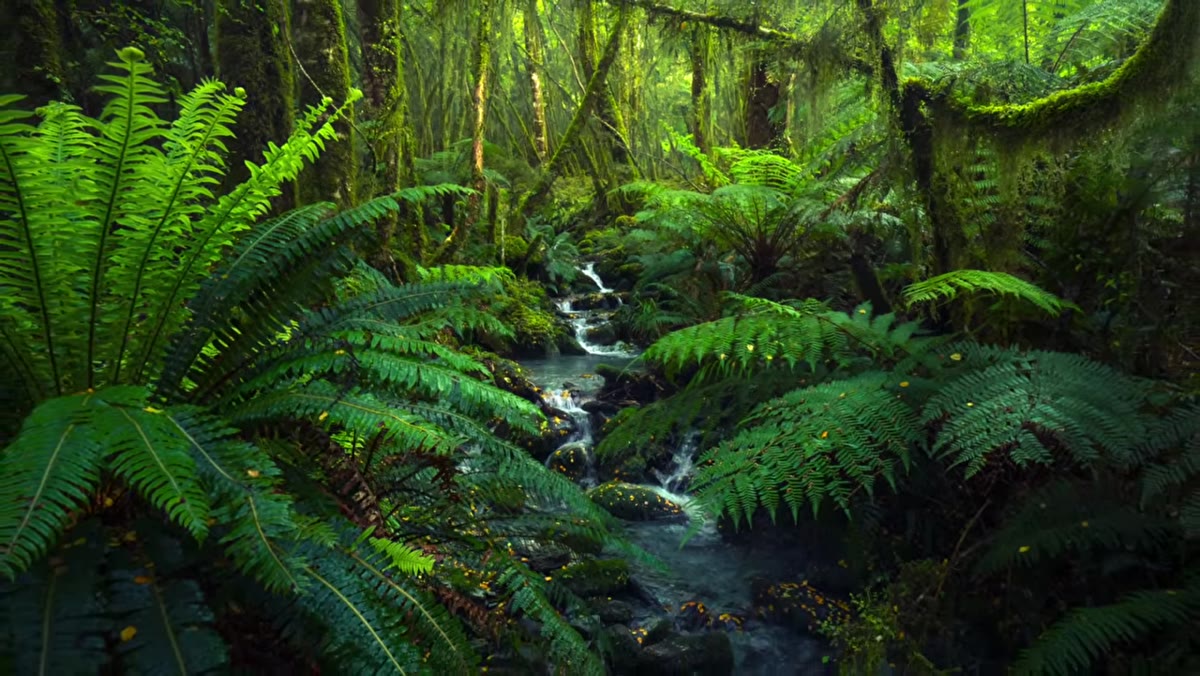 Diagram or view showing foreground, mid-ground, and background in landscape scene
Patino breaks a well-composed wide angle image into three zones: foreground, mid-ground, and background. The lens makes this achievable in a single shot – that’s something a longer focal length compresses away. Your job is to identify what occupies each zone and make sure all three are doing something useful.
Diagram or view showing foreground, mid-ground, and background in landscape scene
Patino breaks a well-composed wide angle image into three zones: foreground, mid-ground, and background. The lens makes this achievable in a single shot – that’s something a longer focal length compresses away. Your job is to identify what occupies each zone and make sure all three are doing something useful.
A practical way to check your composition before you shoot: look through the viewfinder and mentally divide the frame into thirds horizontally. The bottom third should have your close foreground detail. The middle should carry something that bridges the near and far elements – a hillside, a body of water, a stand of trees. The top third is your background subject and sky. If one of those zones is empty or cluttered, move your position until the layers line up.
What Crop Sensor Shooters Should Know Before They Buy
I’ve tested a lot of budget glass in the ultra-wide range, and the Tokina 11-16mm f/2.8 that Patino mentions is genuinely one of the best values in this category – especially used. You can find it in the $150-200 range on the secondary market and it outperforms zoom kit lenses that cost twice as much at the wide end. If you’re on a tighter budget, the Altura Photo 8mm fisheye gets recommended a lot, but I’d skip it for landscapes – the distortion is hard to work with and the sharpness drops off at the edges faster than you want.
The more important thing I’ve learned from real-world testing: your technique matters more than your specific focal length within this range. Going from 16mm to 12mm isn’t going to fix a composition problem. Getting lower, getting closer, and actively building foreground interest will.
The single thing that changed my wide angle results most was Patino’s point about where to look first: not at the mountain or the waterfall you drove two hours to photograph, but at the ground in front of your feet. That shift in attention is what makes a wide angle lens behave like a wide angle lens instead of an expensive 24-70.
Watch the full tutorial on YouTube to see Patino apply all of this in the field with real examples.
Comments (1)
Applied this to my portfolio shots and the improvement is noticeable.
Leave a Comment