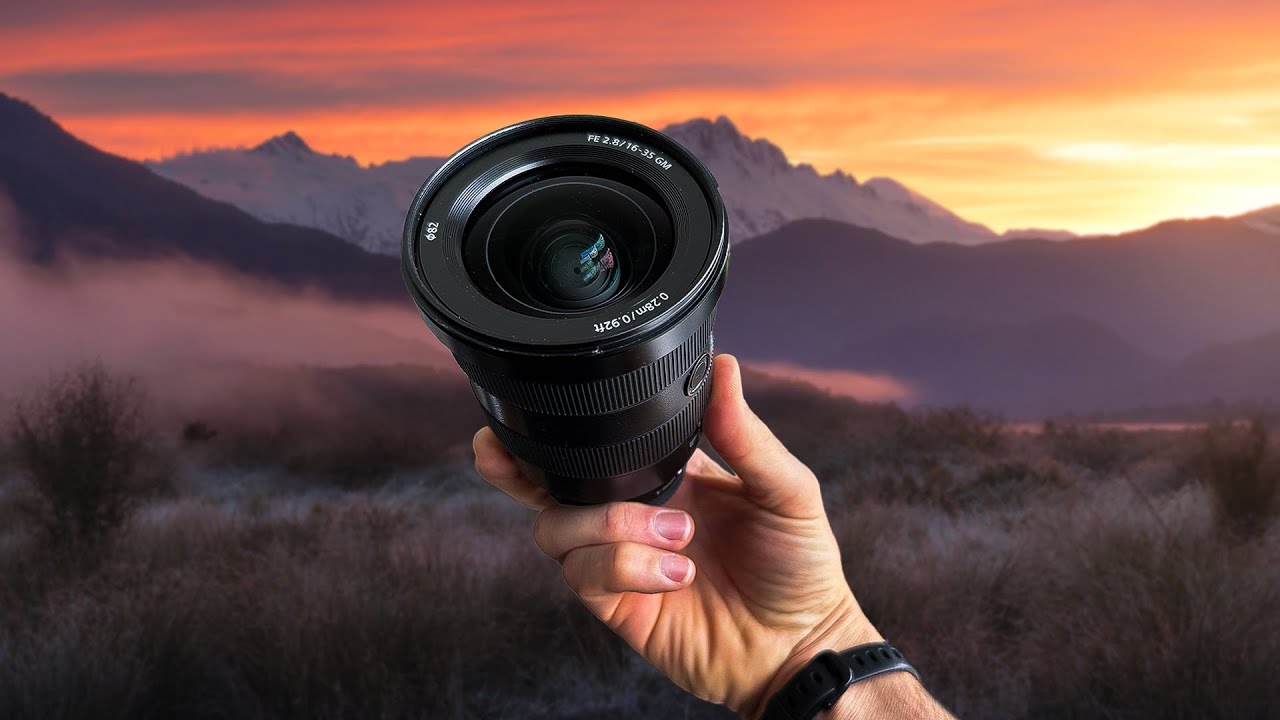
I spent a long time thinking ultra-wide lenses were a flex move. Like, you buy the 12mm, you point it at a mountain, and the sheer field of view does the heavy lifting. Spoiler: it doesn’t. What I kept getting was flat, busy images that looked like I just stood far back from everything. No sense of scale. No pull. Just… wide.
That changed when I worked through Watch the full tutorial on YouTube by William Patino, where he breaks down exactly how to think about ultra-wide lenses for landscape work. Patino shoots with the Sony 12-24mm and he’s clearly put in the reps. What stood out to me wasn’t the gear flex, it was the framework he uses to actually make ultra-wide images feel three-dimensional instead of flat and overwhelming.
The core insight he keeps coming back to: an ultra-wide lens isn’t a “get more in frame” tool. It’s a depth creation tool. Once I started thinking about it that way, my keeper rate on wide shots improved fast. Here’s how he breaks it down, step by step.
Step 1: Define What Counts as Ultra-Wide
 Text and lens graphic defining ultra-wide focal range
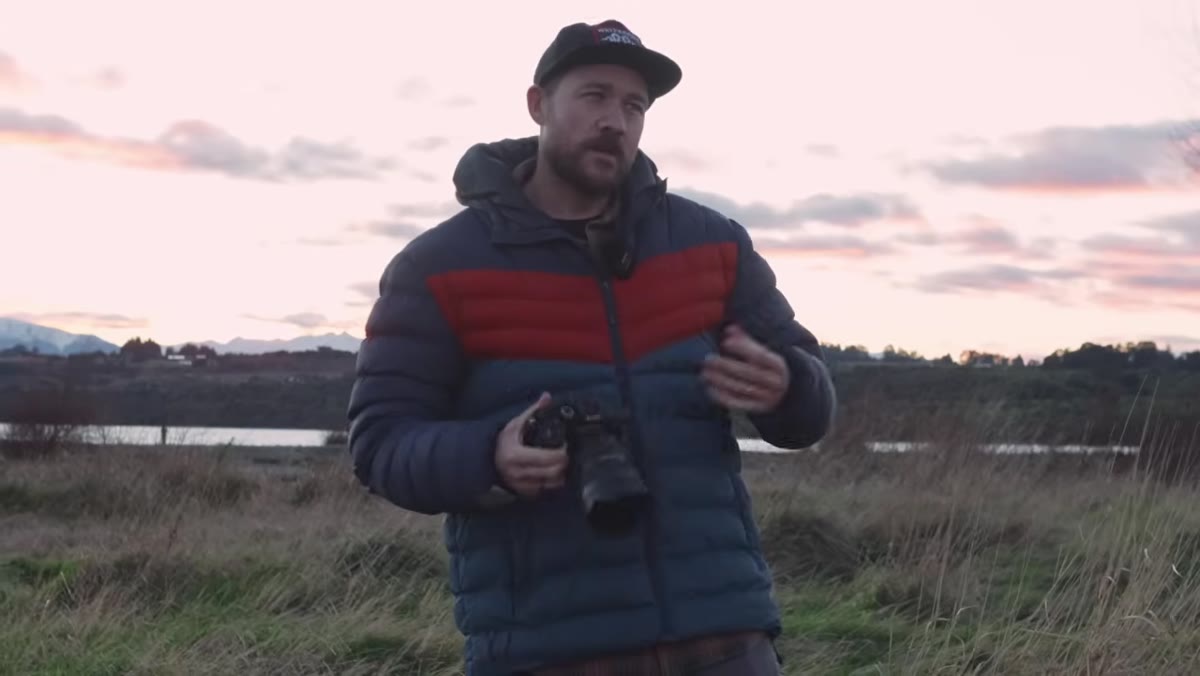
Patino draws a clear line at 24mm and below. If you’re at 35mm or 50mm, you’re not in ultra-wide territory. He personally works in the 12-16mm range most often, and he recommends getting to at least 16-17mm to really access what this type of lens can do. If you’re shopping right now, that’s your benchmark. Don’t settle for a lens that only goes to 24mm and calls itself wide. Push for 16mm or better, and if your budget allows you to go wider, do it.
Text and lens graphic defining ultra-wide focal range
Patino draws a clear line at 24mm and below. If you’re at 35mm or 50mm, you’re not in ultra-wide territory. He personally works in the 12-16mm range most often, and he recommends getting to at least 16-17mm to really access what this type of lens can do. If you’re shopping right now, that’s your benchmark. Don’t settle for a lens that only goes to 24mm and calls itself wide. Push for 16mm or better, and if your budget allows you to go wider, do it.
Step 2: Understand the Lens’s Actual Job
 Wide landscape scene showing foreground, midground, and background layers
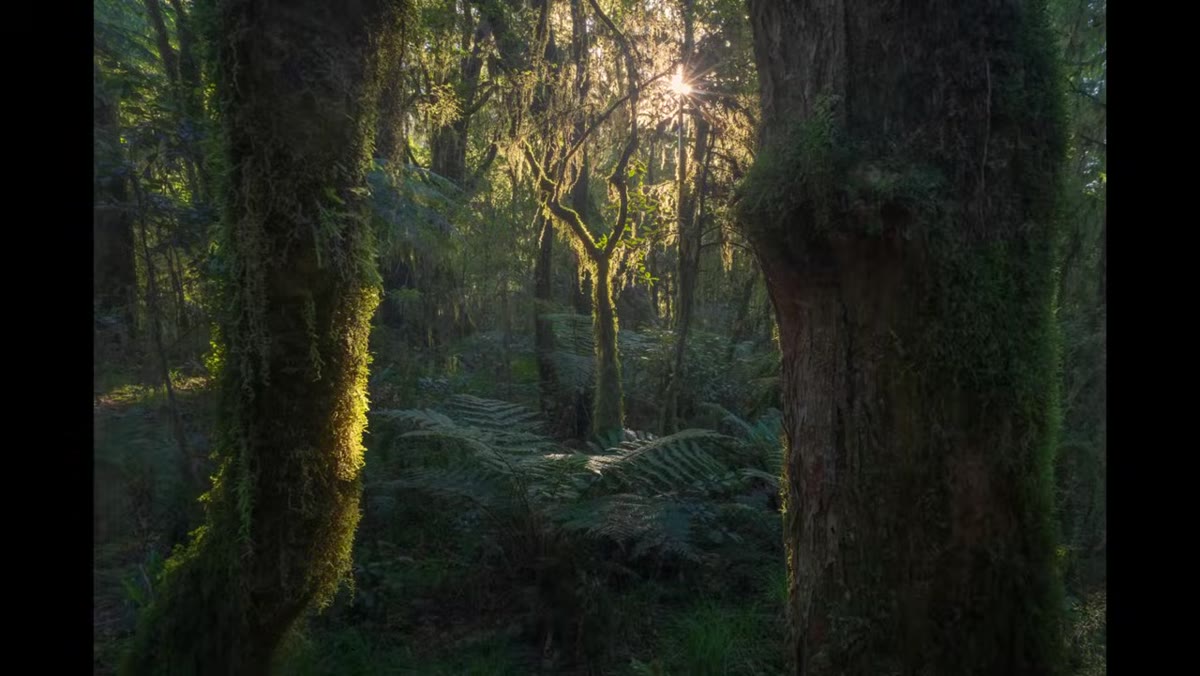
Before you shoot a single frame, you need to reframe why you’re using this lens. Patino is direct about it: the ultra-wide exists to create depth and three-dimensionality. It does that by letting you include subject matter that’s very close to you (right at your feet, essentially) while still capturing a background that might be hundreds of meters away. Think mountain valleys, waterfalls, tree-in-a-field setups. You’re not just photographing a subject. You’re photographing a subject inside its environment, with every layer of that environment visible and distinct.
Wide landscape scene showing foreground, midground, and background layers
Before you shoot a single frame, you need to reframe why you’re using this lens. Patino is direct about it: the ultra-wide exists to create depth and three-dimensionality. It does that by letting you include subject matter that’s very close to you (right at your feet, essentially) while still capturing a background that might be hundreds of meters away. Think mountain valleys, waterfalls, tree-in-a-field setups. You’re not just photographing a subject. You’re photographing a subject inside its environment, with every layer of that environment visible and distinct.
Step 3: Compare the Same Scene at Different Focal Lengths
 Side-by-side framing of lone tree at 24mm showing flat grass layer
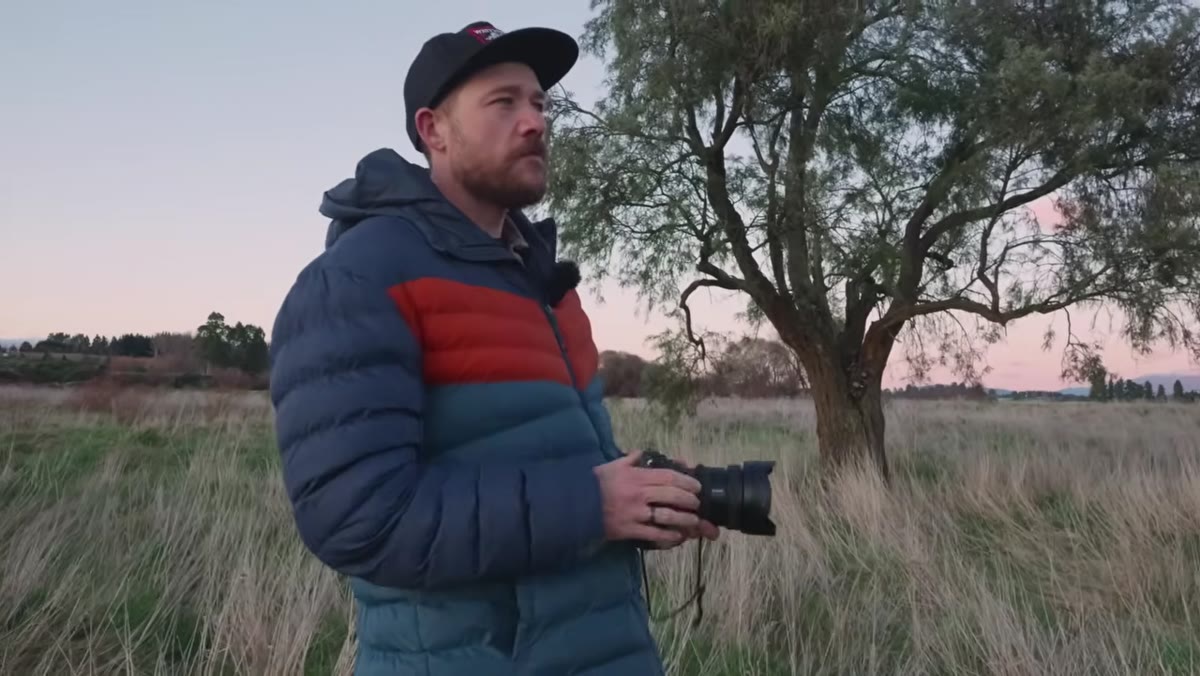
Patino uses a lone tree in a field to demonstrate this, and it’s one of the clearest visual comparisons I’ve seen in a tutorial. At 24mm, the tree looks fine. There’s grass below it, sky above it. Nothing technically wrong. But because you’re further back to get the same framing, all that grass in the lower portion of the image is roughly the same distance from the lens, so it reads as a single flat band. You get one layer, not three. The image sits there. When you look at the ultra-wide version of the same scene, you immediately feel the difference. More on that next.
Side-by-side framing of lone tree at 24mm showing flat grass layer
Patino uses a lone tree in a field to demonstrate this, and it’s one of the clearest visual comparisons I’ve seen in a tutorial. At 24mm, the tree looks fine. There’s grass below it, sky above it. Nothing technically wrong. But because you’re further back to get the same framing, all that grass in the lower portion of the image is roughly the same distance from the lens, so it reads as a single flat band. You get one layer, not three. The image sits there. When you look at the ultra-wide version of the same scene, you immediately feel the difference. More on that next.
Step 4: Use Diminishing Perspective to Build Depth
 Grass in foreground appearing large, shrinking toward tree in background
This is the technique at the center of the whole tutorial, and it’s worth slowing down here. Diminishing perspective is what happens when an element (grass, rocks, a shoreline, sand ripples) starts large in the foreground and visually shrinks as it moves toward the background. Your eye naturally reads that size change as distance, which creates a sense of depth. The ultra-wide lens exaggerates this effect because it stretches the apparent distance between things. To use it, you need to physically get lower and closer to your foreground element. Patino gets down on the grass so the blades nearest the lens are large in the frame. Those same blades progressively shrink toward the tree. The image now has a visual flow that pulls the viewer from the bottom of the frame all the way to the subject.
Grass in foreground appearing large, shrinking toward tree in background
This is the technique at the center of the whole tutorial, and it’s worth slowing down here. Diminishing perspective is what happens when an element (grass, rocks, a shoreline, sand ripples) starts large in the foreground and visually shrinks as it moves toward the background. Your eye naturally reads that size change as distance, which creates a sense of depth. The ultra-wide lens exaggerates this effect because it stretches the apparent distance between things. To use it, you need to physically get lower and closer to your foreground element. Patino gets down on the grass so the blades nearest the lens are large in the frame. Those same blades progressively shrink toward the tree. The image now has a visual flow that pulls the viewer from the bottom of the frame all the way to the subject.
Step 5: Get Low and Close to Your Foreground
 Camera positioned low near grass to exaggerate foreground size
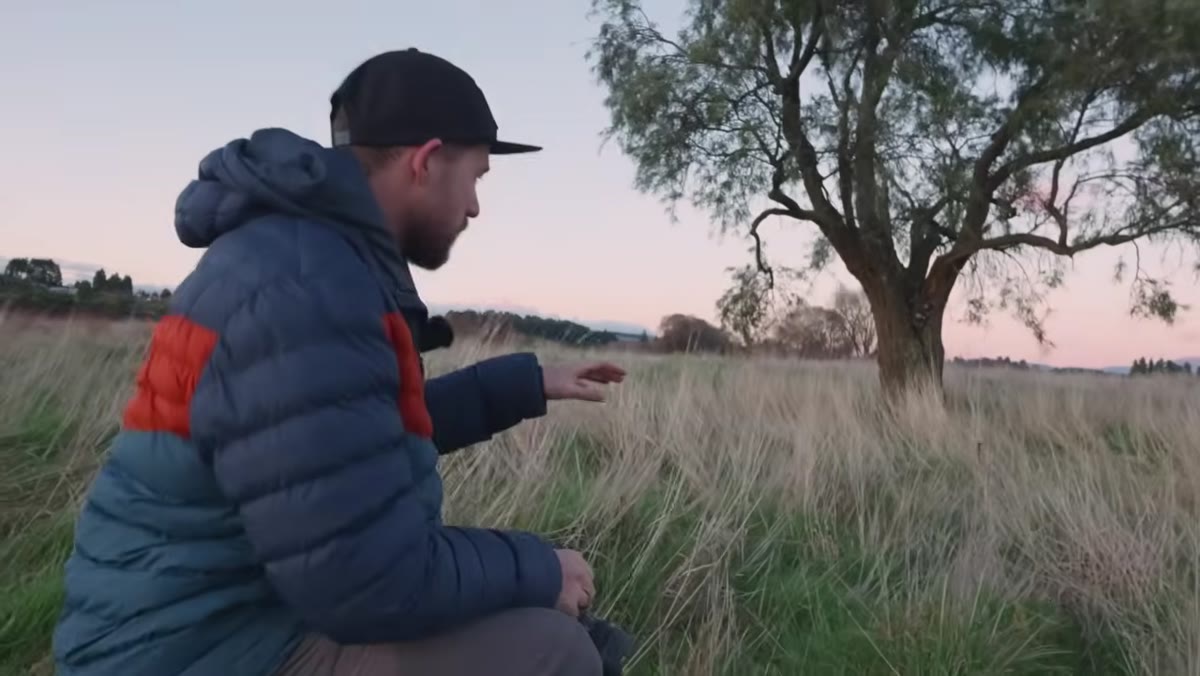
The physical positioning is just as important as the focal length. Patino drops down low, close to the ground. This does two things: it makes nearby foreground elements appear larger relative to the frame, and it increases the visual distance between foreground and background. If you’re standing upright pointing the wide lens at something, you’re wasting about half of what the lens can do. Get your camera to ground level. Get it close to interesting texture. Rocks, water, grass, sand patterns. Whatever’s at your feet is now your depth anchor.
Camera positioned low near grass to exaggerate foreground size
The physical positioning is just as important as the focal length. Patino drops down low, close to the ground. This does two things: it makes nearby foreground elements appear larger relative to the frame, and it increases the visual distance between foreground and background. If you’re standing upright pointing the wide lens at something, you’re wasting about half of what the lens can do. Get your camera to ground level. Get it close to interesting texture. Rocks, water, grass, sand patterns. Whatever’s at your feet is now your depth anchor.
Step 6: Apply the Same Logic to Larger Scenes
 Mountains and lake scene with foreground water closest to camera
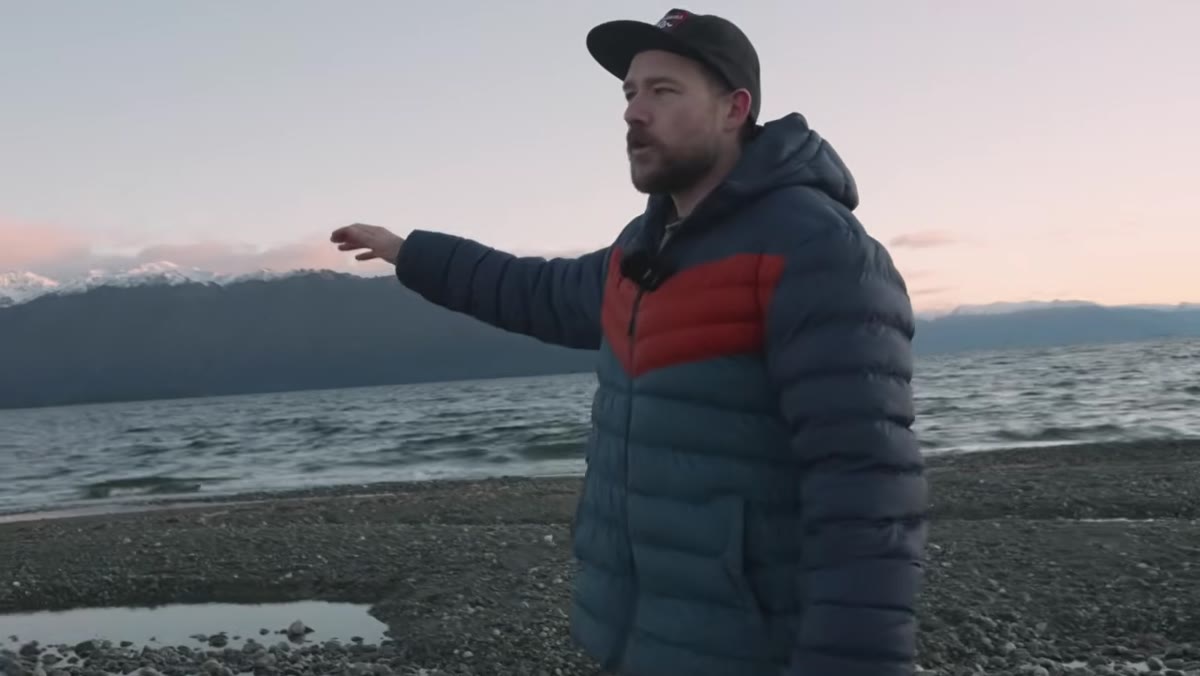
Patino then moves to a lake-and-mountains scene to show the technique scales up. The mountains are the main subject. The lake is the middle layer. But from far back, most of the lake looks the same. The most visually active water, with the most texture and detail, is the water closest to the camera. So he positions himself to bring that near water into the foreground, using it as the entry point that leads the eye across the lake and up to the mountains. The principle is identical to the tree example, just on a grander scale. Find what’s close to you that has visual interest, and let the wide lens connect it to your background subject.
Mountains and lake scene with foreground water closest to camera
Patino then moves to a lake-and-mountains scene to show the technique scales up. The mountains are the main subject. The lake is the middle layer. But from far back, most of the lake looks the same. The most visually active water, with the most texture and detail, is the water closest to the camera. So he positions himself to bring that near water into the foreground, using it as the entry point that leads the eye across the lake and up to the mountains. The principle is identical to the tree example, just on a grander scale. Find what’s close to you that has visual interest, and let the wide lens connect it to your background subject.
What I’d Add From My Own Testing
I’ve run a lot of budget wide-angle glass through its paces over the past couple years, mostly lenses in the $200-400 range that don’t get nearly enough attention. One thing I’d emphasize beyond what Patino covers: corner sharpness matters a lot more on ultra-wide lenses than it does at longer focal lengths. When your foreground is spread all the way to the edges of the frame, soft corners become obvious fast. Before you commit to a lens, check sample images at f/8 in the corners. Some budget options hold up surprisingly well. Some fall apart. My comparison spreadsheet has saved me from a few bad purchases on that front alone.
Also worth noting: if you’re shooting this technique on a crop sensor camera, your focal lengths shift. A 10mm on APS-C gets you into proper ultra-wide territory. Don’t assume you need full frame to make this work. The technique is what matters.
The single most important takeaway from Patino’s tutorial is this: proximity to your foreground is what unlocks the ultra-wide lens. Focal length is just the tool. How close you get to what’s at your feet determines whether the image has depth or just width. Get low, get close, and let the lens do the rest.
Watch the full tutorial on YouTube to see Patino demonstrate this live in the field. Seeing the before-and-after frames back to back makes the depth difference click in a way that’s hard to fully capture in words.
Comments (4)
Love how you break down complex stuff into manageable steps.
Finally someone explains this in a way that actually makes sense.
Applied this to my portfolio shots and the improvement is noticeable.
Really solid breakdown. This pairs perfectly with the lighting work I've been writing about.
Leave a Comment