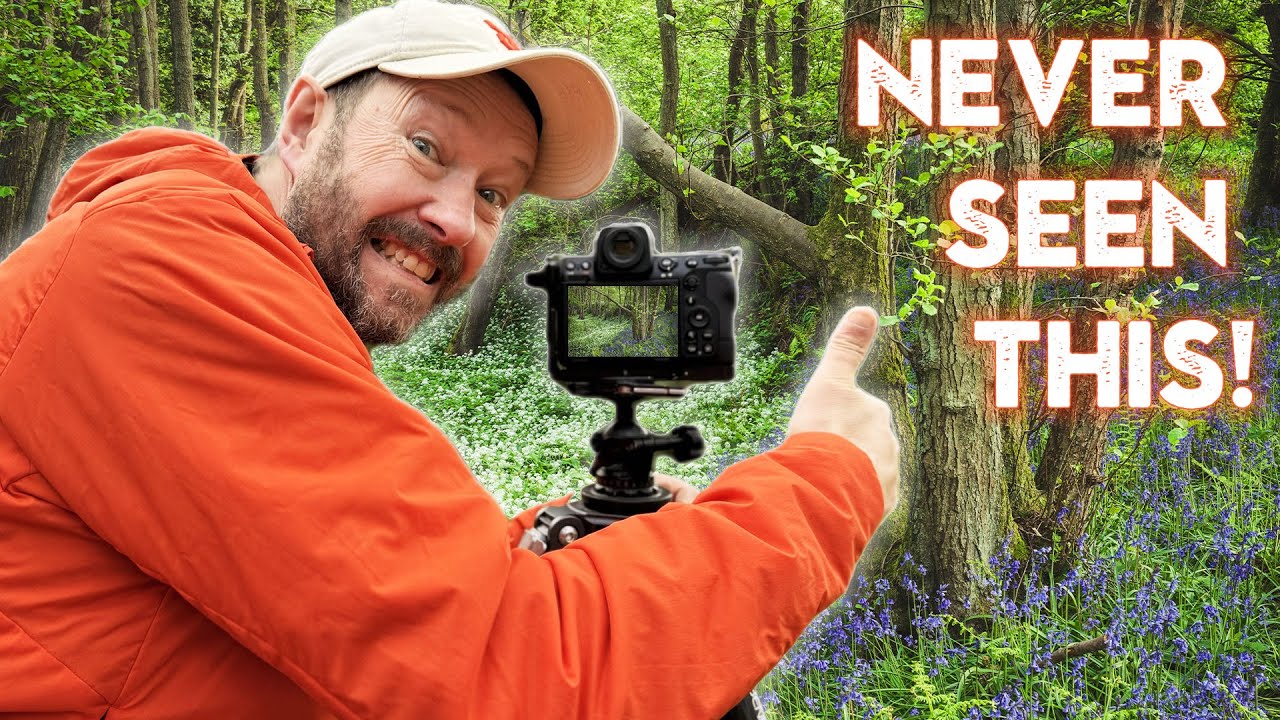
Spring woodland shooting sounds easy until you’re actually standing in one. Trees everywhere, light doing unpredictable things, and a carpet of flowers that looks stunning to your eyes but turns into a flat green mess on your screen. I’ve been there more times than I want to admit, usually after dragging myself out of bed at 5am for nothing I’d actually post.
In this Nigel Danson tutorial filmed in the spring woodlands of North Yorkshire, Danson works through a real shooting session, live decisions and all, covering composition logic, how to read woodland light before you fire a single frame, and the specific settings he leans on when conditions get tricky. Watch the full tutorial on YouTube - it’s worth the full watch. But if you want the technique extracted and ready to apply on your next outing, here’s how he works through it.
What I find genuinely useful about his approach is that he’s shooting with a 24-70mm, not a tilt-shift or a dedicated macro. It’s the lens most of us already own or can rent for a weekend without ruining the budget. The techniques here don’t require specialty glass. They require slowing down and actually looking.
Step 1: Scout for Opposing Tree Angles Before You Set Up
 Two trees leaning at opposing angles in woodland
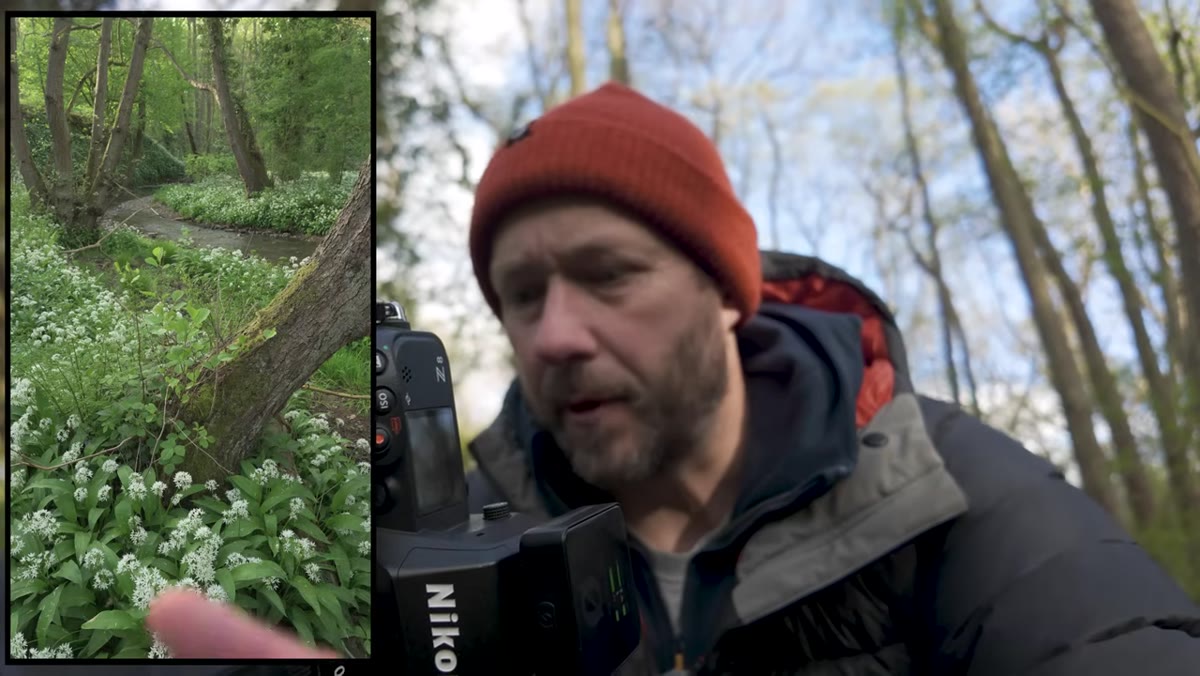
Before Danson touches his camera settings, he’s looking at the relationship between trees. Specifically, he’s hunting for what he calls opposing trees, where one trunk leans or angles one direction and the adjacent trunk counters it. This creates a natural visual tension that stops a woodland frame from feeling like a wallpaper pattern of identical verticals.
Two trees leaning at opposing angles in woodland
Before Danson touches his camera settings, he’s looking at the relationship between trees. Specifically, he’s hunting for what he calls opposing trees, where one trunk leans or angles one direction and the adjacent trunk counters it. This creates a natural visual tension that stops a woodland frame from feeling like a wallpaper pattern of identical verticals.
When you walk into a woodland scene, resist the urge to immediately put the camera to your eye. Spend two or three minutes just scanning for that opposing geometry. Look for trunks that form a rough X or V shape when you stand back. It won’t always be obvious at first, but once you train yourself to see it, you’ll find these pairings everywhere.
Step 2: Check Where Your Light Source Is Before Composing
 Sunlight hitting tree bark from the side
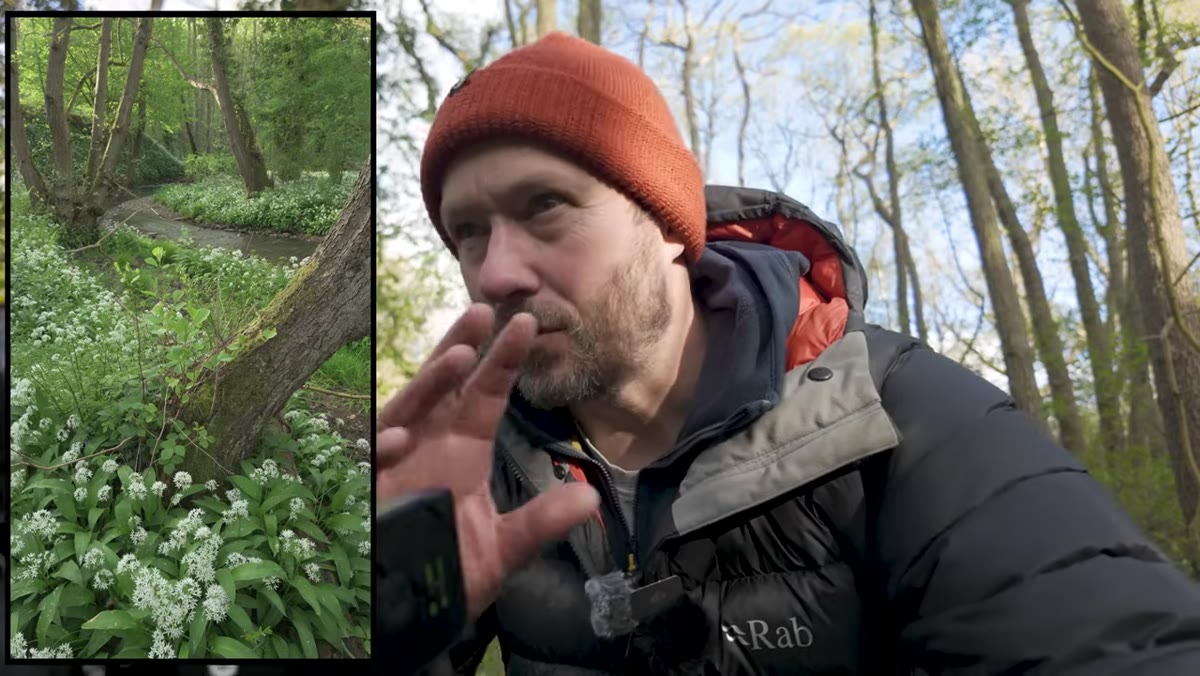
Danson spots nice directional light hitting a tree and makes a deliberate note of where the sun is sitting before he locks in his composition. In woodland shooting, this matters more than almost anything else because patches of direct sunlight on bark can blow out and look harsh in a way that reads fine to your eye but terrible on a raw file.
Sunlight hitting tree bark from the side
Danson spots nice directional light hitting a tree and makes a deliberate note of where the sun is sitting before he locks in his composition. In woodland shooting, this matters more than almost anything else because patches of direct sunlight on bark can blow out and look harsh in a way that reads fine to your eye but terrible on a raw file.
Get in the habit of looking at your scene and identifying exactly where the sun is coming from and what it’s touching. A sunlit patch on bark in the background of your frame, the kind Danson flags as a warning mid-shoot, can wreck an otherwise solid composition. Move your position slightly left or right before you commit. Sometimes three feet of lateral movement is the difference between a keeper and a reject.
Step 3: Lock In Your Base Settings for Low-Movement Woodland Scenes
 Camera display showing f11 and ISO 64 settings
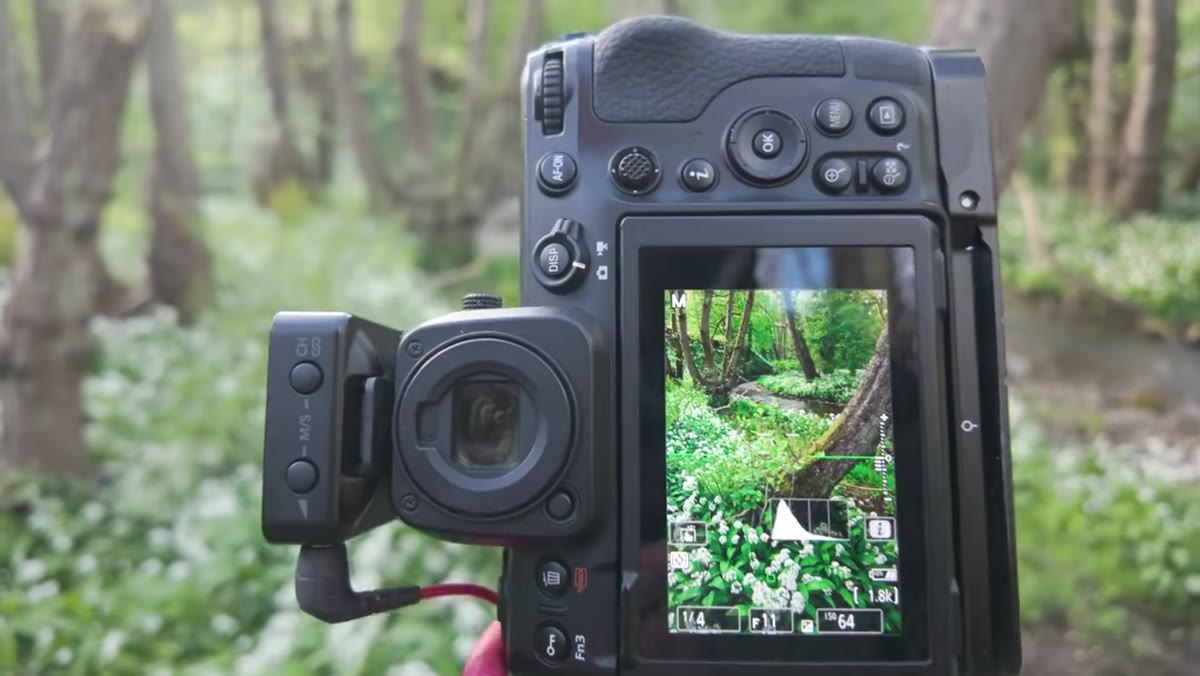
Danson’s starting point for a still woodland scene is f/11, ISO 64, and whatever shutter speed the light demands, around a fifth of a second in his case here. The logic is straightforward. F/11 gives you enough depth of field to keep foreground flowers and background trees both acceptably sharp without chasing the diffraction penalty you get at f/16 or f/22. ISO 64 keeps noise floor as low as possible since he’s on a tripod and not in a rush.
Camera display showing f11 and ISO 64 settings
Danson’s starting point for a still woodland scene is f/11, ISO 64, and whatever shutter speed the light demands, around a fifth of a second in his case here. The logic is straightforward. F/11 gives you enough depth of field to keep foreground flowers and background trees both acceptably sharp without chasing the diffraction penalty you get at f/16 or f/22. ISO 64 keeps noise floor as low as possible since he’s on a tripod and not in a rush.
If you’re shooting handheld or on a budget tripod that wobbles, bump ISO to 400 and use exposure compensation to keep your shutter speed above 1/60. The noise is almost always less damaging than camera shake blur, especially in flowers. Check for any movement in your foreground before you shoot, even a gentle breeze through bluebells will show up at a fifth of a second.
Step 4: Use Natural Curves to Build a Path Through the Frame
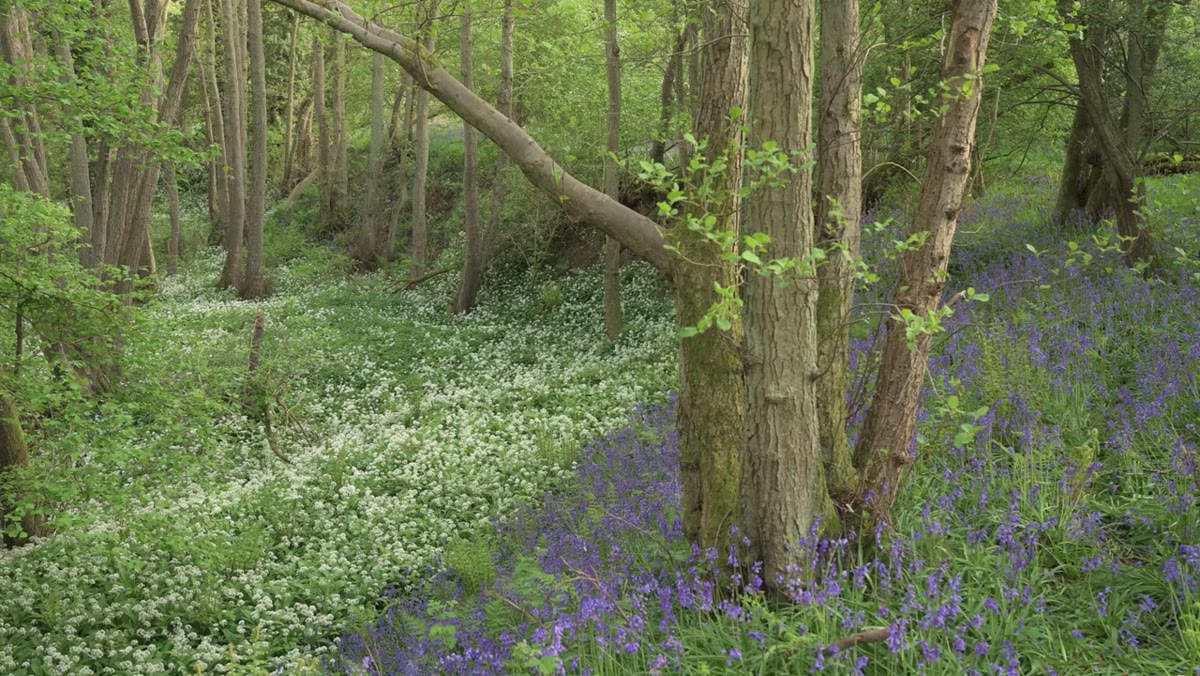 Curving line of wild garlic leading through trees
One of the cleaner composition moves Danson uses is finding a natural curve in the forest floor, whether that’s a line of wild garlic, a path, or the edge of a clearing, and positioning it so it enters from a bottom corner and sweeps toward the background. This does the job a leading line is supposed to do but feels less mechanical than a straight path shooting to the horizon.
Curving line of wild garlic leading through trees
One of the cleaner composition moves Danson uses is finding a natural curve in the forest floor, whether that’s a line of wild garlic, a path, or the edge of a clearing, and positioning it so it enters from a bottom corner and sweeps toward the background. This does the job a leading line is supposed to do but feels less mechanical than a straight path shooting to the horizon.
The key is not manufacturing this curve. If it’s there, use it. If it isn’t, don’t try to fake it by shooting at a weird angle that introduces distortion. Instead, shift your attention to a different anchor, maybe the texture contrast between bark and soft flower petals in the foreground. Forced leading lines always look forced.
Step 5: Shoot the Same Frame With and Without Direct Sunlight
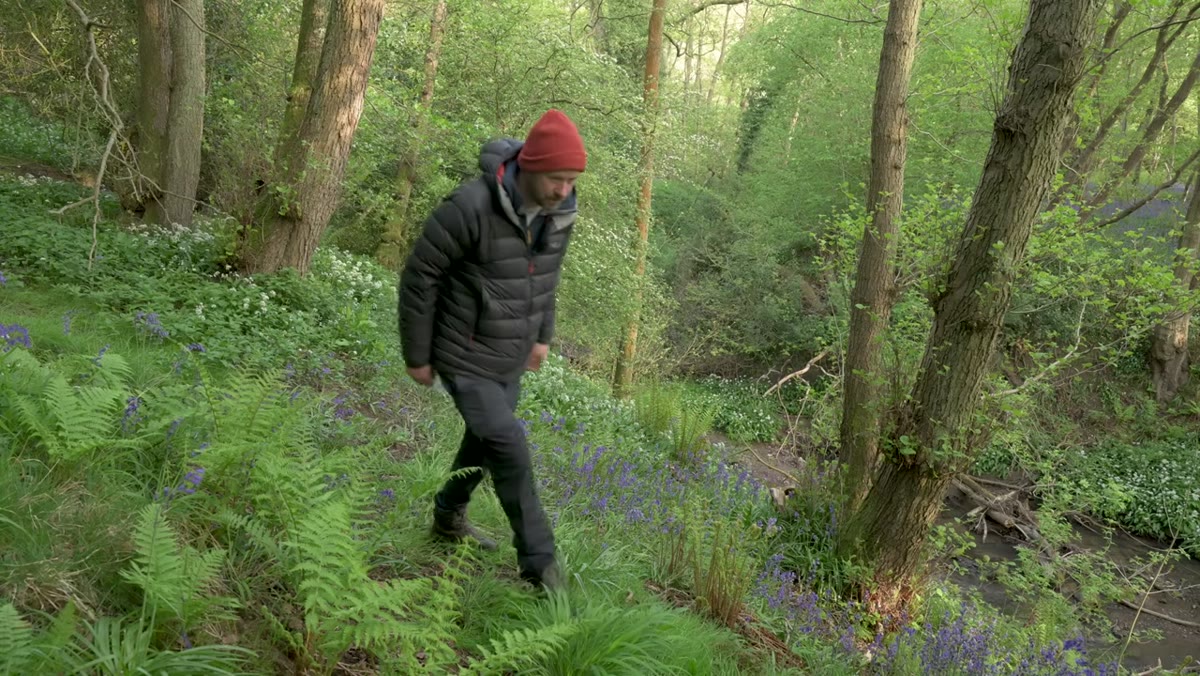 Before and after comparison frames on camera LCD
When Danson isn’t sure whether the sunlight on a tree is helping or hurting, he shoots both. One frame with the sun hitting the bark, one with the sun behind cloud. He flags that what looks better in the field isn’t always what holds up in Lightroom, and he’s right. I’ve opened files where I was convinced the moody, flat-light version was the winner and discovered the sunlit frame had texture and depth that the shadow version completely lacked.
Before and after comparison frames on camera LCD
When Danson isn’t sure whether the sunlight on a tree is helping or hurting, he shoots both. One frame with the sun hitting the bark, one with the sun behind cloud. He flags that what looks better in the field isn’t always what holds up in Lightroom, and he’s right. I’ve opened files where I was convinced the moody, flat-light version was the winner and discovered the sunlit frame had texture and depth that the shadow version completely lacked.
This costs you nothing. The storage is cheap. Just bracket the light conditions like you’d bracket exposure, and make the call at the editing stage when you can compare them at 100 percent on a calibrated screen. Danson himself revisits his frames mid-session and reconsiders his initial read. That kind of honest self-correction mid-shoot is something worth copying.
Step 6: Don’t Write Off Flat Light - Let Color Do the Heavy Lifting
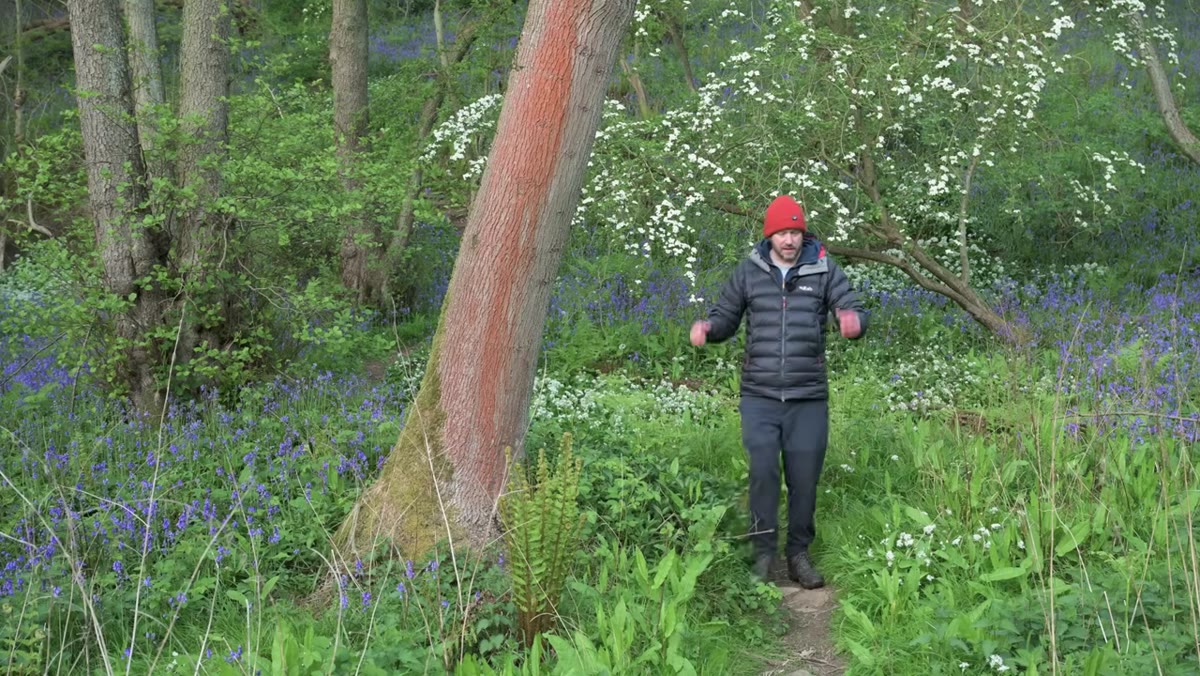 Hawthorn blossoms and spring foliage under overcast sky
When the light goes fully flat, Danson doesn’t pack up. He points out that the color contrast between hawthorn blossoms and darker bark adds depth even without directional light. Flat light can actually help saturated spring colors like bluebells and wild garlic pop more cleanly than harsh sun, which can blow out white flowers and oversaturate greens.
Hawthorn blossoms and spring foliage under overcast sky
When the light goes fully flat, Danson doesn’t pack up. He points out that the color contrast between hawthorn blossoms and darker bark adds depth even without directional light. Flat light can actually help saturated spring colors like bluebells and wild garlic pop more cleanly than harsh sun, which can blow out white flowers and oversaturate greens.
If you lose your golden hour window, shift your focus to color relationships in the frame rather than light drama. Look for warm against cool, light green against dark trunk, white blossom against shadow. The scene is doing a lot of work for you if you let it.
What I’d Add: The Cheap Tripod Problem Is Real Here
Danson’s shooting style in this video depends on a stable platform. He’s at a fifth of a second regularly, and he’s making fine compositional adjustments between frames. If you’re working with a budget tripod that has any flex in the head, you’re going to fight this all session. I’ve tested more than a dozen tripods under $80 and the single biggest failure point is always the ball head locking mechanism. It drifts after you release the shutter button. For this style of patient woodland work, a $45 tripod with a solid center column and a screw-lock head will outperform a $70 one with a loose quick-release ball head every time. Check the head before you buy, not just the leg specs.
The real lesson from Danson’s approach here is that woodland photography is a reading exercise before it’s a technical one. You’re reading light direction, tree geometry, floor curves, and color contrast before your camera does anything. Get those reads right and even a kit 24-70mm at f/11 will give you something worth printing. Watch the full tutorial on YouTube to see how Danson works through these decisions in real time.
Comments
Leave a Comment