Most of my work lives in the budget tier. I review $40 speedlights and argue with comment sections about whether a kit lens can hold its own against glass that costs more than my rent. But the techniques that actually make images work? Those come from watching pros solve hard problems in the field — and then figuring out how to apply the same logic with whatever I have in my bag.
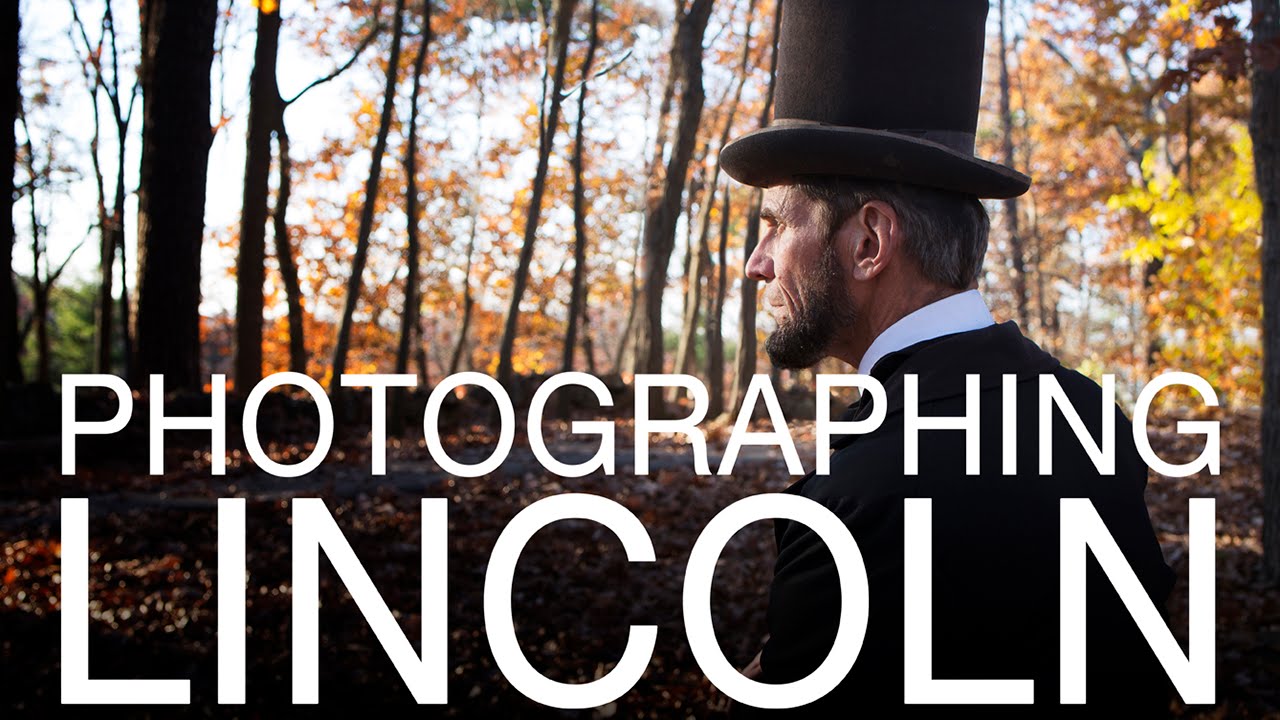
This tutorial stopped me mid-scroll. In this The Slanted Lens tutorial, JP Morgan breaks down a historical portrait shoot on Little Round Top at Gettysburg — with an Abraham Lincoln actor kneeling at the actual stone wall where Chamberlain’s troops held off Confederate forces. The location is dramatic on its own, but what makes this a masterclass is how JP balances two strobes against a dying ambient sky without losing the mood of the place. Every decision he explains here is one you can apply on your next location portrait, whether you’re shooting a Civil War reenactment or just a senior portrait in a park at golden hour.
The core problem he’s solving is one I run into constantly: you have a subject that needs controlled light, but the background has its own exposure story you don’t want to blow out or underexpose. Getting those two things to agree requires understanding which control handles which. Here’s how he does it, step by step.
Step 1: Place Your Key Light Behind and to the Side of the Subject
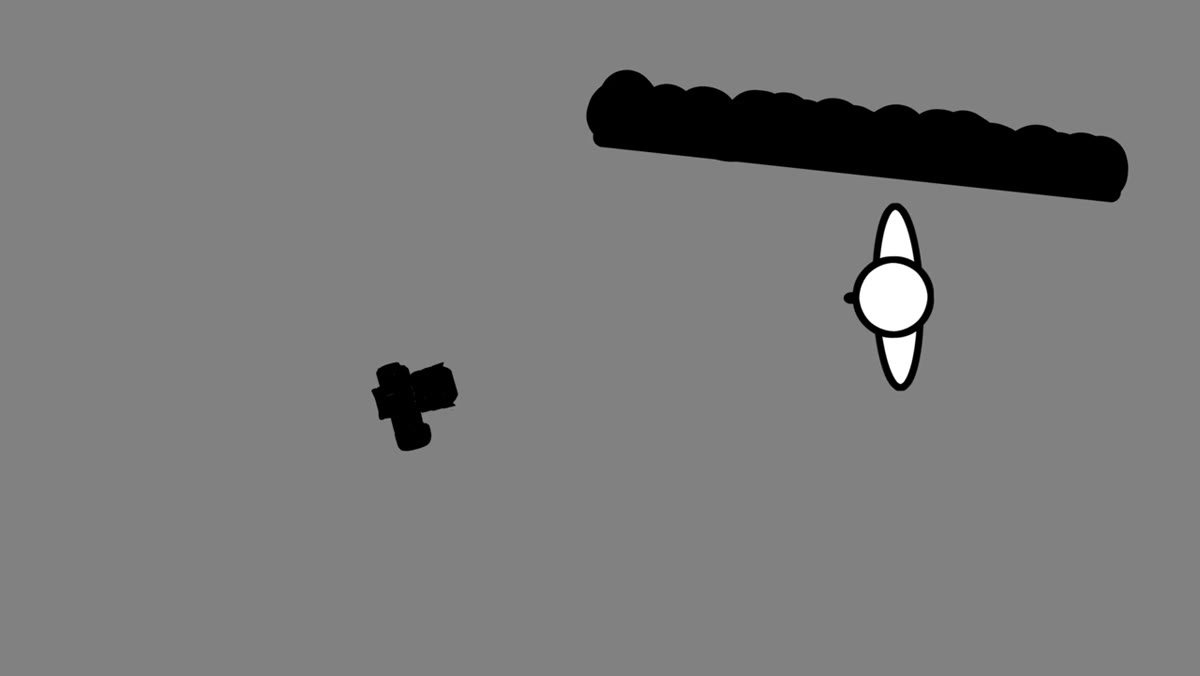 Camera setup on Little Round Top with Baja V4 and softbox positioned camera left
JP positions his key light on camera left, slightly behind Lincoln rather than directly to the side. The reasoning is specific: when the light source is angled so it’s pointing toward camera rather than straight across the subject, you get shadows falling toward the lens. That directional shadow gives the face and body dimension, and it creates a sense that the light has somewhere to come from in the world of the image. This isn’t just a rule-of-thumb. It’s the difference between a portrait that reads as lit and one that reads as lit well.
Camera setup on Little Round Top with Baja V4 and softbox positioned camera left
JP positions his key light on camera left, slightly behind Lincoln rather than directly to the side. The reasoning is specific: when the light source is angled so it’s pointing toward camera rather than straight across the subject, you get shadows falling toward the lens. That directional shadow gives the face and body dimension, and it creates a sense that the light has somewhere to come from in the world of the image. This isn’t just a rule-of-thumb. It’s the difference between a portrait that reads as lit and one that reads as lit well.
The modifier here is a medium Dynalite softbox with a silver interior lining, mounted on a Baja V4. Silver-lined softboxes punch harder than white-lined ones, which matters on a location like this where you’re fighting ambient light rather than controlling it entirely.
Step 2: Test With a Grid, Then Decide Whether to Pull It
 Grid modifier attached to softbox, light concentrated on subject only
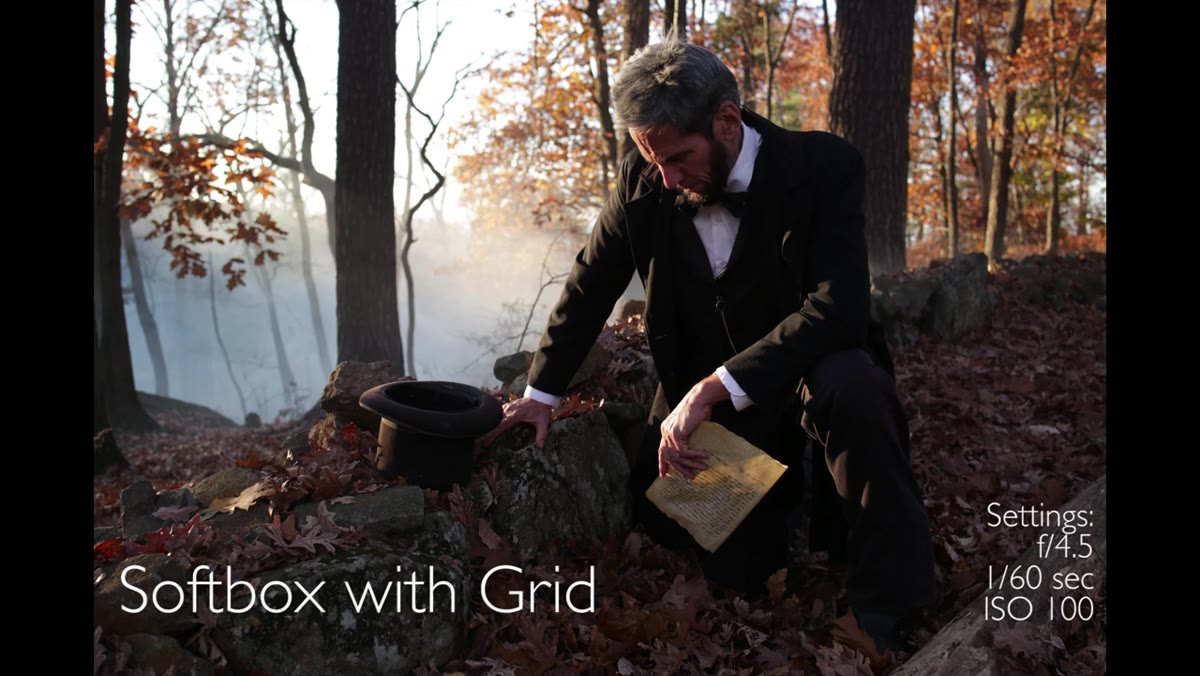
JP initially puts a grid on the softbox. Grids narrow the beam angle and keep light from spilling past the subject onto the surrounding environment. His instinct was to keep the light focused on Lincoln and prevent it from hitting the stone wall. Reasonable call.
Grid modifier attached to softbox, light concentrated on subject only
JP initially puts a grid on the softbox. Grids narrow the beam angle and keep light from spilling past the subject onto the surrounding environment. His instinct was to keep the light focused on Lincoln and prevent it from hitting the stone wall. Reasonable call.
But when he pulled the grid off, the light raked across the rocks and created natural-looking highlights on the texture of the wall. That detail made the scene feel like the light belonged there. The takeaway is to test both options before you lock in. A grid is not always a refinement. Sometimes it’s actually removing information that the scene needs.
Step 3: Add a Fill Light Behind the Camera to Open Shadows
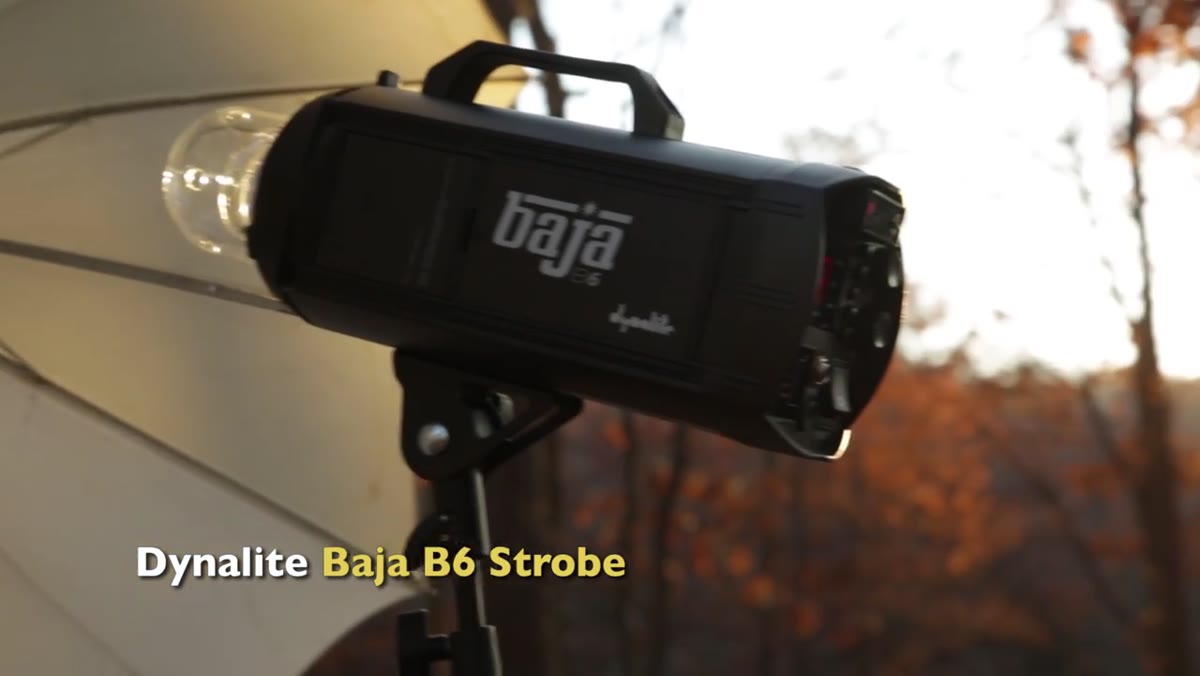
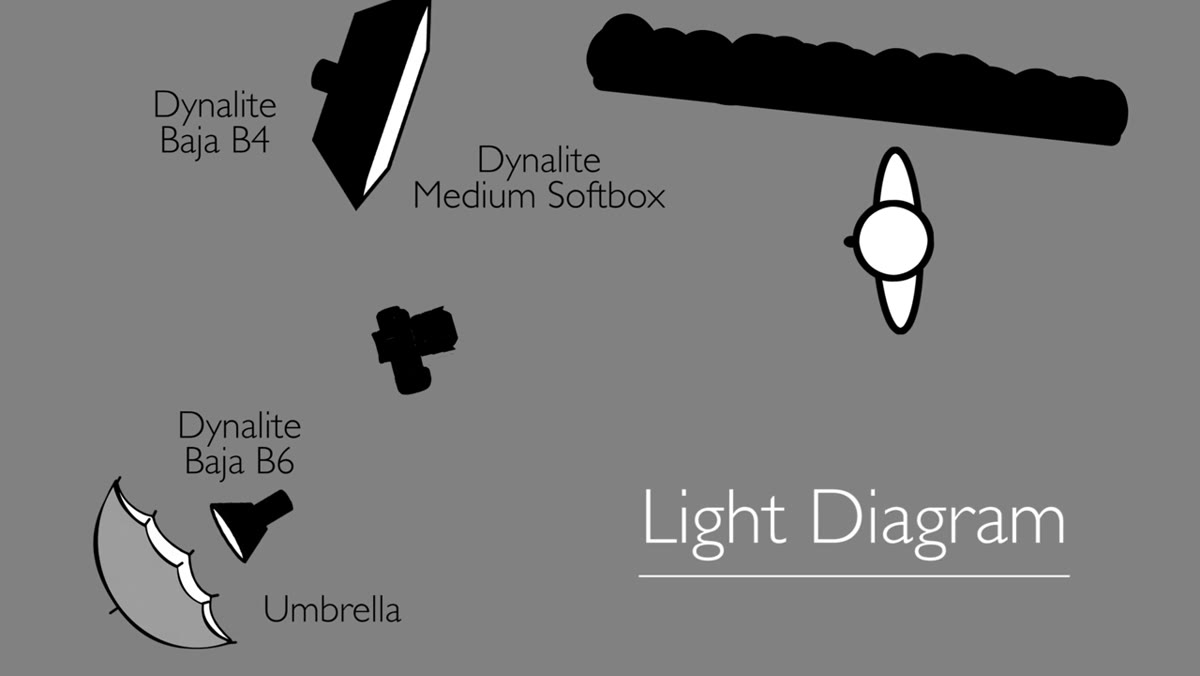 Baja B6 with umbrella positioned behind camera as fill source
Once the key was set, the overall scene was reading dark. JP adds a second strobe behind the camera position, fitted with a shoot-through umbrella, at low power. This isn’t meant to create drama. It’s just lifting the shadow side enough that detail isn’t lost, and bringing the overall exposure of the subject up without competing with the key light’s direction.
Baja B6 with umbrella positioned behind camera as fill source
Once the key was set, the overall scene was reading dark. JP adds a second strobe behind the camera position, fitted with a shoot-through umbrella, at low power. This isn’t meant to create drama. It’s just lifting the shadow side enough that detail isn’t lost, and bringing the overall exposure of the subject up without competing with the key light’s direction.
This is a two-light setup, and both lights have specific jobs. The key is doing the creative work. The fill is doing the technical work. Keep that separation clear in your own setups and you’ll stop the fill from accidentally flattening everything the key built.
Step 4: Expose for the Ambient First, Then Match Your Strobes
 Sunset through trees behind subject, ambient sky exposure in background
Here’s the part that trips up a lot of photographers on location. JP is shooting into a sunset, so the trees and sky behind Lincoln have their own exposure value. He treats it like any sunset shot: he lengthens the shutter speed to hold the ambient brightness in the background. Slower shutter lets more ambient in. That’s your background knob.
Sunset through trees behind subject, ambient sky exposure in background
Here’s the part that trips up a lot of photographers on location. JP is shooting into a sunset, so the trees and sky behind Lincoln have their own exposure value. He treats it like any sunset shot: he lengthens the shutter speed to hold the ambient brightness in the background. Slower shutter lets more ambient in. That’s your background knob.
The strobe power controls the foreground exposure on the subject. Aperture controls both, so he’s using the aperture to balance strobe output while the shutter handles the ambient. These are two independent variables, and once you internalize which one does what, balancing a lit subject against a natural background becomes much more predictable.
Step 5: Use Smoke to Add Depth and Atmosphere
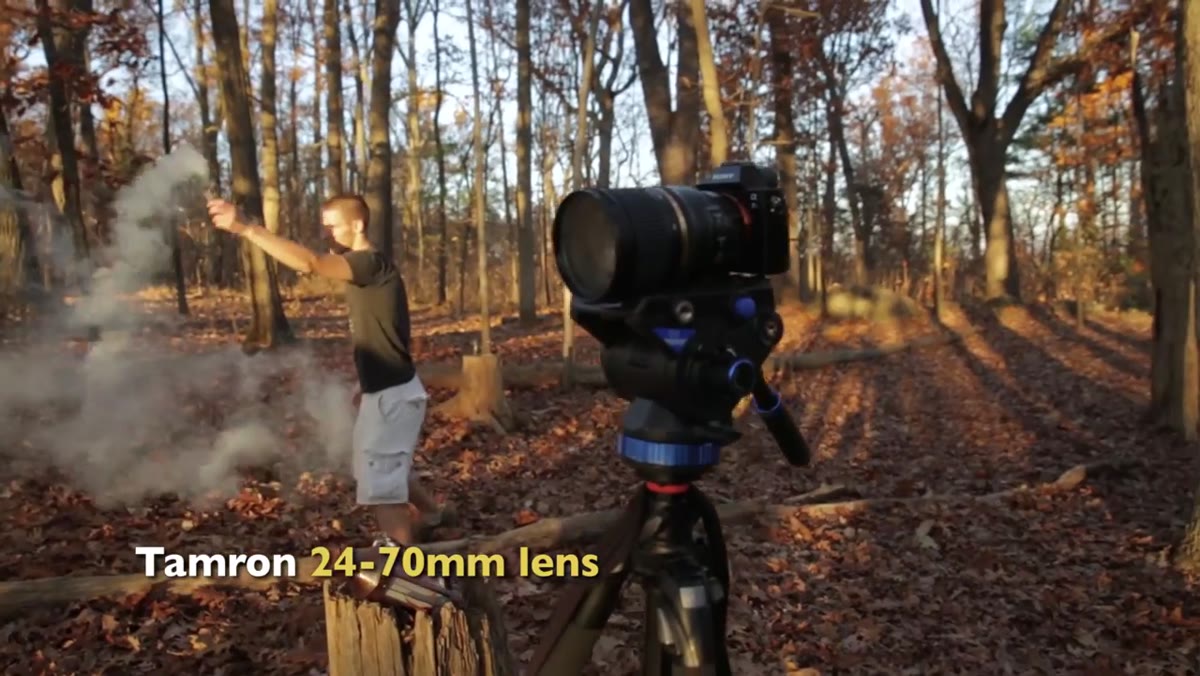 Smoke grenade being used in background trees behind Lincoln
JP loves smoke. On a studio shoot he’d have a Rosco smoke machine. On location at Gettysburg, he uses a paintball smoke grenade instead. Practical, portable, and effective. Someone walks it through the background and lets it drift.
Smoke grenade being used in background trees behind Lincoln
JP loves smoke. On a studio shoot he’d have a Rosco smoke machine. On location at Gettysburg, he uses a paintball smoke grenade instead. Practical, portable, and effective. Someone walks it through the background and lets it drift.
The challenge with natural smoke on location is wind direction. He tests it by dropping a leaf and watching which way it moves before committing to the smoke grenade. You want the smoke drifting behind and around the subject, not into the camera or in front of the subject’s face. Getting this right is half patience and half luck, but checking wind direction first removes at least some of the guesswork.
Step 6: Plan Your Post-Processing Composite Elements in Advance
 Final image framing on Little Round Top with smoke in background
Before he even wraps the shoot, JP already knows he’s going to add light rays through the trees in Photoshop. He shoots with that composite in mind, making sure the smoke and the natural tree cover give him material to work with. The rays won’t be invented from nothing. They’ll be an enhancement of what’s actually there.
Final image framing on Little Round Top with smoke in background
Before he even wraps the shoot, JP already knows he’s going to add light rays through the trees in Photoshop. He shoots with that composite in mind, making sure the smoke and the natural tree cover give him material to work with. The rays won’t be invented from nothing. They’ll be an enhancement of what’s actually there.
This is a legitimate workflow choice, and planning it on set makes it faster and more convincing in post. Knowing what you’ll add later changes what you need to capture now.
What I’d Do Differently With a Tighter Budget
I don’t travel with Baja strobes. My equivalent setup for a location shoot like this would be two mid-range manual speedlights in a softbox and a shoot-through umbrella, both triggered wirelessly with a cheap Godox trigger. The ambient-balance logic JP uses works exactly the same way regardless of what’s powering the flash. Shutter controls background brightness, aperture and flash power control the subject. That principle doesn’t care what brand of strobe you’re using.
The smoke grenade approach is also underrated for budget shooters. A photography smoke grenade runs about $10 to $15 and does real work on location. I’ve seen photographers spend $200 on a handheld smoke machine they barely use. Sometimes the paintball supply store is the right call.
The single most transferable thing in this tutorial is the two-variable exposure model: shutter for ambient, aperture and strobe for subject. Once that clicks, location lighting stops feeling like guesswork. Watch the full tutorial on YouTube to see the final image and how the whole shoot came together in the field.
Comments
Leave a Comment