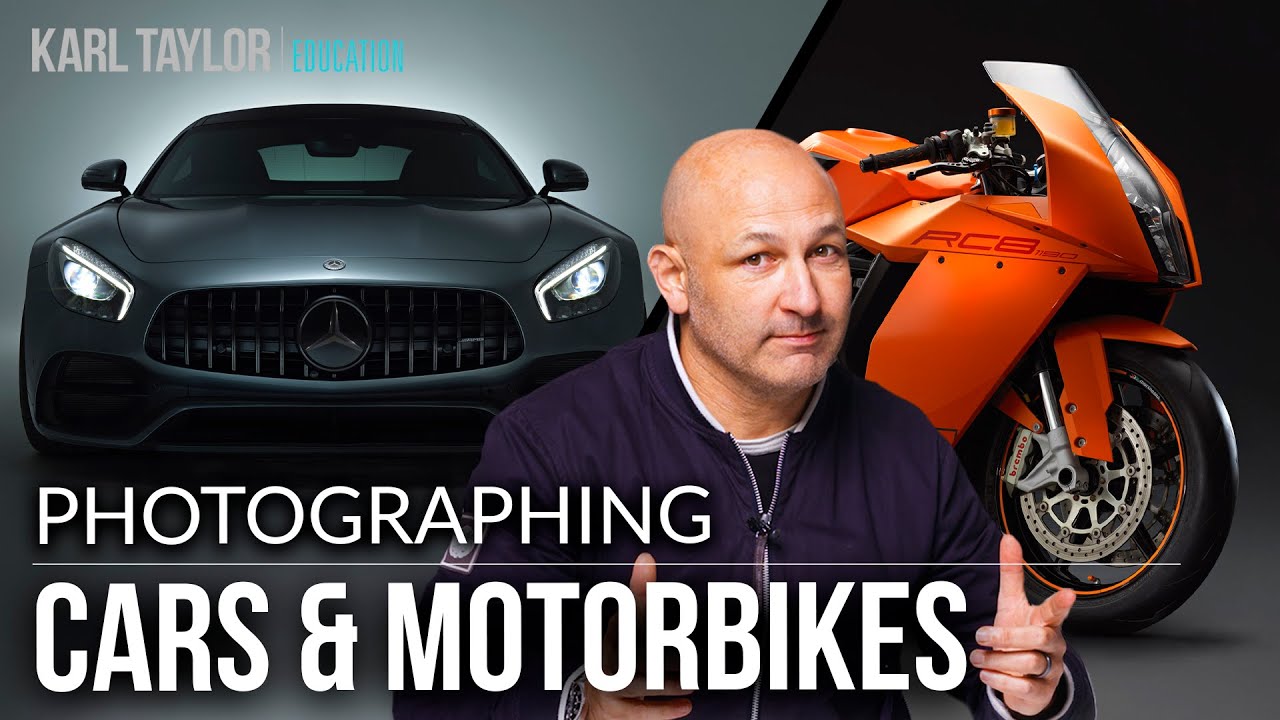
Most of my work lives in the world of budget gear comparisons and deal alerts, but the techniques I rely on come from studying how professionals actually work. Automotive photography is one of those specialties I kept putting off learning properly, mostly because I assumed it required a studio the size of an airplane hangar and a lighting budget I’d never have. Then I found a tutorial that reframed the whole thing.
In this Visual Education tutorial by Karl Taylor, he pulls back the curtain on what makes automotive photography technically demanding and how to solve those problems systematically. Karl’s background is in commercial product photography, which means he approaches cars and motorcycles the same way he’d approach a bottle of perfume: mixed gloss and matte surfaces, difficult reflective curves, and a need to control every light source deliberately. That framing clicked for me immediately. Watch the full tutorial on YouTube before or after reading this, because the visual examples he uses reinforce everything below.
What follows is a breakdown of the core techniques Karl covers, rewritten so you can act on them without needing to pause and rewind every 30 seconds.
Step 1: Choose Your Focal Length Before You Choose Your Angle
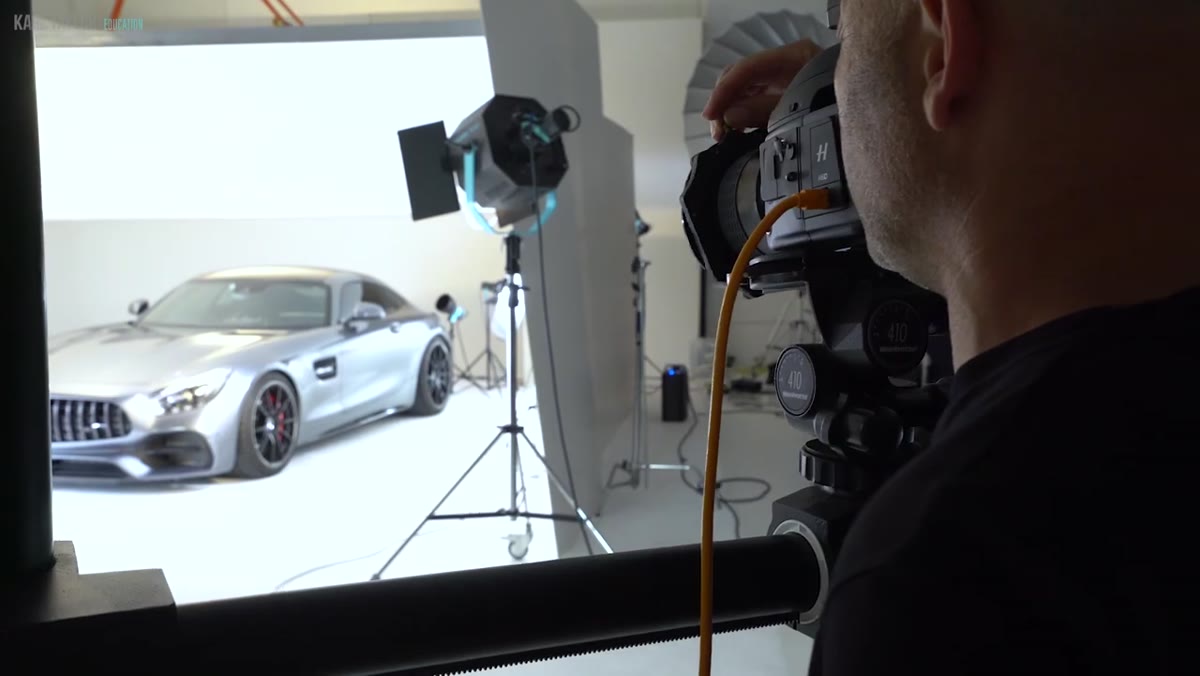 Photographer explains focal length impact on car shape
Focal length is not just a stylistic preference here. It directly controls how far you stand from the vehicle, and that distance changes the perceived shape and weight of the subject. A longer lens compresses the car and can make it look heavier or blockier than it actually is. A wider lens up close distorts the body panels and makes the vehicle look swollen.
Photographer explains focal length impact on car shape
Focal length is not just a stylistic preference here. It directly controls how far you stand from the vehicle, and that distance changes the perceived shape and weight of the subject. A longer lens compresses the car and can make it look heavier or blockier than it actually is. A wider lens up close distorts the body panels and makes the vehicle look swollen.
The practical starting point is to decide what you want the car to feel like in the final image, athletic and low-slung or imposing and powerful, and then work backward to which focal length supports that feeling. This decision locks in your shooting distance before you even think about where to put a light.
Step 2: Factor In Both Headlights When Setting Your Distance
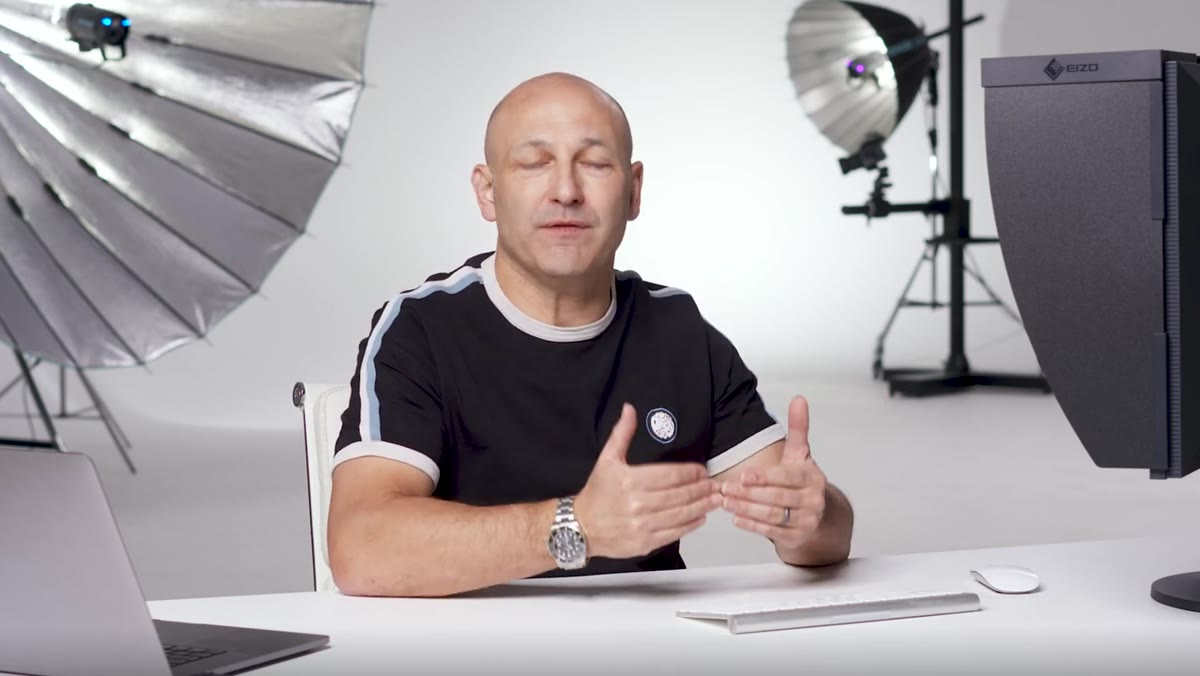 Camera position showing both headlights visible on car
Here is a specific problem Karl raises that most beginner tutorials skip. When you shoot from close range, the geometry of the vehicle blocks one headlight from the camera’s view. As you back up and increase shooting distance, both headlights enter the frame and the front of the car reads as a complete, symmetrical face.
Camera position showing both headlights visible on car
Here is a specific problem Karl raises that most beginner tutorials skip. When you shoot from close range, the geometry of the vehicle blocks one headlight from the camera’s view. As you back up and increase shooting distance, both headlights enter the frame and the front of the car reads as a complete, symmetrical face.
This is worth physically testing before you commit to a position. Stand close, look through the viewfinder, and note which features disappear. Then walk backward until the vehicle’s key design elements all appear simultaneously. That distance is your starting point for the rest of the shoot.
Step 3: Use Camera Height to Describe the Vehicle’s Character
 Photographer on ladder shooting down over Mercedes GT rear curves
Shooting height is a storytelling decision, not just a compositional preference. Karl demonstrates this with a Mercedes GT where he wanted to highlight the sweeping curves of the rear body. His solution was to climb a ladder and shoot from above with a slightly shorter focal length, which let those curves read clearly in the frame.
Photographer on ladder shooting down over Mercedes GT rear curves
Shooting height is a storytelling decision, not just a compositional preference. Karl demonstrates this with a Mercedes GT where he wanted to highlight the sweeping curves of the rear body. His solution was to climb a ladder and shoot from above with a slightly shorter focal length, which let those curves read clearly in the frame.
Low angles tend to make vehicles look aggressive and powerful, as if the car is crouching before a launch. Higher angles reveal body shape and surface design that disappears when you shoot at hood level. Walk the vehicle and look at it from multiple heights before you plant your tripod. The best angle usually becomes obvious once you stop defaulting to eye level.
Step 4: Understand How Angle of View Changes Your Background Problem
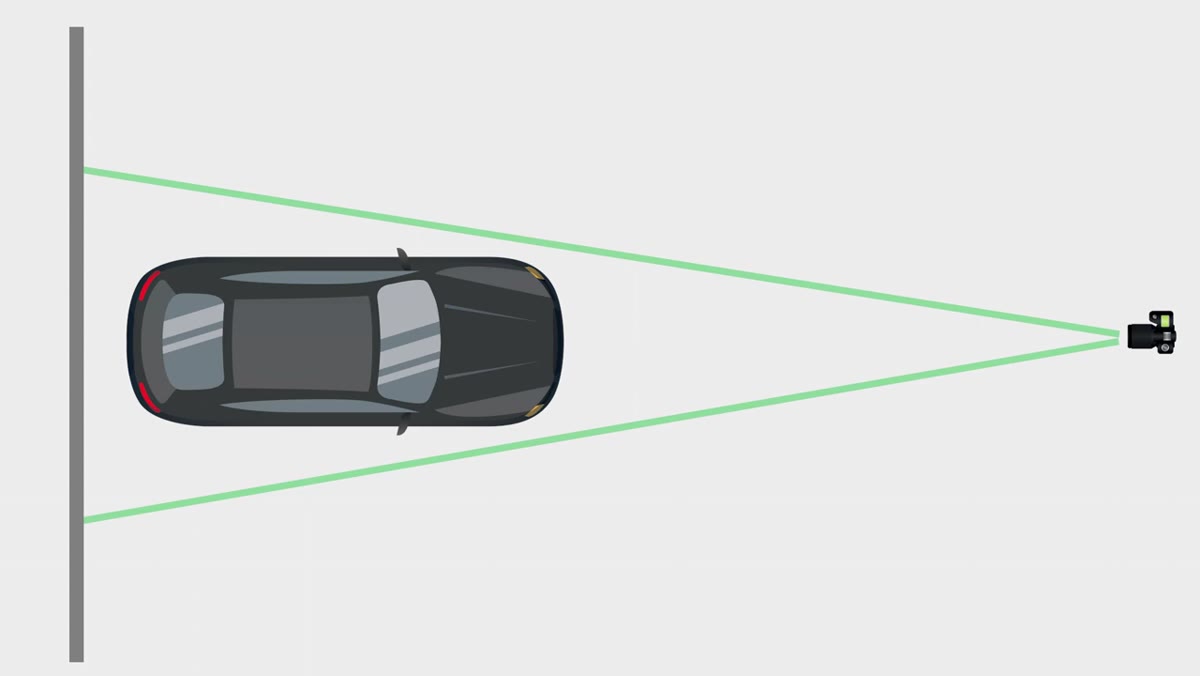 Wide angle showing large background area behind sports car
Karl makes a point that gets overlooked constantly: a wider lens doesn’t just change how the car looks, it multiplies how much background you have to manage. Shoot at 24mm in a studio and you’re suddenly dealing with four times the background area compared to shooting at 85mm from further back.
Wide angle showing large background area behind sports car
Karl makes a point that gets overlooked constantly: a wider lens doesn’t just change how the car looks, it multiplies how much background you have to manage. Shoot at 24mm in a studio and you’re suddenly dealing with four times the background area compared to shooting at 85mm from further back.
On location this means more scenery to evaluate and potentially more distracting elements to avoid. In a controlled studio environment it means more walls, more light spill, and more surfaces that can create unwanted reflections in the car’s bodywork. When you’re planning a shoot, factor in that the lens choice is also a background complexity choice.
Step 5: Think About the Vehicle’s “Weight” in the Frame
 Side-by-side comparison showing lens compression effect on car body
Karl uses the word “weight” to describe how squat, heavy, or agile a vehicle looks in a photograph. This is a concept product photographers use constantly but car photographers sometimes ignore. A sports car that looks planted and heavy in a photo has lost its visual identity. A classic muscle car that looks too light and tall has lost something too.
Side-by-side comparison showing lens compression effect on car body
Karl uses the word “weight” to describe how squat, heavy, or agile a vehicle looks in a photograph. This is a concept product photographers use constantly but car photographers sometimes ignore. A sports car that looks planted and heavy in a photo has lost its visual identity. A classic muscle car that looks too light and tall has lost something too.
Controlling perceived weight comes back to the combination of focal length and shooting height. Shorter focal lengths from moderate distances tend to emphasize height. Longer focal lengths compress the vehicle vertically and horizontally. Experiment with the same car at three different focal lengths from three distances, keeping composition constant, and the difference in apparent weight will be immediately obvious.
What I’d Add: Test These Principles on Cheap Die-Cast Models First
Before you coordinate a full vehicle shoot, you can test every single one of these focal length and angle principles on a die-cast car model sitting on a table. I keep a few around specifically for this reason. A 1:18 scale model responds to lens compression, shooting height, and angle of view in exactly the same way a real car does, because the physics are identical.
This is not a workaround for gear limitations. It’s genuinely how I pre-visualize setups before a paid shoot. You can confirm in ten minutes on your kitchen table whether a 35mm or a 70mm will give you the shape and weight you want, then replicate that distance-to-subject ratio when you’re standing in a parking lot next to the real thing. It saves time and it costs nothing.
The single most important idea from this tutorial is that your lens choice is your first creative decision on an automotive shoot, not your last. Everything else, camera height, distance, background management, lighting placement, flows from that choice. Get it wrong at the start and no amount of lighting or post-processing fixes a car that looks the wrong shape.
Watch the full tutorial on YouTube for Karl’s complete breakdown including light mixing, polarization techniques, and how he handles reflective bodywork in a controlled studio environment. The second half of the video is where the lighting detail lives, and it’s worth the full watch.
Comments (2)
My workflow just got 10x faster. Not even kidding.
Great article! I actually covered something related on my site — the color grading angle is really complementary to this.
Leave a Comment