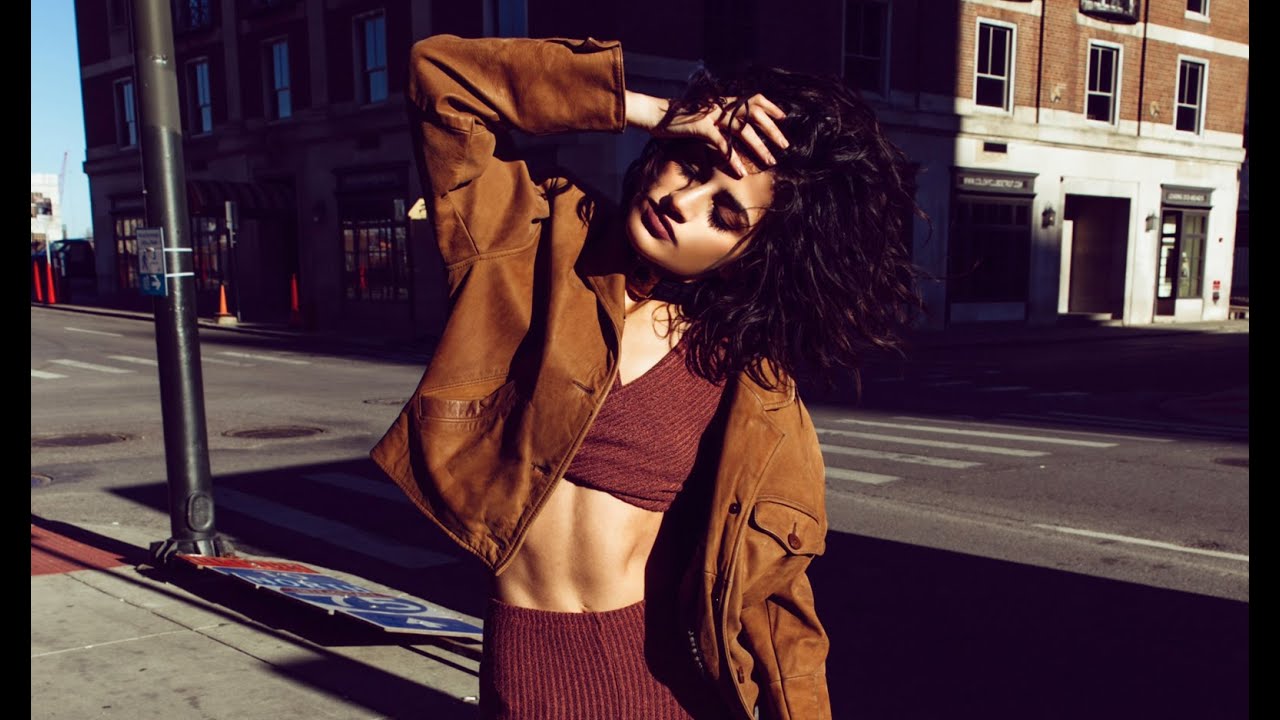
The 24-70mm is the lens I get asked about more than any other. People want to know if it’s worth the price jump over a nifty fifty or a kit zoom, and honestly, the specs alone won’t answer that. What answers it is watching someone actually use one under real conditions, making real decisions, dealing with harsh midday sun and chaotic urban environments. That’s exactly what hooked me on this Jessica Kobeissi tutorial, where she takes a 24-70mm out into the streets of Detroit for a full outdoor model shoot.
Watch the full tutorial on YouTube
What I appreciate about this video is that it doesn’t pretend everything went perfectly. The crew is sweating through direct sunlight, improvising with available architecture, and laughing through the chaos. That’s real location shooting. And tucked inside all of it are some genuinely useful decisions about focal length, light direction, and environmental framing that are worth breaking down properly.
Step 1: Let the Model Own the Wardrobe
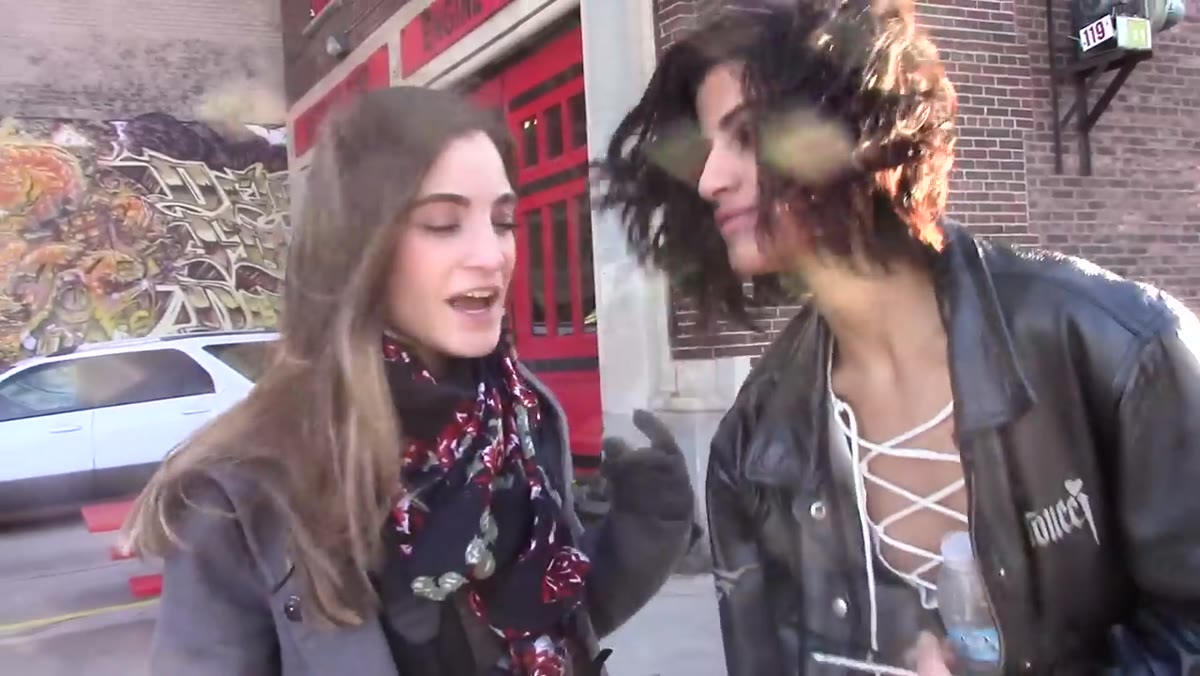 Model Sarah in a thrift store jacket on Detroit street
Before you pick up the camera, sort out the styling conversation with your model. In this shoot, the model Sarah chose her own outfit, including a thrift store jacket she picked herself. This matters more than most photographers admit. When a model is wearing something she actually chose, her body language shifts. She’s not stiff or self-conscious about fabric she doesn’t like. You get more natural movement, more confident posing, and less direction needed from you.
Model Sarah in a thrift store jacket on Detroit street
Before you pick up the camera, sort out the styling conversation with your model. In this shoot, the model Sarah chose her own outfit, including a thrift store jacket she picked herself. This matters more than most photographers admit. When a model is wearing something she actually chose, her body language shifts. She’s not stiff or self-conscious about fabric she doesn’t like. You get more natural movement, more confident posing, and less direction needed from you.
If you’re doing a portfolio shoot or a low-budget test, encourage your subject to pull from their own wardrobe or hit a thrift store with a budget. The styling buy-in pays off in the frames.
Step 2: Start at the Wide End to Read the Location
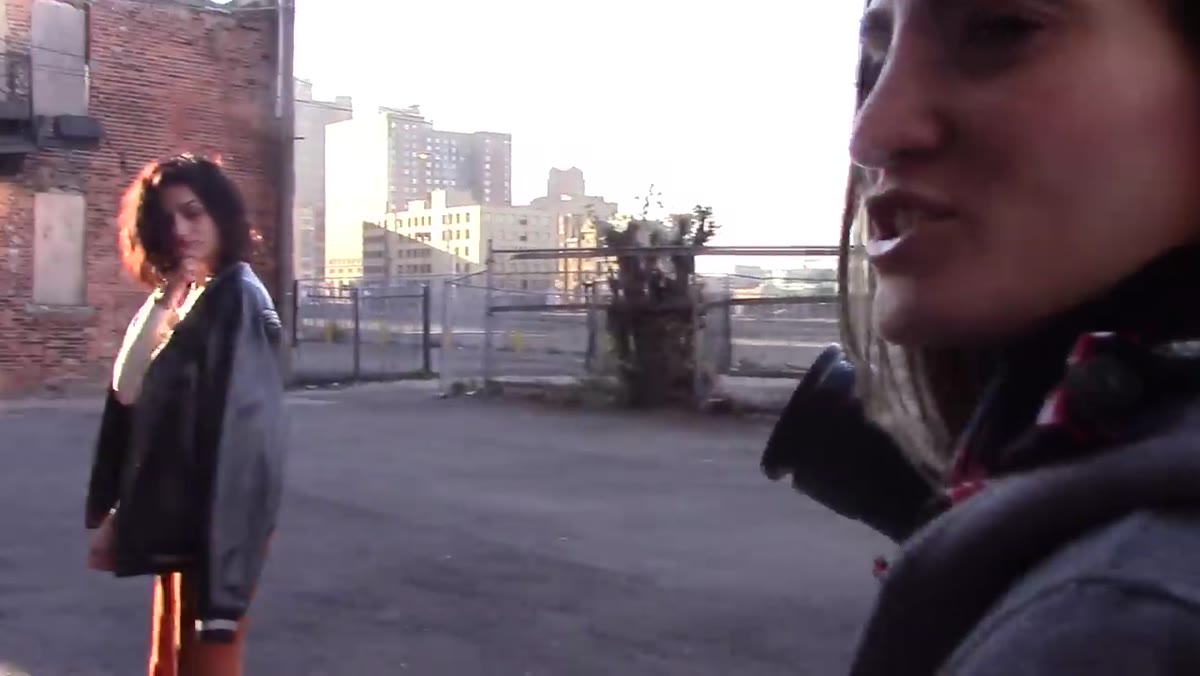 Jessica shooting close to urban architecture and lines
When you first arrive at a location, resist the urge to immediately zoom to 70mm and isolate your subject. Jessica starts by getting close to the environment, using the wider end of the 24-70mm range to include Detroit’s architectural lines in the composition. Street signs, building corners, and structural geometry all become framing tools when you’re working wider.
Jessica shooting close to urban architecture and lines
When you first arrive at a location, resist the urge to immediately zoom to 70mm and isolate your subject. Jessica starts by getting close to the environment, using the wider end of the 24-70mm range to include Detroit’s architectural lines in the composition. Street signs, building corners, and structural geometry all become framing tools when you’re working wider.
This is where the 24-70mm earns its keep over a prime. You can literally step forward and shift focal length simultaneously to test compositions fast without swapping glass. Scout the lines first, then decide where to place your subject relative to them. Converging lines, doorframes, and corridor perspectives all give you depth without any extra equipment.
Step 3: Shift to Longer Focal Lengths for Compression and Intimacy
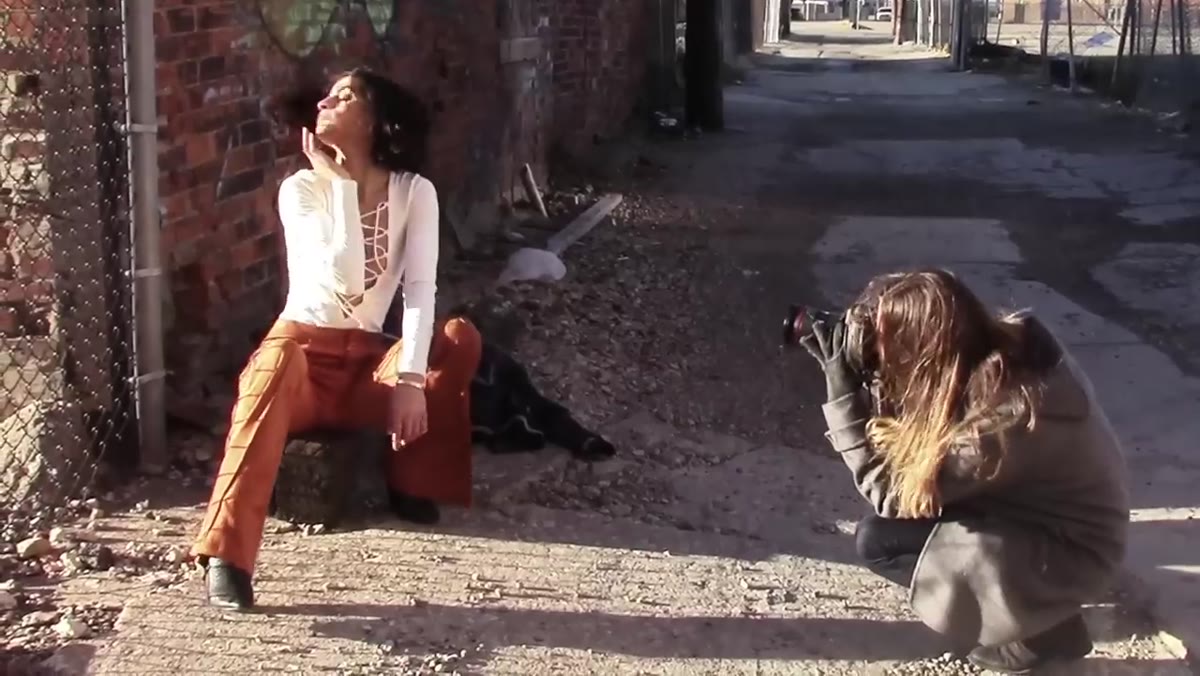 Tight framing on model using longer end of zoom range
Once you’ve mapped out the location, push toward the 70mm end to compress the background and get more personal with your subject. Jessica describes wanting to get “really personal” with the environment, which in practice means tightening the frame so the urban texture wraps around the model rather than just sitting behind her.
Tight framing on model using longer end of zoom range
Once you’ve mapped out the location, push toward the 70mm end to compress the background and get more personal with your subject. Jessica describes wanting to get “really personal” with the environment, which in practice means tightening the frame so the urban texture wraps around the model rather than just sitting behind her.
At 70mm you get flattering compression on the face, the background elements blur just enough to add atmosphere without disappearing, and the subject feels embedded in the location rather than dropped in front of it. If you’re shooting full body, 35-50mm works well. For three-quarter or headshots in an urban setting, 70mm is where the look really clicks.
Step 4: Experiment with Sidelight in Direct Sun
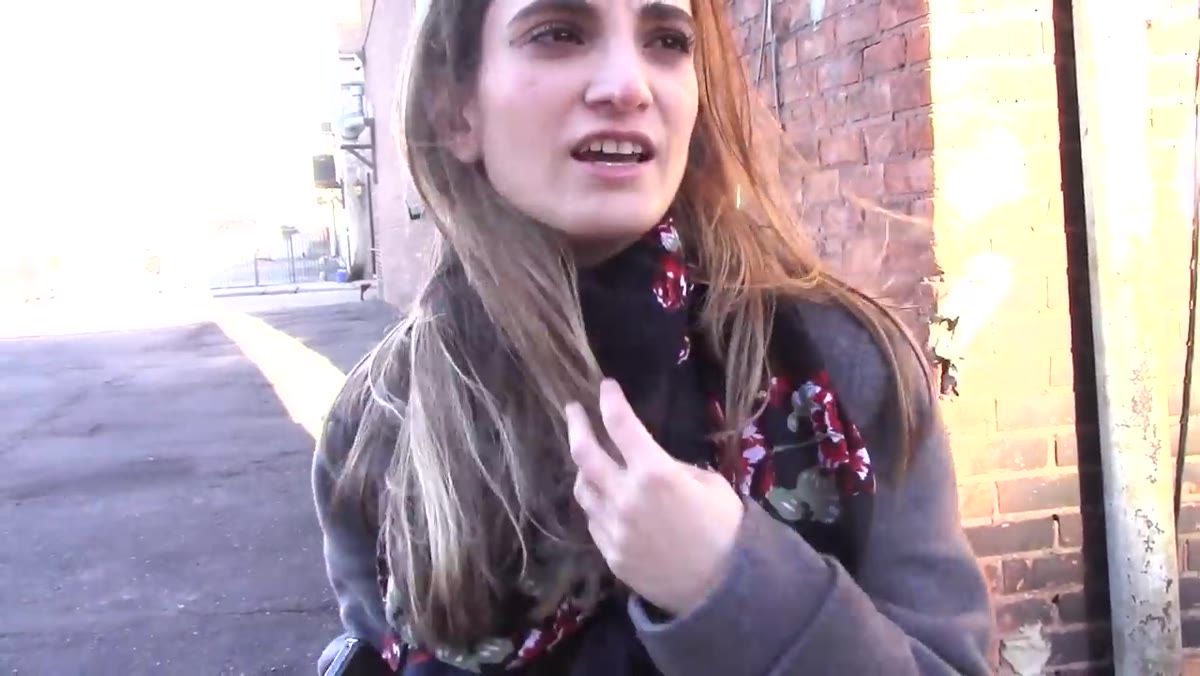 Shooting in direct sunlight with deliberate sidelight angle
This is the technique decision I found most useful in the whole video. Rather than chasing open shade, Jessica makes a deliberate choice to shoot in direct sunlight and specifically experiment with sidelight. Sidelight means the sun is hitting the subject from roughly 90 degrees to the side, which carves out dramatic shadows and adds strong dimension to facial structure.
Shooting in direct sunlight with deliberate sidelight angle
This is the technique decision I found most useful in the whole video. Rather than chasing open shade, Jessica makes a deliberate choice to shoot in direct sunlight and specifically experiment with sidelight. Sidelight means the sun is hitting the subject from roughly 90 degrees to the side, which carves out dramatic shadows and adds strong dimension to facial structure.
To pull this off, position your subject so the sun is coming in from one side. Watch how the shadow falls across the nose and cheekbones. You want shadow that defines structure without blocking the eyes entirely. Have your subject make small head rotations until the light splits the face the way you want it. Direct sun is harsh, yes, but sidelight gives you contrast and edge that golden hour softness sometimes can’t match. It’s a tool, not a mistake.
Step 5: Use Architecture as a Natural Studio
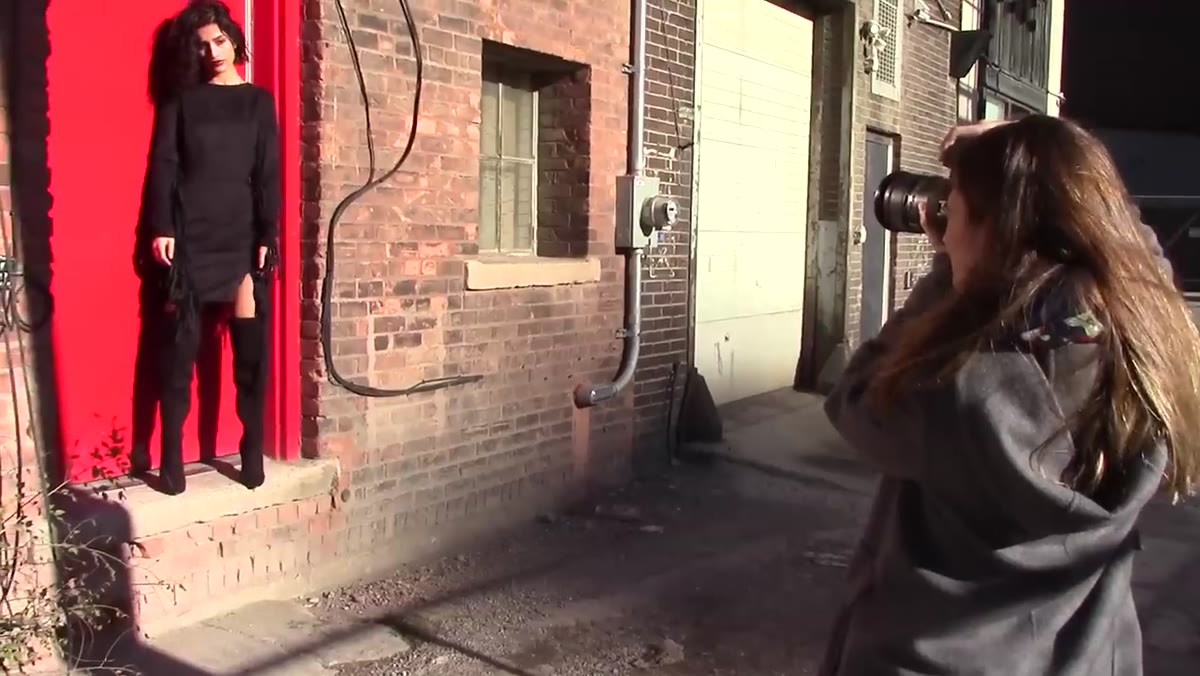 Model positioned in doorway or architectural frame
Urban environments hand you free modifiers if you look for them. Doorways act like barn doors, windows create directional fill, and alley walls bounce and cut light simultaneously. Jessica’s crew works the Detroit streetscape by positioning the model within architectural frames, which does two things at once. It controls the light hitting the subject, and it gives the composition a sense of place that a plain background never could.
Model positioned in doorway or architectural frame
Urban environments hand you free modifiers if you look for them. Doorways act like barn doors, windows create directional fill, and alley walls bounce and cut light simultaneously. Jessica’s crew works the Detroit streetscape by positioning the model within architectural frames, which does two things at once. It controls the light hitting the subject, and it gives the composition a sense of place that a plain background never could.
When you’re scouting, look for recessed entryways, covered walkways, and any structure that creates a hard edge of shadow. Step your subject in and out of that edge until the light transition falls where you want it. You’re essentially building a location studio with walls that already exist.
Step 6: Keep the Energy Up Between Frames
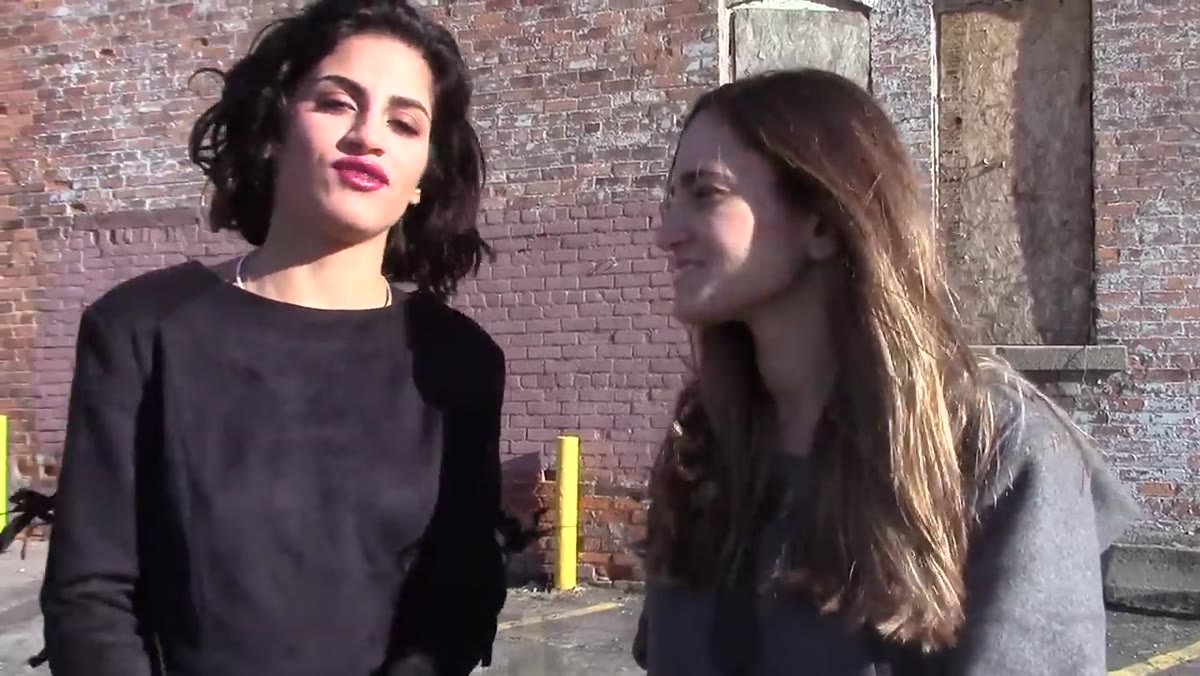 Behind-the-scenes banter keeping shoot atmosphere loose
Technically this isn’t a camera setting, but it’s a real part of the workflow. Jessica keeps the shoot atmosphere loose, joking around with the model and the crew between setups. This isn’t downtime. It’s the thing that keeps a model’s face from going flat between poses.
Behind-the-scenes banter keeping shoot atmosphere loose
Technically this isn’t a camera setting, but it’s a real part of the workflow. Jessica keeps the shoot atmosphere loose, joking around with the model and the crew between setups. This isn’t downtime. It’s the thing that keeps a model’s face from going flat between poses.
A tense, silent photographer produces tense subjects. Simple ongoing conversation, even off-topic stuff, keeps the nervous system relaxed and the expressions genuine. If you’re not naturally chatty on set, build a habit of asking your subject about something they actually care about right before you fire the shutter. The shift in expression from “responding to a question” to “looking at the camera” is almost always better than a posed face.
My Take: Budget Lens, Same Technique
I’ve run similar outdoor sessions with third-party 24-70mm options sitting well below the cost of the major manufacturer versions, and the technique Jessica demonstrates here transfers completely. The focal range decisions, the sidelight angle, the architectural framing, none of that changes based on whether your glass has a red ring or a gold stripe.
What the higher-end versions buy you is faster, more consistent autofocus in tricky light, and slightly better wide-open sharpness. Those matter in professional paid work. For portfolio building and learning the actual technique? A Tamron or Sigma 24-70mm gets you the same compositional education at a fraction of the price. I’d rather someone learn to read sidelight with a $400 zoom than never shoot because they’re waiting to afford a $2,000 one.
The core lesson from this shoot is that a versatile zoom lens used with intention beats any prime used passively. Jessica’s Detroit session shows what it looks like to actively work a location, not just stand in front of it. The 24-70mm range gives you the flexibility to execute that approach without stopping to switch lenses every time your creative instinct shifts.
Watch the full tutorial on YouTube to see the actual frames and behind-the-scenes footage that bring these decisions to life.
Comments
Leave a Comment