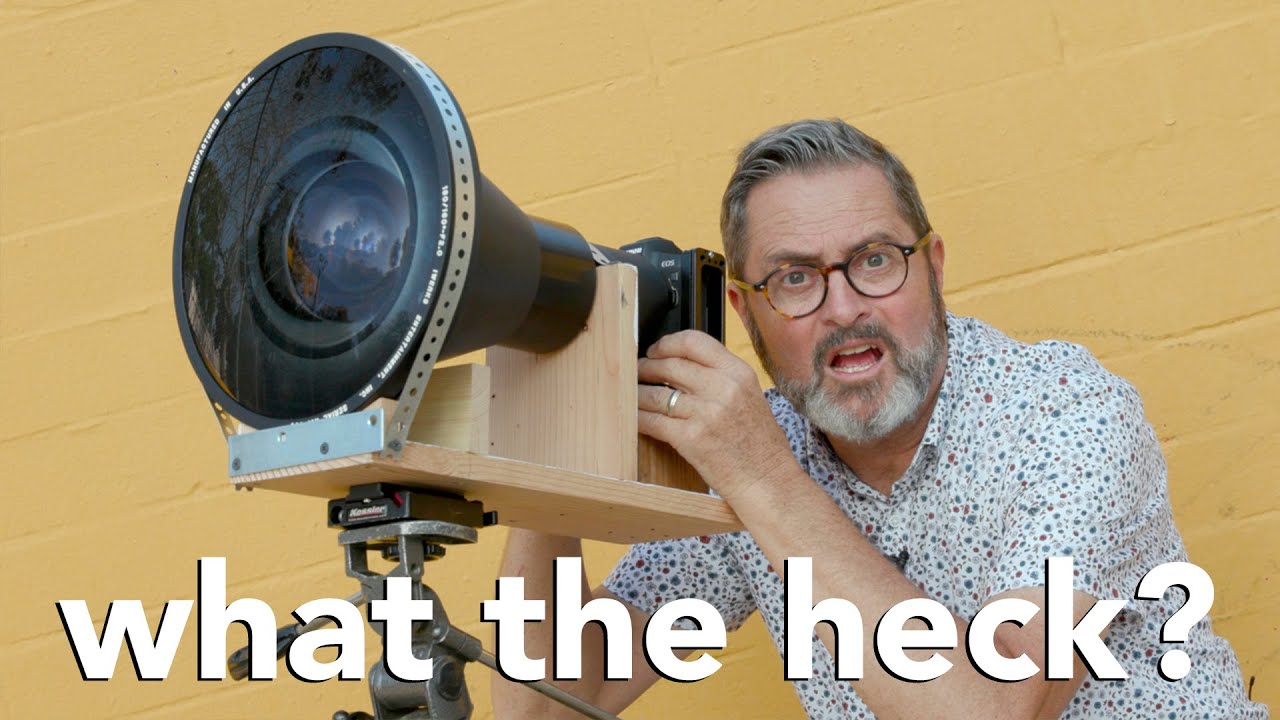
There’s a certain kind of photographer who looks at a massive, decades-old cinema lens collecting dust in a storage case and thinks “yeah, that’ll work for portraits.” That’s JP Morgan of The Slanted Lens, and honestly, that mindset is exactly why I keep coming back to his channel. In this The Slanted Lens tutorial, JP hauls an IMAX lens built by iWerks down to a skate park in Santa Monica and shoots street portraits with it on his Canon EOS R. No, that’s not a typo. An IMAX lens. On a mirrorless camera. For portraits of skaters.
I cover budget gear for a living, and what jumped out at me immediately was not the exotic nature of the lens itself. It was the underlying problem this whole experiment solves: how do you break out of the visual sameness that comes from shooting the same focal lengths, the same bokeh, the same look, over and over? You don’t always need to buy a new $1,200 prime. Sometimes the most interesting image you’ll make this year comes from digging up something weird and figuring out how to make it work. JP’s approach here is scrappy, inventive, and surprisingly replicable with the right mindset.
The images he pulls from this setup are genuinely striking. There’s a tilt-shift-like quality to the focus plane, with the subject sharp in the center and the edges rolling into blur in a way that no standard lens quite replicates. That look alone makes this worth understanding, even if you never get your hands on an IMAX lens.
Step 1: Source Your Unconventional Lens
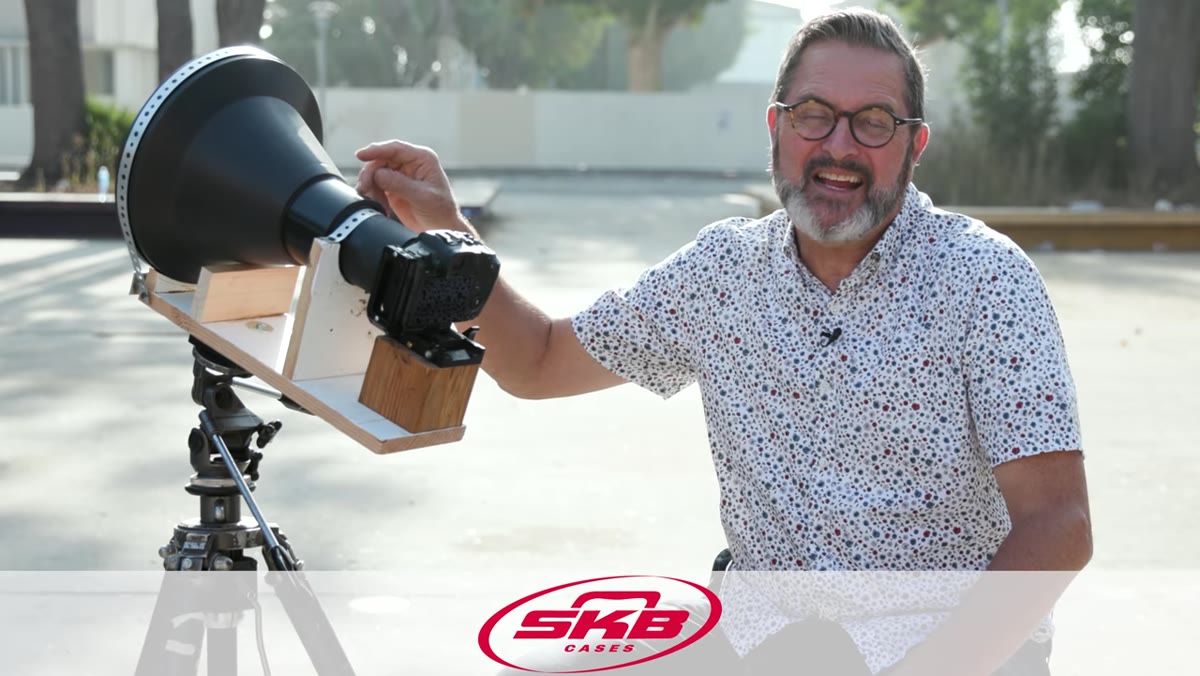 JP holds the massive iWerks IMAX lens at the skate park
The lens JP is working with is an iWerks IMAX lens, the kind of optic built for large-format cinema projection, not for 35mm or mirrorless sensors. He mentions it had been sitting in a hard case in storage for a long time. The point is not to go buy an IMAX lens specifically. The point is to think about what unusual optics you might already have access to, or could pick up cheaply, that were built for a different format entirely. Old projector lenses, large-format enlarger lenses, and cinema glass from auction sites are all fair game for this kind of experiment.
JP holds the massive iWerks IMAX lens at the skate park
The lens JP is working with is an iWerks IMAX lens, the kind of optic built for large-format cinema projection, not for 35mm or mirrorless sensors. He mentions it had been sitting in a hard case in storage for a long time. The point is not to go buy an IMAX lens specifically. The point is to think about what unusual optics you might already have access to, or could pick up cheaply, that were built for a different format entirely. Old projector lenses, large-format enlarger lenses, and cinema glass from auction sites are all fair game for this kind of experiment.
Step 2: Adapt the Lens to Your Camera Body (Gorilla Style)
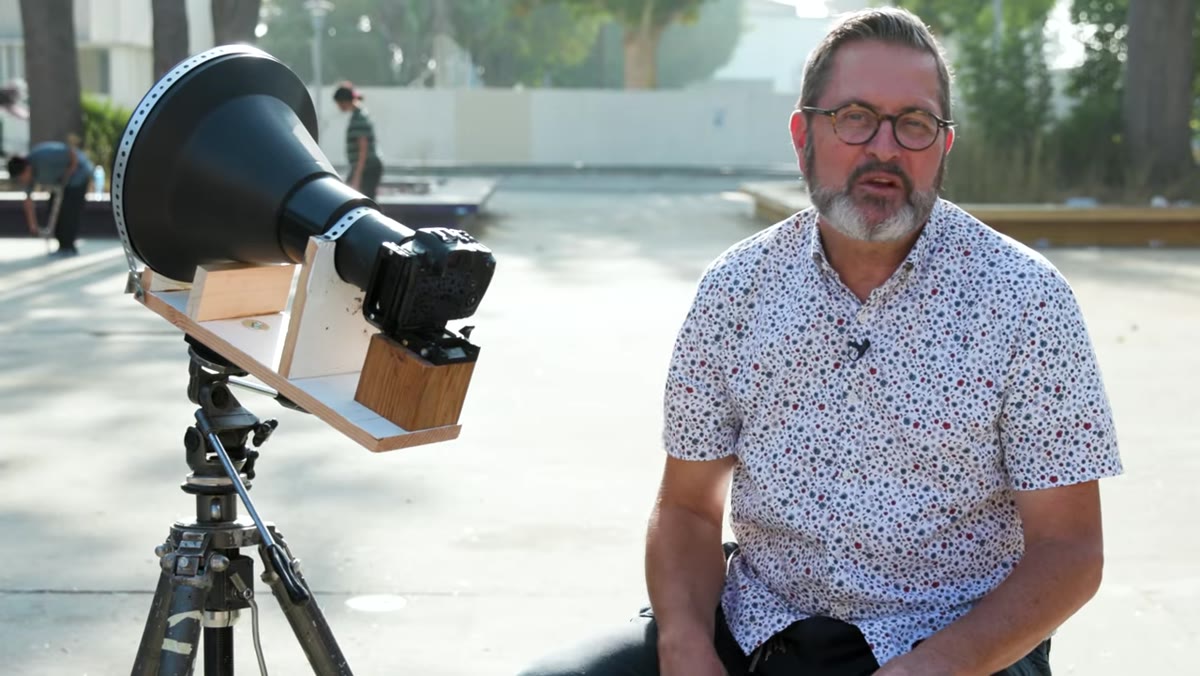 JP demonstrates the physical mounting setup between lens and camera
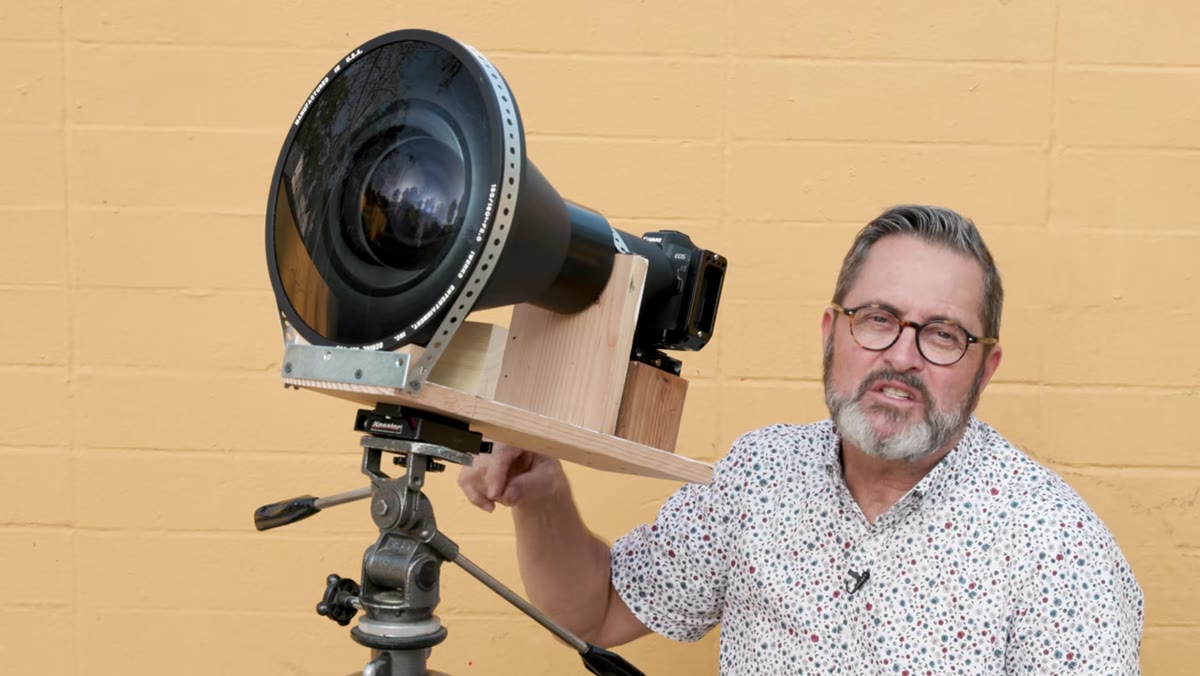
JP is shooting on a Canon EOS R, and the adaptation here is not a clean bayonet-to-bayonet adapter situation. The IMAX lens has no standard mount compatible with the EOS R, so his solution is essentially a physical rig that holds the lens in front of the camera body with tape creating a friction-based rail system. It is not elegant. He describes it as “gorilla” rigging, and that is accurate. But it works. If you are experimenting with non-standard glass, the goal is to get the rear element of the lens projecting an image onto your sensor at roughly the right distance. Tape, foam, and patience are your tools. Precision comes later, or not at all.
JP demonstrates the physical mounting setup between lens and camera
JP is shooting on a Canon EOS R, and the adaptation here is not a clean bayonet-to-bayonet adapter situation. The IMAX lens has no standard mount compatible with the EOS R, so his solution is essentially a physical rig that holds the lens in front of the camera body with tape creating a friction-based rail system. It is not elegant. He describes it as “gorilla” rigging, and that is accurate. But it works. If you are experimenting with non-standard glass, the goal is to get the rear element of the lens projecting an image onto your sensor at roughly the right distance. Tape, foam, and patience are your tools. Precision comes later, or not at all.
Step 3: Enable Shooting Without a Lens in Camera Settings
 JP explains the Canon EOS R menu setting for shooting without a lens
This is the step that will actually stop you cold if you skip it. Canon mirrorless cameras, including the EOS R, default to refusing to fire the shutter when no lens is electronically connected to the mount. Because JP’s rigged setup has no electronic coupling between the IMAX lens and the camera body, the camera reads it as “no lens attached” and will not shoot. The fix is buried in the camera menu. Look for the option labeled something like “Release shutter without lens” or “Enable shutter without lens” and switch it on. Every Canon mirrorless body has this buried in the custom functions or shooting menu. Without doing this, you will press the shutter button and nothing will happen, which is a fast way to feel like you broke something.
JP explains the Canon EOS R menu setting for shooting without a lens
This is the step that will actually stop you cold if you skip it. Canon mirrorless cameras, including the EOS R, default to refusing to fire the shutter when no lens is electronically connected to the mount. Because JP’s rigged setup has no electronic coupling between the IMAX lens and the camera body, the camera reads it as “no lens attached” and will not shoot. The fix is buried in the camera menu. Look for the option labeled something like “Release shutter without lens” or “Enable shutter without lens” and switch it on. Every Canon mirrorless body has this buried in the custom functions or shooting menu. Without doing this, you will press the shutter button and nothing will happen, which is a fast way to feel like you broke something.
Step 4: Focus by Moving the Camera, Not the Lens
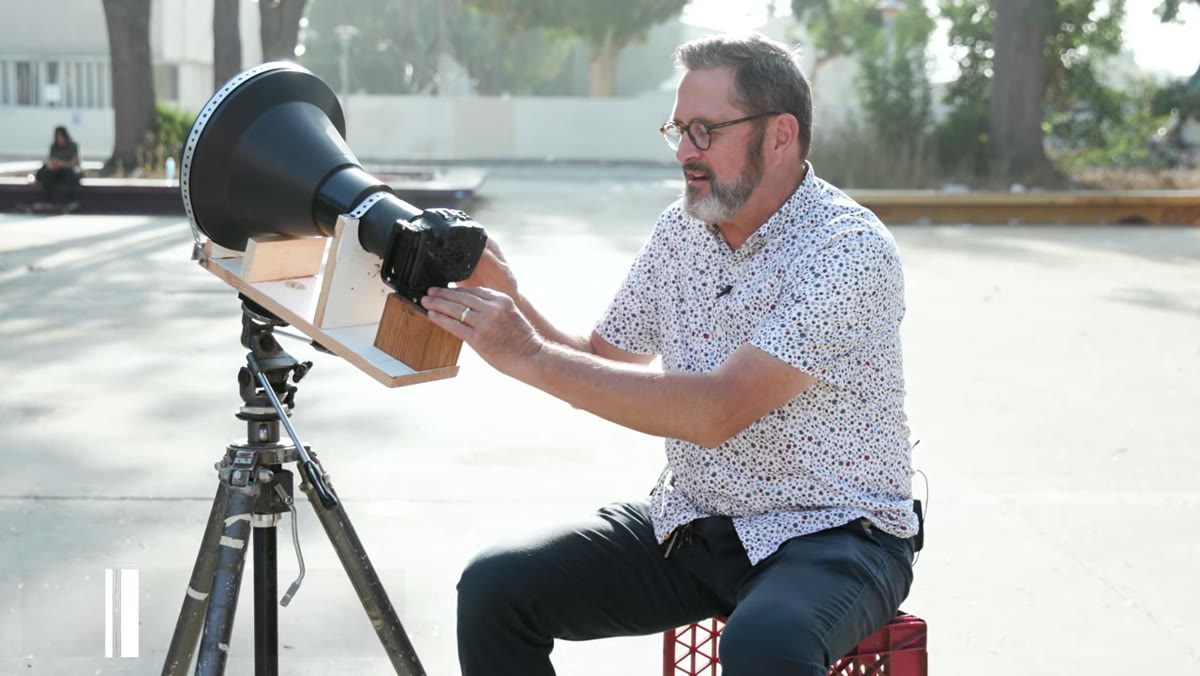 JP slides the camera body back and forth within the tape mount to find focus
This is the part that made me laugh out loud the first time I watched it, and also immediately want to try it. Because the IMAX lens has no focus ring that works at this scale for close-up portrait distances, JP focuses by physically sliding the camera body forward and backward within the tape mount he built. The tape creates a loose sleeve around the lens barrel, and by releasing a small catch, he can move the camera itself along the axis of the lens until the image on the viewfinder or LCD snaps into acceptable focus. It is slow. It requires patience and a subject willing to hold still for a moment. But it works, and for environmental street portraits where you have a second or two to compose, it is totally viable.
JP slides the camera body back and forth within the tape mount to find focus
This is the part that made me laugh out loud the first time I watched it, and also immediately want to try it. Because the IMAX lens has no focus ring that works at this scale for close-up portrait distances, JP focuses by physically sliding the camera body forward and backward within the tape mount he built. The tape creates a loose sleeve around the lens barrel, and by releasing a small catch, he can move the camera itself along the axis of the lens until the image on the viewfinder or LCD snaps into acceptable focus. It is slow. It requires patience and a subject willing to hold still for a moment. But it works, and for environmental street portraits where you have a second or two to compose, it is totally viable.
Step 5: Add a Continuous Light to Open Up Shadows
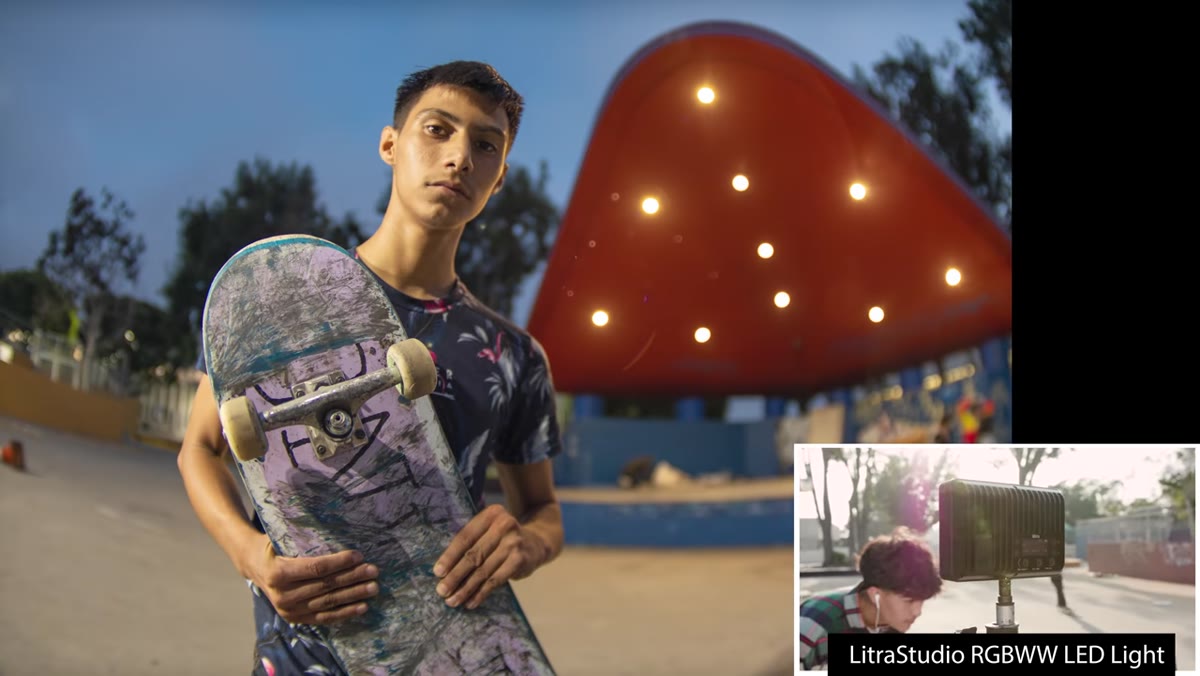 JP uses a Lytra Studio continuous light to add fill on a subject’s face
Shooting outdoors in a skate park means dealing with hard directional sun and heavy shadows, especially under hats and around eyes. JP pulls out a continuous LED light, specifically mentioning the Lytra Studio as his choice, to add fill light on subjects’ faces. He keeps it simple: flip it on, point it at the face, and let it open up the shadows without completely killing the ambient light character. A continuous light works better here than a flash because you can see exactly what you are getting before you shoot, which matters a lot when your focus method is already this unpredictable. Any powerful LED panel in the 20 to 40 watt range will do the same job.
JP uses a Lytra Studio continuous light to add fill on a subject’s face
Shooting outdoors in a skate park means dealing with hard directional sun and heavy shadows, especially under hats and around eyes. JP pulls out a continuous LED light, specifically mentioning the Lytra Studio as his choice, to add fill light on subjects’ faces. He keeps it simple: flip it on, point it at the face, and let it open up the shadows without completely killing the ambient light character. A continuous light works better here than a flash because you can see exactly what you are getting before you shoot, which matters a lot when your focus method is already this unpredictable. Any powerful LED panel in the 20 to 40 watt range will do the same job.
Step 6: Shoot and Lean Into the Optical Quirks
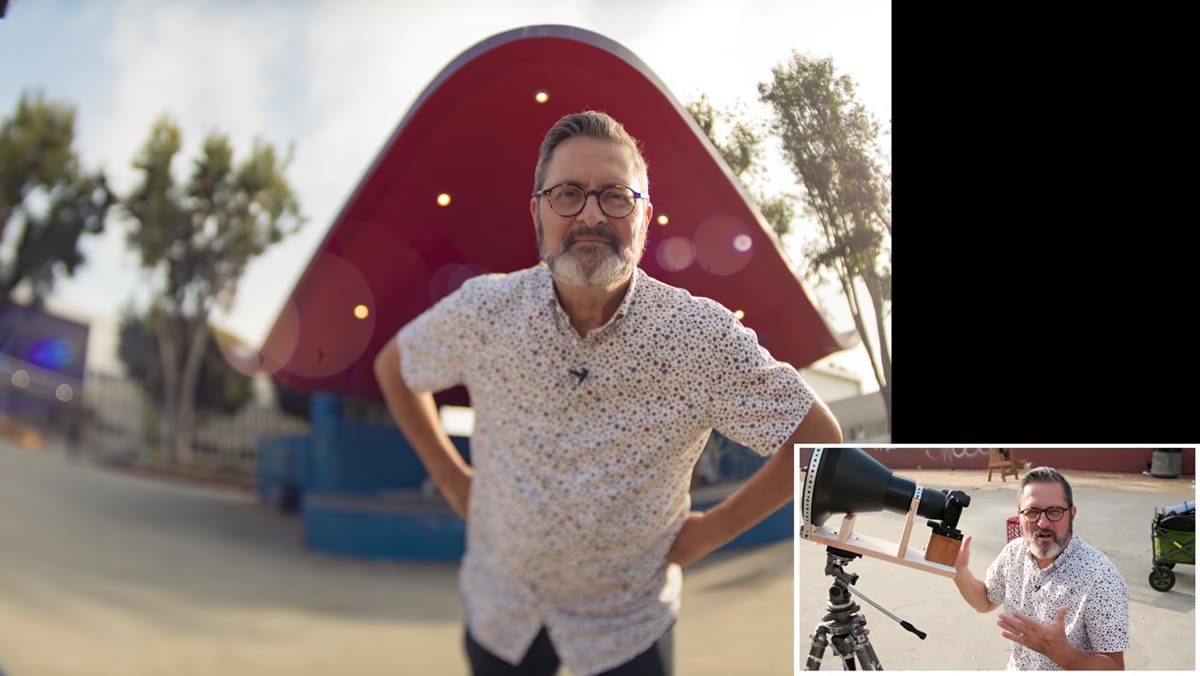 Portrait of a subject showing the sharp center and swirling out-of-focus edges
The IMAX lens was designed to project onto a flat screen from a distance, not to render a sharp flat plane at portrait distances. What JP discovers as he shoots is that the plane of focus is not flat at all. The center sharpens while the edges and corners blur out dramatically, and because his camera mount is not perfectly squared to the lens axis, there is an additional tilt to the focus plane. Rather than fight this, he leans into it. Subjects are sharp in the face but their hands or bodies in the foreground drop out of focus in a way that looks intentional and distinctive. The lesson here is that optical “flaws” at this scale of improvisation are often the whole point.
Portrait of a subject showing the sharp center and swirling out-of-focus edges
The IMAX lens was designed to project onto a flat screen from a distance, not to render a sharp flat plane at portrait distances. What JP discovers as he shoots is that the plane of focus is not flat at all. The center sharpens while the edges and corners blur out dramatically, and because his camera mount is not perfectly squared to the lens axis, there is an additional tilt to the focus plane. Rather than fight this, he leans into it. Subjects are sharp in the face but their hands or bodies in the foreground drop out of focus in a way that looks intentional and distinctive. The lesson here is that optical “flaws” at this scale of improvisation are often the whole point.
What I’d Do Differently as a Budget Shooter
I do not have an IMAX lens. Nobody I know has an IMAX lens. But the framework JP uses here applies perfectly to cheap vintage glass that you can buy for almost nothing. Old Soviet enlarger lenses, 1970s projector optics, or even a disassembled cheap macro extension tube with a vintage prime can produce similar qualities at a fraction of the weirdness tax. The “tape sleeve focus by moving the camera” technique specifically translates directly to any non-coupled lens experiment. I have tried a version of this with a $15 Industar-50 on a foam-and-tape rig and gotten images I could not have made with any of my “real” lenses. The camera-body-as-focus-rail idea is something I now keep in my back pocket for any situation where I am working with glass that was never meant for my mount.
The real takeaway from JP’s experiment is that the most interesting images often come from constraints, not from better gear. When your only focus control is sliding your camera body an inch forward or backward on a taped lens, every shot becomes intentional. Watch the full experiment and let it change how you think about what counts as “usable” glass.
Watch the full tutorial on YouTube
Comments (2)
Finally someone explains this in a way that actually makes sense.
This saved me so much time on my last edit. Wish I'd found this sooner.
Leave a Comment