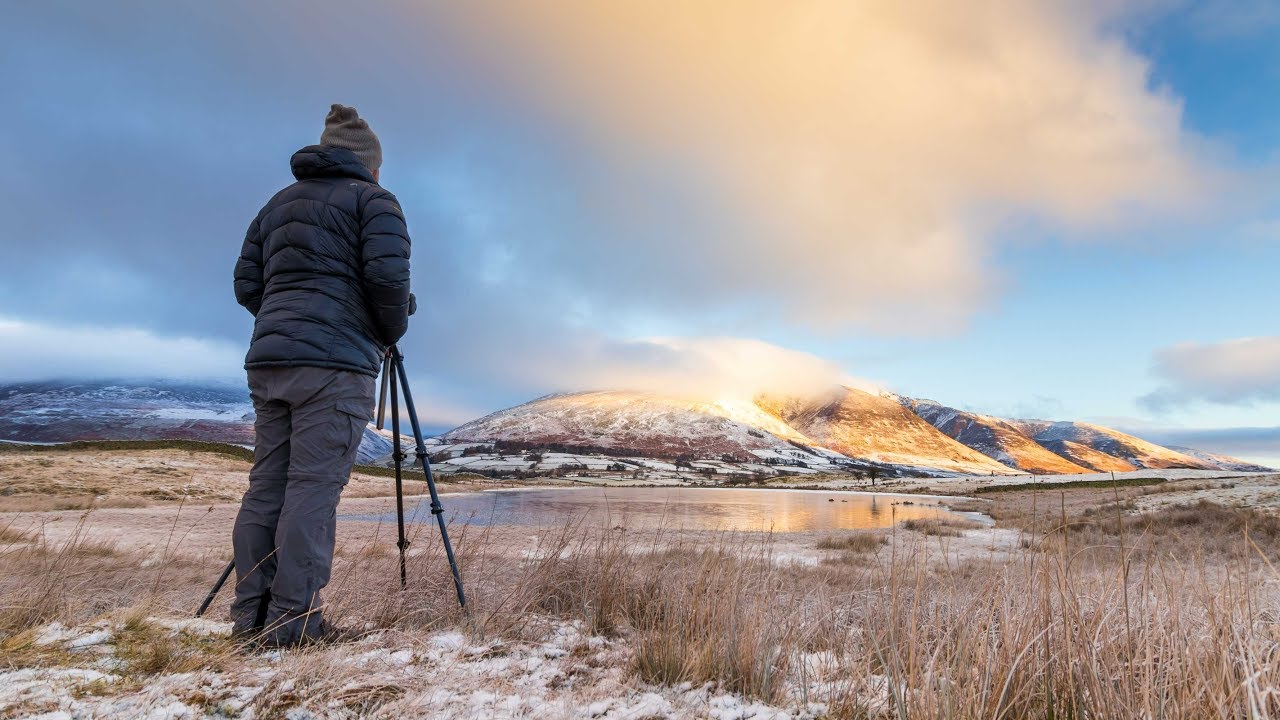
There’s a specific frustration I keep running into with wide landscape shots: you find a scene that’s just too big for any single frame, and stitching handheld shots together turns into a nightmare of misaligned horizons and warped foregrounds. I’ve tried the nodal point adjustments, the rotation plates, the whole thing. It works, but it’s fiddly and it eats time you don’t have when the light is moving fast. That’s what made this tutorial land so hard for me.
In this First Man Photography tutorial, shot on a freezing Christmas morning in England’s Lake District, the photographer walks through using the shift function on a Canon 24mm TS-E Mark II to build a clean, stitched panorama without rotating the camera at all. Watch the full tutorial on YouTube. The optical shift approach solves the parallax problem at the source, because the lens element moves while the camera body and sensor stay perfectly still. That’s the whole trick, and once you see it in practice it becomes obvious why tilt-shift lenses are a legitimate working tool and not just a boutique toy.
The video covers two shooting locations, Tewet Tarn with Blencathra in the background, and Castlerigg Stone Circle outside Keswick. Both setups are different compositional problems, and watching him solve them with the same technique back to back makes the method click in a way that a single example never would.
Step 1: Scout the Scene and Identify the Full Frame You Need
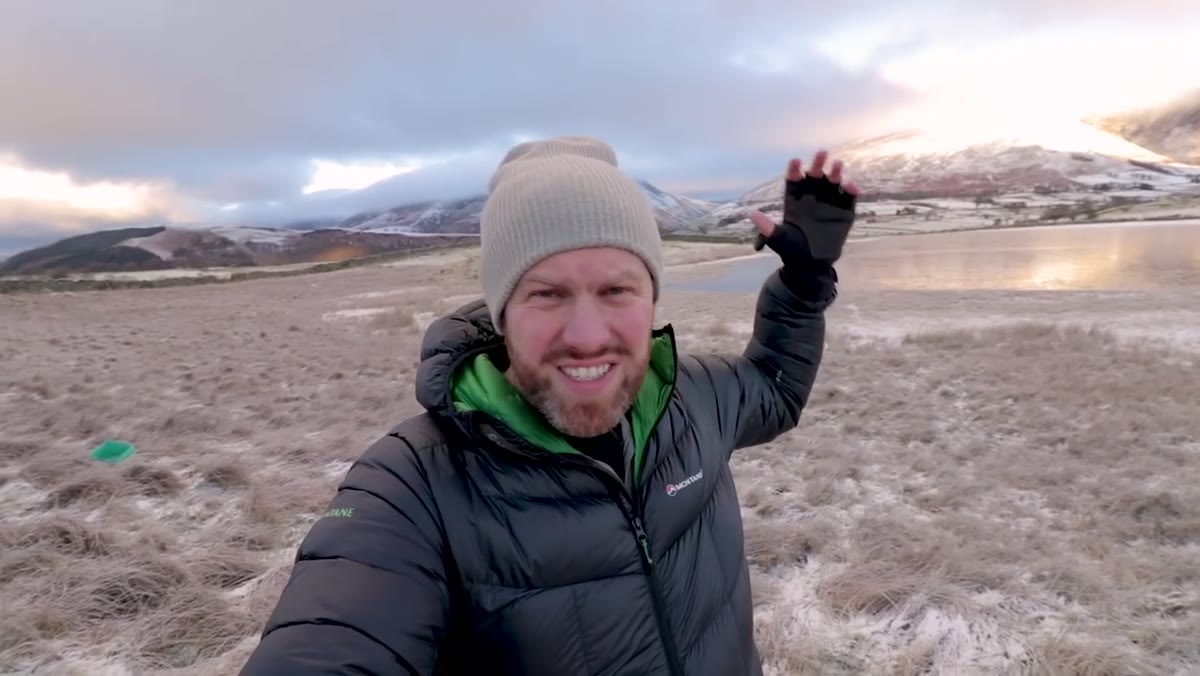 Photographer gesturing across frozen tarn toward distant mountains
Before you touch the shift dial, figure out what you actually want in the final image. In the first location, the shot spans from Skiddaw mountain on one side all the way across to Blencathra on the other, with frozen reeds in the foreground and a reflective iced-over tarn in the middle distance. That’s a scene that needs serious horizontal coverage. The shift function on the 24mm TS-E gives you roughly plus or minus 12mm of lateral movement, which across five exposures adds up to a final image width that no single wide-angle frame can match. Know your endpoint before you start shifting, or you’ll end up with uneven coverage on one side.
Photographer gesturing across frozen tarn toward distant mountains
Before you touch the shift dial, figure out what you actually want in the final image. In the first location, the shot spans from Skiddaw mountain on one side all the way across to Blencathra on the other, with frozen reeds in the foreground and a reflective iced-over tarn in the middle distance. That’s a scene that needs serious horizontal coverage. The shift function on the 24mm TS-E gives you roughly plus or minus 12mm of lateral movement, which across five exposures adds up to a final image width that no single wide-angle frame can match. Know your endpoint before you start shifting, or you’ll end up with uneven coverage on one side.
Step 2: Lock Down the Tripod and Level the Camera Precisely
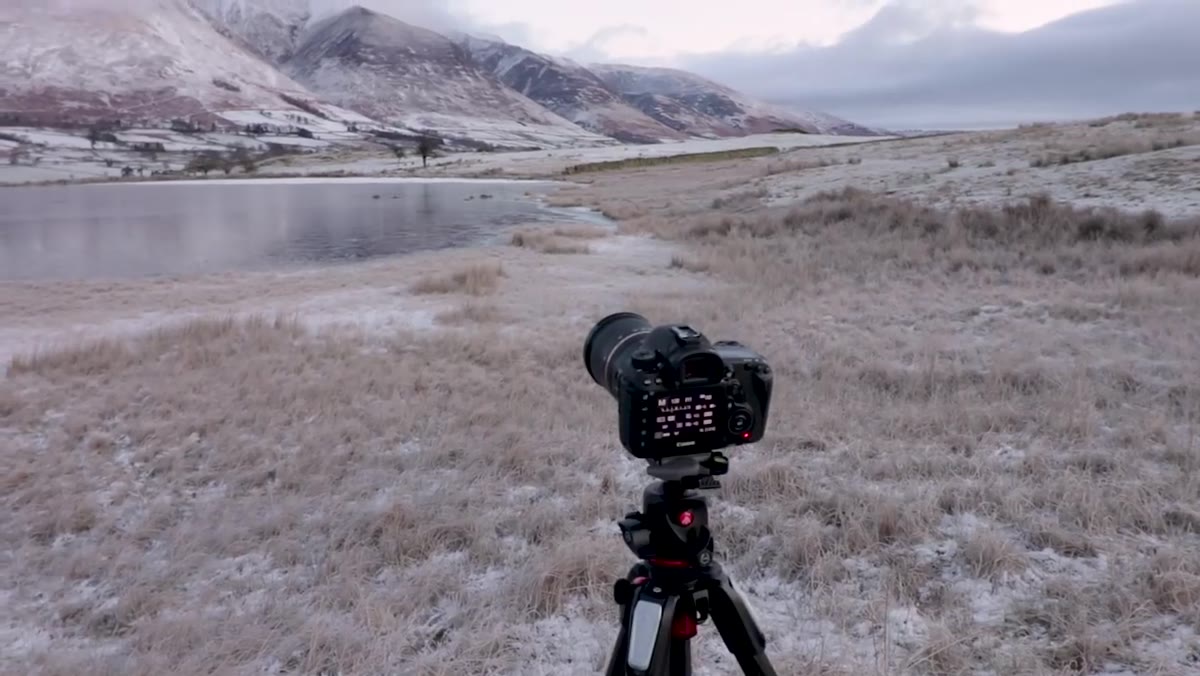 Camera mounted on tripod, tripod legs extended fully, level scene
This is where the technique lives or dies. Because you’re shifting the lens rather than panning the camera, the camera body cannot move between frames. Get the tripod as solid as possible, check your level both horizontally and front-to-back, and lock every joint down. Any drift between exposures creates a stitching headache that no software fully fixes. At Castlerigg, he pushed the tripod as high as it would go to get elevation over the stone circle, which sits on a raised hill and is hard to frame from ground level with a standard wide-angle. The shift function then handled the horizontal sweep from that fixed height.
Camera mounted on tripod, tripod legs extended fully, level scene
This is where the technique lives or dies. Because you’re shifting the lens rather than panning the camera, the camera body cannot move between frames. Get the tripod as solid as possible, check your level both horizontally and front-to-back, and lock every joint down. Any drift between exposures creates a stitching headache that no software fully fixes. At Castlerigg, he pushed the tripod as high as it would go to get elevation over the stone circle, which sits on a raised hill and is hard to frame from ground level with a standard wide-angle. The shift function then handled the horizontal sweep from that fixed height.
Step 3: Dial in Your Exposure Before You Start Shifting
 Camera display showing f/8, 1/50s, ISO 100 settings
Set your exposure manually and commit to it before your first frame. The settings used here are f/8, 1/50th of a second, ISO 100. Aperture priority or auto ISO will change exposure values between frames as the lens shifts across different tonal areas of the scene, and that creates banding in the final stitch that is miserable to fix in post. f/8 is a solid choice for landscape work because it sits in the sharpness sweet spot for most lenses without pushing diffraction, and ISO 100 keeps the files clean for large prints. Set it, lock it, and don’t touch it.
Camera display showing f/8, 1/50s, ISO 100 settings
Set your exposure manually and commit to it before your first frame. The settings used here are f/8, 1/50th of a second, ISO 100. Aperture priority or auto ISO will change exposure values between frames as the lens shifts across different tonal areas of the scene, and that creates banding in the final stitch that is miserable to fix in post. f/8 is a solid choice for landscape work because it sits in the sharpness sweet spot for most lenses without pushing diffraction, and ISO 100 keeps the files clean for large prints. Set it, lock it, and don’t touch it.
Step 4: Start at One Extreme of the Shift Range and Work Across
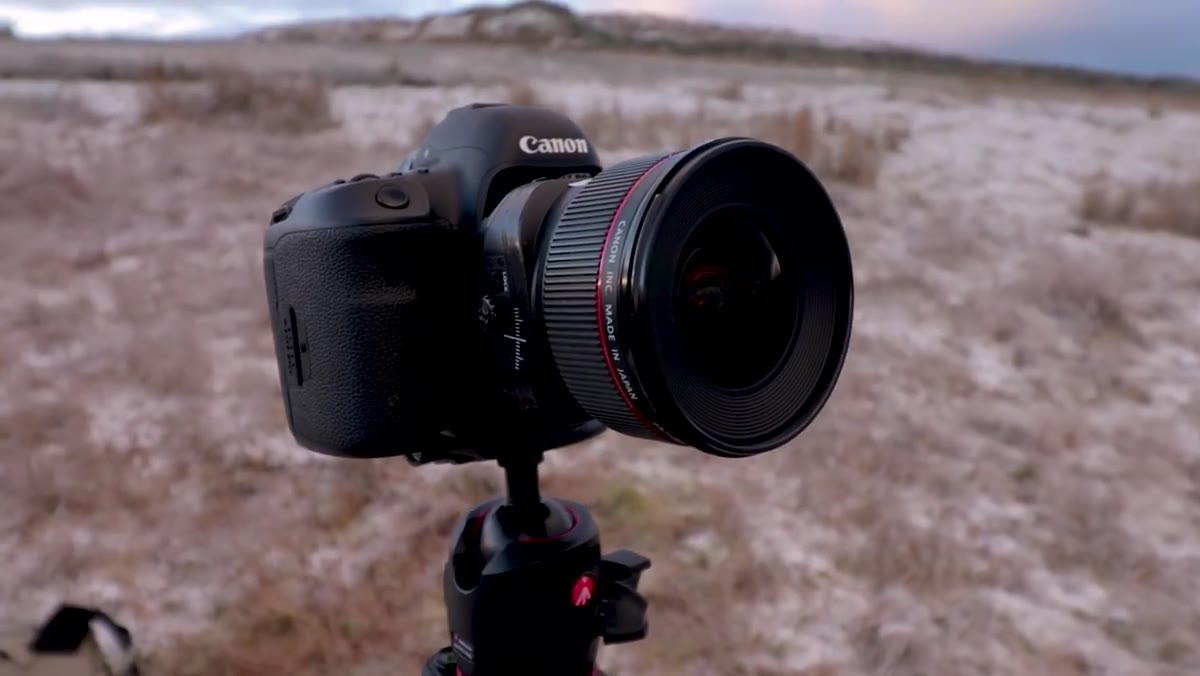 Lens shift mechanism being adjusted from left position
Start with the shift dialed all the way to one side, typically the left, and take your first frame. Then work across in incremental steps, taking a frame at each position, until you reach the opposite extreme. The tutorial uses five frames total across the full shift range. You want significant overlap between frames, roughly 30 to 40 percent, so the stitching software has enough shared detail to align everything properly. Shooting fewer frames with less overlap is the most common mistake beginners make here. Five frames is a reliable number for the 24mm TS-E at this focal length.
Lens shift mechanism being adjusted from left position
Start with the shift dialed all the way to one side, typically the left, and take your first frame. Then work across in incremental steps, taking a frame at each position, until you reach the opposite extreme. The tutorial uses five frames total across the full shift range. You want significant overlap between frames, roughly 30 to 40 percent, so the stitching software has enough shared detail to align everything properly. Shooting fewer frames with less overlap is the most common mistake beginners make here. Five frames is a reliable number for the 24mm TS-E at this focal length.
Step 5: Use the Shift Technique to Solve Compositional Problems, Not Just Width
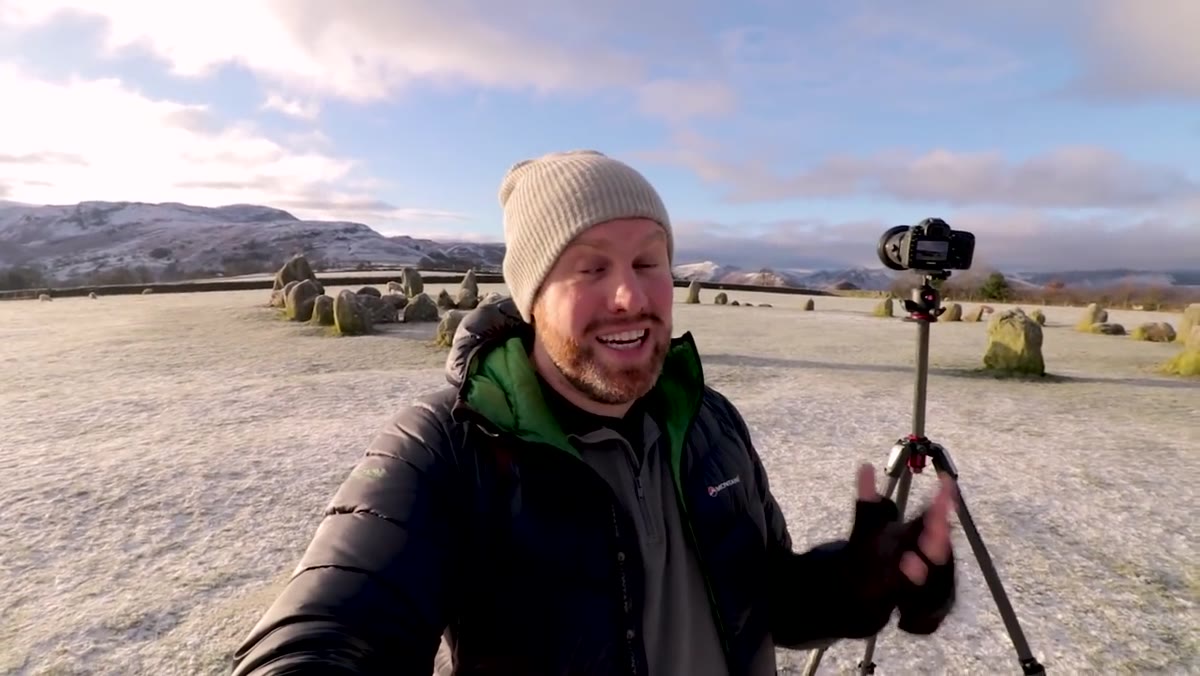 Stone circle with tripod raised to maximum height for elevated perspective
This is the part of the video that I think gets undervalued in most write-ups. At Castlerigg, the shift function isn’t just about getting a wide panorama. It’s being used to capture a complete overhead view of the stone circle from a fixed elevated position that a single frame can’t cover. The circle sits on a slope, and getting both close enough to see individual stones and wide enough to show the whole formation is normally a compromise. By shifting across the scene from maximum tripod height, he captures the full circle with meaningful foreground context. Think of the shift function as a compositional tool first and a panorama tool second.
Stone circle with tripod raised to maximum height for elevated perspective
This is the part of the video that I think gets undervalued in most write-ups. At Castlerigg, the shift function isn’t just about getting a wide panorama. It’s being used to capture a complete overhead view of the stone circle from a fixed elevated position that a single frame can’t cover. The circle sits on a slope, and getting both close enough to see individual stones and wide enough to show the whole formation is normally a compromise. By shifting across the scene from maximum tripod height, he captures the full circle with meaningful foreground context. Think of the shift function as a compositional tool first and a panorama tool second.
Step 6: Stitch in Post and Expect Clean Results
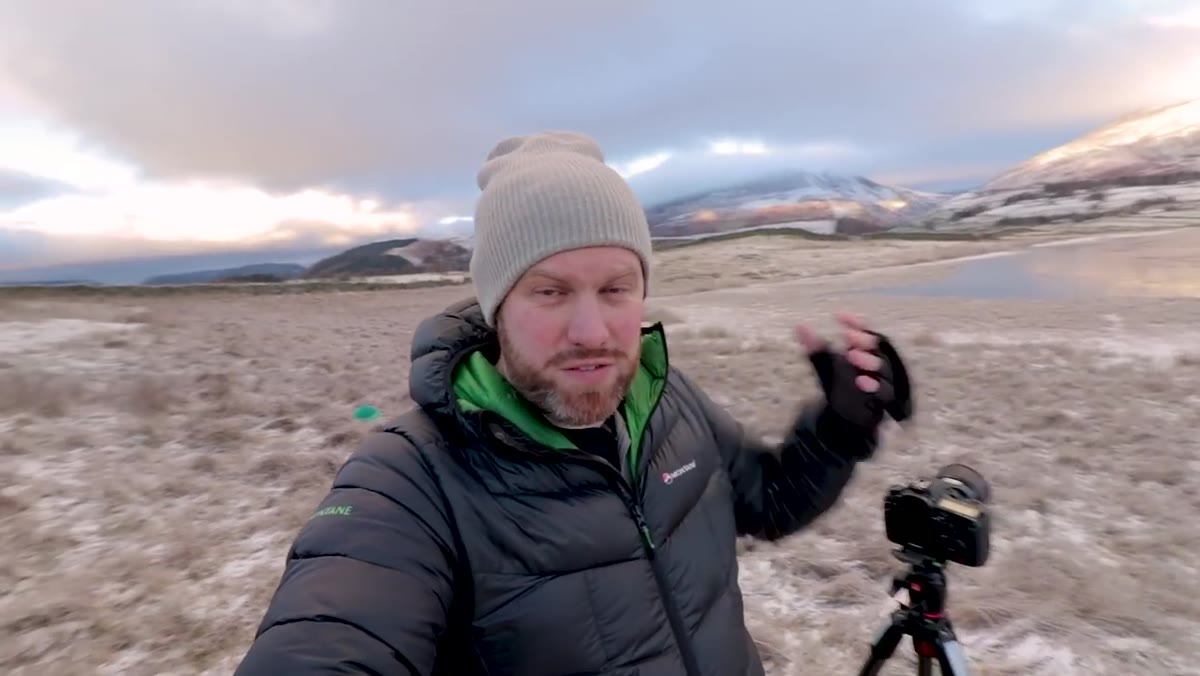
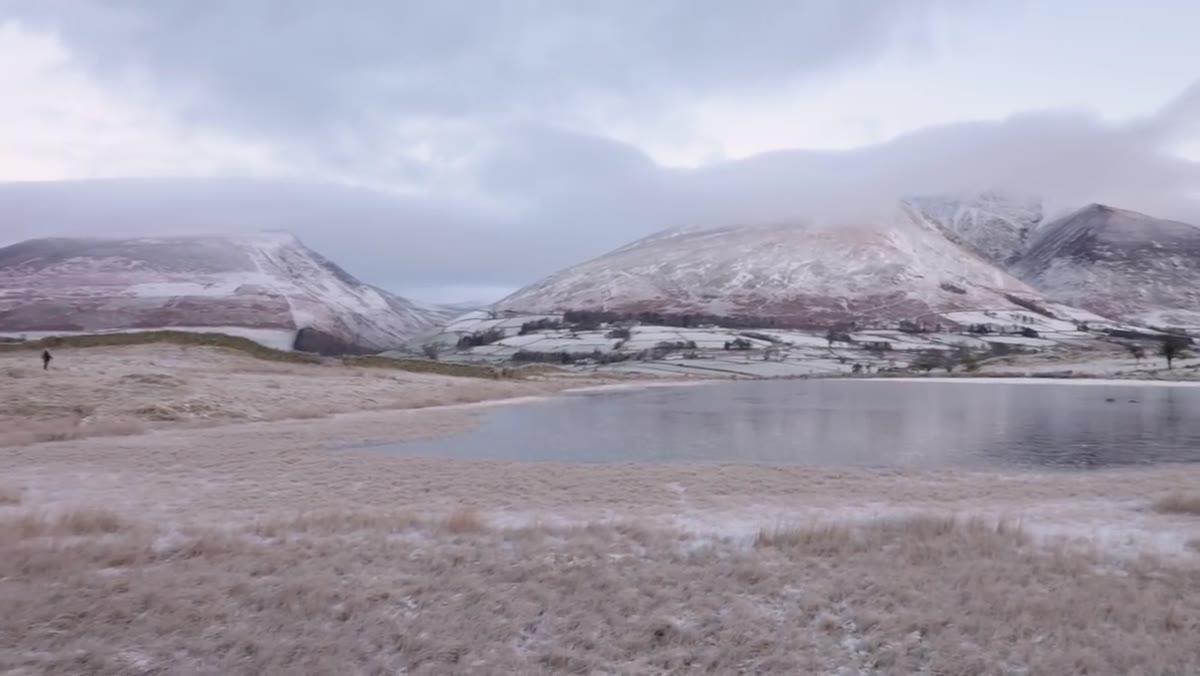 Scene overview showing full panoramic composition before shooting
Because the camera body never rotated, you have zero parallax error between frames. That means stitching in Lightroom’s Photo Merge, PTGui, or even Photoshop’s Photomerge is straightforward. The software has easy, consistent overlap to work with and no perspective distortion caused by a rotating nodal point. Select your frames, choose cylindrical or spherical projection depending on how wide your final stitch is, and let the software do the work. The results from this method are noticeably cleaner than rotation-based panoramas, especially in the foreground where parallax distortion hits hardest.
Scene overview showing full panoramic composition before shooting
Because the camera body never rotated, you have zero parallax error between frames. That means stitching in Lightroom’s Photo Merge, PTGui, or even Photoshop’s Photomerge is straightforward. The software has easy, consistent overlap to work with and no perspective distortion caused by a rotating nodal point. Select your frames, choose cylindrical or spherical projection depending on how wide your final stitch is, and let the software do the work. The results from this method are noticeably cleaner than rotation-based panoramas, especially in the foreground where parallax distortion hits hardest.
What I’d Add From My Own Experience
The one thing not covered in the tutorial is budget. The Canon 24mm TS-E Mark II is an expensive lens, sitting around $2,200 new. For most people reading this, that’s not a casual purchase. But the technique itself works on any tilt-shift lens, including older used copies of the original 24mm TS-E that you can find in the $800 to $1,000 range, and third-party options like the Laowa 15mm Zero-D Shift, which comes in under $800 and covers full-frame. I’d also point out that renting a TS-E for a specific landscape trip is genuinely worth doing before committing to a purchase. The shift-stitch panorama technique is the kind of thing that either fits how you work or it doesn’t, and a rental weekend will tell you which camp you’re in before you spend serious money.
The core takeaway here is simple: shifting the lens instead of rotating the camera eliminates the parallax problem that kills foreground sharpness in stitched panoramas. It’s not a workaround. It’s optically cleaner than rotation-based methods, and the results speak for themselves in this video. Watch the full tutorial on YouTube to see both locations and the actual stitched results side by side.
Comments
Leave a Comment