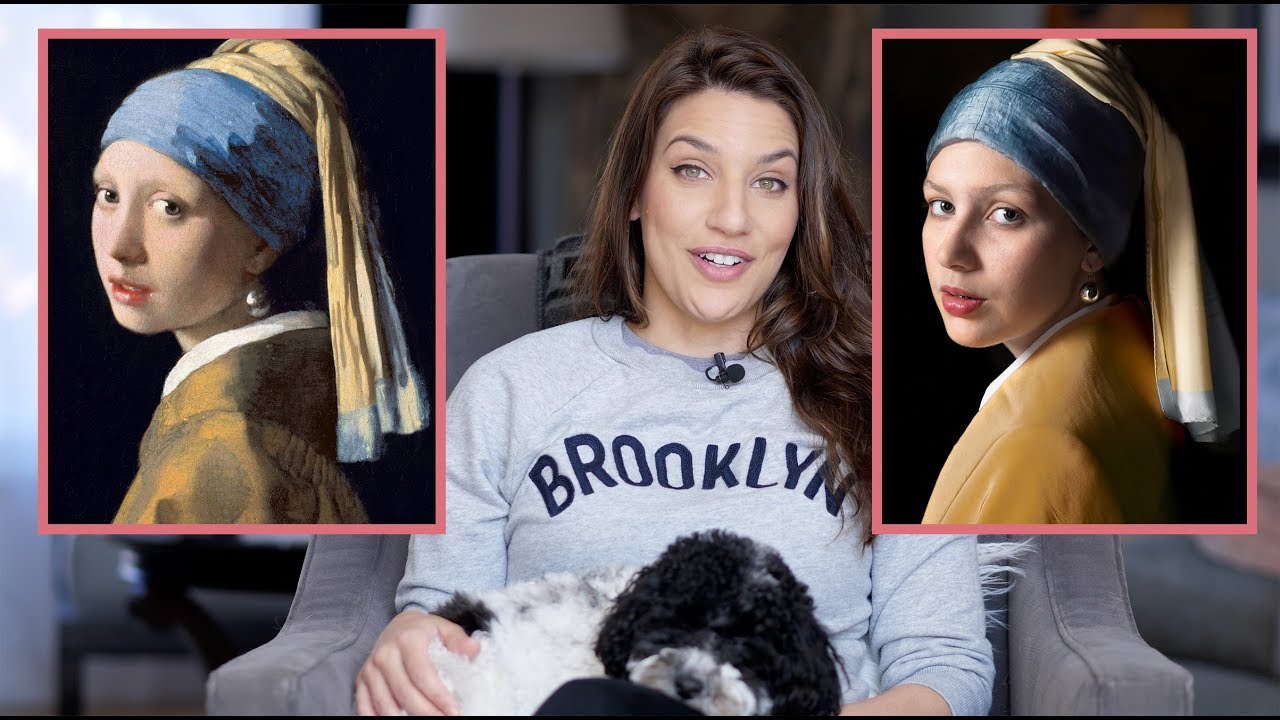
I spend a lot of my time thinking about constraints. Budget constraints, gear constraints, time constraints. What I don’t think about enough is using art as a creative constraint, and that’s exactly what flipped a switch for me when I watched this tutorial. There’s a specific problem portrait photographers run into constantly: shooting something that looks intentional rather than accidental. Replicating a painting forces every decision to have a reason. The angle of light, the color of fabric, the tilt of the head. Nothing is arbitrary.
In this Tony & Chelsea Northrup tutorial, Watch the full tutorial on YouTube, they walk through their attempt to recreate Vermeer’s “Girl With a Pearl Earring” using their daughter as the subject. What makes it genuinely useful for working photographers is that they don’t skip the failures. The earring that acted as a mirror. The stray hairs. The headpiece that had to be retied three times. This is a real shoot with real problems, and the solutions they reach for are mostly low-cost and replicable.
I’ll be honest: I came for the lighting breakdown and stayed for the costume problem-solving. Here’s the full step-by-step.
Step 1: Choose Your Reference and Audit What You’re Actually Replicating
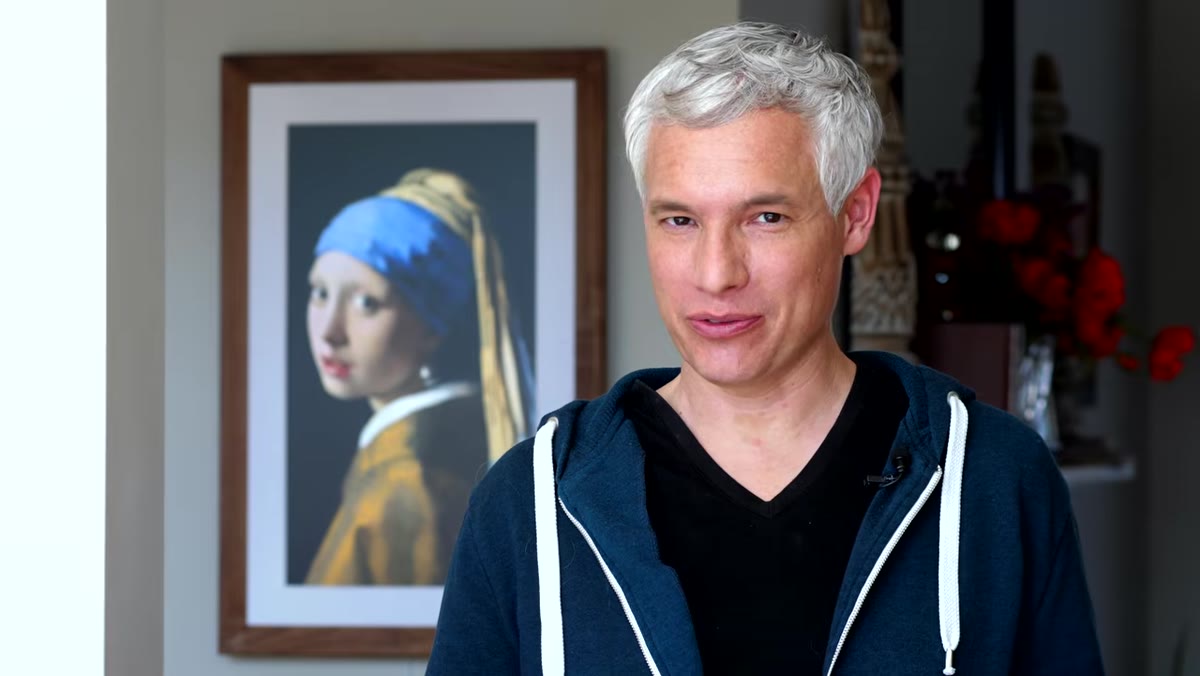
 Tony explaining why Girl With a Pearl Earring was chosen
Before you touch a camera, spend real time with the source image. The Northrups chose this particular painting because it has a nearly black background, a single dominant light source, and no complex environmental detail to recreate. That’s a smart audit. They weren’t just picking something famous. They were picking something achievable.
Tony explaining why Girl With a Pearl Earring was chosen
Before you touch a camera, spend real time with the source image. The Northrups chose this particular painting because it has a nearly black background, a single dominant light source, and no complex environmental detail to recreate. That’s a smart audit. They weren’t just picking something famous. They were picking something achievable.
When you’re choosing a painting or photograph to replicate, ask yourself: how many separate elements would I need to fake? Background complexity, fabric texture, number of light sources, and props all multiply your difficulty. Start with something that has one strong visual idea. Vermeer gave them directional window light and a dark void behind the subject. That’s two things to solve, not ten.
Step 2: Source Props and Costume by Texture First, Color Second
 Chelsea holding up fabric and scarves for the costume
The Northrups knew they weren’t going to find 17th-century clothing at a thrift store. Their workaround was smart and comes directly from their stock photography experience: match the texture of the fabric, not the color. Color is far easier to shift in post-production. Texture is baked into the light behavior of the material and you cannot fake it convincingly after the fact.
Chelsea holding up fabric and scarves for the costume
The Northrups knew they weren’t going to find 17th-century clothing at a thrift store. Their workaround was smart and comes directly from their stock photography experience: match the texture of the fabric, not the color. Color is far easier to shift in post-production. Texture is baked into the light behavior of the material and you cannot fake it convincingly after the fact.
They layered a dress over a blazer to create the structured silhouette of the jacket in the painting, and used two scarves tied together to approximate the headwrap. The earring they found was sterling silver rather than pearl, but historical research actually backed them up. Many art historians believe the original earring was tin, not pearl, making the silver piece accidentally more accurate. The lesson here is that prop sourcing under constraints pushes you toward research, and research sometimes pays off in unexpected ways.
Step 3: Handle Makeup to Match the Painting’s Specific Aesthetic
 Chelsea applying concealer to minimize visible eyebrows and lashes
This step surprised me and it’s one I wouldn’t have thought of on my own. Vermeer’s painting gives the subject a very clean, almost brow-less appearance. Chelsea’s solution was to use a mascara wand loaded with concealer to flatten the eyebrows and lashes rather than leaving them visible. Combined with powder and minimal color makeup, it creates what she describes as a “no makeup makeup” look that reads as period-accurate on camera.
Chelsea applying concealer to minimize visible eyebrows and lashes
This step surprised me and it’s one I wouldn’t have thought of on my own. Vermeer’s painting gives the subject a very clean, almost brow-less appearance. Chelsea’s solution was to use a mascara wand loaded with concealer to flatten the eyebrows and lashes rather than leaving them visible. Combined with powder and minimal color makeup, it creates what she describes as a “no makeup makeup” look that reads as period-accurate on camera.
The broader principle is that makeup for photography recreation isn’t about making someone look good in a general sense. It’s about matching the visual logic of the source image. Study what the painting shows and what it doesn’t. If the light in the painting wouldn’t have revealed eyelashes, your makeup shouldn’t either.
Step 4: Set Up Camera and Lens to Match the Painting’s Focal Perspective
 Nikon D800 and 105mm lens mounted on tripod in studio
The Northrups used a Nikon D800 with a 105mm f/1.4 lens on a tripod. The tripod choice is worth calling out because it’s counterintuitive for portrait work. They used it specifically because the angle was fixed by the painting’s composition, and tethering to a monitor is more stable when the camera isn’t moving between shots.
Nikon D800 and 105mm lens mounted on tripod in studio
The Northrups used a Nikon D800 with a 105mm f/1.4 lens on a tripod. The tripod choice is worth calling out because it’s counterintuitive for portrait work. They used it specifically because the angle was fixed by the painting’s composition, and tethering to a monitor is more stable when the camera isn’t moving between shots.
The 105mm focal length was chosen because it approximates the compression and perspective relationship visible in the original painting. When you’re recreating a specific image, focal length isn’t an artistic choice, it’s a forensic one. Look at how compressed the background is relative to the subject, study where the ears fall relative to the eyes, and use that to estimate the original perspective. A 50mm on a full-frame would have given a noticeably different face shape. Matching focal length is non-negotiable if accuracy matters to you.
Step 5: Analyze the Catch Light to Reverse-Engineer the Lighting Setup
 Tony examining the catch light visible in the subject’s eye in the painting
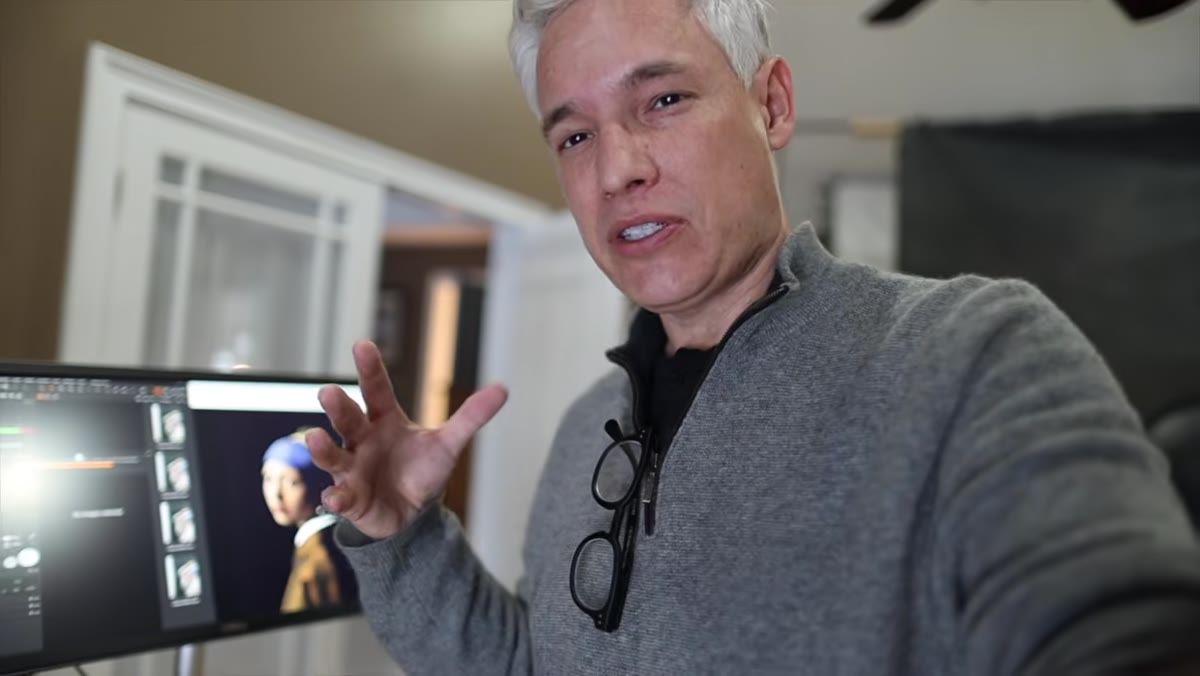
This is the technique I’ll be using on every reference image I study from now on. Tony zoomed into the eye in the original painting and read the catch light like a map. He identified a large, diffuse light source positioned far to the left, plus a smaller round secondary catch light. That tells you the shape of the modifier (round, so either a large softbox or a small reflector), the position (camera left, well off-axis), and the relative size.
Tony examining the catch light visible in the subject’s eye in the painting
This is the technique I’ll be using on every reference image I study from now on. Tony zoomed into the eye in the original painting and read the catch light like a map. He identified a large, diffuse light source positioned far to the left, plus a smaller round secondary catch light. That tells you the shape of the modifier (round, so either a large softbox or a small reflector), the position (camera left, well off-axis), and the relative size.
Start your lighting setup from the catch light and work outward. A large soft box produces that wide, soft edge lighting visible across the subject’s face. The near-total shadow on the right side of the face in the original painting confirms there was no fill light or reflector on that side. Hard shadow, soft source, single direction. Set that up first, then make small adjustments based on how your test shots compare to the reference.
Step 6: Use Tethered Shooting to Compare Reference and Output in Real Time
 4K monitor on rolling stand showing tethered capture from Capture One
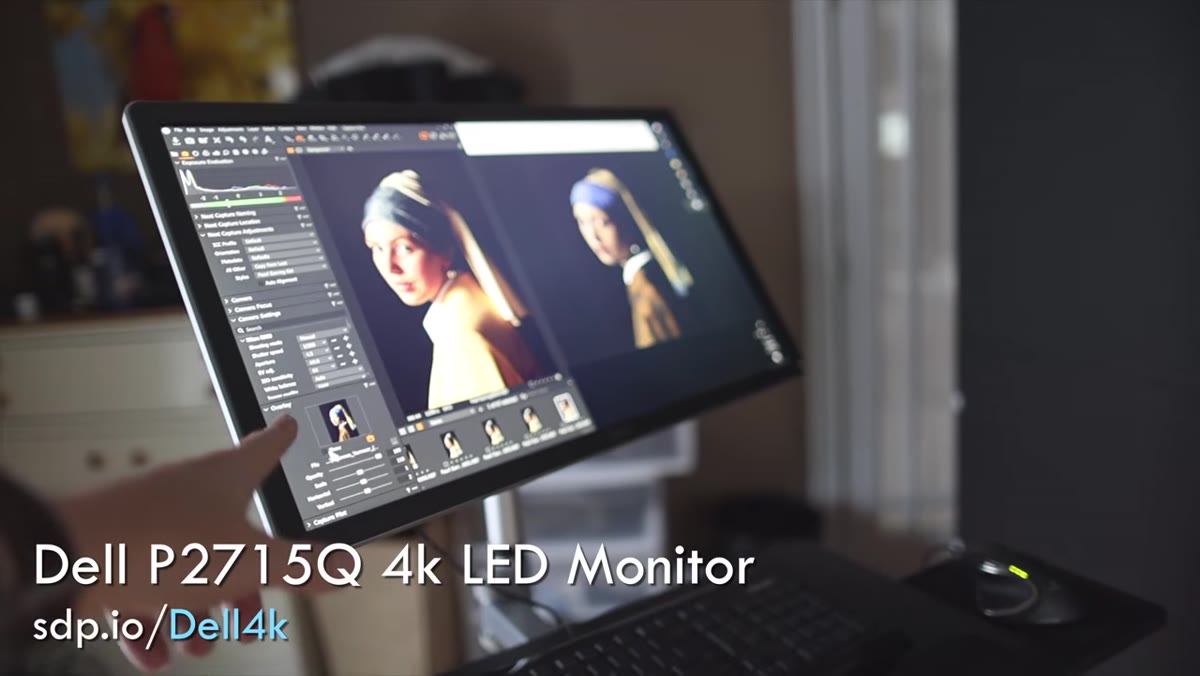
The Northrups ran a tethered setup with a 4K monitor, an Alienware PC, and Capture One synced to network-attached storage. That’s their configuration, and it’s clearly optimized for a professional studio workflow. But the principle scales down completely. Even tethering to a laptop with a free trial of Capture One or Lightroom’s tethering function gives you the comparison capability that matters here.
4K monitor on rolling stand showing tethered capture from Capture One
The Northrups ran a tethered setup with a 4K monitor, an Alienware PC, and Capture One synced to network-attached storage. That’s their configuration, and it’s clearly optimized for a professional studio workflow. But the principle scales down completely. Even tethering to a laptop with a free trial of Capture One or Lightroom’s tethering function gives you the comparison capability that matters here.
The real value of tethering for a recreation project is that you can put the original reference image on one half of the screen and your live capture on the other. You will catch problems immediately. Shadows falling the wrong direction, fabric draping incorrectly, the earring catching light it shouldn’t. That’s far faster than shooting, importing, and comparing on a separate device after the session.
What I’d Do Differently on a Budget Setup
The Northrups are working with pro-level gear, but nothing in this project actually required it. The flash they used was a Flashpoint Evorless 600 Pro, which is already one of the better value strobes on the market. But you could replicate the single large soft light source with a budget strobe and a 24x36 softbox for well under $200 total. The catch light analysis technique works regardless of what modifier you’re using. The tethering setup can be a $15 USB cable and a cheap laptop. The costume sourcing is pure problem-solving, zero gear involved.
What you cannot cut corners on is the reference study time. The reason their final image works is because they spent serious time reading the painting before setting up a single light. That part costs nothing and most people skip it entirely.
The single most important thing I took from this tutorial is the catch light analysis technique. It’s a free tool that works on any reference image and it immediately tells you the shape, position, and relative size of the original light source. Start there every time.
Watch the full tutorial on YouTube to see the full shoot unfold, including the outtakes where things go sideways in ways that are both funny and genuinely instructive.
Comments (2)
Just subscribed. If the rest of your content is this good, I'm in.
Printing this out and pinning it next to my monitor. That good.
Leave a Comment