
I spend most of my working life arguing that you don’t need expensive gear to make great images. I’ve built my whole corner of the internet around that idea. So when a $13,000 camera-and-lens combo lands on my radar and I can’t immediately dismiss it, that’s worth paying attention to. In this Tony & Chelsea Northrup tutorial on the Hasselblad X2D 100C paired with the new 90mm f/2.5 V lens, Tony makes a case I found genuinely hard to argue with, not because of the price tag, but because of the specific things this system does that nothing else can do right now.
Watch the full tutorial on YouTube
This isn’t a system for value hunters. The body alone is $8,500, and the lens adds another $4,300. But the tutorial is useful even if you’ll never buy one, because it clarifies exactly what you’re trading away when you choose a more affordable setup. Understanding the ceiling helps you know what the floor actually costs you.
Step 1: Understand What You’re Actually Paying For
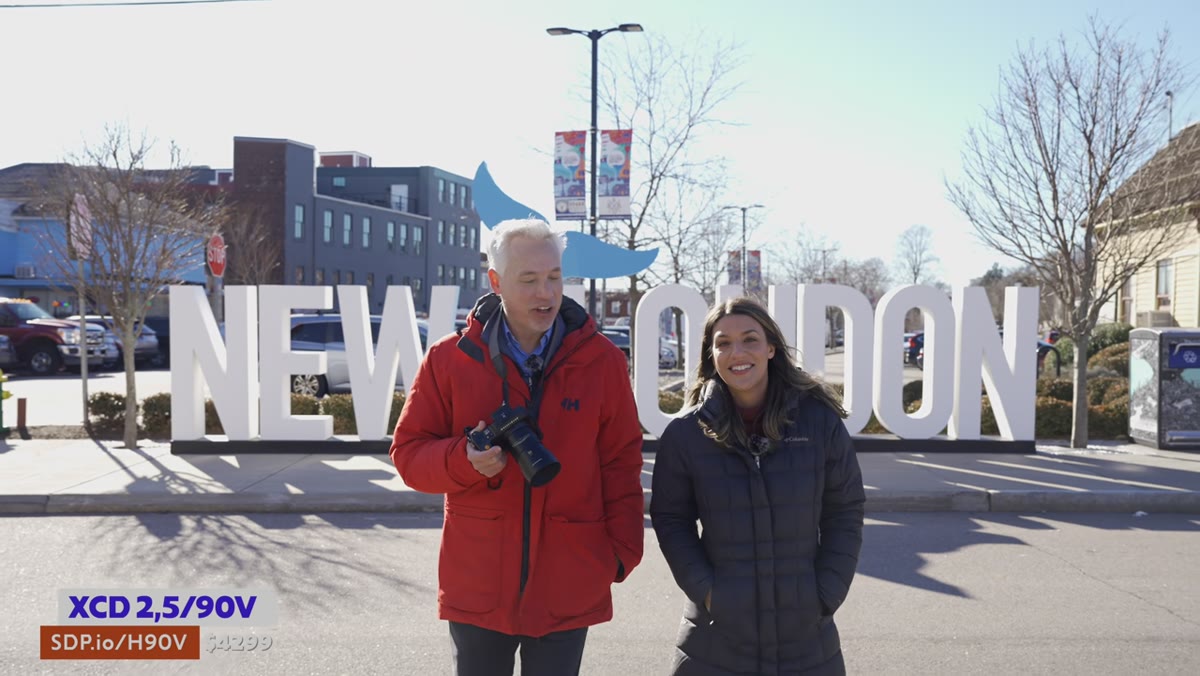 Tony holding the 90mm f/2.5 lens to camera
The $4,300 lens price shocks people at first glance, especially since f/2.5 isn’t a particularly fast maximum aperture by modern standards. Tony reframes this immediately. The cost isn’t about maximum aperture. It’s about a combination of features - primarily the leaf shutter mechanism and medium format image quality - that you simply cannot get from a full-frame system at any price. Think of it less like buying a faster sports car and more like buying a different vehicle category entirely.
Tony holding the 90mm f/2.5 lens to camera
The $4,300 lens price shocks people at first glance, especially since f/2.5 isn’t a particularly fast maximum aperture by modern standards. Tony reframes this immediately. The cost isn’t about maximum aperture. It’s about a combination of features - primarily the leaf shutter mechanism and medium format image quality - that you simply cannot get from a full-frame system at any price. Think of it less like buying a faster sports car and more like buying a different vehicle category entirely.
The target buyer here isn’t comparison shopping against a Sony 85mm f/1.4. They’re buying into a legacy system with a specific shooting experience, and they likely already own a general-purpose mirrorless body for everyday work. Tony compares it to a Rolls-Royce sitting alongside a daily driver in the garage, which is a bit rich for my taste, but the analogy is structurally accurate.
Step 2: Evaluate the Build Quality as a Functional Feature
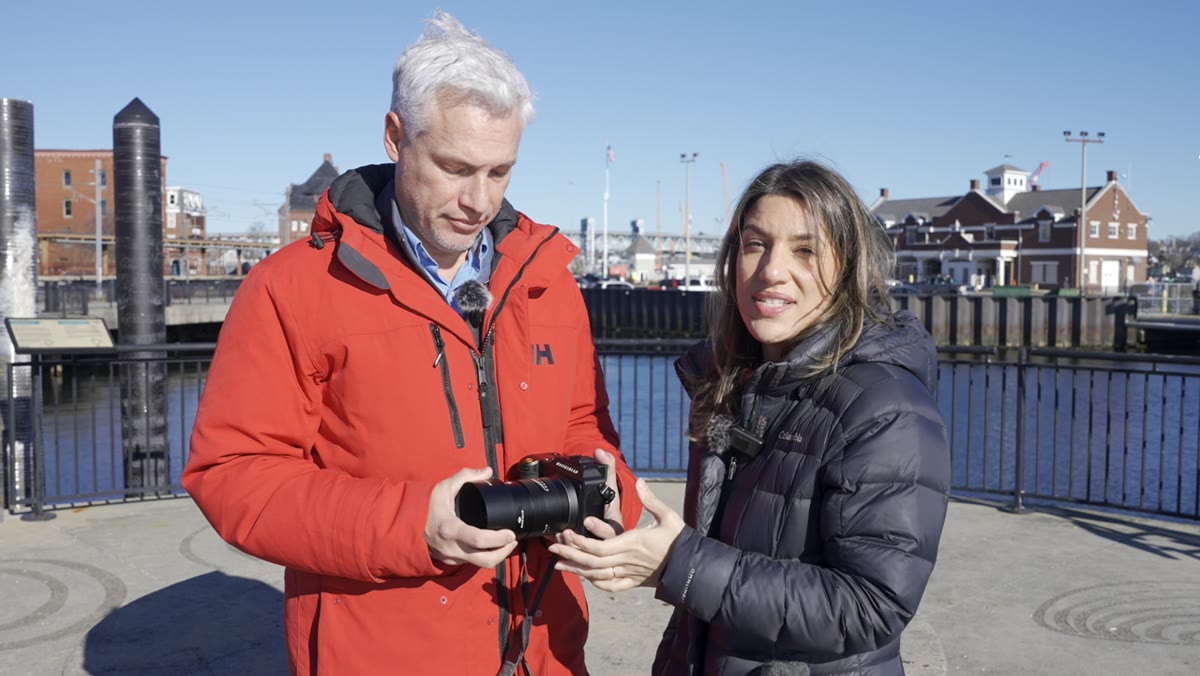 Close-up of lens texture rings and control ring detail
Tony spends real time on the physical construction of the 90V, and it’s not just luxury theater. The sliding focus ring mechanism, the control ring with its uniquely tuned click stops, the lens hood engagement - these aren’t cosmetic choices. They affect how the lens behaves in your hand during a portrait session, where you’re often making micro-adjustments without looking away from your subject.
Close-up of lens texture rings and control ring detail
Tony spends real time on the physical construction of the 90V, and it’s not just luxury theater. The sliding focus ring mechanism, the control ring with its uniquely tuned click stops, the lens hood engagement - these aren’t cosmetic choices. They affect how the lens behaves in your hand during a portrait session, where you’re often making micro-adjustments without looking away from your subject.
What stood out to me watching this section is that the control ring can be switched between clicked and clickless operation. For video shooters or anyone pulling focus during a shoot, that’s a genuinely practical feature. The build quality isn’t just about feel. It shapes the workflow.
Step 3: Recognize the Size Advantage of This Medium Format System
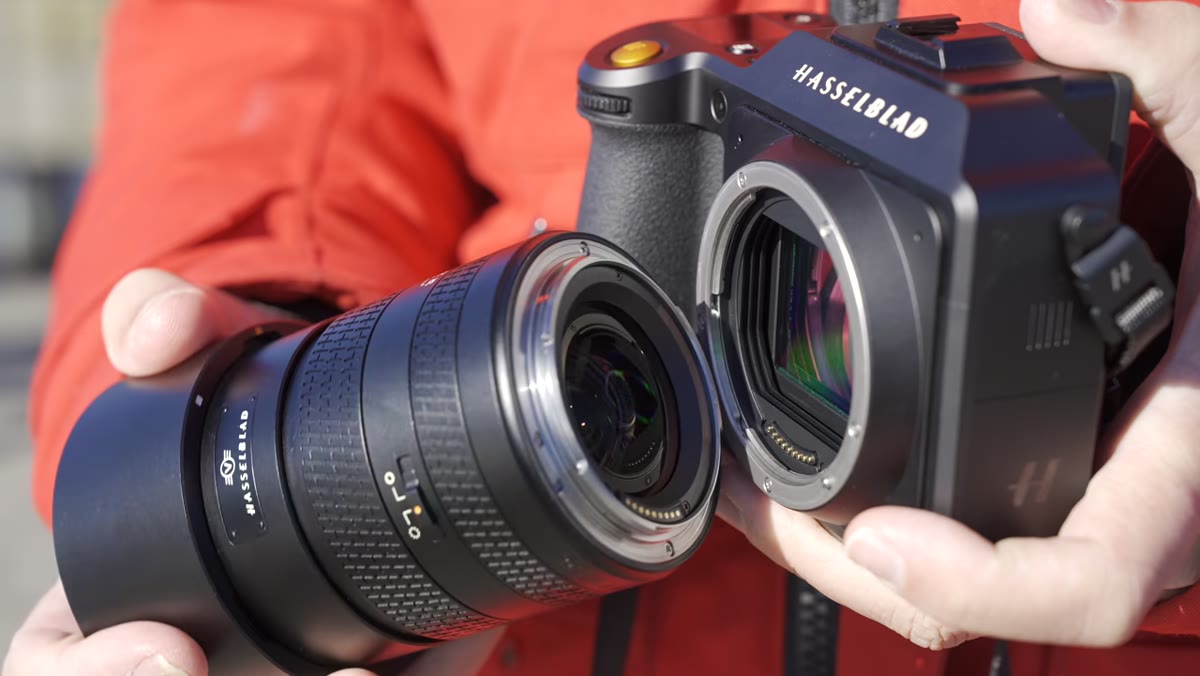 Tony holding the 90V lens next to a full-frame 85mm f/1.4 for size comparison
Here’s something counterintuitive that the tutorial highlights clearly. The Hasselblad 90mm f/2.5 V is physically smaller than a typical full-frame 85mm f/1.4. That runs against everything most photographers assume about medium format gear. The X2D system is compact enough to carry comfortably on location, which matters enormously for portrait photographers who aren’t shooting in a studio all day.
Tony holding the 90V lens next to a full-frame 85mm f/1.4 for size comparison
Here’s something counterintuitive that the tutorial highlights clearly. The Hasselblad 90mm f/2.5 V is physically smaller than a typical full-frame 85mm f/1.4. That runs against everything most photographers assume about medium format gear. The X2D system is compact enough to carry comfortably on location, which matters enormously for portrait photographers who aren’t shooting in a studio all day.
If you’ve avoided medium format because you pictured hauling around a Phase One the size of a brick, this changes the math. It’s still not a lightweight mirrorless setup, but it’s closer than you’d think.
Step 4: Understand the 100-Megapixel Sensor’s Real-World Impact
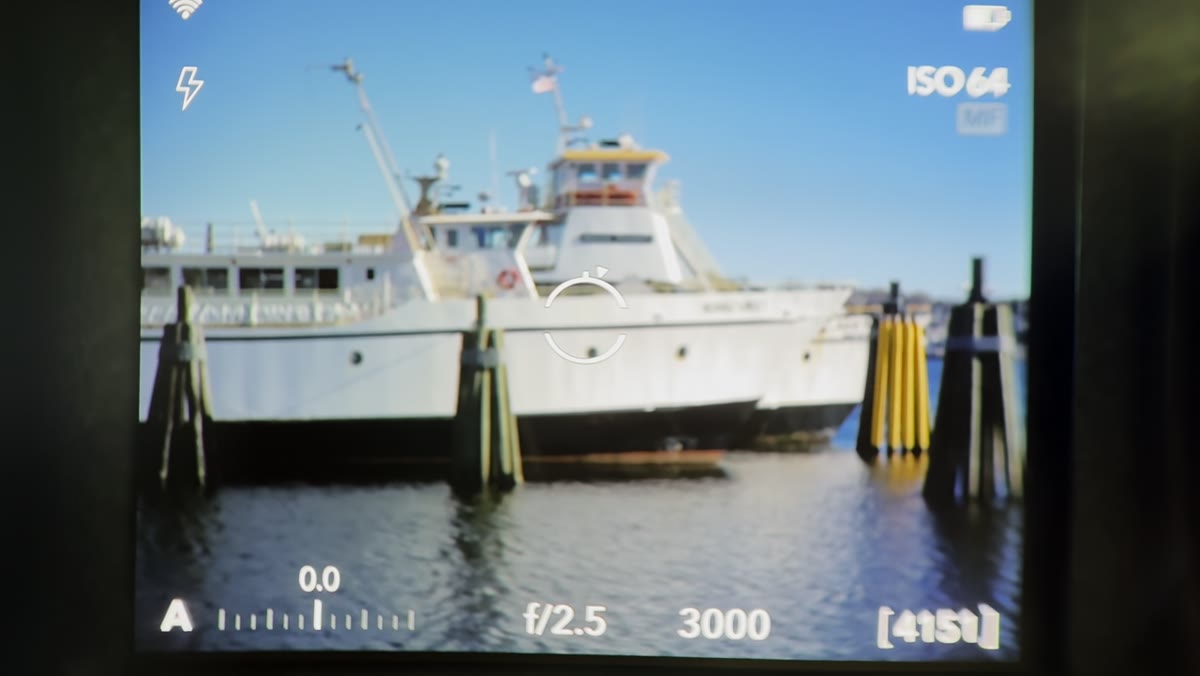
 Tony zooming into a boat photo showing extreme detail in the X2D file
Tony demonstrates the sensor resolution by zooming into landscape and sign details that would fall apart in any 24 or 45-megapixel file. The 100-megapixel sensor on the X2D means you can crop aggressively and still deliver a print-ready image. For portrait photographers, this translates directly to flexibility in post - you can reframe, adjust composition after the fact, and deliver multiple crops from a single frame.
Tony zooming into a boat photo showing extreme detail in the X2D file
Tony demonstrates the sensor resolution by zooming into landscape and sign details that would fall apart in any 24 or 45-megapixel file. The 100-megapixel sensor on the X2D means you can crop aggressively and still deliver a print-ready image. For portrait photographers, this translates directly to flexibility in post - you can reframe, adjust composition after the fact, and deliver multiple crops from a single frame.
Paired with the 90V’s sharpness, the system captures detail at a level that has to be seen to be understood. Tony reads text on a distant sign from a single handheld frame. That’s not a party trick. For product photographers, editorial shooters, or anyone delivering to large-format print, that resolving power is the whole job.
Step 5: Learn the Leaf Shutter’s Practical Advantage
 Tony describing leaf shutter capabilities and flash sync at high speeds
The leaf shutter built into the 90V is the single most important technical differentiator in this entire system. Unlike a focal plane shutter, a leaf shutter sits inside the lens itself and syncs with flash at any shutter speed - up to 1/2000s and beyond, depending on the specific setup. For portrait photographers using off-camera flash outdoors, this is enormous.
Tony describing leaf shutter capabilities and flash sync at high speeds
The leaf shutter built into the 90V is the single most important technical differentiator in this entire system. Unlike a focal plane shutter, a leaf shutter sits inside the lens itself and syncs with flash at any shutter speed - up to 1/2000s and beyond, depending on the specific setup. For portrait photographers using off-camera flash outdoors, this is enormous.
With a standard mirrorless or DSLR, you’re limited to sync speeds around 1/200s to 1/250s without triggering high-speed sync mode, which reduces flash power significantly. The leaf shutter eliminates that limitation entirely. You can shoot at f/2.5 in bright sunlight with strobe, getting shallow depth of field and full flash power at the same time. No other camera-and-lens combination on the market does this as cleanly.
Step 6: Use the Electronic Viewfinder as a Composition Tool
 Tony describing the X2D’s large, high-resolution electronic viewfinder
Tony describes the X2D’s viewfinder as better than real life, which sounds like marketing language until he explains why. The EVF is large, high-resolution, and accurate enough that you can evaluate fine focus and expression in the viewfinder itself rather than chimping your LCD after every frame. For portrait work, staying eye-to-viewfinder keeps the shoot feeling like a conversation rather than a technical exercise.
Tony describing the X2D’s large, high-resolution electronic viewfinder
Tony describes the X2D’s viewfinder as better than real life, which sounds like marketing language until he explains why. The EVF is large, high-resolution, and accurate enough that you can evaluate fine focus and expression in the viewfinder itself rather than chimping your LCD after every frame. For portrait work, staying eye-to-viewfinder keeps the shoot feeling like a conversation rather than a technical exercise.
This matters more than most gear reviewers acknowledge. When you’re working with people, the moment you break eye contact to check your screen, you lose momentum. A viewfinder you can actually trust keeps you in the session.
What I’d Add From the Budget Side of the Table
I’m never going to own this system. My spreadsheet of every budget lens I’ve tested doesn’t have a column for anything above $1,000. But watching this tutorial reminded me of something I already knew and sometimes forget: the leaf shutter advantage is real, and it’s been completely unavailable to most photographers for years.
If you’re a working portrait photographer doing outdoor flash work and you’re constantly fighting high-speed sync limitations, this isn’t luxury gear shopping. It’s solving a specific, concrete problem that $500 lenses cannot solve. The $4,300 price tag is steep, but the comparison class isn’t an 85mm f/1.8. It’s an entire lighting workflow.
That’s the frame I’d use to evaluate this kit. Not “is it worth it” in the abstract, but “does my specific work require what this system uniquely does?” If the answer is yes, the price conversation changes completely.
The single most important thing this tutorial teaches is that the leaf shutter isn’t a luxury feature - it’s a technical capability that changes how you can shoot on location with flash. Everything else about the Hasselblad X2D and 90V is impressive, but that’s the part that makes this a portrait-specific tool rather than just an expensive one.
Watch the full tutorial on YouTube to see the side-by-side sharpness comparisons and real-world portrait samples that Tony and Chelsea work through in the second half of the video.
Comments (1)
This is the kind of content that keeps me coming back.
Leave a Comment