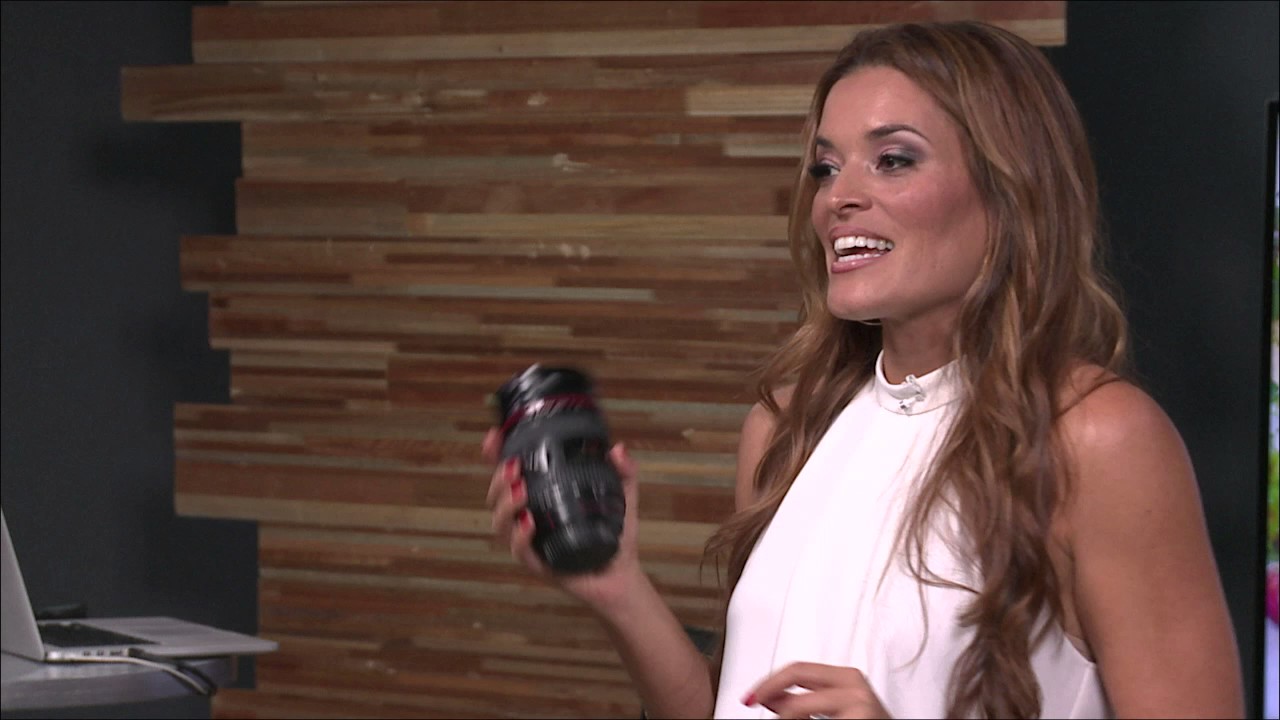
Wedding season has a way of exposing every gap in your kit. I learned that the hard way shooting my first wedding with a nifty fifty and a kit zoom, praying the reception venue had decent lighting. What I wish I’d had back then was a clear, prioritized list from someone who’d already figured out which lenses actually earn their keep on a wedding day versus which ones just look impressive in a gear bag.
That’s exactly what Jasmine Star delivers in this CreativeLive tutorial. She doesn’t talk in vague generalities about “sharpness” or “rendering.” She ranks her lenses by how often she actually reaches for them, explains why each one fits her lifestyle photography approach, and even gives honest advice on which ones you shouldn’t bother buying outright. Watch the full tutorial on YouTube if you want to see her break it down in her own words. But if you want the working summary you can actually use to build or refine your kit, keep reading.
I’ve spent years arguing that gear matters less than most photographers think. I still believe that. But wedding photography is one of the few contexts where specific focal lengths solve specific, non-negotiable problems. Jasmine’s breakdown makes that case better than any spec sheet.
Step 1: Start With the 50mm 1.2 as Your Anchor Lens
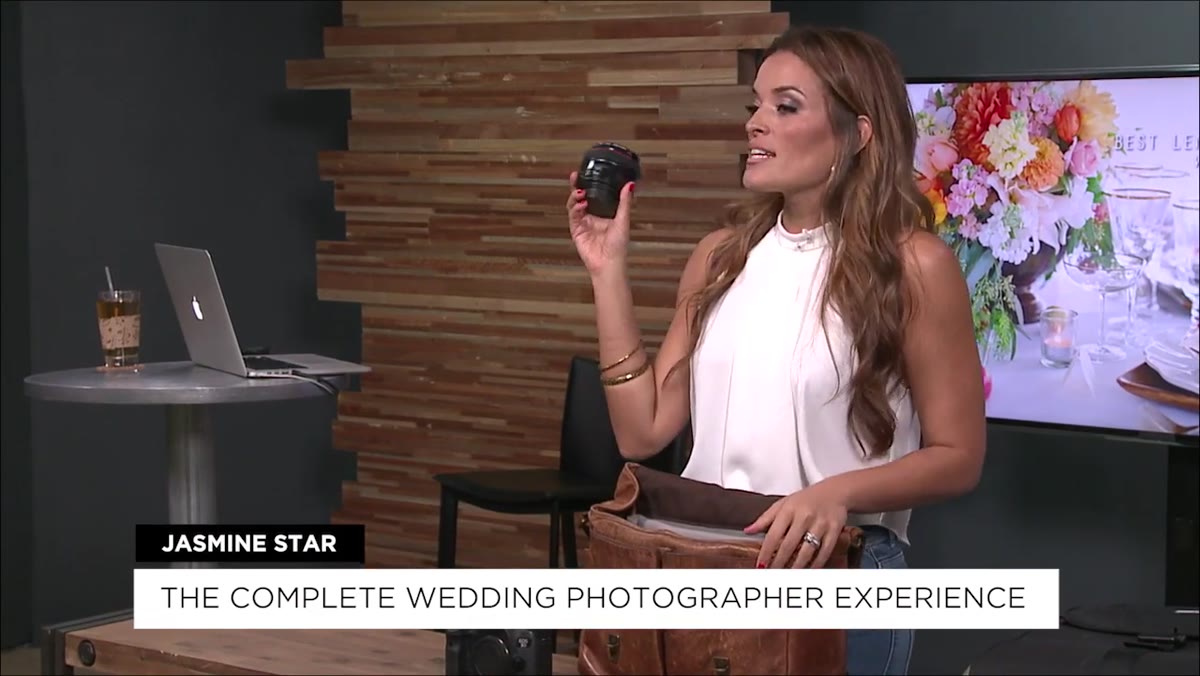 Jasmine Star holding the Canon 50mm 1.2 lens
Jasmine calls the Canon 50mm f/1.2 her most-used, most-versatile lens, and her reasoning is practical rather than sentimental. A 1.2 aperture means you can shoot in genuinely dark environments, like a dimly lit bridal suite during prep, without reaching for flash. She shoots situations like that at ISO 800 wide open and comes away with images that still match her stylistic vision.
Jasmine Star holding the Canon 50mm 1.2 lens
Jasmine calls the Canon 50mm f/1.2 her most-used, most-versatile lens, and her reasoning is practical rather than sentimental. A 1.2 aperture means you can shoot in genuinely dark environments, like a dimly lit bridal suite during prep, without reaching for flash. She shoots situations like that at ISO 800 wide open and comes away with images that still match her stylistic vision.
The 50mm focal length itself earns its place because it works across the entire wedding day. Portraits, candids, detail shots, room ambiance, all of it is manageable from a single focal length. If you’re building a kit from scratch and you can only justify one fast prime right now, this is the one Jasmine would tell you to start with.
Step 2: Add a 35mm for Environmental Portraits and Natural Framing
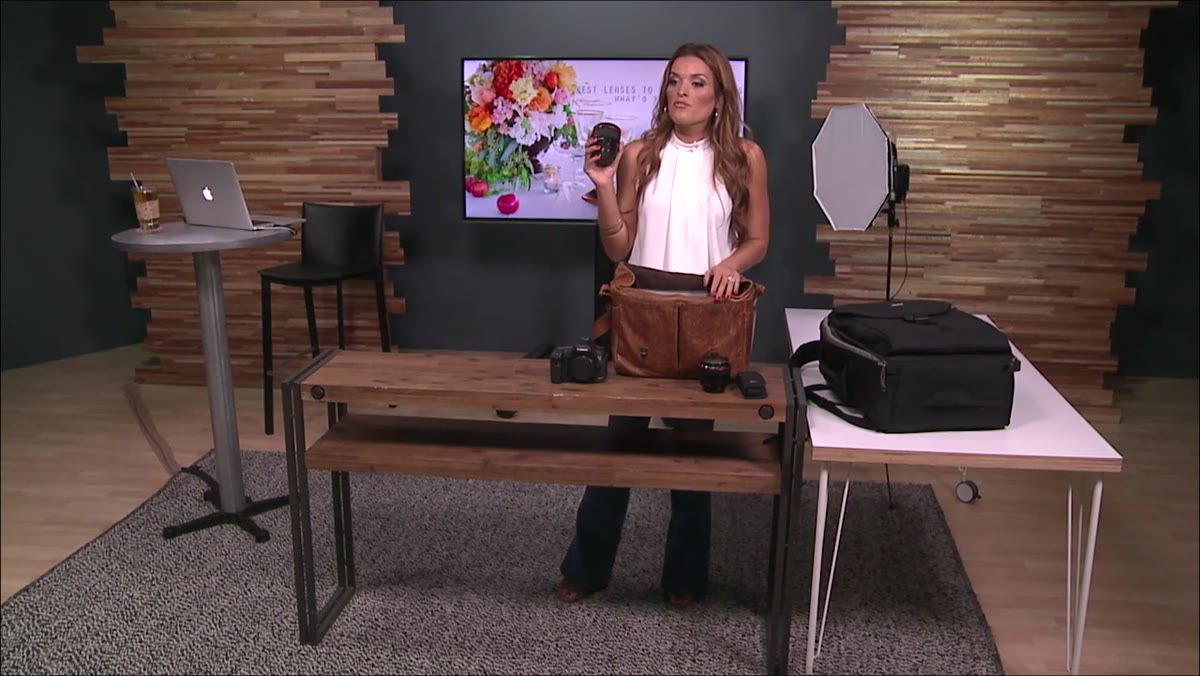 Jasmine discussing the Canon 35mm 1.4 focal length choice
Jasmine’s second most-used lens is the Canon 35mm f/1.4, and her explanation for why she chose it over wider options is worth sitting with. She owns a 24mm and a 16-35mm zoom, and she found both of them pulled too much environment into the frame for her style. As a lifestyle photographer, she’s curating intimacy, not geography. The 35mm gives her enough context without overwhelming the subject with surroundings.
Jasmine discussing the Canon 35mm 1.4 focal length choice
Jasmine’s second most-used lens is the Canon 35mm f/1.4, and her explanation for why she chose it over wider options is worth sitting with. She owns a 24mm and a 16-35mm zoom, and she found both of them pulled too much environment into the frame for her style. As a lifestyle photographer, she’s curating intimacy, not geography. The 35mm gives her enough context without overwhelming the subject with surroundings.
She also makes a practical observation about the 35mm focal length: it closely mirrors the natural field of view of the human eye when you account for peripheral vision. On a full-frame camera, what you see with your eyes is roughly what you get in the frame. That makes it easier to shoot quickly and intuitively, which matters a lot during fast-moving parts of a wedding day.
Step 3: Use the 85mm 1.2 for Portraits With Compression and Bokeh
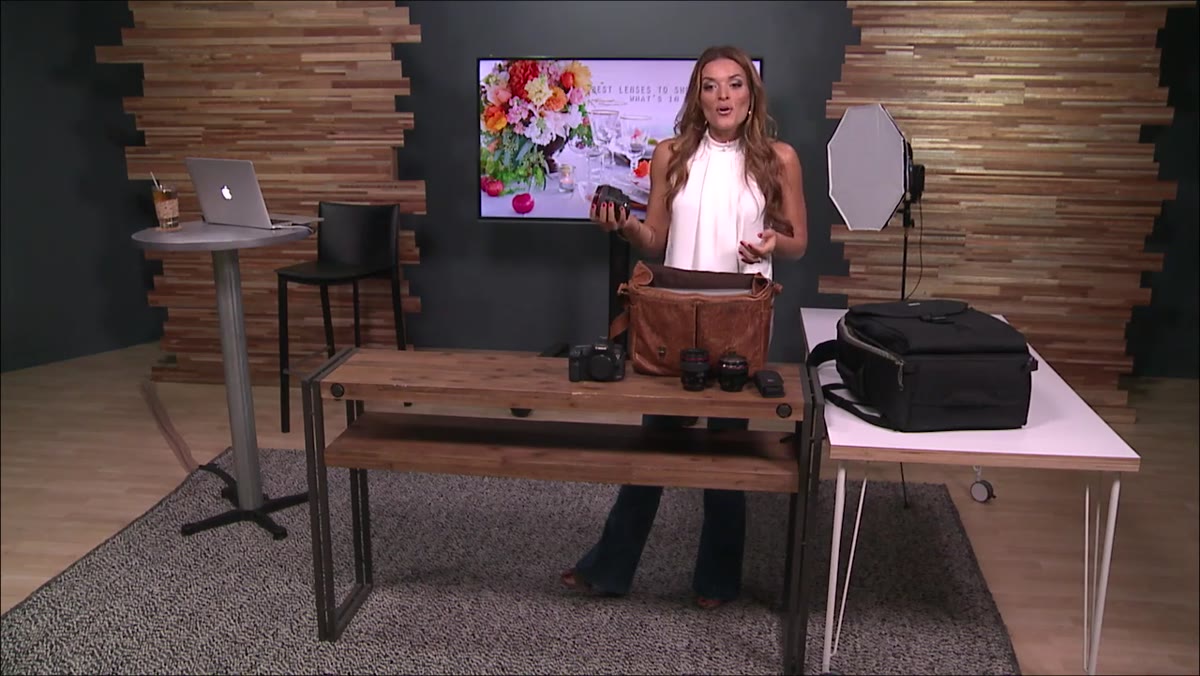 Jasmine describing the Canon 85mm 1.2 portrait results
The 85mm f/1.2 is Jasmine’s third most-used lens, and she’s upfront about its trade-offs. It’s heavy. It focuses slower than the 1.8 version of the same focal length. Some photographers find those trade-offs too frustrating to live with during a high-pressure wedding day.
Jasmine describing the Canon 85mm 1.2 portrait results
The 85mm f/1.2 is Jasmine’s third most-used lens, and she’s upfront about its trade-offs. It’s heavy. It focuses slower than the 1.8 version of the same focal length. Some photographers find those trade-offs too frustrating to live with during a high-pressure wedding day.
But for portraits, especially bridal portraits, she considers the results worth it. The compression at this focal length flatters subjects in a way that wider lenses simply can’t replicate, and the bokeh at f/1.2 is extreme enough to completely separate a subject from a complex background. She describes locking focus on a bride’s eye while tree light flickers behind her. That kind of shot is the 85mm 1.2’s specific superpower, and no other lens in the kit produces it.
Step 4: Rent the 70-200mm f/2.8 Instead of Buying It
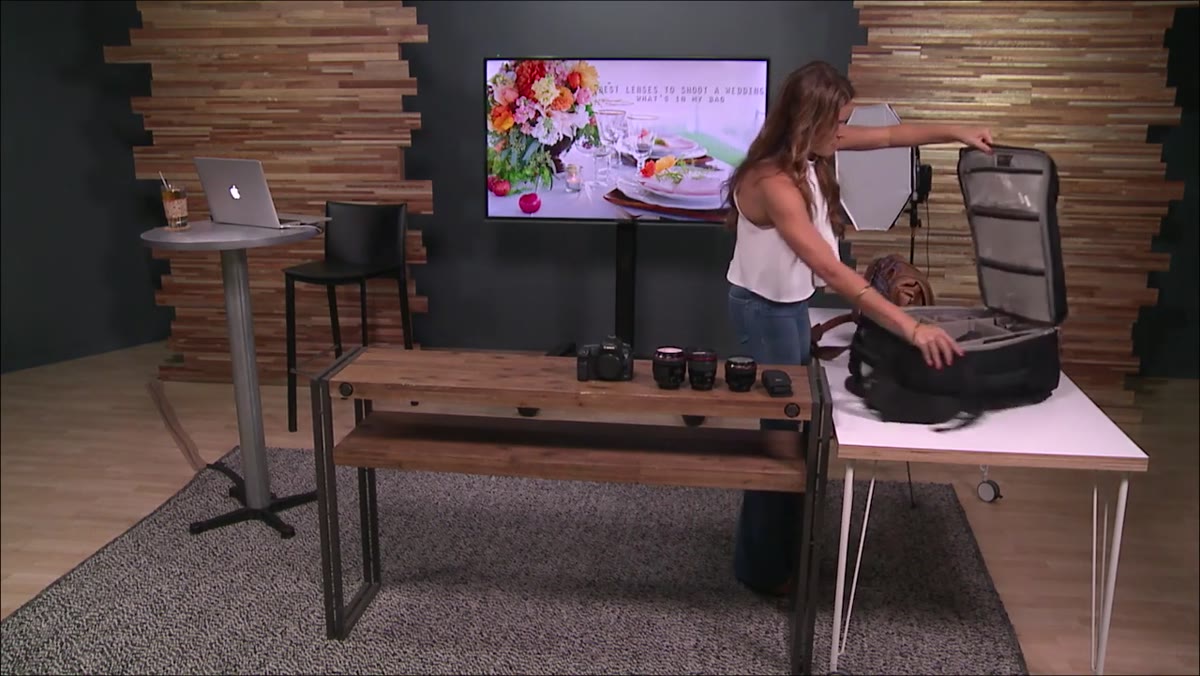 Jasmine holding the 70-200mm f/2.8 zoom lens
This is where Jasmine gives genuinely useful financial advice that most gear tutorials skip. The 70-200mm f/2.8 is, in her words, something every wedding photographer needs, not just wants. In a church ceremony where you’ve been asked to stay in the back, it’s the only lens that gets you close enough to capture the moment at a usable quality level.
Jasmine holding the 70-200mm f/2.8 zoom lens
This is where Jasmine gives genuinely useful financial advice that most gear tutorials skip. The 70-200mm f/2.8 is, in her words, something every wedding photographer needs, not just wants. In a church ceremony where you’ve been asked to stay in the back, it’s the only lens that gets you close enough to capture the moment at a usable quality level.
But she also says she rarely uses it outside of ceremonies. That narrow use case is exactly why she suggests renting it per wedding rather than buying it outright. The image-stabilized version is particularly useful in dark ceremony spaces. If you’re shooting a destination wedding or a particularly long ceremony, the IS version earns its rental fee. This is the kind of cost-per-use thinking that most photographers learn late. Jasmine is handing it to you early.
Step 5: Keep a 100mm Macro for Detail Shots - But Keep It Simple
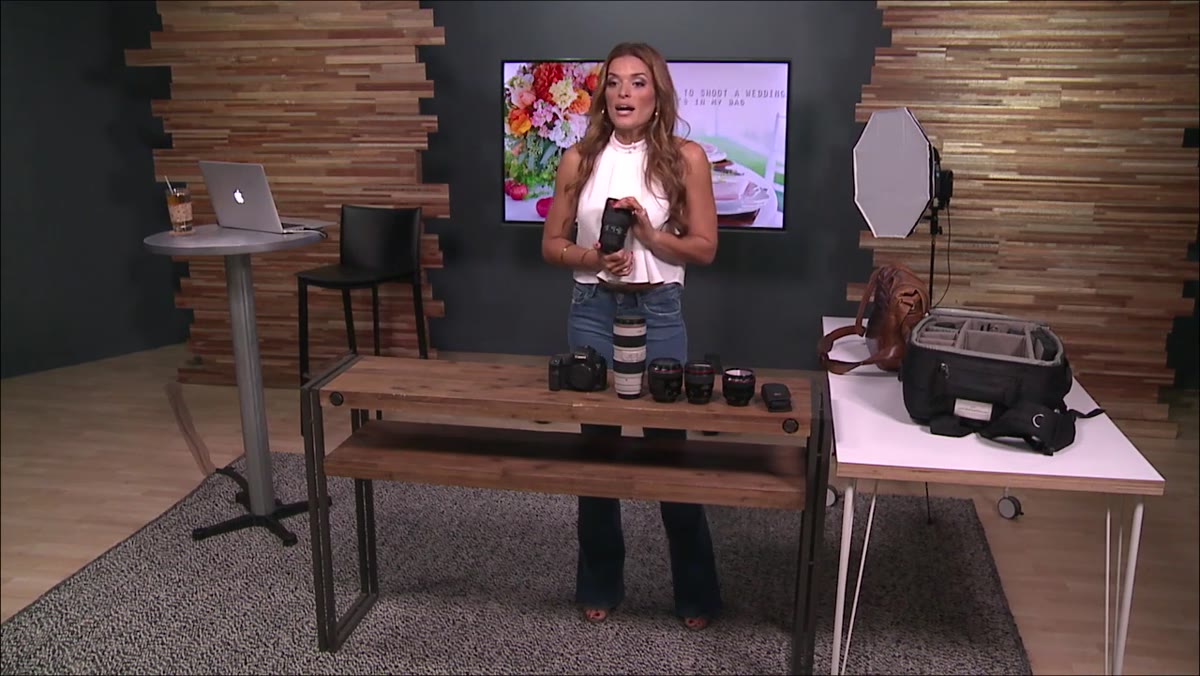 Jasmine showing the 100mm macro lens for ring shots
The 100mm macro is Jasmine’s fifth and least-used lens in her wedding kit, which is itself instructive. She loves it, but she’s honest that it mostly comes out for one specific task: ring shots and jewelry details. If the bride’s dress bodice has intricate beading, the macro captures it. If the reception has elaborate floral details with small elements worth isolating, the macro earns its place there too.
Jasmine showing the 100mm macro lens for ring shots
The 100mm macro is Jasmine’s fifth and least-used lens in her wedding kit, which is itself instructive. She loves it, but she’s honest that it mostly comes out for one specific task: ring shots and jewelry details. If the bride’s dress bodice has intricate beading, the macro captures it. If the reception has elaborate floral details with small elements worth isolating, the macro earns its place there too.
The lesson here is that you don’t need to use every lens throughout the entire day to justify owning it. The macro does one thing extremely well. If detail shots matter to your style and your clients, it belongs in the bag. If you’re shooting a style that doesn’t lean on that kind of image, it’s another candidate for renting rather than buying.
What I’d Add From the Budget Side of the Gear World
Jasmine shoots Canon L-series glass, and she’s built a business around that kit. The optical quality is real and I’m not going to pretend otherwise. But several of the focal lengths she recommends have third-party alternatives worth knowing about, especially if you’re in the early stages of building your wedding kit.
The 35mm f/1.4 from Sigma’s Art line performs in the same neighborhood as the Canon L version at a significantly lower price point. I’ve run it through enough comparisons on my own spreadsheet to say that with confidence. The 85mm conversation is similar: the f/1.8 version that Jasmine herself mentions as a legitimate alternative focuses faster and costs a fraction of the f/1.2. For photographers still developing their style, starting with the f/1.8 and renting the f/1.2 for key jobs is a completely sound strategy.
The principle Jasmine is teaching, that your lens choice should match your shooting style rather than your aspiration level, applies whether you’re spending $300 or $3,000.
The single most useful thing Jasmine does in this tutorial is rank her lenses by actual usage rather than by prestige or price. That reframe is more valuable than any individual recommendation, because it forces you to think about what you’re actually going to reach for under pressure. Build around that question, and the rest of the kit decisions get cleaner.
Watch the full tutorial on YouTube to hear Jasmine walk through her reasoning in full, including her comparison between the 85mm f/1.8 and f/1.2 that she sets up but the transcript only partially captures.
Comments
Leave a Comment