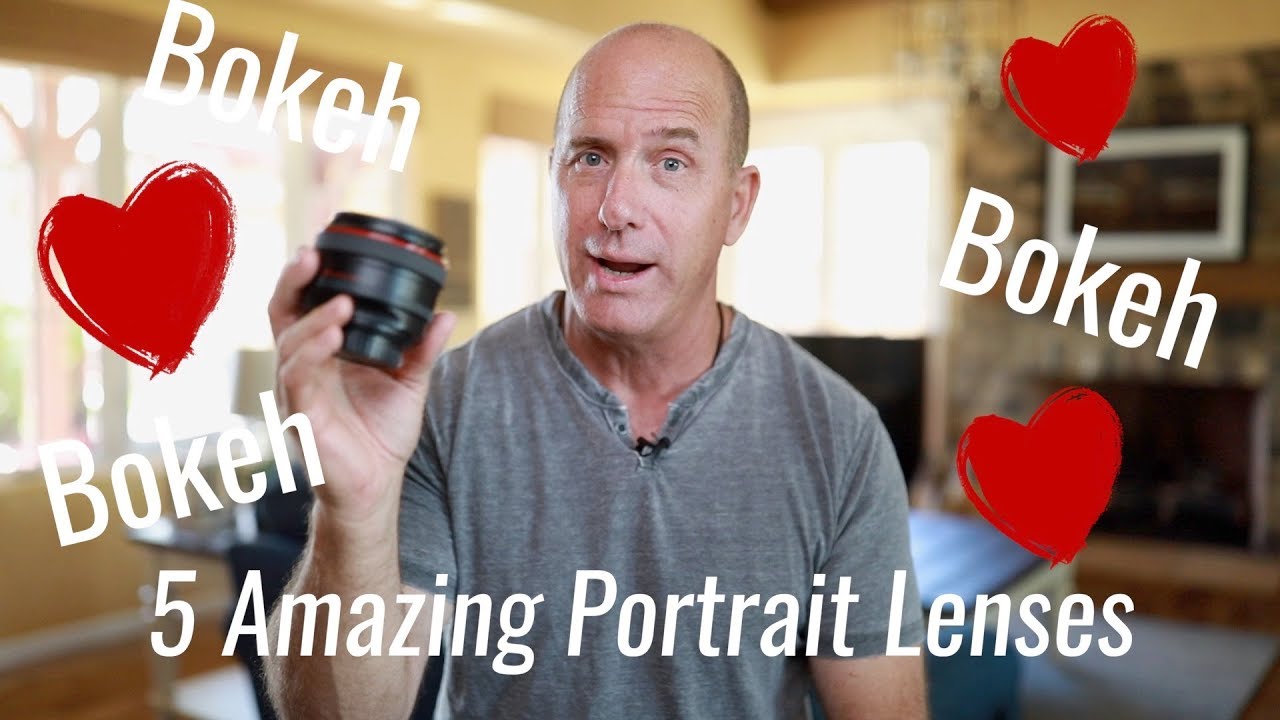
I’ve spent more hours than I care to admit arguing with myself over which lens to mount before a portrait session. The usual internet advice sends you straight toward an 85mm prime and a four-figure price tag, as if that’s the only path to a sharp, beautiful portrait. What actually moved the needle for me was watching working photographers talk through what’s actually sitting in their bags, not what’s on their wish list. In this Joel Grimes tutorial, the commercial photographer and educator walks through five lenses he actively reaches for on portrait and ad campaign work. Watch the full tutorial on YouTube before or after reading this breakdown.
What makes Grimes’ list worth your time is that it isn’t a sponsored roundup. He’s a working commercial shooter who does high-end athlete and editorial work, and his choices reflect real shooting conditions: outdoor light, full-sun challenges, environmental contexts. A couple of his picks are predictable. One is genuinely surprising. All five are worth understanding, because the logic behind each lens teaches you something about how focal length and aperture actually interact with a subject.
Step 1: Start Long for Maximum Background Separation
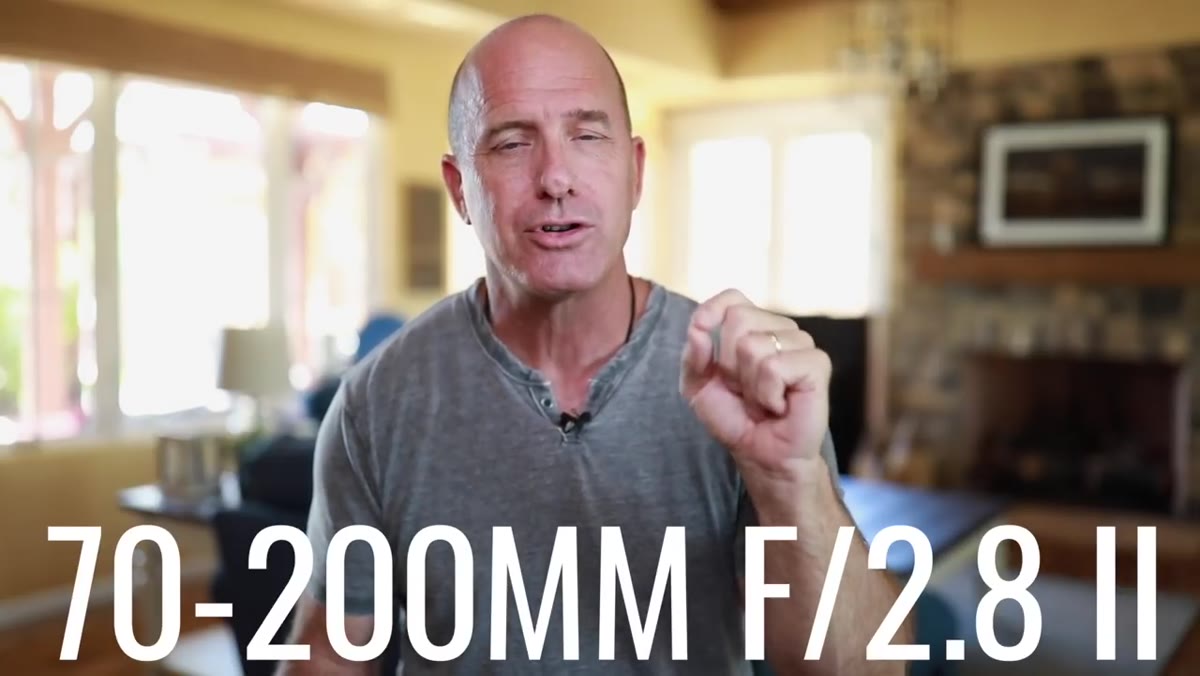 Joel holding the Canon 70-200 2.8 lens
Grimes opens with the Canon 70-200mm f/2.8 (Version II), but the key detail is how he uses it: parked at 200mm, wide open at f/2.8. At that focal length and aperture combination, background elements compress and blur into smooth, creamy separation even when you’re not working in a studio. He pairs this with either high-speed sync flash or an ND filter outdoors, which lets him keep f/2.8 in bright sunlight without blowing the exposure. If you’re shooting portraits outside and the background is messy, this is the technical move that cleans it up without needing to find a different location.
Joel holding the Canon 70-200 2.8 lens
Grimes opens with the Canon 70-200mm f/2.8 (Version II), but the key detail is how he uses it: parked at 200mm, wide open at f/2.8. At that focal length and aperture combination, background elements compress and blur into smooth, creamy separation even when you’re not working in a studio. He pairs this with either high-speed sync flash or an ND filter outdoors, which lets him keep f/2.8 in bright sunlight without blowing the exposure. If you’re shooting portraits outside and the background is messy, this is the technical move that cleans it up without needing to find a different location.
The practical setup here: dial in your subject exposure using your flash power or ND density, lock aperture at f/2.8, then let the focal length do the compression work. This lens is expensive new, but the Version I copies float around used markets regularly and still deliver strong results at 200mm.
Step 2: Use an 85mm Prime When Sharpness Wide Open Is Non-Negotiable
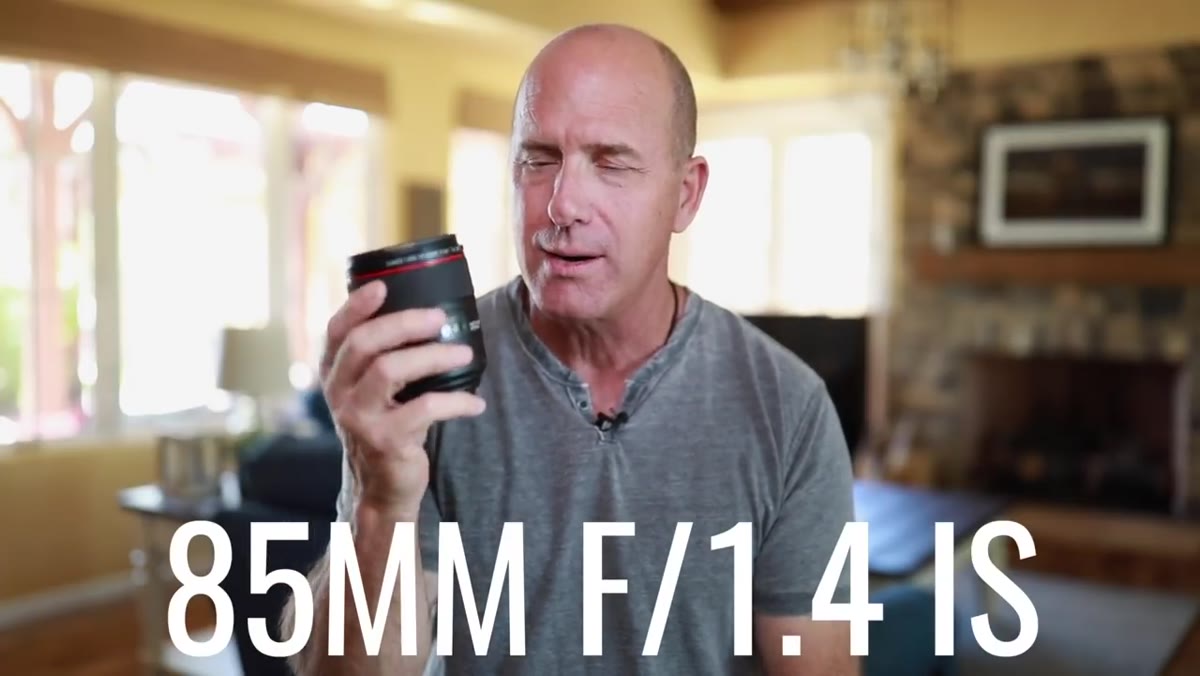 Joel holding the Canon 85mm f/1.4 IS lens
The 85mm f/1.4 IS is Grimes’ second pick, and his specific praise is that it’s tack sharp wide open. That matters more than people realize. A lot of fast primes are soft at their widest aperture and only sharpen up when you stop down a stop or two. If you’re buying a 1.4 but shooting at 2.0 to get usable sharpness, you’ve paid for capability you’re not using. Grimes says this Canon version delivers the resolution he needs at 1.4, which means he can shoot it wide open and trust the result.
Joel holding the Canon 85mm f/1.4 IS lens
The 85mm f/1.4 IS is Grimes’ second pick, and his specific praise is that it’s tack sharp wide open. That matters more than people realize. A lot of fast primes are soft at their widest aperture and only sharpen up when you stop down a stop or two. If you’re buying a 1.4 but shooting at 2.0 to get usable sharpness, you’ve paid for capability you’re not using. Grimes says this Canon version delivers the resolution he needs at 1.4, which means he can shoot it wide open and trust the result.
The trade-off he acknowledges is that it’s a fixed focal length, so you’re physically moving to reframe. For controlled sessions, a studio, or a predictable outdoor spot, that’s a non-issue. For run-and-gun work where your subject is moving unpredictably, it demands more footwork. Worth it if sharp, wide-open portraits are your primary goal.
Step 3: Don’t Sleep on the 50mm f/1.8 as a Portrait Lens
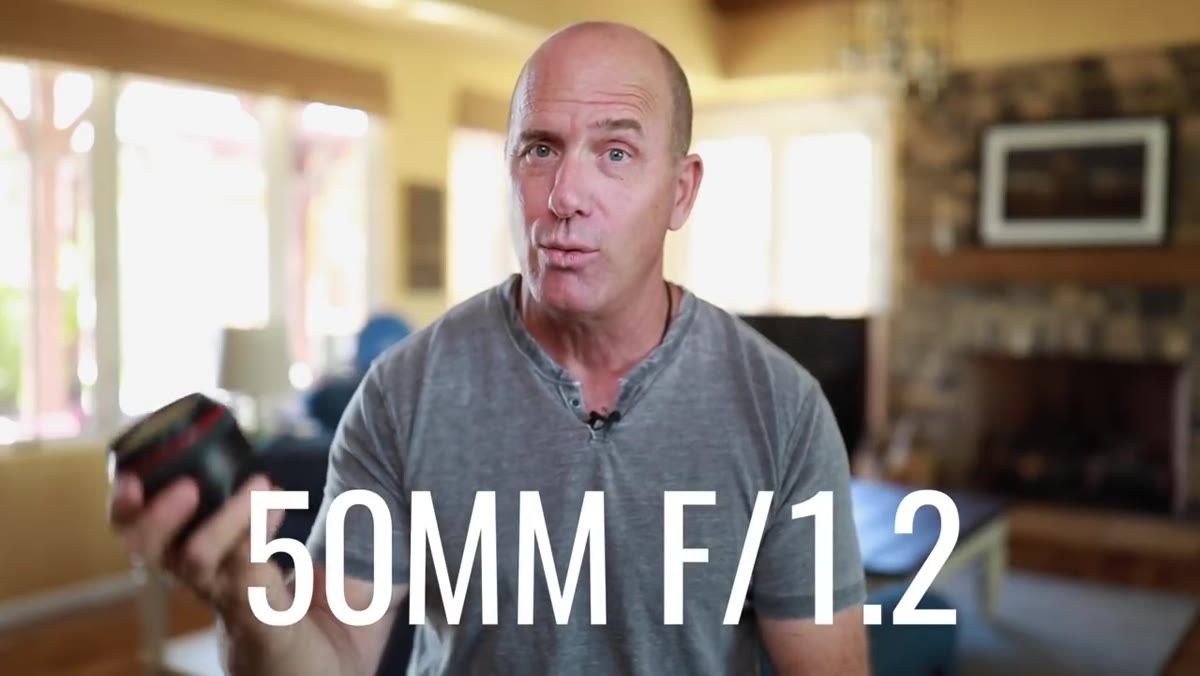 Joel holding the Canon 50mm f/1.8 lens
Here’s where Grimes earns my respect, and this is the pick I want to spend extra time on. He skips right past the 50mm f/1.2 (which he owns) and holds up the 50mm f/1.8, which runs around $100 to $125. His argument is straightforward: at close portrait distances, f/1.8 on a 50mm still produces a genuinely soft, attractive background blur. It’s not the same as f/1.2, but the difference in real portraits is smaller than the difference in price.
Joel holding the Canon 50mm f/1.8 lens
Here’s where Grimes earns my respect, and this is the pick I want to spend extra time on. He skips right past the 50mm f/1.2 (which he owns) and holds up the 50mm f/1.8, which runs around $100 to $125. His argument is straightforward: at close portrait distances, f/1.8 on a 50mm still produces a genuinely soft, attractive background blur. It’s not the same as f/1.2, but the difference in real portraits is smaller than the difference in price.
I’ve run this comparison myself, and Grimes is right. For close-cropped head-and-shoulders work, the background separation at 1.8 on a 50mm is more than enough to look intentional and polished. If you’re building a kit on a budget, the 50mm f/1.8 belongs in the bag before a lot of pricier options. Don’t let the low price make you second-guess it on a shoot.
Step 4: Rethink Wide Angles for Environmental Portraits
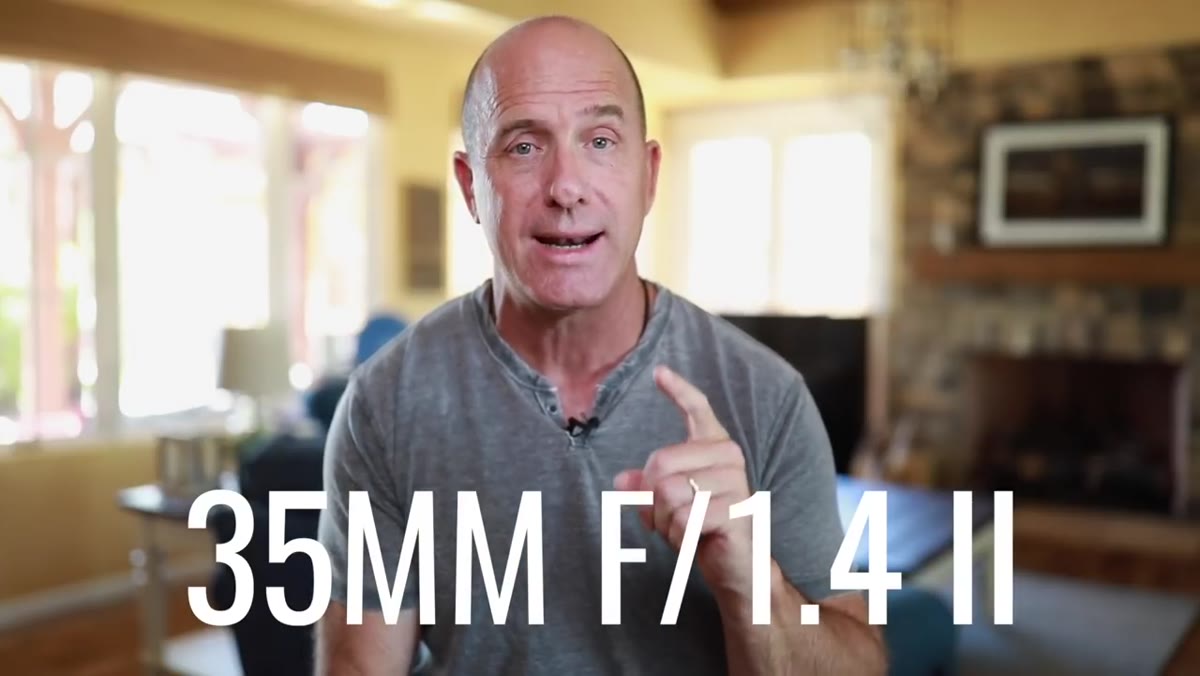 Joel discussing the Canon 35mm f/1.4 Version II
The 35mm f/1.4 is Grimes’ environmental portrait lens, and it’s actually what he’s shooting the tutorial video on, so you can see the background rendering behind him as a live example. At f/1.4, a 35mm gives you a slightly wide perspective that includes more of the scene while still producing soft backgrounds. This is the lens for portraits where location is part of the story, an athlete in a gym, a musician in a venue, a professional in their workspace.
Joel discussing the Canon 35mm f/1.4 Version II
The 35mm f/1.4 is Grimes’ environmental portrait lens, and it’s actually what he’s shooting the tutorial video on, so you can see the background rendering behind him as a live example. At f/1.4, a 35mm gives you a slightly wide perspective that includes more of the scene while still producing soft backgrounds. This is the lens for portraits where location is part of the story, an athlete in a gym, a musician in a venue, a professional in their workspace.
The high-speed sync or ND filter technique from Step 1 applies directly here too. Outdoors in full sun, f/1.4 would normally be impossible without overexposing, but with an ND filter dialed in or a flash running at high-speed sync, you can hold that aperture in bright daylight. That combination of wide framing plus soft background is harder to achieve at smaller apertures, so the fast glass matters here.
Step 5: Consider a Tilt-Shift Lens for Edge-to-Edge Sharpness on Wide Portraits
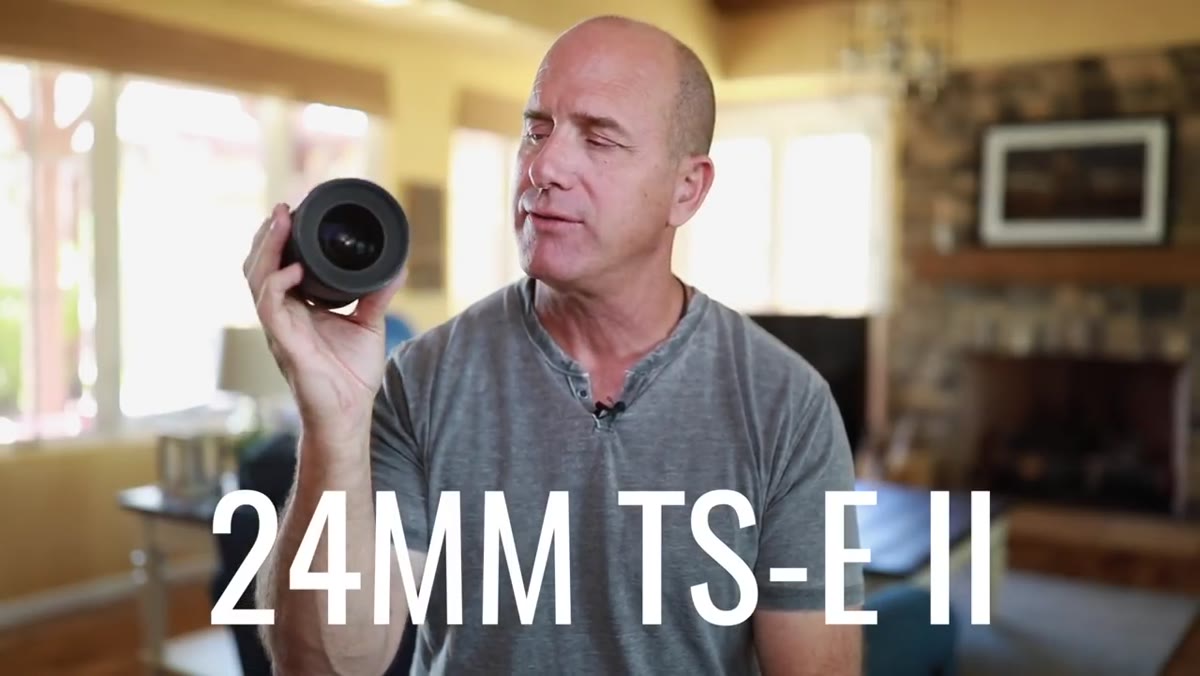 Joel holding the Canon 24mm tilt-shift lens
This is the one that catches most people off guard. Grimes keeps a Canon 24mm tilt-shift in rotation for his sports and athlete portrait work, and his reason is purely optical. Tilt-shift lenses are designed with an image circle much larger than the sensor they’re covering. When you use the lens without any tilt or shift applied, your sensor sits dead center of that circle, where the optics are at their absolute best. The result is corner-to-corner sharpness that standard lenses at this focal length can’t match.
Joel holding the Canon 24mm tilt-shift lens
This is the one that catches most people off guard. Grimes keeps a Canon 24mm tilt-shift in rotation for his sports and athlete portrait work, and his reason is purely optical. Tilt-shift lenses are designed with an image circle much larger than the sensor they’re covering. When you use the lens without any tilt or shift applied, your sensor sits dead center of that circle, where the optics are at their absolute best. The result is corner-to-corner sharpness that standard lenses at this focal length can’t match.
For full-length athlete portraits where a subject’s head is near the top of the frame, that corner performance matters. A standard wide-angle at 24mm can show softness or distortion toward the edges. The tilt-shift eliminates that problem by nature of its design. He’s not using the tilt-shift movements here, just the optical quality at center. It’s an unconventional portrait tool that solves a real technical problem.
What I’d Add: Test Before You Commit to a Focal Length
I keep a running log of every lens I’ve tested against a specific use case, and the single clearest pattern is that most people pick a portrait focal length based on what they read online rather than what they’ve actually shot with. Before spending on an 85mm or a 35mm, rent both for a weekend. Shoot actual portraits in your actual conditions, then compare the results at actual output size.
The 50mm f/1.8 recommendation from Grimes is a perfect example of why this matters. On paper it sounds like a compromise. In practice, across dozens of real portrait sessions, it holds up better than its price suggests. The logic Grimes uses throughout this list, understanding what each focal length and aperture combination physically does to a frame, is more valuable than any specific lens name.
The single most important takeaway from this tutorial is that great portrait lenses aren’t defined by price or prestige. They’re defined by how their focal length and maximum aperture interact with your subject distance and background. Once you understand that, a $125 lens can absolutely pull its weight next to a $2,000 one.
Watch the full tutorial on YouTube to see Grimes demonstrate each lens and hear his full reasoning in his own words.
Comments
Leave a Comment