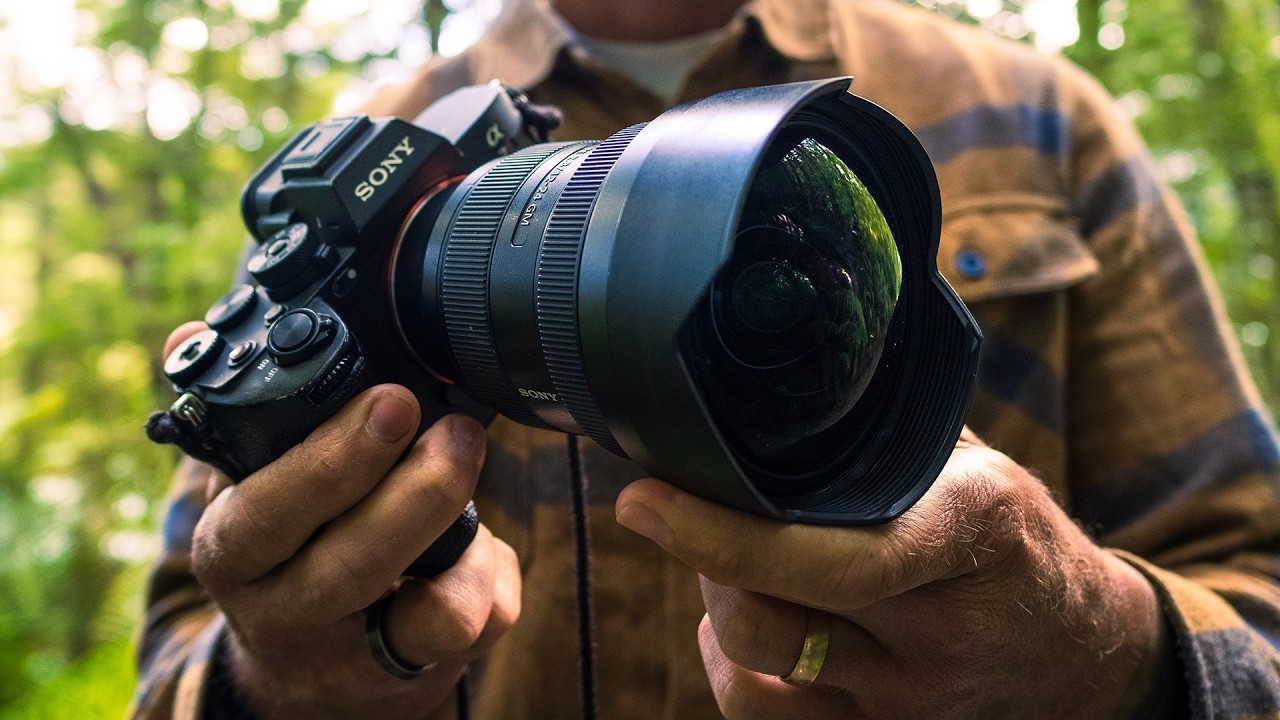
I’ll be upfront: I spend most of my time testing lenses that cost under $400. That’s my lane. But I keep a close eye on what working landscape photographers are actually using in the field, because understanding the top-tier options is the only way to know whether a budget alternative is actually worth your money or whether you’re just kidding yourself. That’s how I landed on this breakdown from William Patino, a landscape photographer who has owned and shot with the Sony 12-24mm f/2.8 GM for four years straight. Not a loaner. Not a sponsored kit. He bought it himself.
Watch the full tutorial on YouTube
What makes his take worth your time is that he doesn’t just list features. He shows you what the lens actually does in real shooting conditions, including the stuff Sony’s marketing team would never put in a product video. If you’re trying to decide whether this lens belongs in your kit, or if you’re evaluating it against cheaper alternatives, this walkthrough will save you hours of forum-digging.
Step 1: Understand Why 12mm Is Actually Different From 16mm
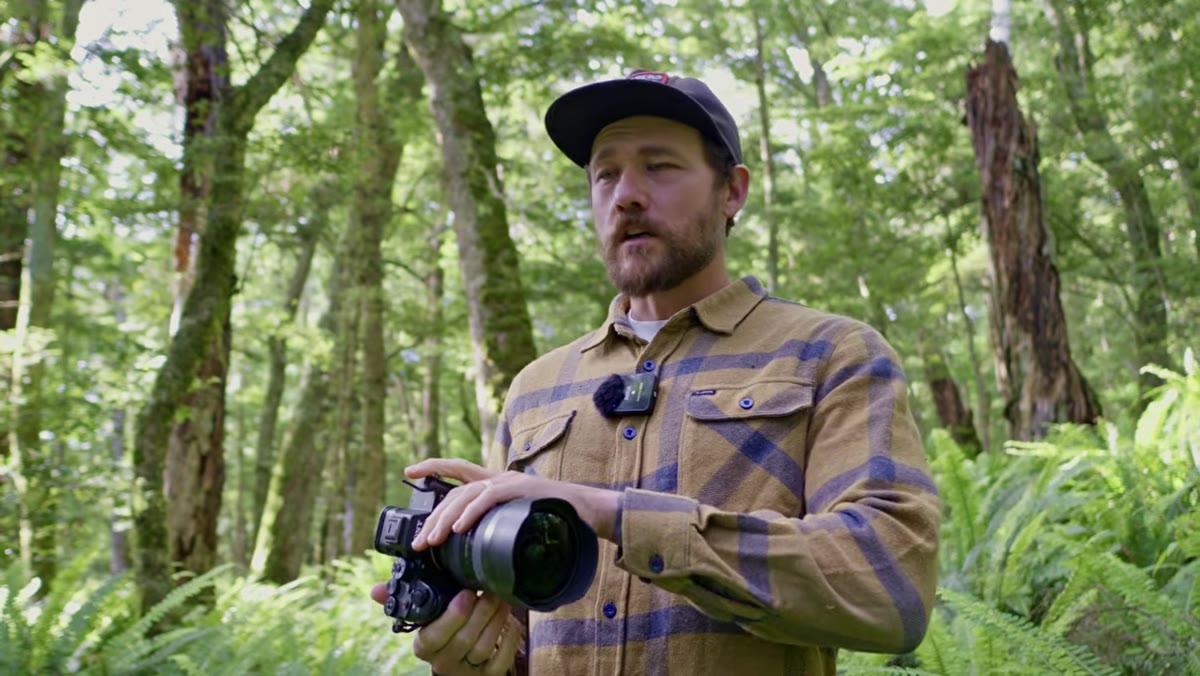 Patino explaining the jump from 16mm to 12mm focal length
A lot of photographers coming from a 16-35mm zoom assume the jump to 12mm is marginal. It isn’t. Patino makes the point clearly: he expected 12mm to feel like overkill, but adapted to it almost immediately. The extra width isn’t just a wider frame. It changes how you build a composition, especially when you’re working with tall, close subjects like canyon walls, sea stacks, or dense forest trees.
Patino explaining the jump from 16mm to 12mm focal length
A lot of photographers coming from a 16-35mm zoom assume the jump to 12mm is marginal. It isn’t. Patino makes the point clearly: he expected 12mm to feel like overkill, but adapted to it almost immediately. The extra width isn’t just a wider frame. It changes how you build a composition, especially when you’re working with tall, close subjects like canyon walls, sea stacks, or dense forest trees.
The practical takeaway is this: if you shoot mountain valleys or any scene where you want to be physically close to a dramatic foreground while still capturing the full height of what’s around you, 12mm earns its place. The caveat is that distant mountains will look small. This focal length rewards proximity. If your subject is far away, you’ll fight the lens the whole time.
Step 2: Know the Filter Situation Before You Commit
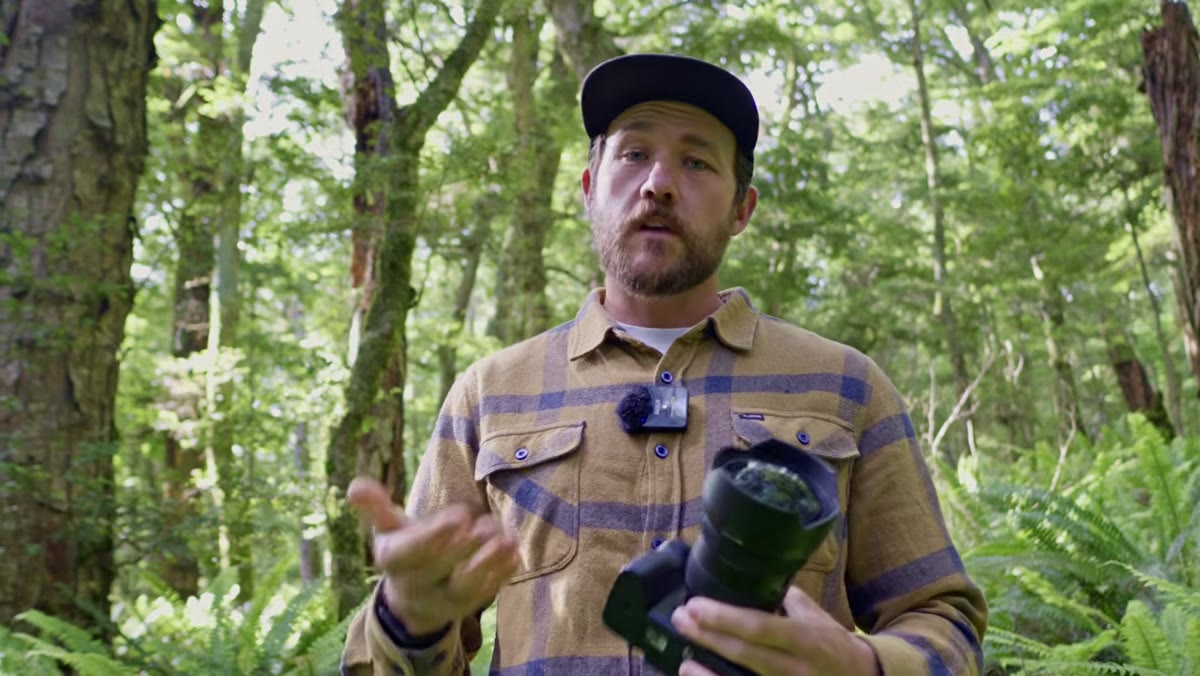 Close-up of the lens showing the built-in hood and bulbous front element
This is the part that trips people up, and Patino addresses it head-on. The front element on this lens is large, curved, and protected by a built-in hood. That design choice means you cannot use standard screw-on filters. No polarizer. No ND filter unless you buy a dedicated drop-in or front-mount filter system sized specifically for this lens.
Close-up of the lens showing the built-in hood and bulbous front element
This is the part that trips people up, and Patino addresses it head-on. The front element on this lens is large, curved, and protected by a built-in hood. That design choice means you cannot use standard screw-on filters. No polarizer. No ND filter unless you buy a dedicated drop-in or front-mount filter system sized specifically for this lens.
Those systems work, but they add bulk, cost, and one more thing to carry. If you’re a landscape shooter who relies heavily on polarizers to cut glare off water or ND filters for long exposures, factor that into your total cost of ownership. A quality filter holder system for a lens this size isn’t cheap. It’s not a dealbreaker, but it’s not mentioned on the product page either.
Step 3: Anticipate the Rain Problem Before It Becomes One
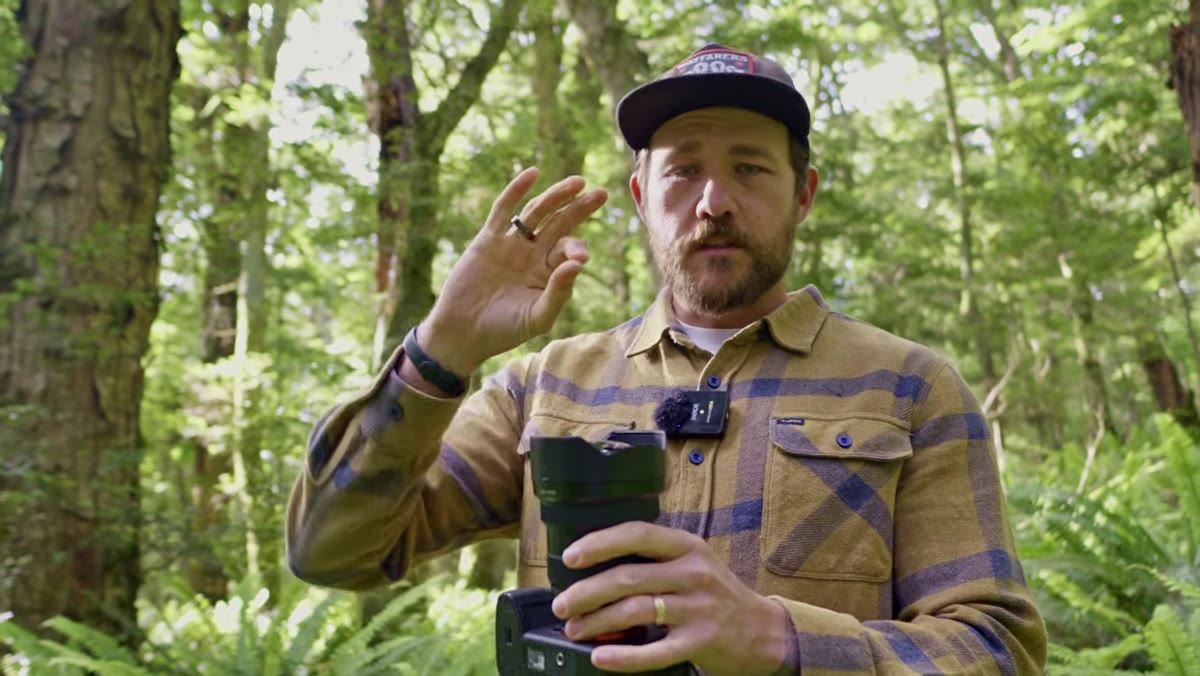 Patino demonstrating the bulbous front element catching moisture
The curved front element that gives this lens its impressive field of view also makes it a magnet for rain. Even small droplets get stretched and exaggerated across that convex surface, which shows up in your images as smearing across the frame. That alone is manageable with a microfiber cloth, except the lens coating creates another problem.
Patino demonstrating the bulbous front element catching moisture
The curved front element that gives this lens its impressive field of view also makes it a magnet for rain. Even small droplets get stretched and exaggerated across that convex surface, which shows up in your images as smearing across the frame. That alone is manageable with a microfiber cloth, except the lens coating creates another problem.
Patino notes that after years of regular cleaning in wet conditions, the coating on his lens appears to have degraded. Once the glass gets wet, wiping it feels like moving moisture around rather than removing it. His actual workaround is to skip this lens entirely on rainy days and reach for a different option. That’s a significant admission from someone who paid full price and uses it constantly. If you shoot in coastal or high-altitude wet environments, plan accordingly.
Step 4: Test Flare Resistance by Shooting Directly Into Backlight
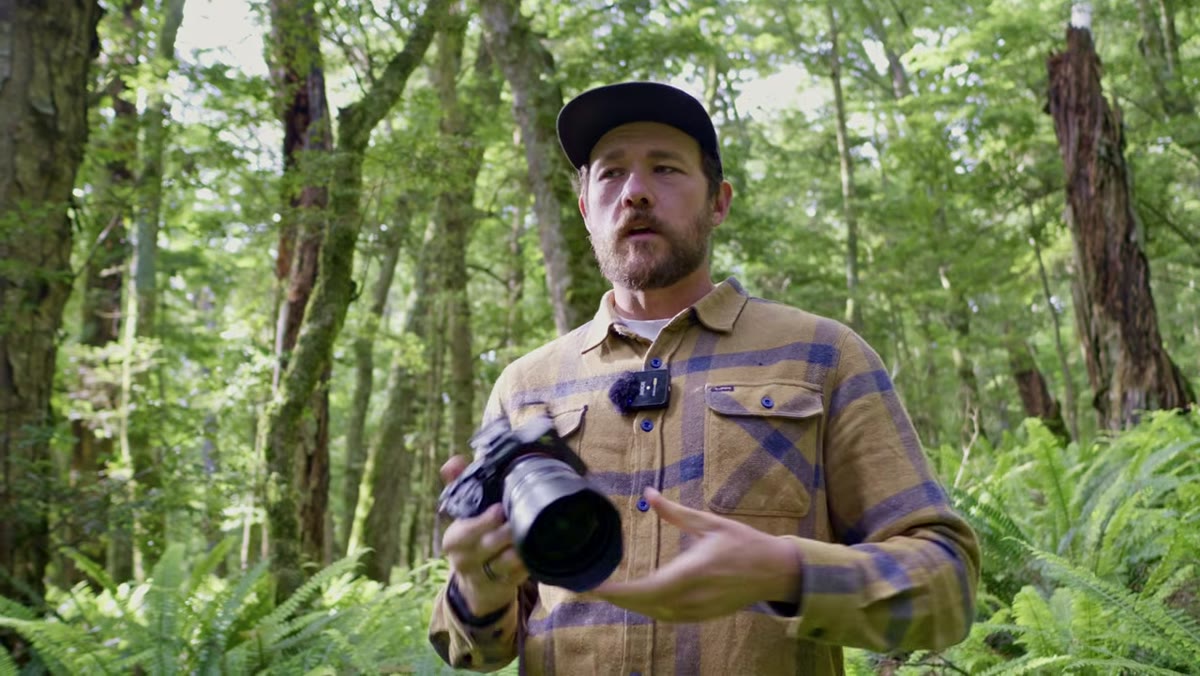 Live demonstration panning the lens toward direct sunlight at f/7
One area where this lens punches above expectations is flare control. Large, curved front elements can produce nasty, distracting flare artifacts when you point them toward the sun. Patino demonstrates this directly in the field, panning the frame toward strong backlight at f/7 and showing almost no visible flare contaminating the image.
Live demonstration panning the lens toward direct sunlight at f/7
One area where this lens punches above expectations is flare control. Large, curved front elements can produce nasty, distracting flare artifacts when you point them toward the sun. Patino demonstrates this directly in the field, panning the frame toward strong backlight at f/7 and showing almost no visible flare contaminating the image.
The practical move here is to close down to f/7 or f/8 when shooting with the sun in or near the frame and check your results before moving on. You’ll get a clean, defined sun star and minimal secondary flare. Stopping down further to around f/13 gives a more pronounced star effect with only minor flare artifacts. For landscape work where sun position is a compositional tool, this matters a lot.
Step 5: Lock In Your Working Aperture for Maximum Sharpness
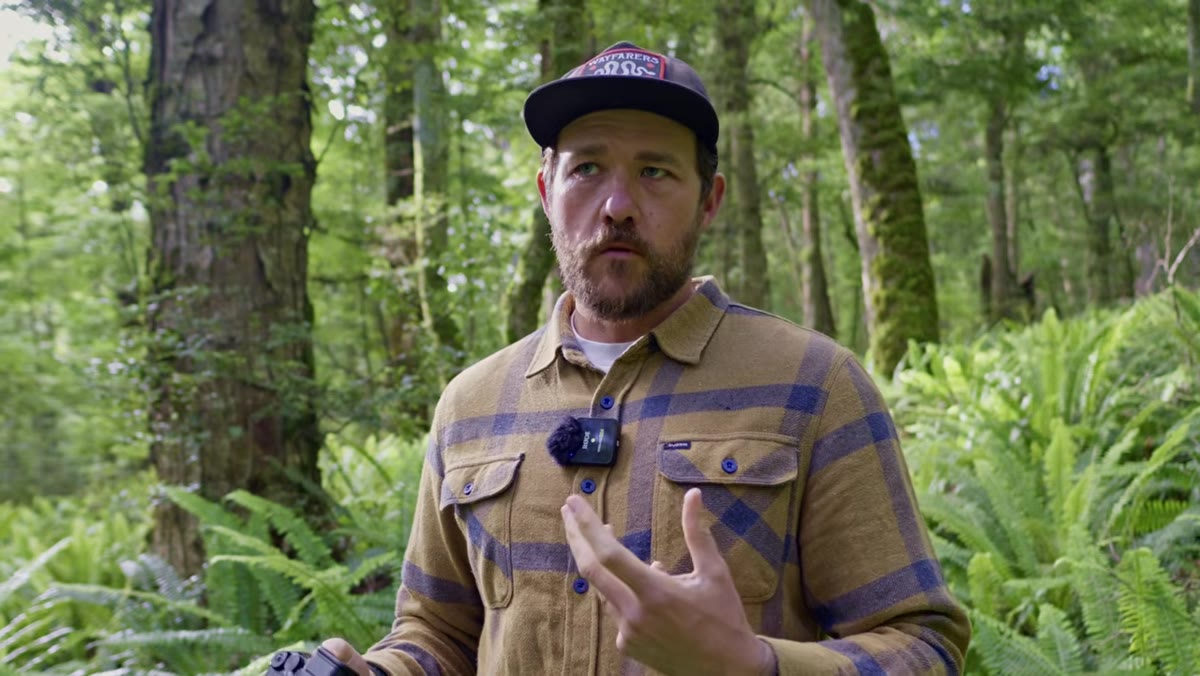 Playback review zoomed into midground ferns shot at f/8
Patino’s sharpness recommendation is specific and useful: shoot between f/5 and f/8 for the best results. He calls out f/8 as his personal default. At that aperture, the lens delivers corner-to-corner sharpness that holds up at full magnification, which he demonstrates by zooming into midground ferns in playback on his camera screen.
Playback review zoomed into midground ferns shot at f/8
Patino’s sharpness recommendation is specific and useful: shoot between f/5 and f/8 for the best results. He calls out f/8 as his personal default. At that aperture, the lens delivers corner-to-corner sharpness that holds up at full magnification, which he demonstrates by zooming into midground ferns in playback on his camera screen.
The broader principle here is important for any wide-angle lens. Wider apertures can soften corners on ultra-wide glass. Stopping down too far introduces diffraction softening. The f/5 to f/8 range is where this lens performs at its cleanest, and since you’re rarely trying to separate subject from background at 12mm anyway, there’s very little reason to shoot wider open in landscape work.
My Take: Budget Alternatives Are Getting Closer, But Not There Yet
I’ve tested several third-party ultra-wide options in the $500 to $900 range for Sony E-mount, and here’s the honest answer: none of them replicate what Patino describes at f/8. The corner sharpness gap is real. The flare control on cheaper glass is noticeably worse. Where budget options do compete is on weight, filter compatibility, and obviously price.
If you’re a hobbyist shooting in dry conditions a few times a month, a Tamron or Sigma ultra-wide might serve you just as well for your actual use case. But if you’re running paid landscape workshops, shooting in variable weather, and need the reliability and sharpness margin in the 12-16mm range, the Sony GM justifies the cost in a way that’s hard to argue with after watching four years of field experience laid out this clearly.
The single most important thing Patino’s breakdown teaches isn’t about this specific lens. It’s that focal length alone doesn’t tell you what you’re buying. The front element design, coating durability, and flare behavior matter just as much in real conditions. Spec sheets don’t tell you that a coating can degrade. Reviewer loaner units don’t reflect four years of field use.
Watch the full tutorial on YouTube to see the live flare tests and field playback review. Seeing the sharpness results at full zoom on his camera screen is the part that’ll settle the question for you faster than any lab chart.
Comments (4)
Clear and practical. No fluff. Appreciate that.
This is exactly what I needed today. Been struggling with this for weeks.
This is fantastic. I've been recommending this approach to my readers too.
Just subscribed. If the rest of your content is this good, I'm in.
Leave a Comment