I’ll be straight with you: I’ve spent more hours than I’d like to admit building spreadsheets comparing prime lenses to zoom lenses for street shooting. The argument always circles back to the same tension. Primes give you a decisive focal length and force discipline. Zooms give you options. For street photography specifically, “options” sounds good on paper until you’re fumbling with a massive lens at 70mm while someone walks past with perfect light. So when Pierre T. Lambert, whose work I respect precisely because he tests gear in real conditions rather than controlled studios, took the Sony 24-70mm f/2.8 GM to the streets of Antigua, Guatemala, I paid close attention.
Watch the full tutorial on YouTube
In this Pierre T. Lambert tutorial, he spends real time walking and shooting through a live, busy city environment rather than cherry-picking results. What comes out of it is a genuinely useful field report on a lens that splits opinion hard. It is not cheap, it is not small, and street photographers are rightfully suspicious of anything that draws attention. Here is what he found, broken down into the decisions and techniques you can actually apply.
Step 1: Assess the Physical Reality Before You Shoot
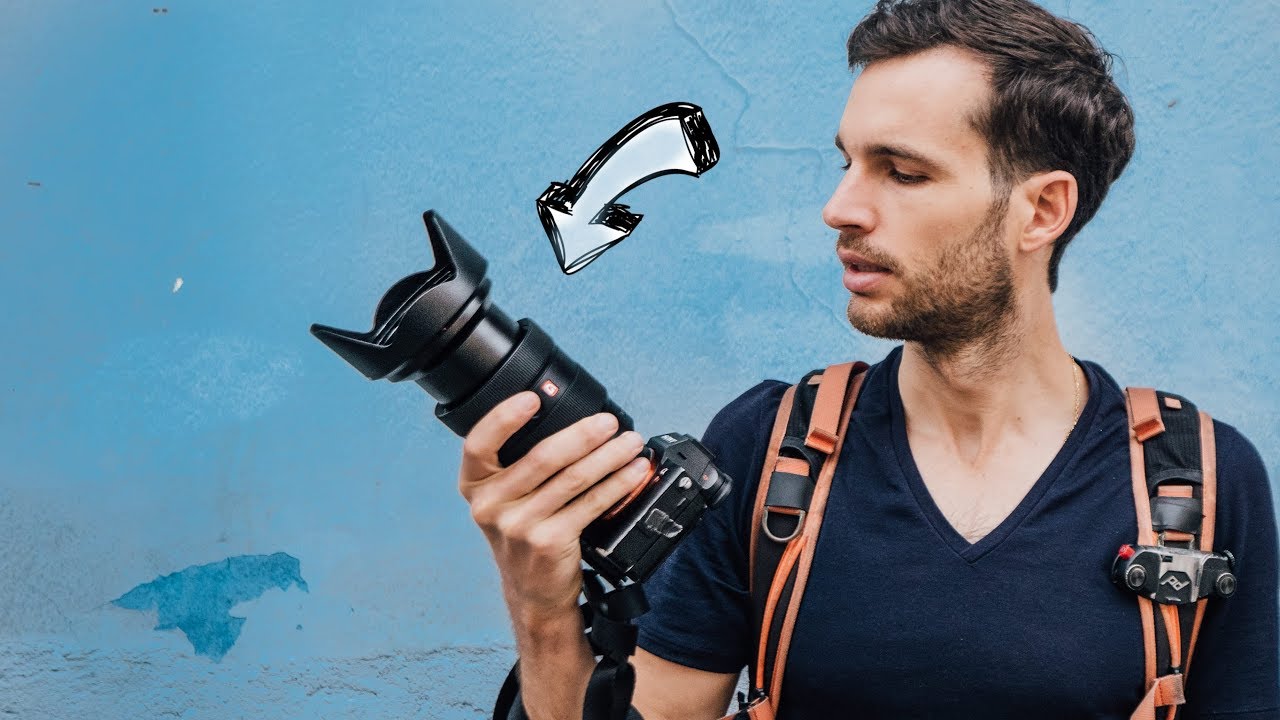
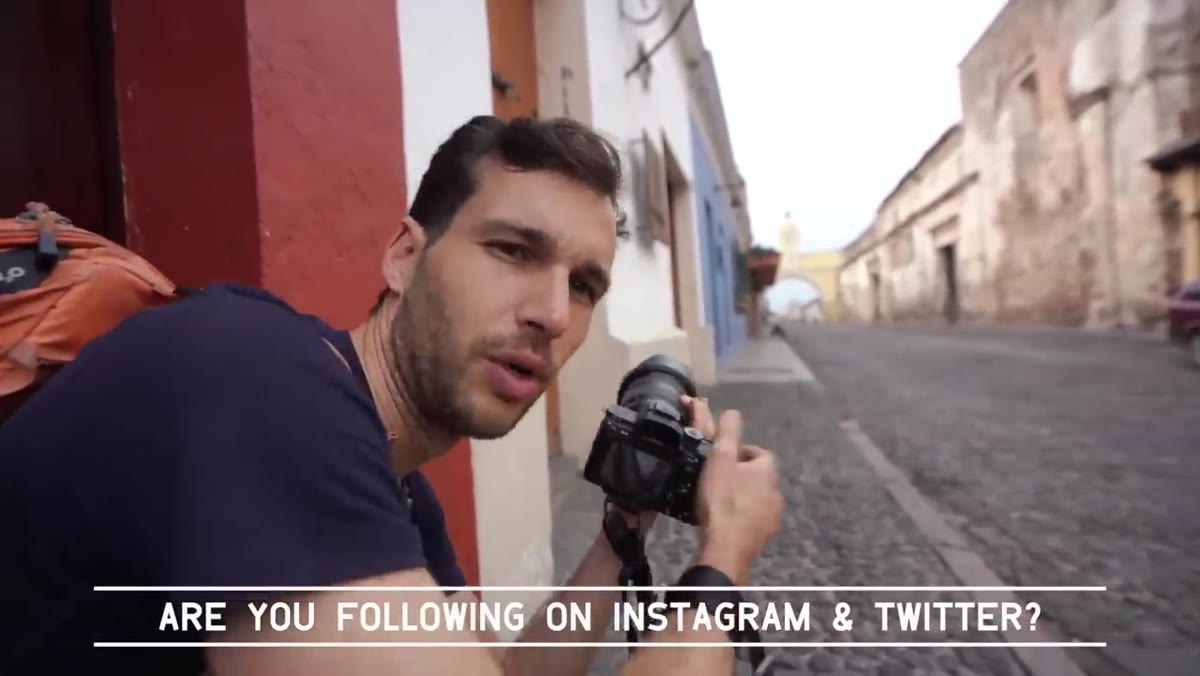
 Pierre holding the lens, comparing size at 24mm and 70mm
Before anything else, Lambert holds the lens up and walks through what it actually feels like to carry and use in a street context. At 24mm, the lens is compact enough to be manageable. Extended to 70mm, it becomes a noticeably large piece of glass that draws eyes. This matters on the street more than almost any other genre of photography. His honest take: it is bigger than he expected, and going unnoticed is harder with it mounted on your camera.
Pierre holding the lens, comparing size at 24mm and 70mm
Before anything else, Lambert holds the lens up and walks through what it actually feels like to carry and use in a street context. At 24mm, the lens is compact enough to be manageable. Extended to 70mm, it becomes a noticeably large piece of glass that draws eyes. This matters on the street more than almost any other genre of photography. His honest take: it is bigger than he expected, and going unnoticed is harder with it mounted on your camera.
The practical step here is to start your street session locked at 24mm using the zoom lock button. The Sony 24-70mm GM includes a zoom lock that holds the barrel at its widest position, which prevents the lens from creeping when the camera hangs at your side. Lambert specifically calls this out as something he missed on the 16-35mm. Locking at 24mm keeps your profile lower and your startup time faster when a moment appears.
Step 2: Use Versatility as a Strategic Tool, Not a Crutch
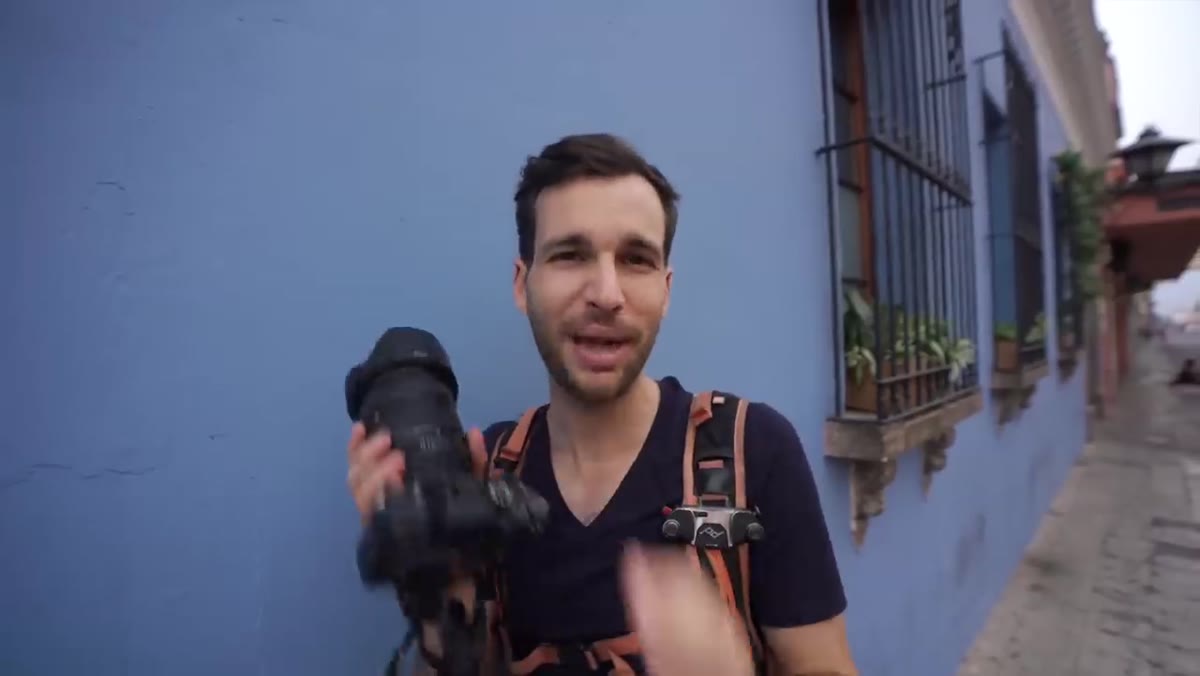
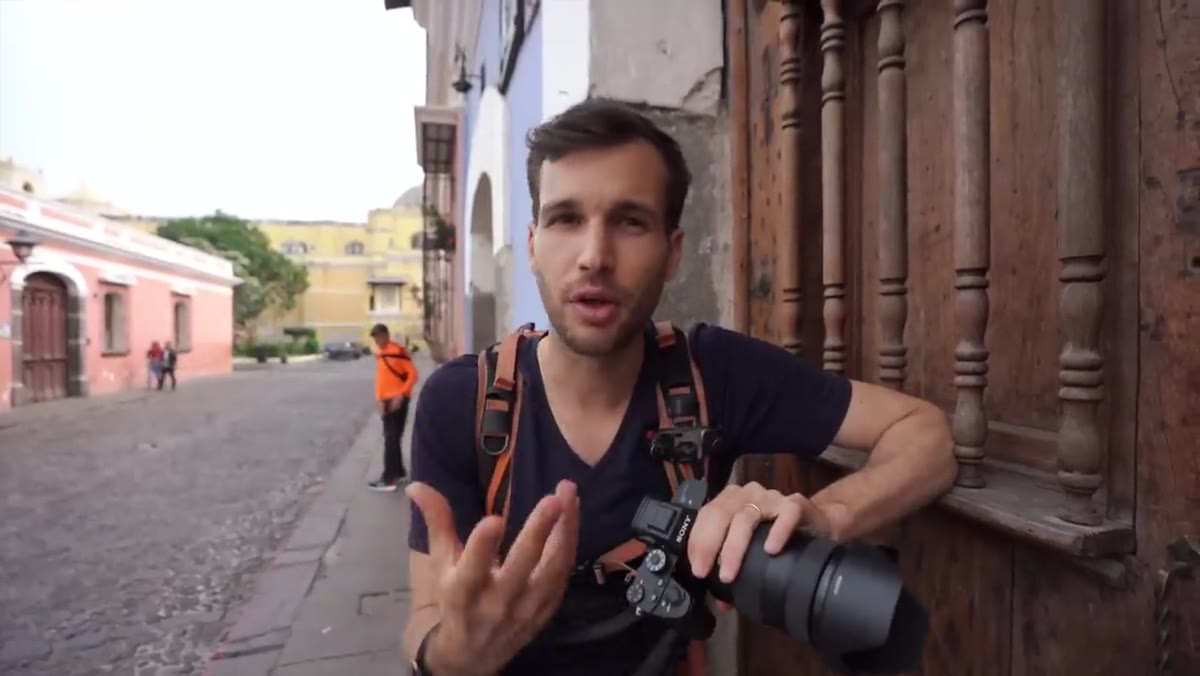
 Lambert shooting in a narrow street, adjusting focal length between frames
The core argument Lambert makes for this lens on the street is versatility, but he frames it in a specific way that is worth understanding. He is not saying “zoom so you can get closer without moving.” He is saying that the 24-70mm range means you are covering 24mm for environmental context, 35mm for the classic street framing that feels natural to the human eye, 50mm for a more intimate compression, and 70mm for isolated subject work. All of that without touching your bag.
Lambert shooting in a narrow street, adjusting focal length between frames
The core argument Lambert makes for this lens on the street is versatility, but he frames it in a specific way that is worth understanding. He is not saying “zoom so you can get closer without moving.” He is saying that the 24-70mm range means you are covering 24mm for environmental context, 35mm for the classic street framing that feels natural to the human eye, 50mm for a more intimate compression, and 70mm for isolated subject work. All of that without touching your bag.
In a city like Antigua where he notes some security concerns about opening his bag repeatedly, this matters operationally. One lens stays on the camera the entire session. You are not creating vulnerability, and you are not breaking your attention away from the scene to swap glass. If you shoot in any urban environment where pulling out a camera bag is a statement, this single-lens approach is genuinely useful.
Step 3: Shoot Portraits and Environmental Shots in the Same Block
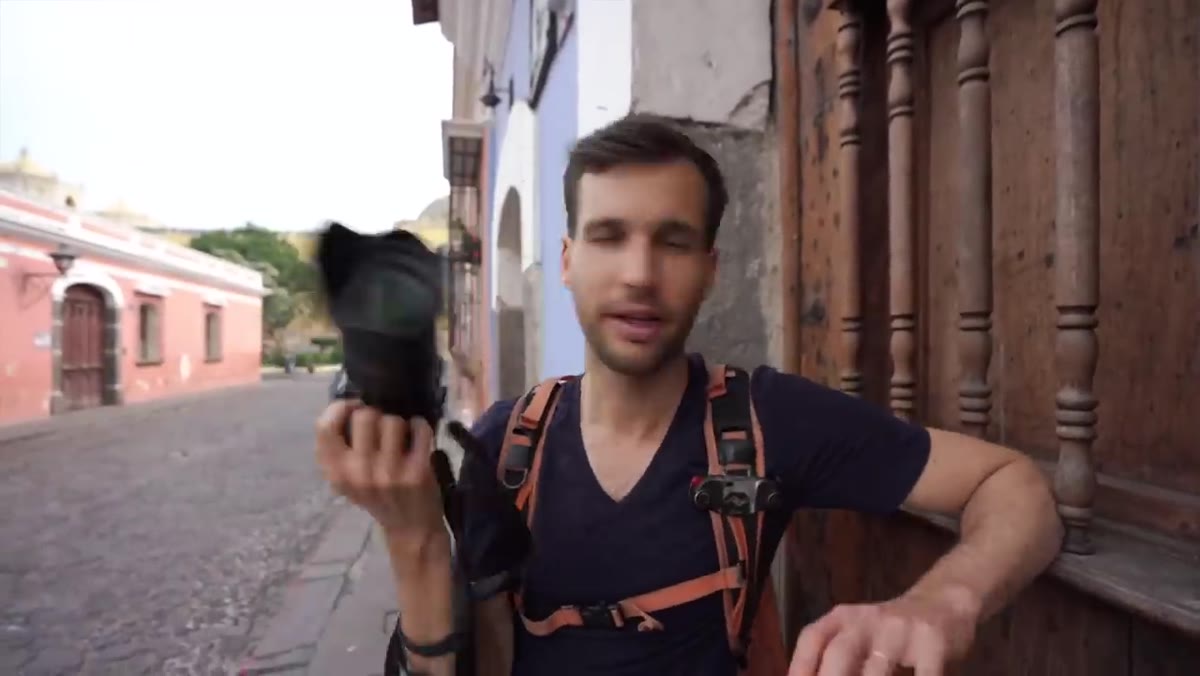
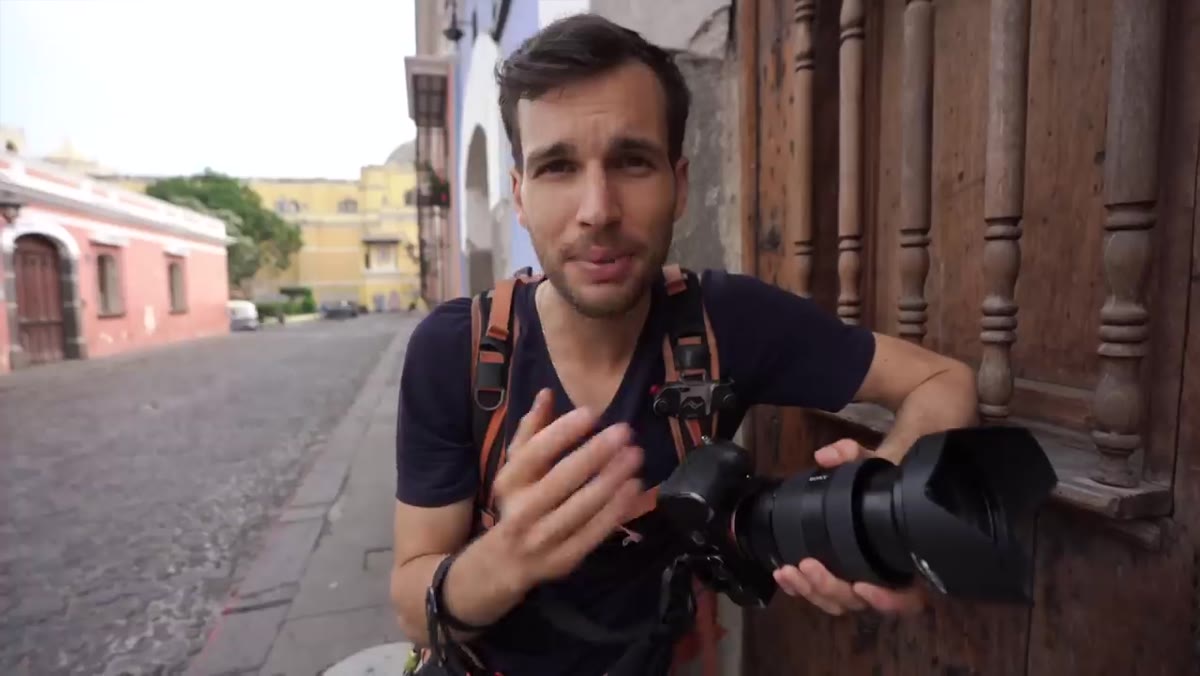 Close-up portrait shot with background compression at 70mm
Lambert demonstrates moving between a compressed 70mm portrait shot and a wider environmental frame within the same few minutes of walking. The technique here is to identify a scene that has both a strong human subject and a compelling background, then work it at multiple focal lengths rather than committing to one and moving on.
Close-up portrait shot with background compression at 70mm
Lambert demonstrates moving between a compressed 70mm portrait shot and a wider environmental frame within the same few minutes of walking. The technique here is to identify a scene that has both a strong human subject and a compelling background, then work it at multiple focal lengths rather than committing to one and moving on.
At f/2.8 and 70mm, the background compression is strong and the bokeh is smooth enough to separate a subject cleanly. At 35mm and the same aperture, you are keeping more of the environment readable. Neither shot requires a lens change. The discipline is in recognizing that both images are available in the same moment if you think about it before you raise the camera.
Step 4: Lean on APS-C Crop Mode for Extra Reach
 Lambert switching to APS-C mode on the camera body
This is the technique I found most practically useful in the whole video. Lambert switches his Sony body into APS-C crop mode while using a full-frame lens, which effectively multiplies the focal length by approximately 1.5x. At 70mm, that gives him something close to 105mm equivalent reach without switching lenses or physically moving closer to a subject.
Lambert switching to APS-C mode on the camera body
This is the technique I found most practically useful in the whole video. Lambert switches his Sony body into APS-C crop mode while using a full-frame lens, which effectively multiplies the focal length by approximately 1.5x. At 70mm, that gives him something close to 105mm equivalent reach without switching lenses or physically moving closer to a subject.
The step is simple: go into your camera’s menu and enable APS-C crop mode as a quick-access function, ideally mapped to a custom button. Lambert uses it when he wants to isolate a subject across a street without intruding on the scene. You do take a resolution hit because you are using a smaller portion of the sensor, but on modern Sony bodies the remaining resolution is still more than enough for most publishing uses. For street work where moment beats pixel count every time, this is a legitimate technique.
Step 5: Evaluate the f/2.8 Aperture Against the f/4 Cost Trade-off
 Lambert discussing aperture while reviewing shots on screen
Lambert is clear that f/4 exists and is significantly cheaper. He does not dismiss it. What he argues is that the f/2.8 rendering quality, particularly the smoothness of the out-of-focus transitions, is a real and visible difference when you are shooting portraits or any frame where subject separation matters. In low light street scenes, that extra stop also keeps your ISO lower, which affects how usable your images are.
Lambert discussing aperture while reviewing shots on screen
Lambert is clear that f/4 exists and is significantly cheaper. He does not dismiss it. What he argues is that the f/2.8 rendering quality, particularly the smoothness of the out-of-focus transitions, is a real and visible difference when you are shooting portraits or any frame where subject separation matters. In low light street scenes, that extra stop also keeps your ISO lower, which affects how usable your images are.
The practical step is to be honest about your actual use case. If you are shooting street in bright daylight conditions and rarely need subject isolation, the f/4 version is a rational choice and the savings are real. If you shoot often at dawn or dusk, or you regularly want that compressed portrait quality, the f/2.8 earns its price.
What I’d Add From My Own Testing
The one thing Lambert’s tutorial does not dig into is how this lens performs against a set of fast primes at equivalent focal lengths for a fraction of the cost. I have run that comparison informally, and the honest answer is that a sharp 35mm prime at f/1.8 and a sharp 85mm prime at f/1.8 together will often beat this zoom optically at their respective focal lengths, cost less combined, and weigh less. The trade-off is exactly what Lambert is talking about: you will change lenses, you will miss shots, and in certain environments that cost is real. The 24-70mm f/2.8 is not the best lens for image quality at any single focal length. It is the best lens for keeping your camera up and your attention on the street. Those are different problems, and only you know which one you actually have.
The takeaway from Lambert’s test is specific: if street photography for you involves moving through environments where stopping to swap lenses is disruptive or risky, and you want genuine f/2.8 quality across a wide zoom range, this lens earns serious consideration. If you primarily shoot one focal length and prioritize optical performance, a prime will serve you better and leave money in your pocket.
Watch the full tutorial on YouTube to see Lambert’s actual shots from Antigua and get a feel for how the images hold up in the real street conditions he was working in.
Comments
Leave a Comment