I have a simple test for any lens I’m considering for street work: does it fit in my jacket pocket with the hood on? If it doesn’t, it stays home. That might sound like a weird filter, but after years of reviewing budget gear and hunting down deals, I’ve learned that the best lens is the one you actually carry. Expensive glass sitting in a bag because it’s too bulky is just an expensive paperweight.
That’s why this hands-on first look from Pierre T. Lambert caught my attention. In Watch the full tutorial on YouTube, Lambert gets early access to the Sony 35mm f/1.8 at a Sony event in Oregon and puts it through real shooting conditions before the lens hits shelves. He’s testing it for travel and street photography specifically, which lines up exactly with how I think about lens value. Here’s a breakdown of what he covers and why it matters if you’re deciding whether this lens deserves a spot in your kit.
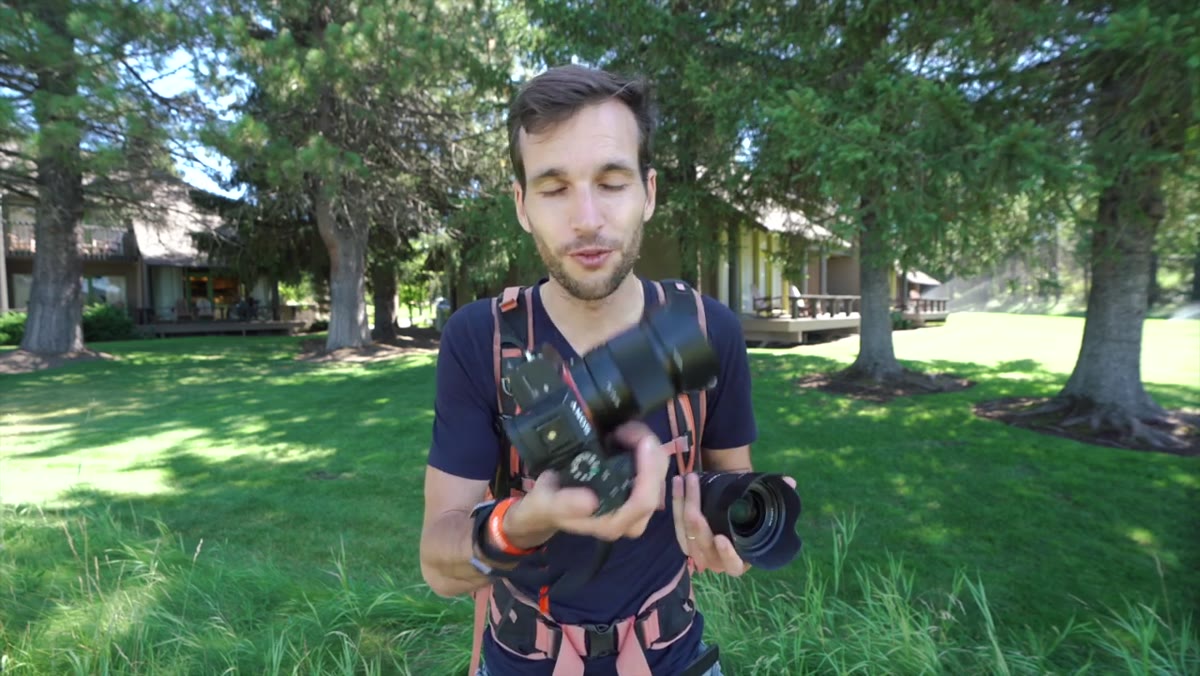
Step 1: Assess the Physical Size Before You Shoot Anything
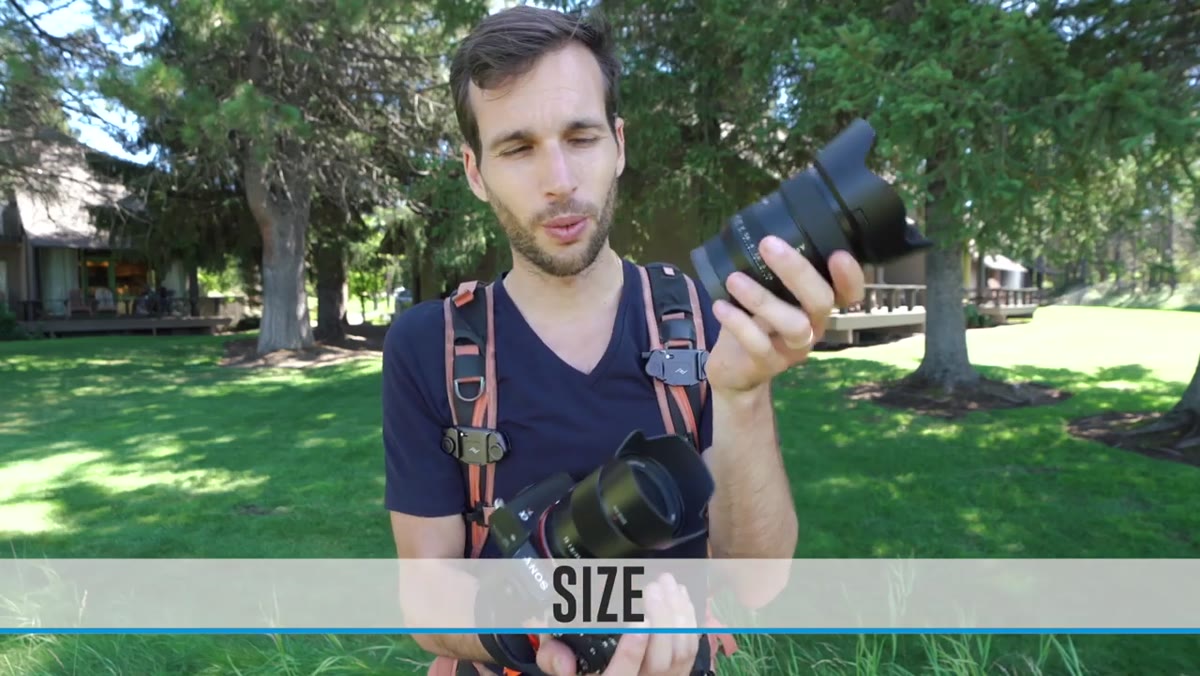 Comparing 35mm f/1.8 next to 24mm f/1.4 in hand
Before you evaluate a lens on image quality, hold it. Lambert places the 35mm f/1.8 next to the Sony 24mm f/1.4 GM to show the size difference, and the contrast is significant. The 35mm is noticeably smaller and lighter. If you’re coming from GM glass, expect to be surprised by how compact this thing is.
Comparing 35mm f/1.8 next to 24mm f/1.4 in hand
Before you evaluate a lens on image quality, hold it. Lambert places the 35mm f/1.8 next to the Sony 24mm f/1.4 GM to show the size difference, and the contrast is significant. The 35mm is noticeably smaller and lighter. If you’re coming from GM glass, expect to be surprised by how compact this thing is.
The pocket test Lambert runs is practical, not gimmicky. He confirms the 35mm f/1.8 fits in a standard jacket pocket with the lens hood attached, while the 85mm with its hood does not. For street shooters who swap lenses on the fly, that’s a real workflow advantage. You’re not digging through a bag mid-shoot, you’re just reaching into your pocket.
Step 2: Compare It to Your Current Lens Before Assuming You Need Both
 35mm f/1.8 held next to 24mm f/1.4 GM showing size difference
Lambert owns the Sony 24mm f/1.4 GM, and he uses it as the reference point throughout the review. This is the right approach. Don’t evaluate a new lens in isolation. Put it next to what you’re already shooting with and ask what it actually adds.
35mm f/1.8 held next to 24mm f/1.4 GM showing size difference
Lambert owns the Sony 24mm f/1.4 GM, and he uses it as the reference point throughout the review. This is the right approach. Don’t evaluate a new lens in isolation. Put it next to what you’re already shooting with and ask what it actually adds.
The 35mm focal length has a reputation as the most versatile for travel and street work because it gets close to natural human field of view without distorting perspective the way wider lenses can. If you’re already shooting a 24mm and finding yourself cropping frequently or wanting slightly tighter framing without switching to an 85, the 35mm fills that gap cleanly.
Step 3: Test Autofocus Speed Under Real Conditions
 Lambert shooting with 35mm f/1.8 during active event
Lambert doesn’t test autofocus in a studio. He shoots it during an actual event with moving subjects and varied lighting, which is the only test that matters for street work. His verdict is that the autofocus is fast and reliable, on par with Sony’s higher-end glass despite the lower price point.
Lambert shooting with 35mm f/1.8 during active event
Lambert doesn’t test autofocus in a studio. He shoots it during an actual event with moving subjects and varied lighting, which is the only test that matters for street work. His verdict is that the autofocus is fast and reliable, on par with Sony’s higher-end glass despite the lower price point.
This is where Sony’s lens ecosystem earns its reputation. The autofocus performance on their f/1.8 series has historically punched above its price, and Lambert’s field test confirms the 35mm continues that trend. If you’re shooting candids on the street, hesitation in autofocus means missed moments. A lens that locks on quickly and accurately is worth paying attention to.
Step 4: Use the Custom Button for Eye AF During Street Portraits
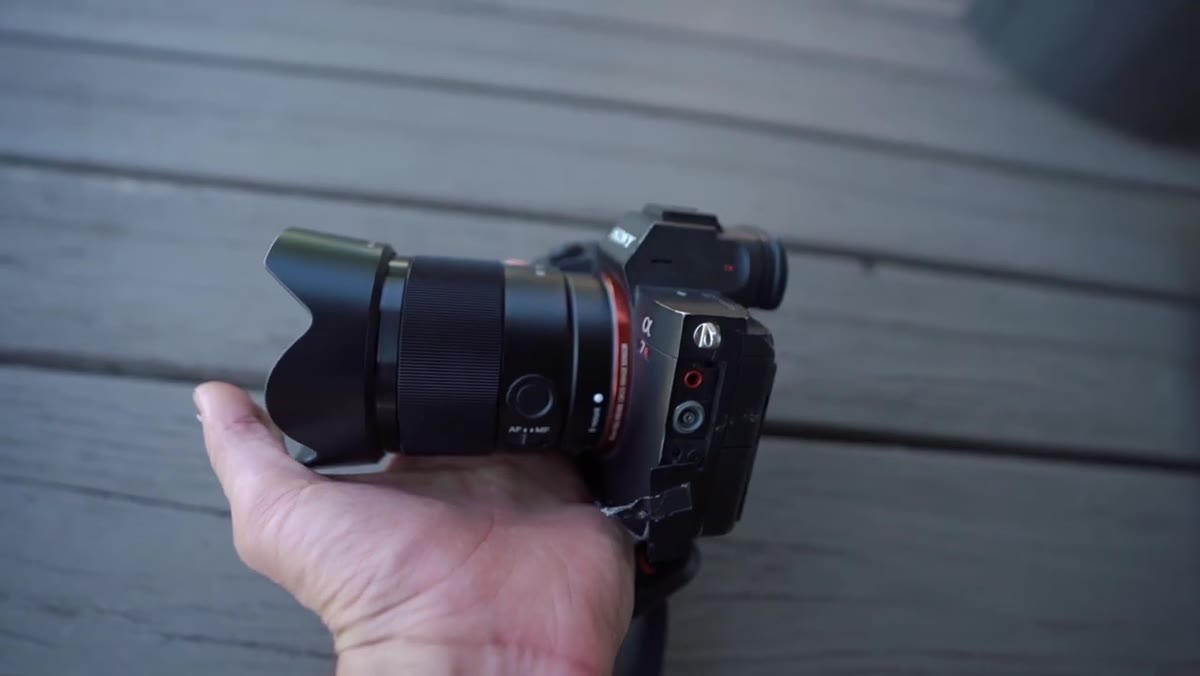 Lambert demonstrating custom function button on lens barrel
Sony lenses in this range include a customizable focus hold button on the barrel, and Lambert explains exactly how he programs it for street portrait work. He maps it to Eye AF so that when he’s shooting people, a single press locks focus directly onto the subject’s eye.
Lambert demonstrating custom function button on lens barrel
Sony lenses in this range include a customizable focus hold button on the barrel, and Lambert explains exactly how he programs it for street portrait work. He maps it to Eye AF so that when he’s shooting people, a single press locks focus directly onto the subject’s eye.
Set this up before you go out shooting. Go into your Sony body’s custom key settings, find the lens focus hold button assignment, and map it to “Eye AF.” When you’re shooting street portraits and need to grab a sharp face shot quickly, you press the button, the camera finds the eye, and you fire. It removes a step that would otherwise cost you the moment. Lambert flags this as one of the features he plans to use constantly in the field.
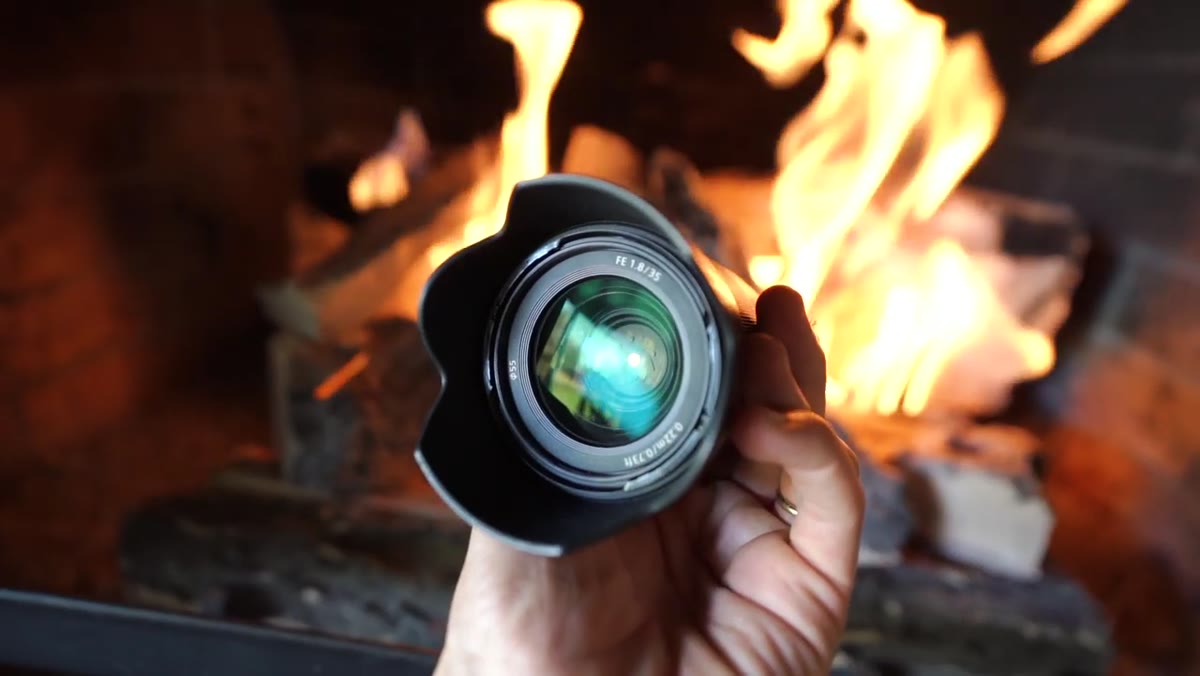
Step 5: Evaluate Sharpness With Honest Expectations
 Lambert reviewing images shot with the 35mm f/1.8 on camera
Lambert admits he went in with some skepticism about whether a non-GM lens could deliver competitive sharpness, especially wide open. After shooting with it for several days across multiple scenarios including levitation photography and event work, he calls the sharpness “clearly incredible” and says it exceeded his expectations.
Lambert reviewing images shot with the 35mm f/1.8 on camera
Lambert admits he went in with some skepticism about whether a non-GM lens could deliver competitive sharpness, especially wide open. After shooting with it for several days across multiple scenarios including levitation photography and event work, he calls the sharpness “clearly incredible” and says it exceeded his expectations.
The honest framing here is useful. This is not a GM lens. It’s priced below it, and it’s smaller. What Lambert is telling you is that the optical quality gap is smaller than the price gap would suggest. For most street and travel use cases, you will not be pixel-peeping your way into disappointment with this lens. Wide open sharpness on a fast prime at this price point is where a lot of cheaper lenses fall apart, and this one apparently doesn’t.
Step 6: Factor in the Full Kit Before You Buy
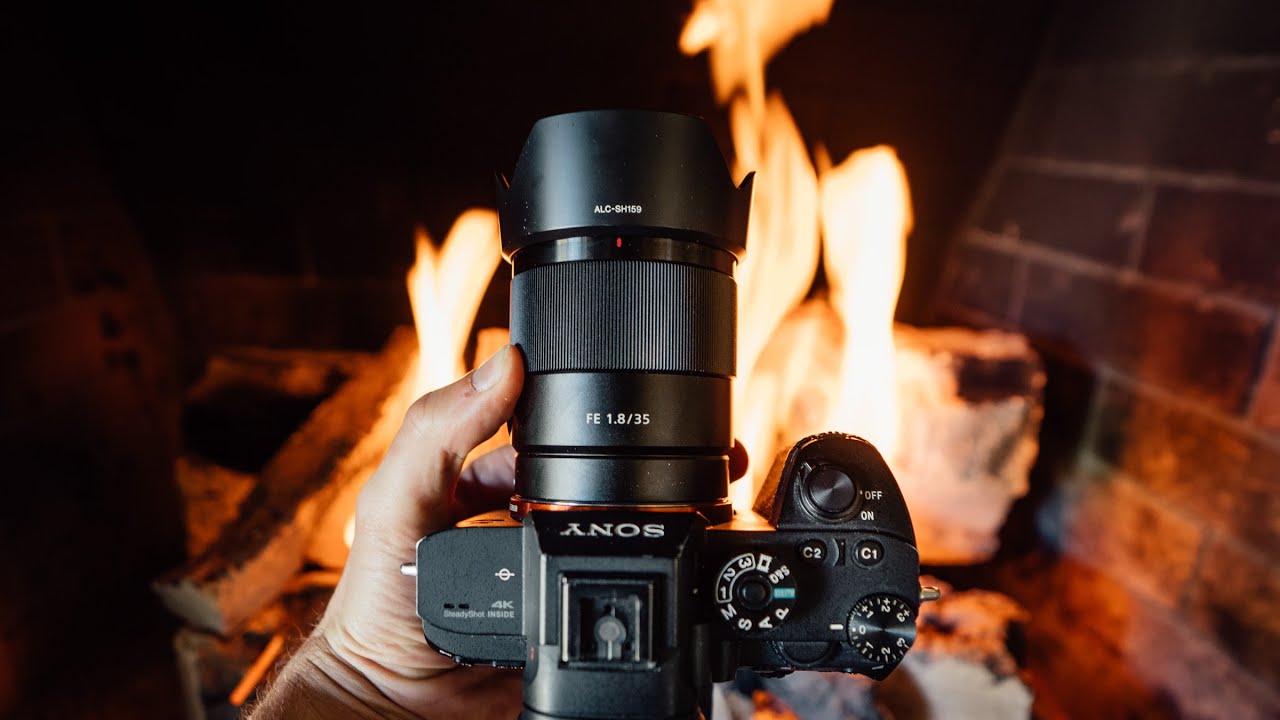
 35mm f/1.8 mounted on Sony a7 body at Sony event
Lambert tests this on the Sony A7 series body and notes that the small lens balances well on a full-frame mirrorless body. This matters more than people give it credit for. A heavy lens on a light body makes shooting for extended periods fatiguing, and it draws more attention on the street.
35mm f/1.8 mounted on Sony a7 body at Sony event
Lambert tests this on the Sony A7 series body and notes that the small lens balances well on a full-frame mirrorless body. This matters more than people give it credit for. A heavy lens on a light body makes shooting for extended periods fatiguing, and it draws more attention on the street.
Before you order, think about what body this is going on and what lenses you’re already carrying. Lambert is choosing between this and his 24mm f/1.4 GM, and he’s essentially asking whether the 35mm focal length justifies adding another lens to his travel kit. If your current kit has a wide and an 85, the 35mm slots in as a true middle-ground lens that might actually replace both for casual street days.
My Take: The Size Argument Is the Real Story Here
I’ve tested enough budget lenses to know that optical quality claims need to be verified before I trust them. But the size story Lambert is telling doesn’t need much verification. A lens that fits in your pocket with the hood on, that’s either true or it isn’t, and he shows it on camera.
What I find compelling about this lens from a value perspective is that Sony’s f/1.8 primes have consistently offered strong optical performance at a price point well below their GM equivalents. I have a spreadsheet tracking every Sony E-mount prime I’ve tested or reviewed, and the f/1.8 series shows up repeatedly as the sweet spot between performance and cost. The 35mm appears to follow that pattern. For street photographers who don’t need the last 10% of optical performance that GM glass provides, this lens looks like it delivers everything else at a price that makes sense.
The single biggest thing to take away from Lambert’s hands-on is this: a lens you carry everywhere beats a lens that stays in the bag. The 35mm f/1.8’s compact size isn’t a consolation prize for not buying the GM version. It’s a feature that changes how you shoot.
Watch the full tutorial on YouTube to see Lambert’s actual footage and sample images from the lens in action.
Comments
Leave a Comment