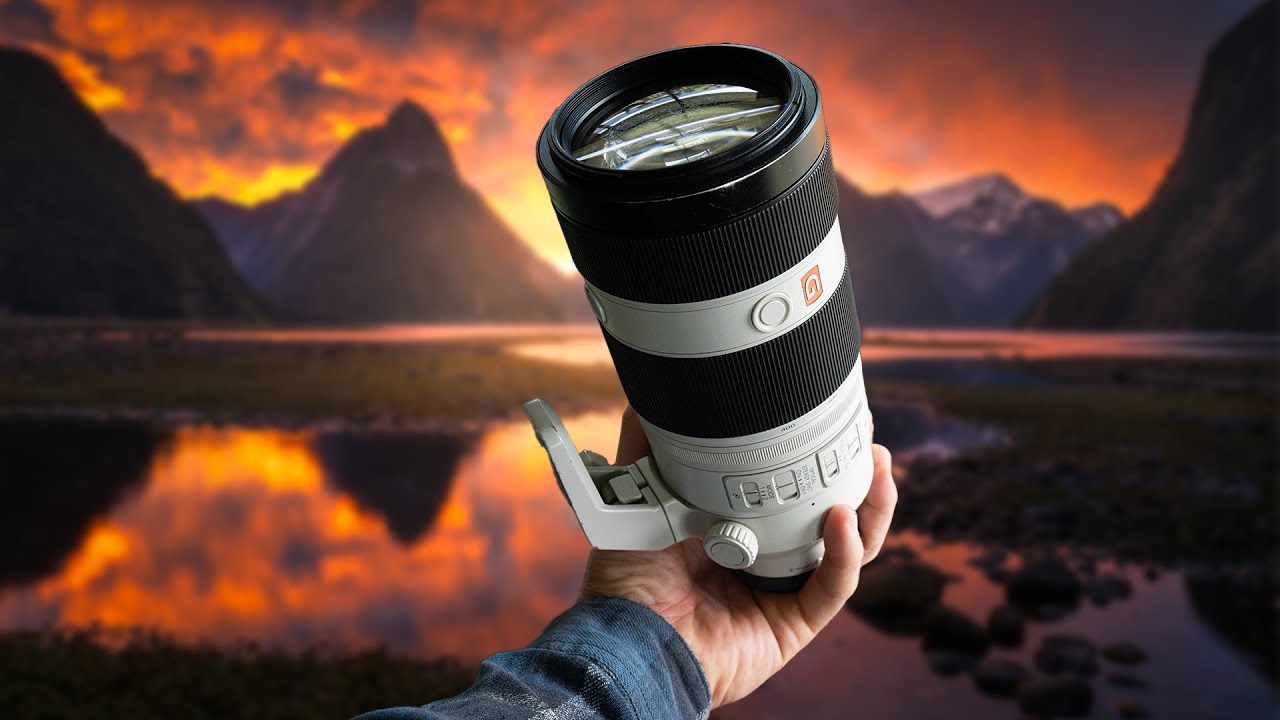
Most landscape photographers reach for their widest lens by default. I did the same thing for years. Wide angle captures the sweeping scene, the dramatic sky, the sense of being there — but it also captures the ugly parking lot edge, the boring middle ground, and the dead space that kills an otherwise strong shot. The result looks like a postcard nobody wants to send.
I’ve been testing budget telephoto options lately for an upcoming lens roundup, and I needed a clearer framework for actually using them in the field rather than just pixel-peeping test charts. That’s what sent me to this William Patino tutorial on using a telephoto lens for landscapes. Watch the full tutorial on YouTube — it’s shot entirely on location at a mountain lake and every tip is demonstrated in real time, which I appreciated. No studio explainers, no talking-head padding.
What Patino lays out isn’t just “zoom in on pretty stuff.” There’s a genuine compositional logic here that changed how I thought about my 70-300 zoom — a lens I’d mostly written off as a wildlife-only tool. Here’s the breakdown.
Step 1: Shift Your Mindset — The Telephoto Is an Elimination Tool
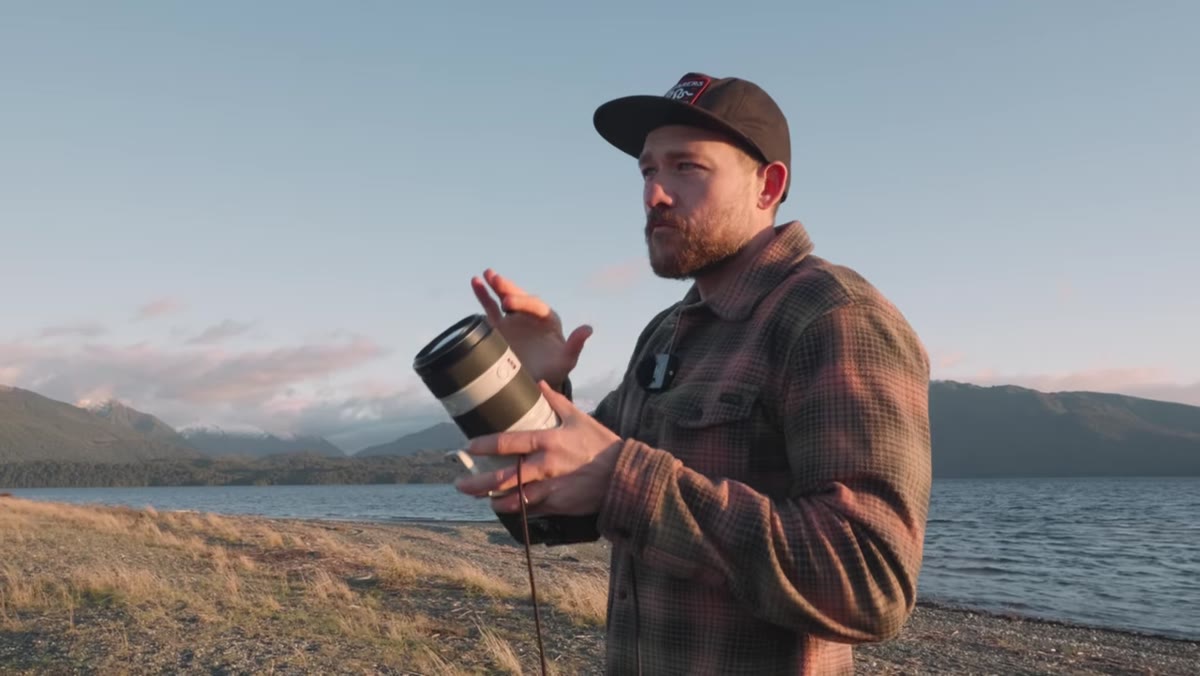
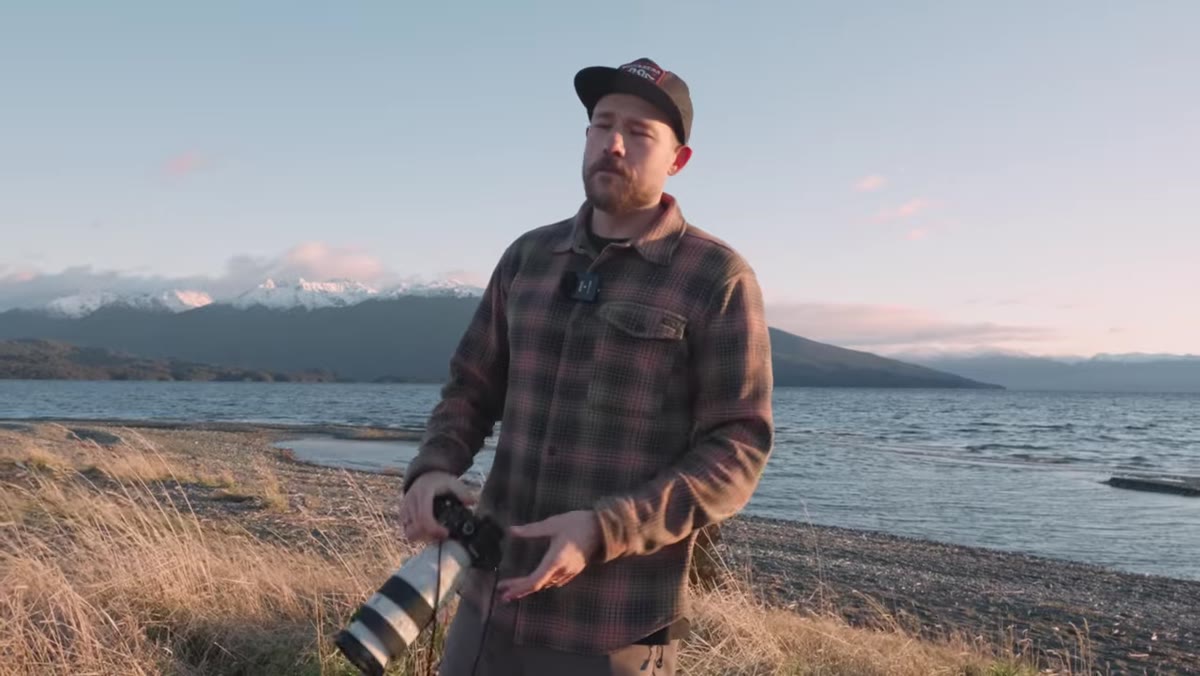 Patino framing distant mountains from lakeside
Before you touch the zoom ring, understand what this lens is actually for. A wide angle says yes to almost everything in front of you. A telephoto says no to almost everything — and that selectivity is the whole point. Patino frames it as isolating a subject and pulling it close, but the real work is deciding what doesn’t belong in the frame. Think of it less like a zoom and more like a cropping decision you make with your feet and your focal length before you ever press the shutter.
Patino framing distant mountains from lakeside
Before you touch the zoom ring, understand what this lens is actually for. A wide angle says yes to almost everything in front of you. A telephoto says no to almost everything — and that selectivity is the whole point. Patino frames it as isolating a subject and pulling it close, but the real work is deciding what doesn’t belong in the frame. Think of it less like a zoom and more like a cropping decision you make with your feet and your focal length before you ever press the shutter.
Step 2: Hunt for Layers, Not Just Subjects
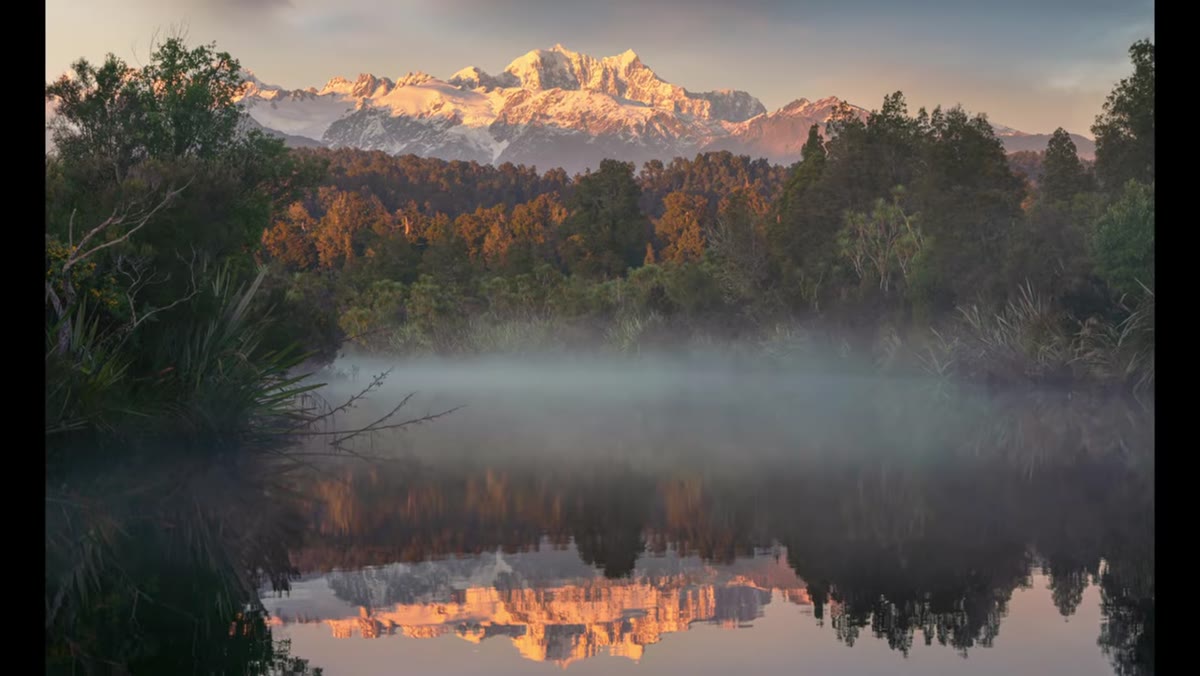 Layered mountain scene with trees, valley, and peaks
Here’s where a lot of telephoto landscape shots fall flat: they get the subject but lose all depth. Patino’s fix is to actively look for scenes with multiple planes — something in the foreground or mid-ground that the subject can sit behind. In his example, instead of isolating a bare mountain peak, he includes tree lines and valley ridges below it, so the eye has somewhere to travel before it hits the main subject. The compression effect of a long lens actually helps this — it stacks those layers tighter, making them feel more dramatic than they would in a wide shot. If you can find at least three distinct depth zones in your frame, you’re working with the lens instead of against it.
Layered mountain scene with trees, valley, and peaks
Here’s where a lot of telephoto landscape shots fall flat: they get the subject but lose all depth. Patino’s fix is to actively look for scenes with multiple planes — something in the foreground or mid-ground that the subject can sit behind. In his example, instead of isolating a bare mountain peak, he includes tree lines and valley ridges below it, so the eye has somewhere to travel before it hits the main subject. The compression effect of a long lens actually helps this — it stacks those layers tighter, making them feel more dramatic than they would in a wide shot. If you can find at least three distinct depth zones in your frame, you’re working with the lens instead of against it.
Step 3: Read the Light Direction Before You Commit to a Spot
 Side-lit snow on mountain ridgeline showing texture
Patino makes a point here that I’ve seen ignored constantly at photography meetups: front-lit subjects look flat through a telephoto. The compression already reduces the sense of dimension, so if the light is coming from directly behind you, you’re doubling down on flatness. Side light or backlight is what brings out texture, edge definition, and the kind of separation between layers that makes a long-lens landscape feel three-dimensional. Scout your position relative to the sun, not just relative to the subject. Early morning and late afternoon side light are obvious choices, but even overcast light with a slight directional quality will beat flat midday front light every time.
Side-lit snow on mountain ridgeline showing texture
Patino makes a point here that I’ve seen ignored constantly at photography meetups: front-lit subjects look flat through a telephoto. The compression already reduces the sense of dimension, so if the light is coming from directly behind you, you’re doubling down on flatness. Side light or backlight is what brings out texture, edge definition, and the kind of separation between layers that makes a long-lens landscape feel three-dimensional. Scout your position relative to the sun, not just relative to the subject. Early morning and late afternoon side light are obvious choices, but even overcast light with a slight directional quality will beat flat midday front light every time.
Step 4: Zone In With Purpose — Find the “Face in the Crowd”
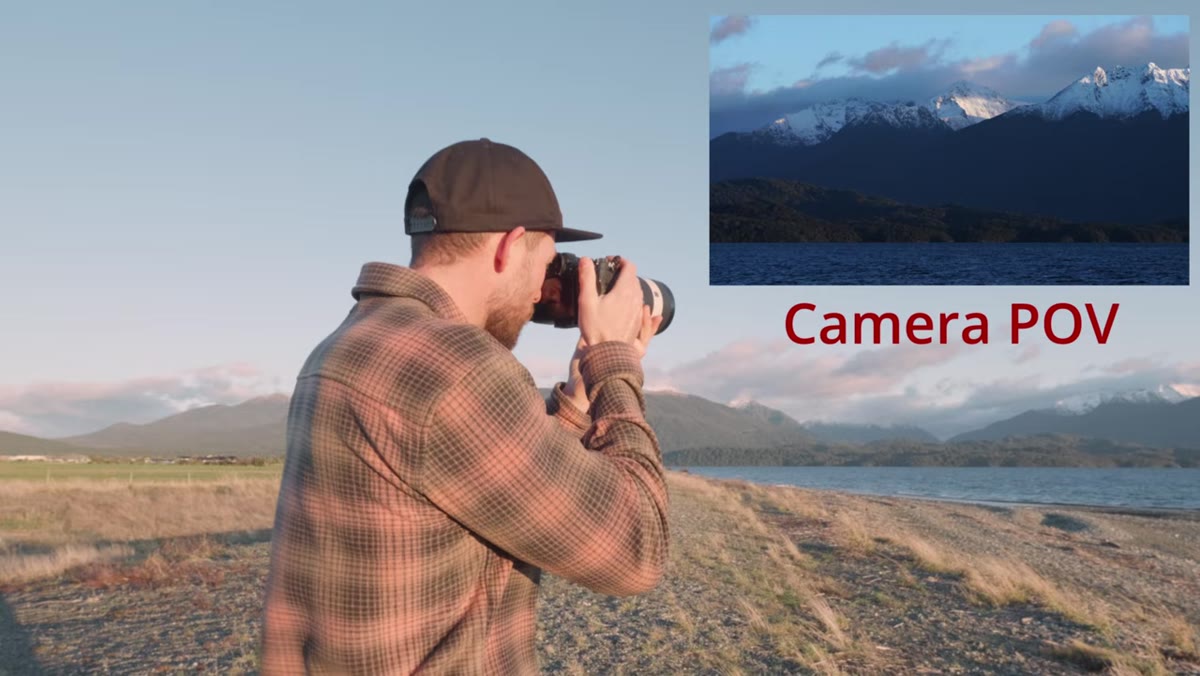
 Patino scanning the mountain range with camera raised
This is the step most tutorials skip. Patino describes it as finding the face in the crowd — you’re not photographing the whole mountain range, you’re photographing the one section of it that earns your attention. He recommends scanning the full scene first, identifying the single strongest element, and then deciding whether the rest of the frame is helping or hurting it. Avoid tunnel vision. Because the telephoto narrows your field of view so dramatically, it’s easy to get locked onto one spot and miss something better 20 degrees to the left.
Patino scanning the mountain range with camera raised
This is the step most tutorials skip. Patino describes it as finding the face in the crowd — you’re not photographing the whole mountain range, you’re photographing the one section of it that earns your attention. He recommends scanning the full scene first, identifying the single strongest element, and then deciding whether the rest of the frame is helping or hurting it. Avoid tunnel vision. Because the telephoto narrows your field of view so dramatically, it’s easy to get locked onto one spot and miss something better 20 degrees to the left.
Step 5: Use Focal Length Actively — Zoom to Remove Dead Space
 Switching from 100mm to 400mm to cut negative space
Patino demonstrates this with a direct before-and-after: at 100mm, he has the lake, some islands, and the mountains — but a large dead zone in the middle of the frame that adds nothing. He zooms to 400mm and the image tightens into something that actually has impact. The lesson isn’t “always shoot at max focal length” — it’s that zoom should be used to solve a specific compositional problem, not just to get closer. Ask yourself what the dominant subject is and whether the current focal length is giving that subject the real estate it deserves. If there’s a void in the frame that isn’t doing any compositional work, zoom past it.
Switching from 100mm to 400mm to cut negative space
Patino demonstrates this with a direct before-and-after: at 100mm, he has the lake, some islands, and the mountains — but a large dead zone in the middle of the frame that adds nothing. He zooms to 400mm and the image tightens into something that actually has impact. The lesson isn’t “always shoot at max focal length” — it’s that zoom should be used to solve a specific compositional problem, not just to get closer. Ask yourself what the dominant subject is and whether the current focal length is giving that subject the real estate it deserves. If there’s a void in the frame that isn’t doing any compositional work, zoom past it.
Step 6: Let Ridge Lines and Shadows Do the Depth Work
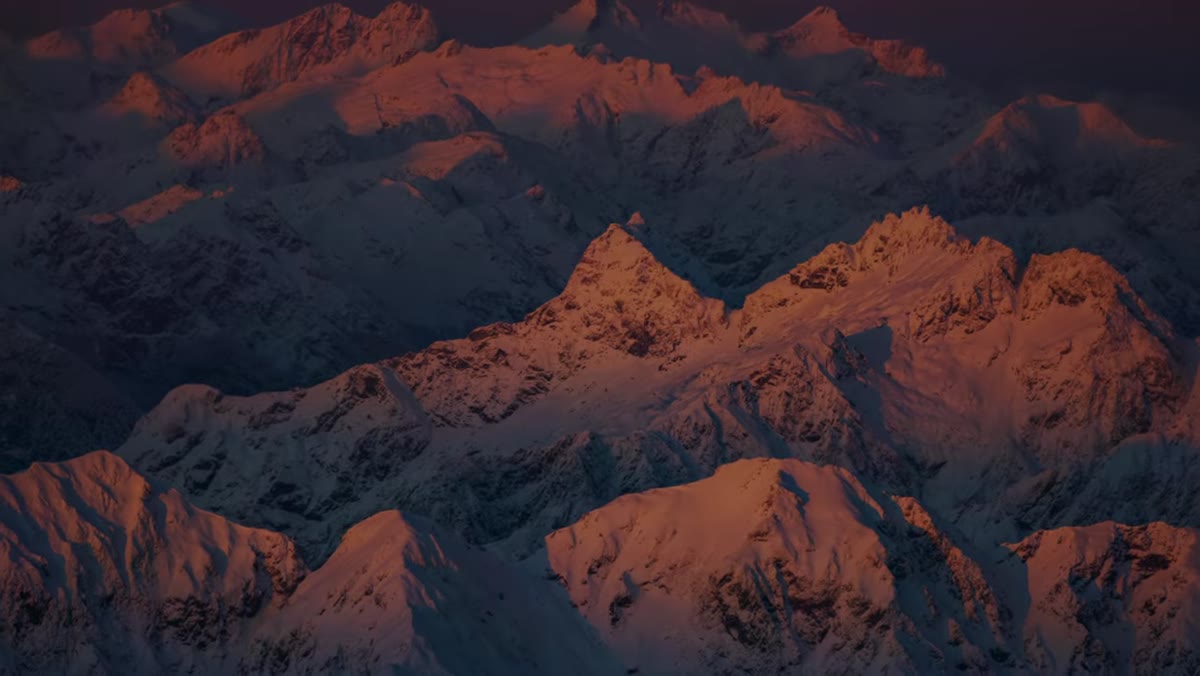
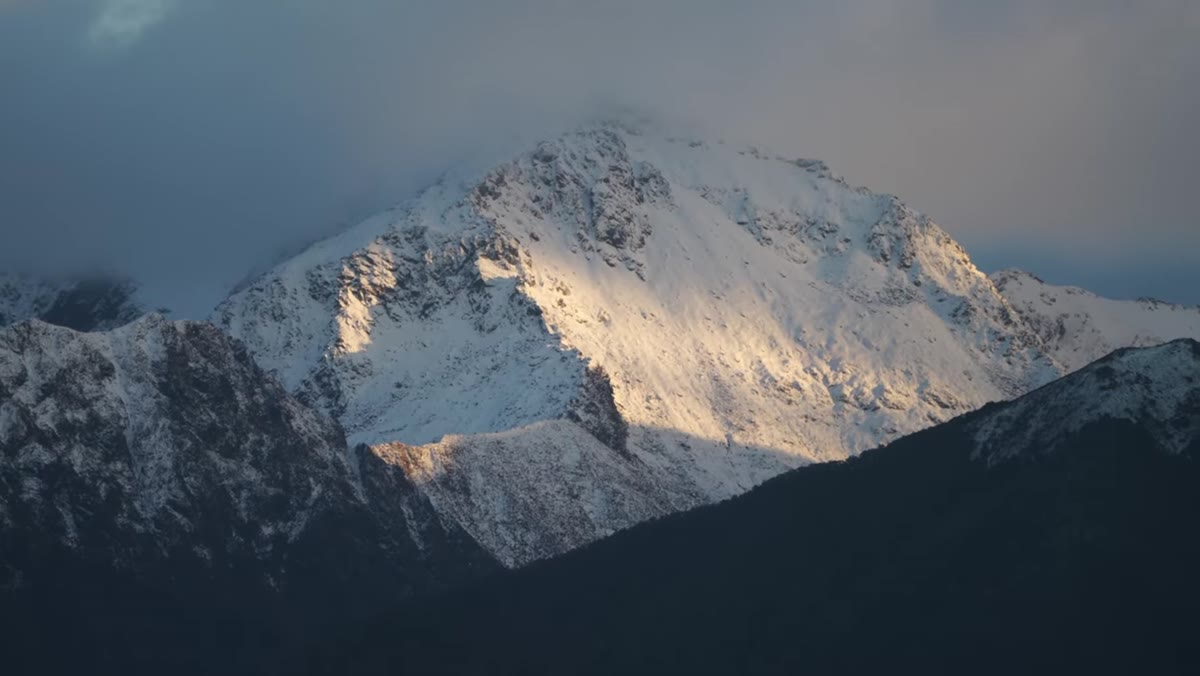 Tight crop on mountain face showing shadow-defined ridgelines
Once you’ve eliminated the dead space, look at what’s left and assess whether it still has internal structure. Patino’s zoomed-in mountain shot works because even though the frame is much tighter, the ridge lines and shadow variations within the mountain itself create a sense of depth. This is a good checkpoint: after you’ve zoomed in, does your frame still have light-to-dark variation, directional shadow, or overlapping shapes? If it’s gone flat, you may have zoomed too tight, or the light isn’t cooperating yet. Wait it out or reposition.
Tight crop on mountain face showing shadow-defined ridgelines
Once you’ve eliminated the dead space, look at what’s left and assess whether it still has internal structure. Patino’s zoomed-in mountain shot works because even though the frame is much tighter, the ridge lines and shadow variations within the mountain itself create a sense of depth. This is a good checkpoint: after you’ve zoomed in, does your frame still have light-to-dark variation, directional shadow, or overlapping shapes? If it’s gone flat, you may have zoomed too tight, or the light isn’t cooperating yet. Wait it out or reposition.
What I’d Add: The Budget Telephoto Reality Check
Here’s something Patino doesn’t address because it’s outside the scope of his tutorial, but it matters if you’re buying gear based on this technique: you do not need a fast telephoto prime to do this well. I’ve been running a comparison of lenses in the $150-$350 range, and for static landscape work in decent light, the slower f/5.6-f/6.3 zooms are completely viable. The compression, the layering, the isolation — none of that depends on aperture. What does matter more than I expected is optical stabilization, because you’ll often be handholding at focal lengths where camera shake gets punishing fast. If you’re choosing between a slightly sharper lens without IS and a slightly softer one with it, for landscapes at long focal lengths, take the stabilization.
The core takeaway from Patino’s tutorial is this: a telephoto lens is a composition decision, not just a technical one. The real skill is learning to scan a scene, find the single strongest element within it, and then use focal length to remove everything that weakens it. Once that clicks, your wide-angle kit doesn’t disappear from the bag — it just stops being your default answer.
Watch the full tutorial on YouTube to see every step demonstrated on location with real examples.
Comments
Leave a Comment