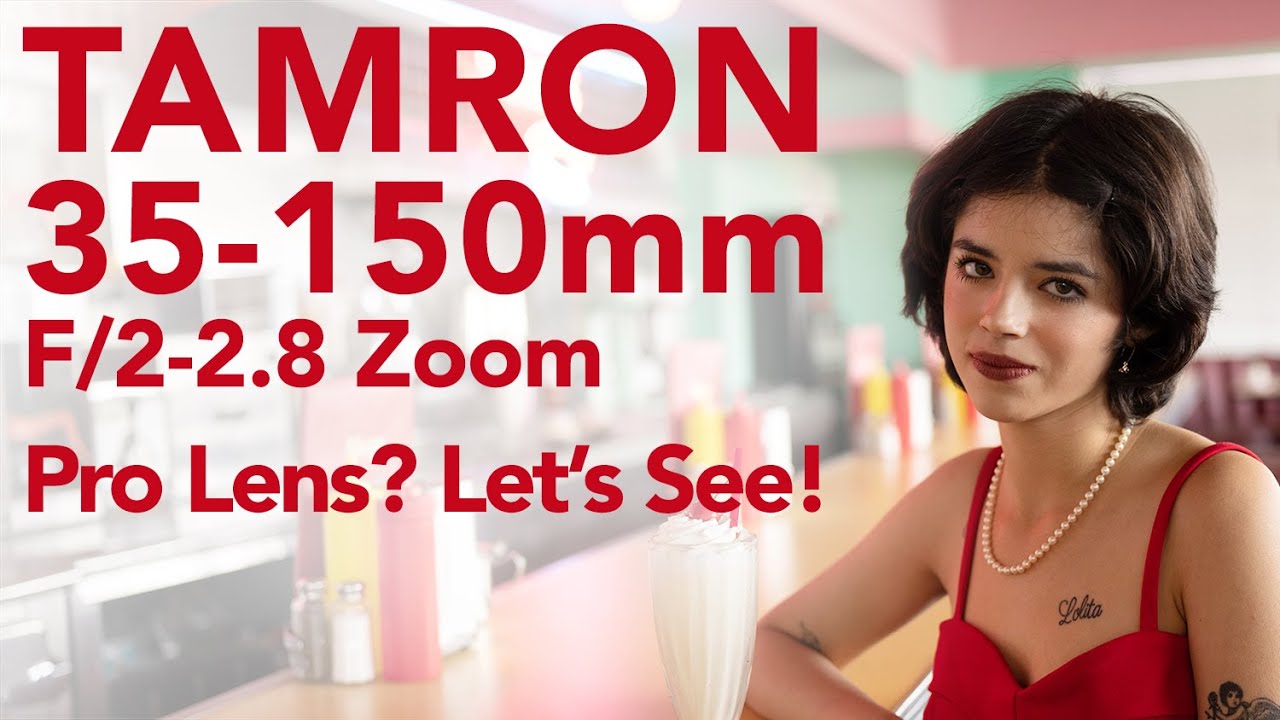
I have a spreadsheet. It has every budget and mid-range lens I’ve tested going back three years, with columns for sharpness, bokeh quality, autofocus speed, filter size, and whether I’d actually buy it again. Most lenses end up somewhere in the “solid but forgettable” category. Every once in a while one shows up that makes me rethink a whole column. The Tamron 35-150mm f/2-2.8 is one of those lenses, and not in an obvious way. It’s not the cheapest option and it’s not the fastest prime. What it is, is genuinely strange in a way that turns out to be useful.
In this The Slanted Lens tutorial, Jay P. Morgan takes the lens out to the Pink Motel in Los Angeles for a real portrait shoot with model Tatiana, running it through its paces at multiple focal lengths and lighting situations. This isn’t a lab test. It’s a working photographer trying to figure out where this lens fits in a professional kit, which is exactly the kind of test I care about. Watch the full tutorial on YouTube
The core question Morgan is answering is whether this lens can live between the classic 24-70mm and 70-200mm pairing without feeling like a compromise. After watching closely and cross-referencing it against what I know about this focal range, here’s the practical breakdown.
Step 1: Understand the Variable Aperture and How It Actually Behaves
 Shooter explaining aperture changes across focal range
This is the part most reviews gloss over. The aperture on this lens isn’t a fixed f/2.8 across the range. At 35mm you get f/2.0, which is genuinely fast. It steps up to f/2.2 between 40-60mm, then f/2.5 from 60-80mm, and finally f/2.8 from 80mm all the way to 150mm. That’s roughly a third of a stop per jump.
Shooter explaining aperture changes across focal range
This is the part most reviews gloss over. The aperture on this lens isn’t a fixed f/2.8 across the range. At 35mm you get f/2.0, which is genuinely fast. It steps up to f/2.2 between 40-60mm, then f/2.5 from 60-80mm, and finally f/2.8 from 80mm all the way to 150mm. That’s roughly a third of a stop per jump.
The behavior that matters most for shooting is this: if you set your exposure at 35mm and zoom in to 150mm, the camera adjusts the aperture automatically. But when you zoom back out, it returns to your original setting rather than locking in at f/2.8. That’s a small thing with real consequences during a fast-moving shoot. You’re not constantly resetting your exposure when you switch between wide contextual shots and tight portraits.
Step 2: Test the Minimum Focus Distance Before You Shoot
 Camera focused close on model’s face at minimum distance
Morgan clocks the minimum focusing distance at roughly 13 inches, which he verifies by shooting tight on his subject’s face. At that distance you get an impressively close crop without macro capabilities. This lens isn’t going to replace a dedicated macro lens for product work, but for portrait detail shots, eyelashes, jewelry, texture on fabric, it delivers.
Camera focused close on model’s face at minimum distance
Morgan clocks the minimum focusing distance at roughly 13 inches, which he verifies by shooting tight on his subject’s face. At that distance you get an impressively close crop without macro capabilities. This lens isn’t going to replace a dedicated macro lens for product work, but for portrait detail shots, eyelashes, jewelry, texture on fabric, it delivers.
Before any shoot where you’re planning to work close, do a quick minimum distance check with your subject standing in. Autofocus can hunt when you’re near the edge of its range, and knowing exactly where that floor is saves you from soft frames during a session. With this lens, 13 inches is a real working distance, not a spec-sheet number that’s technically true but practically useless.
Step 3: Evaluate Bokeh Quality at Multiple Focal Lengths
 Wide aperture background blur with soft round bokeh visible
Morgan pays close attention to bokeh quality from the first frame, and he’s right to. At wide apertures, especially at the longer end of the zoom, the out-of-focus rendering is soft and round without a lot of the cat-eye distortion you often see in the corners of budget lenses. This is the lens behavior that separates a good portrait zoom from a great one.
Wide aperture background blur with soft round bokeh visible
Morgan pays close attention to bokeh quality from the first frame, and he’s right to. At wide apertures, especially at the longer end of the zoom, the out-of-focus rendering is soft and round without a lot of the cat-eye distortion you often see in the corners of budget lenses. This is the lens behavior that separates a good portrait zoom from a great one.
When you’re evaluating any zoom for portraits, don’t just shoot at the longest focal length on a flat background. Shoot at multiple points in the range and include backgrounds with varied light sources or detailed textures. That’s where problematic bokeh shows up. A lens that looks clean at 150mm can fall apart at 50mm. Morgan shoots across the range and the rendering holds up, which tells you this optical formula is doing real work.
Step 4: Put the Autofocus System Under Real Pressure
 Autofocus snapping between subject face and background
The VXD motor in this Tamron is one of its strongest arguments for portrait and event use. Morgan tests it by watching how quickly it transitions between a close subject and a background, and the response is fast enough that he calls it out specifically. For Sony shooters, Tamron has been building autofocus systems that compete directly with Sony’s own glass, and this lens fits that pattern.
Autofocus snapping between subject face and background
The VXD motor in this Tamron is one of its strongest arguments for portrait and event use. Morgan tests it by watching how quickly it transitions between a close subject and a background, and the response is fast enough that he calls it out specifically. For Sony shooters, Tamron has been building autofocus systems that compete directly with Sony’s own glass, and this lens fits that pattern.
The practical test here is continuous shooting while your subject moves, or while you shift your focus point between elements at different distances. If a lens can track a moving person at 150mm and then lock on cleanly when you zoom out to 35mm for a wide shot, it’s genuinely useful on a real job. That’s the bar, and this lens clears it.
Step 5: Explore the Customization Options Through Tamron’s USB Dock
 Lens with USB port mentioned for computer customization
This is the feature that tends to get buried in reviews but matters a lot for working shooters. The lens has three programmable buttons on the collar, each of which can be assigned different functions through Tamron’s desktop software via USB. You can also change the focus ring behavior between linear and nonlinear response, which is the difference between smooth, predictable focus pulls for video and fast, responsive seeking for autofocus stills work.
Lens with USB port mentioned for computer customization
This is the feature that tends to get buried in reviews but matters a lot for working shooters. The lens has three programmable buttons on the collar, each of which can be assigned different functions through Tamron’s desktop software via USB. You can also change the focus ring behavior between linear and nonlinear response, which is the difference between smooth, predictable focus pulls for video and fast, responsive seeking for autofocus stills work.
If you shoot both video and stills on the same kit, that linear mode toggle is worth the price of entry on its own. Linear focus is what makes manual focus racks look professional on camera. Nonlinear is what makes autofocus actually snap onto a subject instead of drifting. Having both available in the same lens without buying adapters or workarounds is a real workflow advantage.
Step 6: Account for the 82mm Filter Size in Your Existing Kit
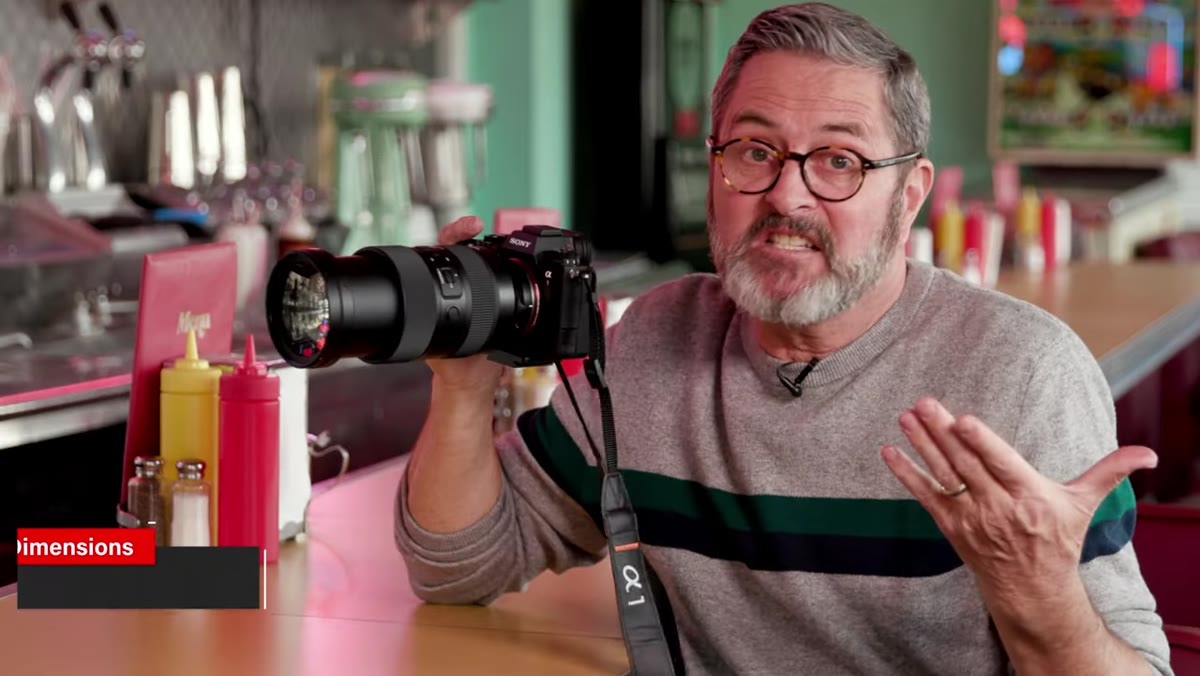 Mention of 82mm filter thread versus Tamron’s usual 67mm
Tamron has built a reputation around a consistent 67mm filter thread across most of their lineup, which makes filter swapping between lenses fast and cheap. This lens breaks from that at 82mm. That’s not a flaw, it’s physics. An f/2.0 aperture at 35mm requires a larger front element to collect enough light, and the filter size follows from that.
Mention of 82mm filter thread versus Tamron’s usual 67mm
Tamron has built a reputation around a consistent 67mm filter thread across most of their lineup, which makes filter swapping between lenses fast and cheap. This lens breaks from that at 82mm. That’s not a flaw, it’s physics. An f/2.0 aperture at 35mm requires a larger front element to collect enough light, and the filter size follows from that.
If you’re building a kit around Tamron glass and already own 67mm filters, step-up rings are an easy workaround for a few dollars. But if you’re buying polarizers or variable NDs, you’ll want to budget for 82mm versions. It’s the kind of thing that catches people off guard when the lens arrives.
What I’d Add: This Lens Is Doing a Different Job Than Most Zooms
The standard zoom pair, a 24-70 and a 70-200, requires you to either carry both or swap mid-shoot. The 35-150 doesn’t replace either of those lenses outright, but it covers the most useful portrait range in a single barrel. For a solo shooter doing portrait sessions, events, or editorial work where stopping to change glass costs you the moment, that’s a genuine practical advantage.
I’ve tested enough lenses to know that “versatile” usually means “mediocre at everything.” This one looks like it avoided that trap by being fast enough across its range and sharp enough in real shooting conditions to earn its place in the bag. It wouldn’t be my only lens. But for a one-lens day? It’s a serious option.
The single thing I’d want you to take from Morgan’s test is this: the value of this lens is in what it removes from your decision-making during a shoot. Fewer lens changes, faster autofocus, one consistent piece of glass from wide environmental shots to tight detail work. That kind of simplicity has real dollar value when you’re working.
Watch the full tutorial on YouTube to see the actual footage and judge the image quality for yourself.
Comments
Leave a Comment