
I’ll be straight with you: I’ve been burned enough times by “affordable alternative” lenses that I now keep a running spreadsheet before I commit to anything. Most fast primes in this focal range make you choose between sharp wide open, decent bokeh, or image stabilization. You rarely get all three without jumping to a first-party lens at a much steeper price. So when Tamron dropped the SP 85mm f/1.8 Di VC, I paid attention.
In this KelbyOne tutorial, host Larry sits down with two Tamron reps, Ken and Andre, for a firsthand walkthrough of what this lens actually does in real shooting conditions. It’s not a lab test. It’s the kind of conversation that happens when people who’ve actually used a piece of glass explain what surprised them. That format is where you get the honest details, and this one has a few worth unpacking. Watch the full tutorial on YouTube
What follows is my breakdown of the key points from that conversation, expanded with the context I think matters most if you’re deciding whether this lens belongs in your bag.
Step 1: Understand What “SP” and “Di” Actually Mean Before You Buy
 Tamron rep explaining DI series and SP designation
Tamron uses a naming system that’s easy to gloss over, but it tells you a lot about what you’re getting. The “Di” designation confirms this is a full-frame lens, not a crop-sensor optic repurposed for larger sensors. That matters because Di lenses are engineered from the ground up to cover a 35mm image circle without vignetting or corner softness. The “SP” label means it sits in Tamron’s professional lineup, which translates to tighter manufacturing tolerances, better materials, and weather-resistant construction.
Tamron rep explaining DI series and SP designation
Tamron uses a naming system that’s easy to gloss over, but it tells you a lot about what you’re getting. The “Di” designation confirms this is a full-frame lens, not a crop-sensor optic repurposed for larger sensors. That matters because Di lenses are engineered from the ground up to cover a 35mm image circle without vignetting or corner softness. The “SP” label means it sits in Tamron’s professional lineup, which translates to tighter manufacturing tolerances, better materials, and weather-resistant construction.
If you’re shopping used or comparing against third-party options, these labels are your first filter. A Di lens on a crop body will work, but you’d be paying for coverage you’ll never use. And a non-SP Tamron is a different product category entirely, built to a different standard.
Step 2: Know Your Mount Options and Plan Ahead
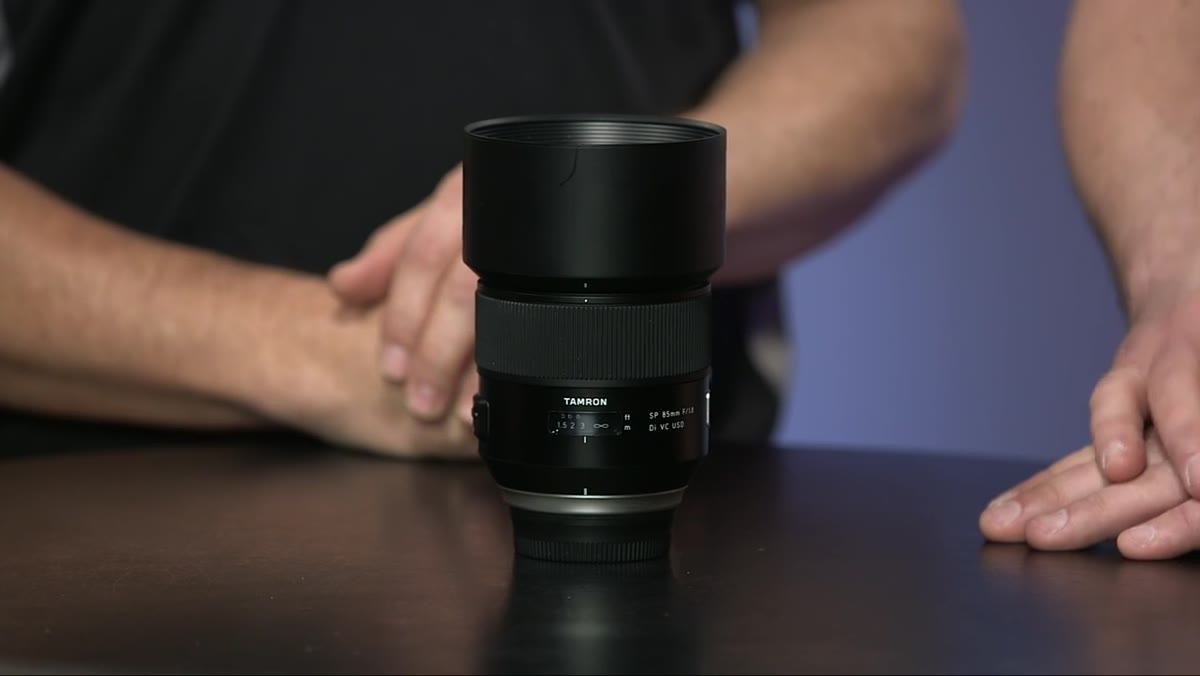 Discussion of Canon, Nikon, and Sony Alpha mount availability
At launch, the 85mm f/1.8 VC shipped for Canon and Nikon mounts, with Sony Alpha support confirmed but coming later. That rollout pattern is common with Tamron’s SP lenses, and it’s worth knowing before you assume it’s available for your system on day one.
Discussion of Canon, Nikon, and Sony Alpha mount availability
At launch, the 85mm f/1.8 VC shipped for Canon and Nikon mounts, with Sony Alpha support confirmed but coming later. That rollout pattern is common with Tamron’s SP lenses, and it’s worth knowing before you assume it’s available for your system on day one.
If you’re a Sony shooter, the lesson here is to check current availability rather than relying on announcement dates. A lens that’s “coming soon” at the time of a review video might be widely available now, or it might still be on a waiting list. Always verify before you budget for it.
Step 3: Shoot It Wide Open and Actually Trust the Results
 Reviewer describing shooting wide open for portrait results
One of the most useful confirmations in the tutorial is that this lens holds sharpness at f/1.8 rather than requiring you to stop down to f/2.8 to get usable results. That might sound like a given for a fast prime, but plenty of lenses with large apertures go soft in the center wide open and fall apart at the edges. Shooting a subject wide open and getting sharp eyes with natural falloff is not guaranteed across the category.
Reviewer describing shooting wide open for portrait results
One of the most useful confirmations in the tutorial is that this lens holds sharpness at f/1.8 rather than requiring you to stop down to f/2.8 to get usable results. That might sound like a given for a fast prime, but plenty of lenses with large apertures go soft in the center wide open and fall apart at the edges. Shooting a subject wide open and getting sharp eyes with natural falloff is not guaranteed across the category.
The Tamron rep described grabbing the lens and immediately shooting his infant daughter at f/1.8, with results he described as genuinely impressive rather than “good for wide open.” For portrait work, that distinction matters. If you’re shooting in available light at a reception or a newborn session, you want to shoot at your maximum aperture with confidence, not as a compromise.
Step 4: Pay Attention to the Bokeh Rendering, Not Just the Number
 Discussion of bokeh quality and out-of-focus rendering
Aperture numbers don’t tell you how a lens renders out-of-focus areas. Two lenses at f/1.8 can produce very different bokeh depending on the number of aperture blades, the curvature of the glass elements, and how the optical formula handles the transition from sharp to blurred regions.
Discussion of bokeh quality and out-of-focus rendering
Aperture numbers don’t tell you how a lens renders out-of-focus areas. Two lenses at f/1.8 can produce very different bokeh depending on the number of aperture blades, the curvature of the glass elements, and how the optical formula handles the transition from sharp to blurred regions.
The tutorial specifically calls out this lens’s bokeh as a design priority rather than a side effect of its focal length and aperture. At 85mm with a wide maximum aperture, you’re going to get subject separation regardless. But the character of that blur, whether it’s smooth and creamy or busy and distracting, is a separate question. From what’s shown and described here, Tamron put real engineering work into making the out-of-focus rendering look intentional rather than incidental.
Step 5: Factor In Vibration Compensation as a Real Differentiator
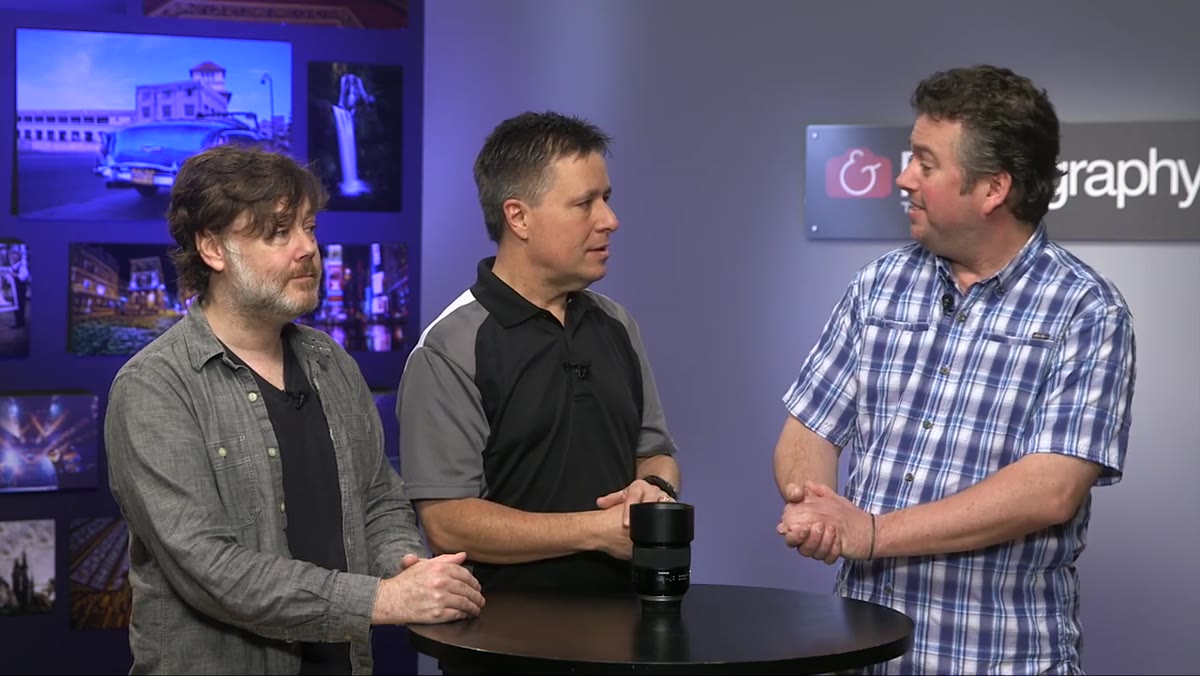 Andre explaining VC and three stops of correction on prime lenses
Here’s where this lens separates itself most clearly from the competition. Vibration compensation on a prime lens is uncommon. Most manufacturers reserve stabilization for zooms, and prime lens buyers are expected to use their aperture advantage to compensate for camera shake. Tamron has been building VC into their prime lineup across focal lengths, and this 85mm carries three stops of correction.
Andre explaining VC and three stops of correction on prime lenses
Here’s where this lens separates itself most clearly from the competition. Vibration compensation on a prime lens is uncommon. Most manufacturers reserve stabilization for zooms, and prime lens buyers are expected to use their aperture advantage to compensate for camera shake. Tamron has been building VC into their prime lineup across focal lengths, and this 85mm carries three stops of correction.
Three stops means you can hand-hold at shutter speeds that would be impossible with an unstabilized lens and still get sharp frames. In a dim reception hall or a shaded outdoor setting, that’s the difference between shooting at a usable ISO and pushing into noise territory. For anyone doing event or low-light portrait work, this feature alone justifies a serious look at this lens over competing options.
Step 6: Evaluate the Coatings for Real-World Durability
 Andre describing eBAND and fluorine coating types
The lens carries two coatings worth knowing about. The first is Tamron’s eBAND coating, which targets ghosting and flare reduction. Shoot into a window or toward a bare bulb and you’ll see what that coating is doing, or more accurately, what it’s preventing. The second is a fluorine coating on the front element that repels moisture, fingerprints, and dust, making the glass easier to clean and more resistant to environmental exposure.
Andre describing eBAND and fluorine coating types
The lens carries two coatings worth knowing about. The first is Tamron’s eBAND coating, which targets ghosting and flare reduction. Shoot into a window or toward a bare bulb and you’ll see what that coating is doing, or more accurately, what it’s preventing. The second is a fluorine coating on the front element that repels moisture, fingerprints, and dust, making the glass easier to clean and more resistant to environmental exposure.
For photographers who aren’t precious about their gear (and I’m one of them), a fluorine coating is genuinely useful. It doesn’t make the lens weatherproof on its own, but it means a quick wipe with a microfiber cloth handles most of what gets on the front element during a real shoot.
What I’d Add From My Own Testing Approach
If I were evaluating this lens for a deal recommendation, I’d be running it side by side against the Canon 85mm f/1.8 and the Nikon 85mm f/1.8G, neither of which includes stabilization. The Tamron typically comes in at a competitive price relative to those options while adding VC, and the image quality from what’s shown here puts it firmly in the same conversation.
The one thing I’d verify hands-on is autofocus speed and consistency, particularly in lower contrast situations. That’s not covered in depth in the tutorial, and for fast-moving subjects or continuous shooting, it’s a variable that specs don’t always capture accurately.
The single most important thing this tutorial communicates is that Tamron built a prime lens with stabilization and didn’t sacrifice optical quality to do it. For portrait photographers who shoot in variable or challenging light, that combination is rare enough to take seriously.
Watch the full tutorial on YouTube to see the sample images and hear the full conversation with Tamron’s reps directly.
Comments (5)
Great breakdown. The step-by-step approach really helps.
Wow, I had no idea you could do this. Mind blown.
Wow, I had no idea you could do this. Mind blown.
This should be required reading for anyone starting out.
Excellent tutorial. I'd add that from a color grading standpoint, this technique is incredibly versatile.
Leave a Comment