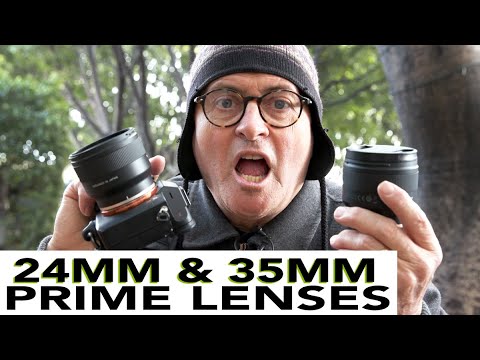
I have a spreadsheet. It has every budget lens I’ve tested going back three years, with columns for sharpness, bokeh quality, flare resistance, minimum focus distance, and price-per-feature. I built it because the gear market is loud and most reviews are written by people who aren’t actually flinching at the price tag. So when Tamron dropped two new compact primes for Sony mirrorless systems, both sitting under $350, I paid attention fast.
The review that caught my eye came from JP Morgan over at The Slanted Lens. He took the Tamron 24mm f/2.8 and 35mm f/2.8 out on an actual location shoot rather than pixel-peeping test charts in a studio. Watch the full tutorial on YouTube and you’ll see what I mean about the format. He’s handling them, shooting with them, and talking through what he notices in real time. That’s the kind of review that actually tells you something useful. Below, I’ve broken the tutorial down into the key steps and observations so you can figure out whether these lenses deserve a spot in your kit.
Step 1: Understand What “Stripped Down” Actually Means for Your Workflow
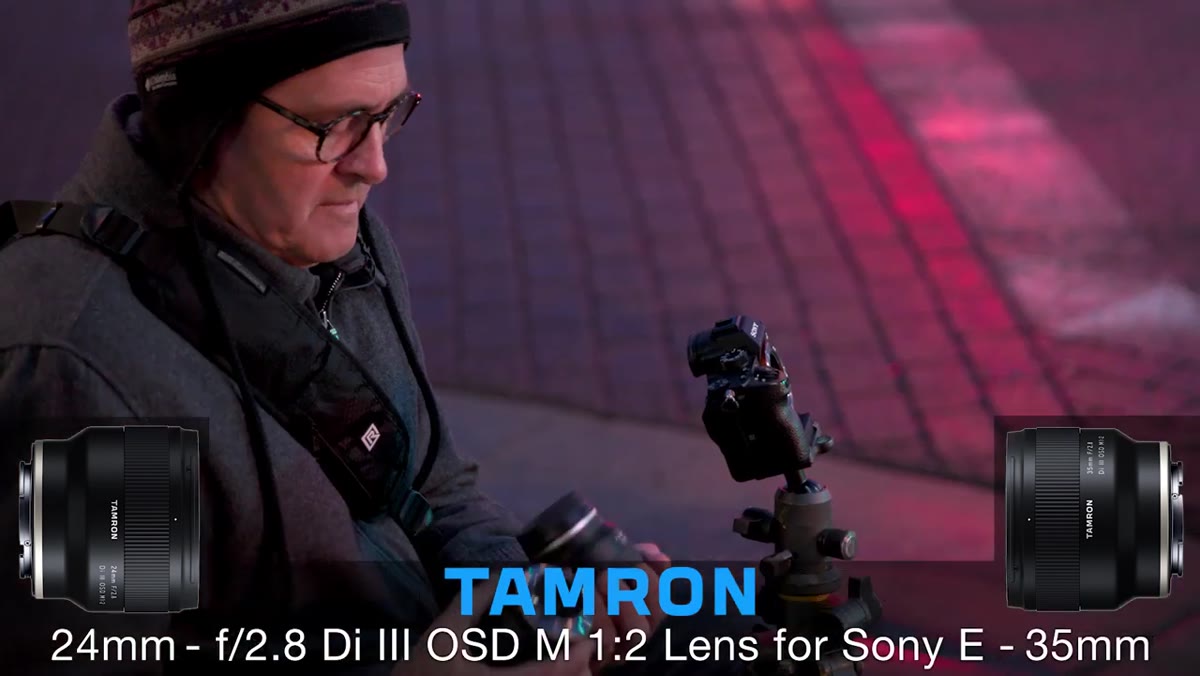 JP holding both compact Tamron lenses side by side
The first thing JP addresses is the physical design philosophy, and it matters more than it sounds. Both lenses weigh under 7.7 ounces. The 35mm comes in at 7.4 ounces and the 24mm at 7.6 ounces. They’re both roughly two and a half inches tall with a 67mm filter thread. That uniformity across both lenses is a quiet convenience most reviewers skip over. One filter size, one lens cap diameter, one hood system to think about.
JP holding both compact Tamron lenses side by side
The first thing JP addresses is the physical design philosophy, and it matters more than it sounds. Both lenses weigh under 7.7 ounces. The 35mm comes in at 7.4 ounces and the 24mm at 7.6 ounces. They’re both roughly two and a half inches tall with a 67mm filter thread. That uniformity across both lenses is a quiet convenience most reviewers skip over. One filter size, one lens cap diameter, one hood system to think about.
The tradeoff is that Tamron moved all the automated controls into the camera menu rather than putting physical switches on the lens body. JP mentions this gave him pause initially, but his workflow adapted quickly. On Sony bodies, you can remap the function button to handle manual-to-auto focus switching, which removes most of the friction. If you’re already comfortable in Sony’s menu system, this won’t slow you down.
Step 2: Evaluate the Size-to-Camera Match Before You Buy
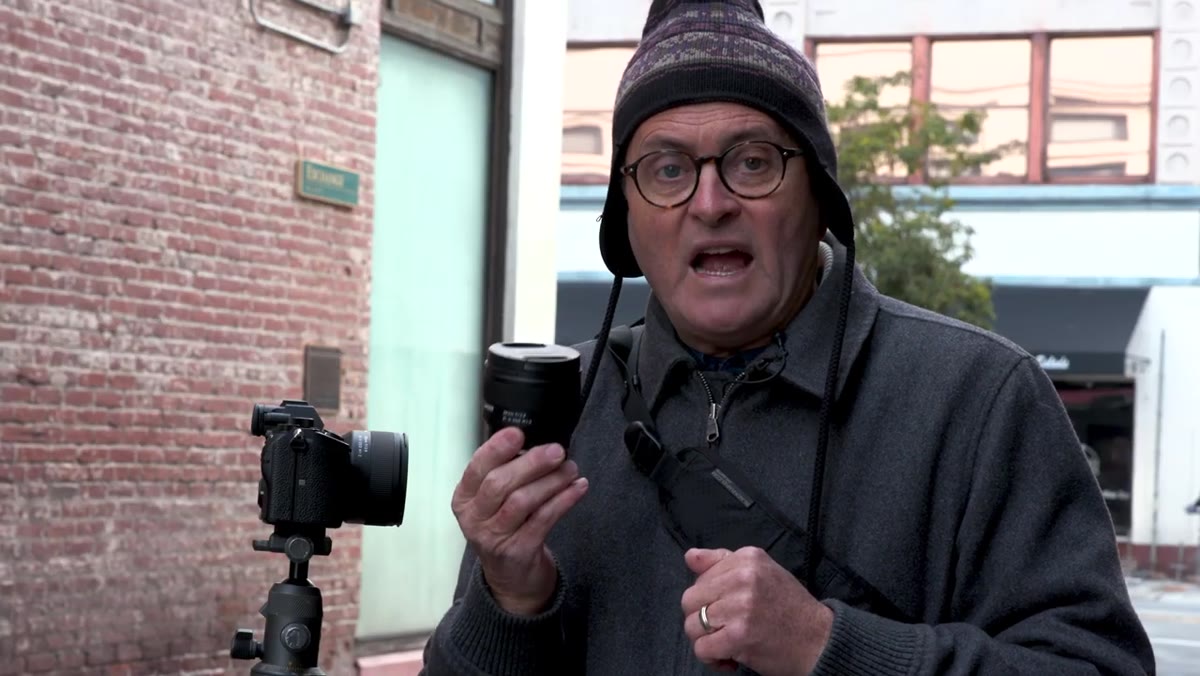 Tamron prime mounted on Sony mirrorless body outdoors
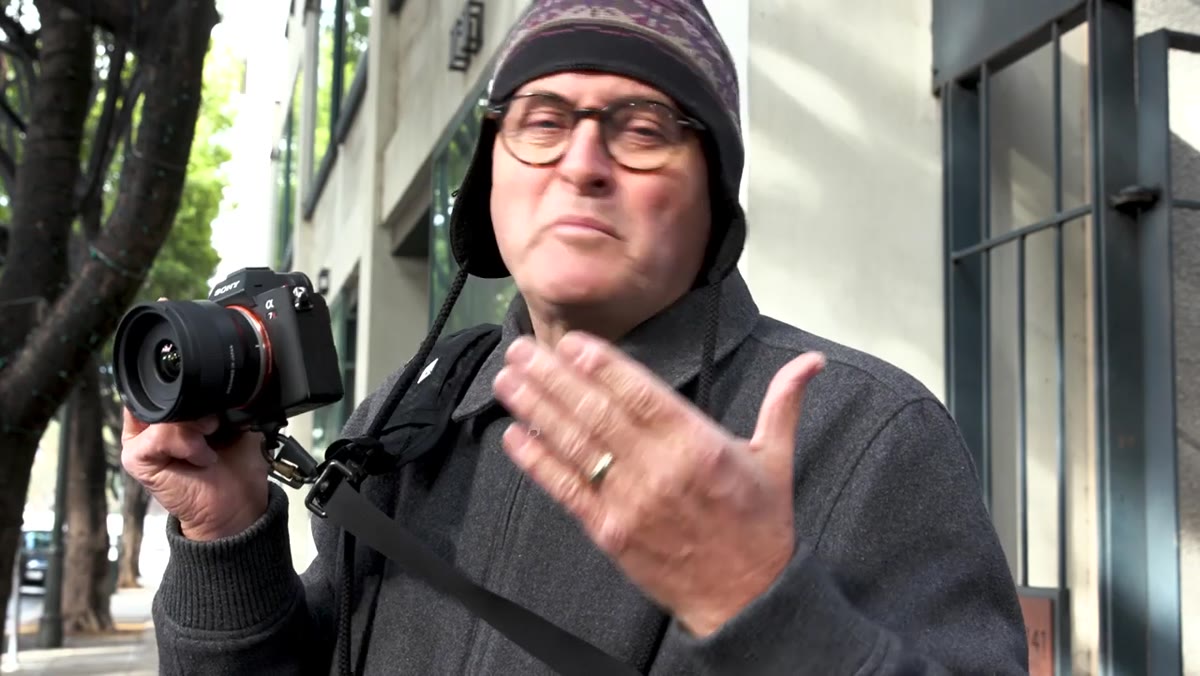
JP makes a point I think is genuinely underrated: lens size should match camera size. When you mount a large G Master prime on a compact Sony mirrorless body, the system becomes front-heavy and the whole point of shooting mirrorless starts to evaporate. These Tamron lenses are sized to actually complement the format rather than fight it.
Tamron prime mounted on Sony mirrorless body outdoors
JP makes a point I think is genuinely underrated: lens size should match camera size. When you mount a large G Master prime on a compact Sony mirrorless body, the system becomes front-heavy and the whole point of shooting mirrorless starts to evaporate. These Tamron lenses are sized to actually complement the format rather than fight it.
If you’re building a travel kit or a lightweight street setup, this balance question should be near the top of your checklist. A lens that makes your camera awkward to carry is a lens you’ll leave at home. The Tamron 24mm and 35mm are designed so the housing stays consistent and compact, which is part of how Tamron kept the price where it is.
Step 3: Test the Minimum Focus Distance for Close-Up Versatility
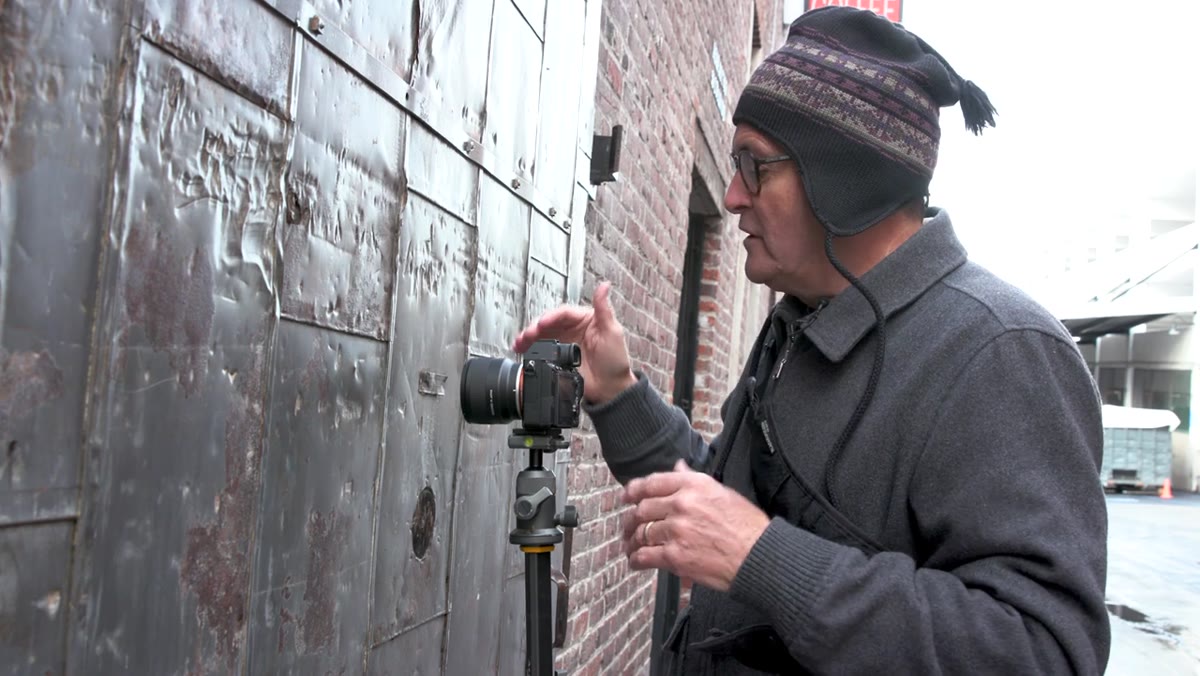 JP shooting a subject at near-macro distance with the 24mm
Here’s where these lenses surprised me watching the footage. The 24mm focuses down to 4.7 inches from the subject. The 35mm gets to 5.9 inches. At those distances, you’re effectively doing macro work without a macro lens. JP demonstrates this on location and the frame fills fast. You’re not just getting a wide-angle or a slightly-longer normal focal length. You’re getting a lens that can double as a close-focus tool for product work, food, or detail shots.
JP shooting a subject at near-macro distance with the 24mm
Here’s where these lenses surprised me watching the footage. The 24mm focuses down to 4.7 inches from the subject. The 35mm gets to 5.9 inches. At those distances, you’re effectively doing macro work without a macro lens. JP demonstrates this on location and the frame fills fast. You’re not just getting a wide-angle or a slightly-longer normal focal length. You’re getting a lens that can double as a close-focus tool for product work, food, or detail shots.
The 35mm is the more interesting option here in my opinion because the slightly longer focal length compresses the subject a bit more at close range, which flatters a lot of subjects. If I were choosing between the two primarily for versatility, the 35mm edges it based on this capability alone.
Step 4: Pay Attention to How the Lens Shade Design Reflects the Optics
 Cutout lens hood on the 35mm being attached to lens
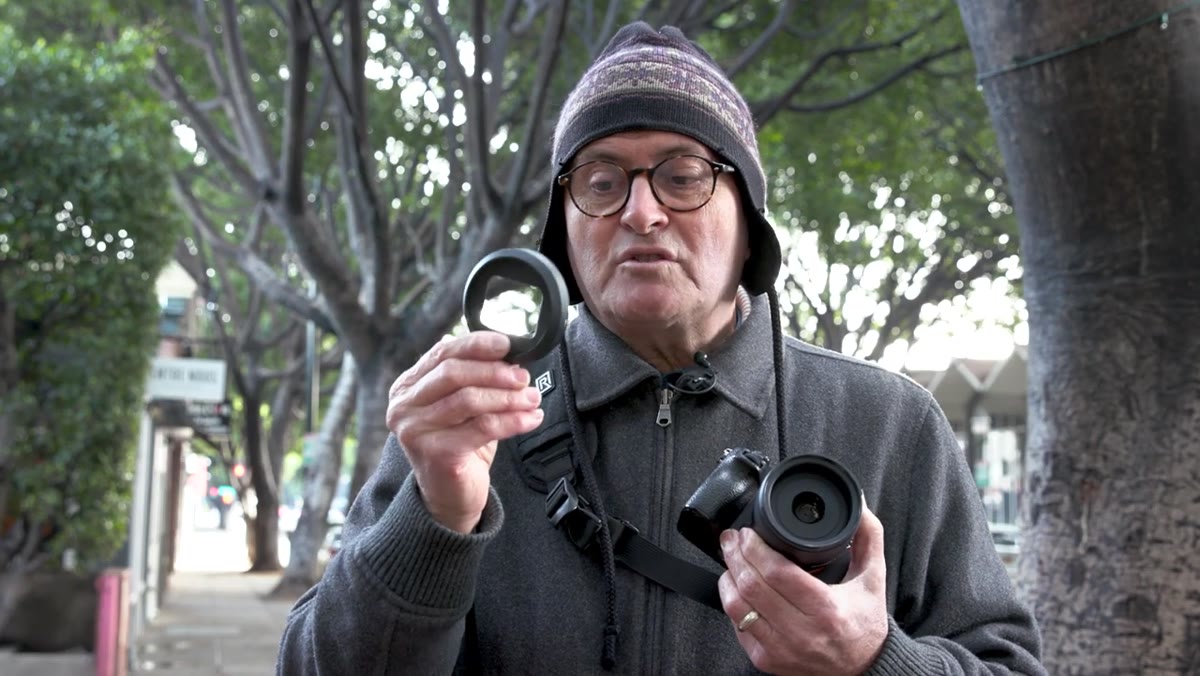
The lens hood design tells you something about how the optics are laid out inside. The 35mm gets a cutout-style hood, which looks a little unusual if you haven’t seen one before. The reason it works is that the lens elements are recessed back into the housing rather than sitting flush with the front. The cutout is enough to block stray light because there’s already physical depth protecting the elements.
Cutout lens hood on the 35mm being attached to lens
The lens hood design tells you something about how the optics are laid out inside. The 35mm gets a cutout-style hood, which looks a little unusual if you haven’t seen one before. The reason it works is that the lens elements are recessed back into the housing rather than sitting flush with the front. The cutout is enough to block stray light because there’s already physical depth protecting the elements.
The 24mm uses a more conventional petal hood because its elements come right to the front of the barrel. Neither design is better overall. They’re just solving the same problem from different geometries. What matters is that Tamron thought about flare control at the design stage rather than treating the hood as an afterthought.
Step 5: Shoot Directly Into the Sun to Test Flare and Chromatic Aberration
 Outdoor shot looking toward sun, evaluating flare control
JP specifically shoots toward the sun during his test, and the results are worth noting. He sees no meaningful chromatic aberration and controlled flare. For lenses in this price range, that’s not guaranteed. Plenty of budget glass in the sub-$400 range will blow out highlights and throw purple fringing all over high-contrast edges when you push them into backlit situations.
Outdoor shot looking toward sun, evaluating flare control
JP specifically shoots toward the sun during his test, and the results are worth noting. He sees no meaningful chromatic aberration and controlled flare. For lenses in this price range, that’s not guaranteed. Plenty of budget glass in the sub-$400 range will blow out highlights and throw purple fringing all over high-contrast edges when you push them into backlit situations.
The practical implication here is that you can actually use these lenses in the field without babying the light. Shooting on location means dealing with whatever the sun is doing that day. A lens that falls apart against a bright sky is a lens that limits your shooting window. Based on what the footage shows, these hold up in real conditions.
Step 6: Evaluate Bokeh Quality Against the Price Point
 Close-up shot showing smooth circular bokeh from 35mm
Both lenses use seven-aperture-blade designs. Odd numbers of blades typically produce more circular bokeh at out-of-focus distances compared to even-numbered designs, and JP’s footage backs that up. The background separation is smooth and round with no harsh polygon shapes creeping in. For portraits or any subject-isolation work, this matters to clients even if they can’t name what they’re looking at.
Close-up shot showing smooth circular bokeh from 35mm
Both lenses use seven-aperture-blade designs. Odd numbers of blades typically produce more circular bokeh at out-of-focus distances compared to even-numbered designs, and JP’s footage backs that up. The background separation is smooth and round with no harsh polygon shapes creeping in. For portraits or any subject-isolation work, this matters to clients even if they can’t name what they’re looking at.
At f/2.8, you’re not getting the same separation depth as an f/1.4 or f/1.8 lens, but the quality of the blur itself looks competitive with lenses that cost significantly more. That’s the more important variable in most real-world shots.
What I’d Add From My Own Testing Experience
I haven’t had these specific lenses in hand yet, but I’ve tested enough Tamron glass to have an opinion on their design consistency. Tamron’s approach to their Sony-native lineup has been to optimize for real shooting conditions rather than spec-sheet numbers. The 28-75mm f/2.8 that JP references in the video is one I’ve put through its paces, and it holds up the same way in backlit situations. The pattern holds.
My one caveat for anyone considering these as their first prime: f/2.8 is a meaningful step down from f/1.8 in low-light situations. If indoor, available-light shooting is your primary use case, I’d run the numbers on Sony’s 35mm f/1.8 before committing. But if you’re building a compact travel or location kit and light control is less of a constraint, the Tamron pair at this price is hard to argue with. Two lenses under $700 total, both small enough to forget you’re carrying them.
The single thing to take away from this tutorial is that price compression in the prime lens market is real right now, and Tamron is one of the brands actually delivering on it rather than just marketing around it. Sharp glass, practical minimum focus distances, solid flare control, and a form factor that makes sense for mirrorless shooting. That’s a complete sentence at under $350 per lens.
Watch the full tutorial on YouTube to see JP’s location footage and judge the image quality for yourself before you buy.
Comments (2)
Solid advice. Especially the part about taking your time with it.
This saved me so much time on my last edit. Wish I'd found this sooner.
Leave a Comment