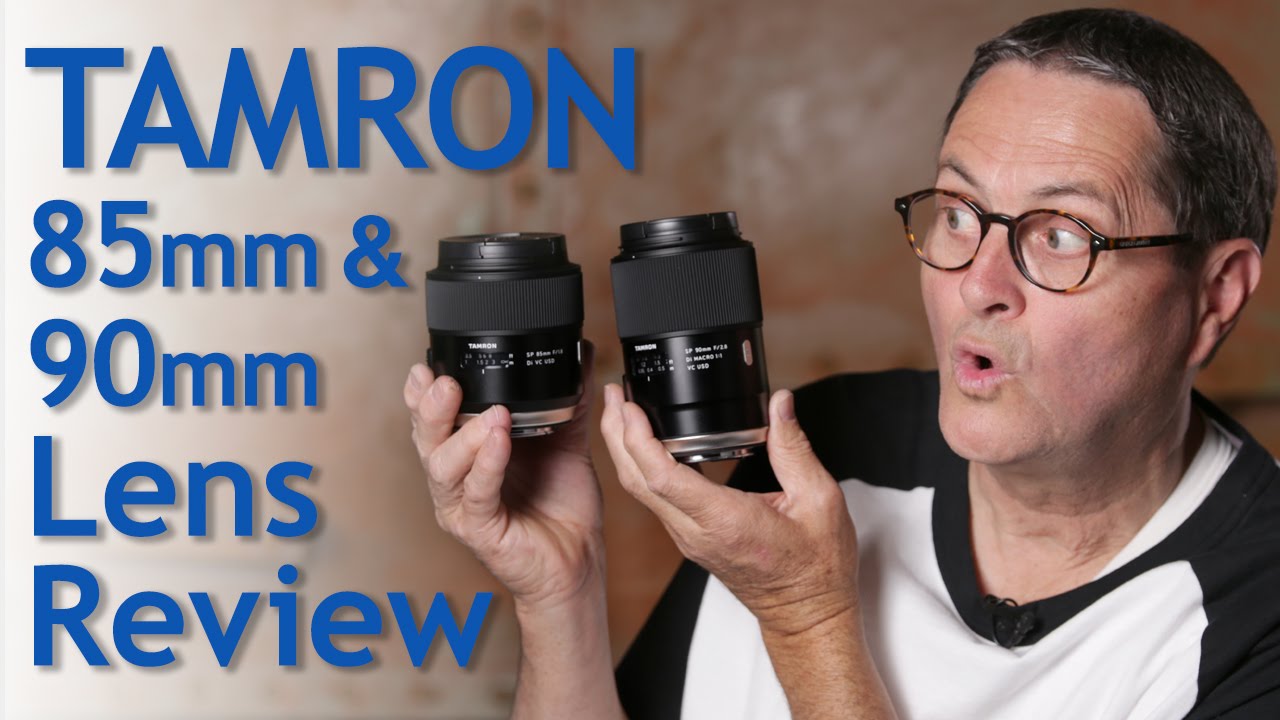
I’ve tested a lot of budget glass over the years. Enough to fill a spreadsheet that my friends think is deeply unhinged. And the question I get most often isn’t “which cheap lens is sharpest?” It’s simpler than that: “Which primes can I actually build a working kit around without spending Canon L-series money?” That’s the problem I keep trying to solve, and it’s exactly why I sat up when I came across this review.
In this Watch the full tutorial on YouTube breakdown from The Slanted Lens, host JP Morgan walks through two refreshed Tamron primes side by side: the updated 90mm f/2.8 macro and the newer 85mm f/1.8. These aren’t obscure lenses nobody has heard of. The 90mm has a long reputation. But the updates Tamron made to both of these, and the way JP explains where each one fits in a working kit, genuinely changed how I’m thinking about filling the gaps in my own bag.
What follows is a step-by-step breakdown of everything covered in that video, with my own read on what it means for photographers who are buying on value rather than brand prestige.
Step 1: Understand What Tamron Actually Changed on the 90mm
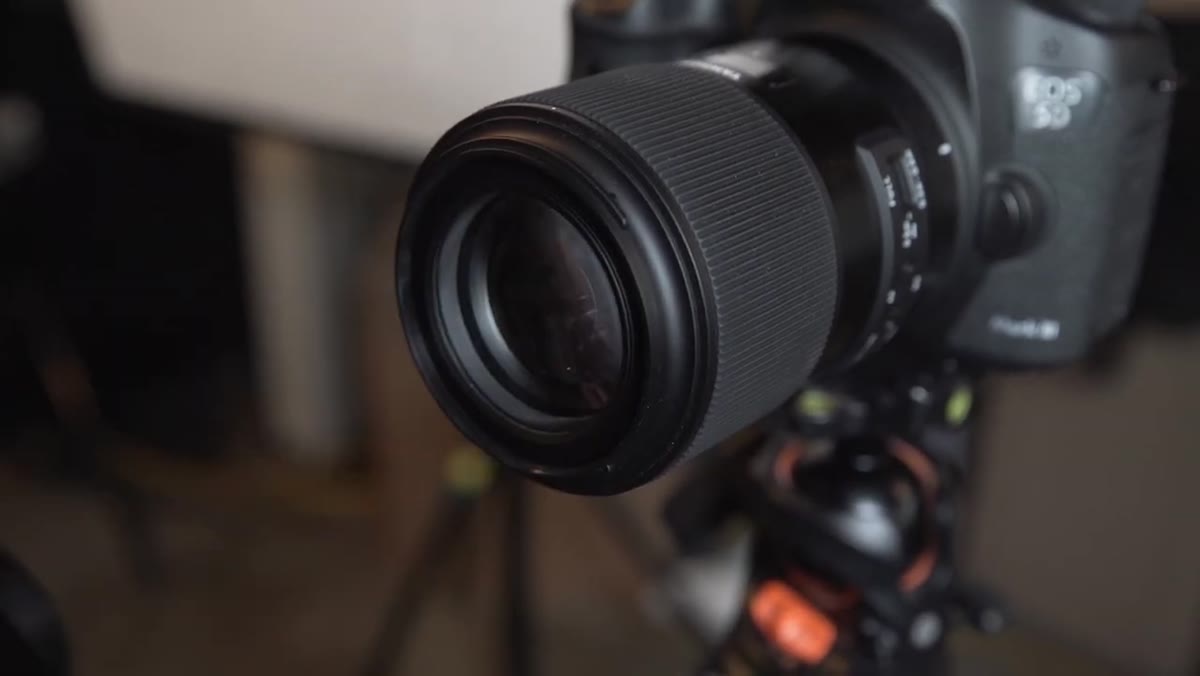 JP holding the updated 90mm lens toward camera
The old Tamron 90mm f/2.8 macro was already a well-regarded lens. Photographers used it for portraits just as often as macro work, and it punched well above its price. But the updated version isn’t just a cosmetic refresh. The most meaningful change is one that sounds small until you’ve worked on a busy set: Tamron switched the focus ring direction from the Nikon standard to the Canon standard. If you’ve ever handed a lens to an assistant or a second shooter and watched them hunt for focus in the wrong direction, you already know why this matters. Consistency across a kit saves real time and real mistakes.
JP holding the updated 90mm lens toward camera
The old Tamron 90mm f/2.8 macro was already a well-regarded lens. Photographers used it for portraits just as often as macro work, and it punched well above its price. But the updated version isn’t just a cosmetic refresh. The most meaningful change is one that sounds small until you’ve worked on a busy set: Tamron switched the focus ring direction from the Nikon standard to the Canon standard. If you’ve ever handed a lens to an assistant or a second shooter and watched them hunt for focus in the wrong direction, you already know why this matters. Consistency across a kit saves real time and real mistakes.
Step 2: Note the Build and Handling Upgrades
 Close-up of silver banding and exterior finish on the 90mm
Beyond the focus direction fix, Tamron upgraded the 90mm’s weather resistance, added better vibration compensation, and fitted it with ultra-silent autofocus motors. These aren’t marketing bullet points. Quieter AF matters if you’re shooting video or working near audio recording. Dust resistance matters if you shoot outdoors, at events, or anywhere that isn’t a controlled studio. JP makes the point that these lenses now look and feel more like professional workhorses, and the silver banding on both lenses reinforces that. It’s a small aesthetic detail, but when you’re working in front of clients, how your gear looks does have an effect on how they perceive you.
Close-up of silver banding and exterior finish on the 90mm
Beyond the focus direction fix, Tamron upgraded the 90mm’s weather resistance, added better vibration compensation, and fitted it with ultra-silent autofocus motors. These aren’t marketing bullet points. Quieter AF matters if you’re shooting video or working near audio recording. Dust resistance matters if you shoot outdoors, at events, or anywhere that isn’t a controlled studio. JP makes the point that these lenses now look and feel more like professional workhorses, and the silver banding on both lenses reinforces that. It’s a small aesthetic detail, but when you’re working in front of clients, how your gear looks does have an effect on how they perceive you.
Step 3: Learn Where the 90mm Fits in Your Prime Lineup
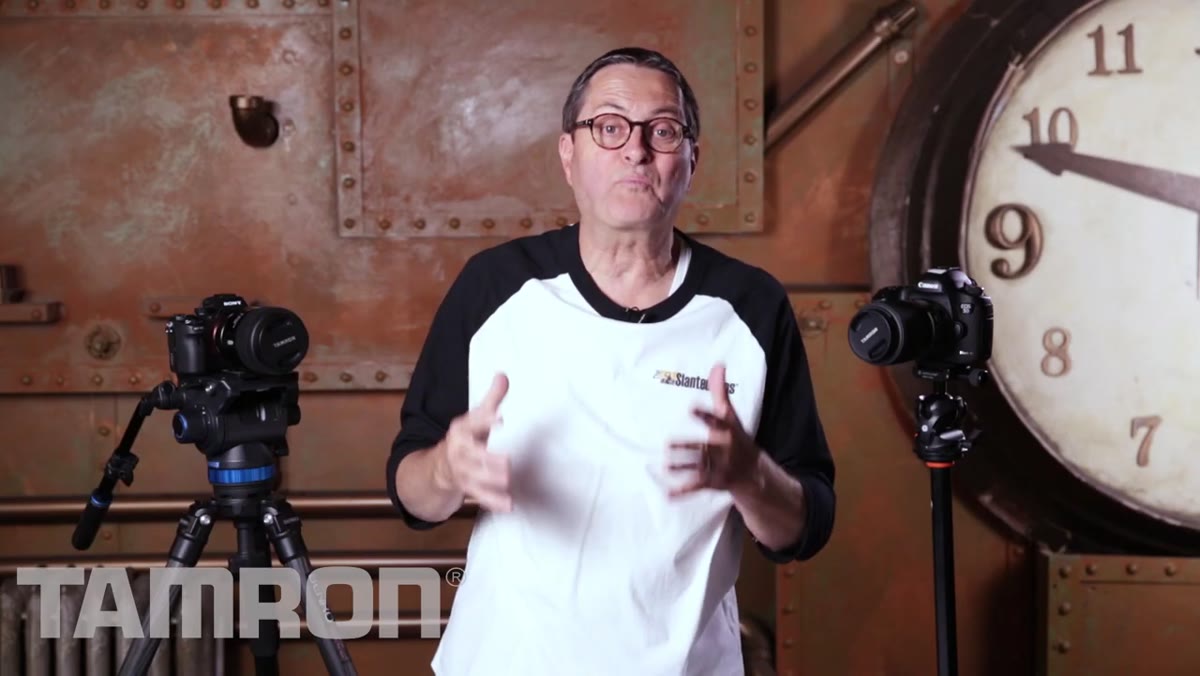 JP comparing the 90mm alongside other Tamron prime lenses
JP lays out Tamron’s current prime lineup: 35mm, 45mm, 85mm, and the 90mm. The 90mm slots in as both a macro specialist and a portrait option, which means it’s pulling double duty. For macro work specifically, the lens includes an autofocus override that lets you snap from AF into manual focus quickly when you’re working at extreme close distances and autofocus starts hunting. If you’ve ever done product photography or shot insects or flowers and watched your AF rack back and forth searching for an edge to grab, that manual override is a genuine workflow improvement, not a gimmick.
JP comparing the 90mm alongside other Tamron prime lenses
JP lays out Tamron’s current prime lineup: 35mm, 45mm, 85mm, and the 90mm. The 90mm slots in as both a macro specialist and a portrait option, which means it’s pulling double duty. For macro work specifically, the lens includes an autofocus override that lets you snap from AF into manual focus quickly when you’re working at extreme close distances and autofocus starts hunting. If you’ve ever done product photography or shot insects or flowers and watched your AF rack back and forth searching for an edge to grab, that manual override is a genuine workflow improvement, not a gimmick.
Step 4: Evaluate the 85mm f/1.8 as a Portrait and Video Prime
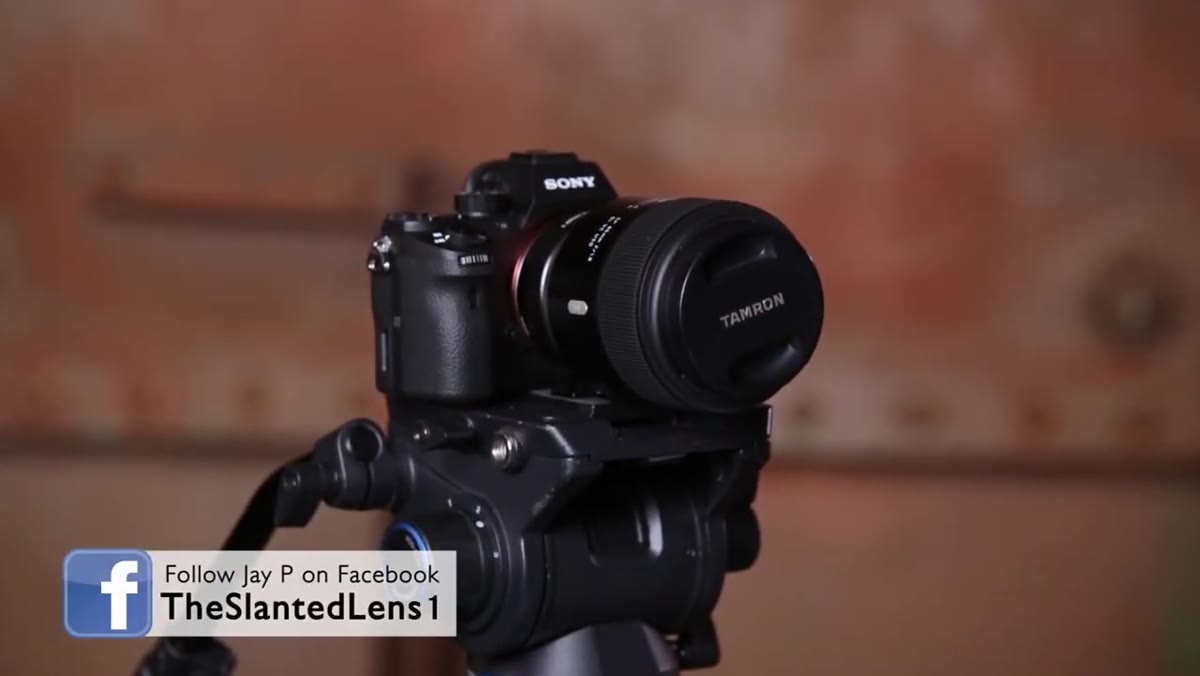 JP introducing the 85mm f/1.8 lens on camera
The 85mm f/1.8 is the newer of the two lenses and is built with a different purpose. This is a portrait lens first. JP describes it as a head-and-shoulders lens, and that framing is accurate. At f/1.8 on a full-frame body, the subject separation is serious. Both lenses use nine-blade apertures, which means the out-of-focus areas are smooth and rounded rather than harsh. Bokeh quality is one of those things that’s hard to describe in specs but easy to see in images, and JP flags it as one of the first things worth evaluating in any prime.
JP introducing the 85mm f/1.8 lens on camera
The 85mm f/1.8 is the newer of the two lenses and is built with a different purpose. This is a portrait lens first. JP describes it as a head-and-shoulders lens, and that framing is accurate. At f/1.8 on a full-frame body, the subject separation is serious. Both lenses use nine-blade apertures, which means the out-of-focus areas are smooth and rounded rather than harsh. Bokeh quality is one of those things that’s hard to describe in specs but easy to see in images, and JP flags it as one of the first things worth evaluating in any prime.
Step 5: Understand Why f/1.8 Matters Specifically for Video
 JP explaining depth of field on crop sensor video cameras
This is the part of the video I thought was most underrated for the audience likely watching it. JP points out that many video cameras, including cinema cameras and mirrorless bodies used for video production, use crop sensors. A crop sensor changes your effective depth of field. A 90mm f/2.8 on a crop-sensor video camera won’t give you the same shallow, cinematic look it would on full frame. The 85mm f/1.8, because it opens wider, gives you more room to achieve that shallow depth of field even on a smaller sensor. If you’re a photographer who also shoots video for clients, that’s a practical reason to prioritize the 85mm as the first buy.
JP explaining depth of field on crop sensor video cameras
This is the part of the video I thought was most underrated for the audience likely watching it. JP points out that many video cameras, including cinema cameras and mirrorless bodies used for video production, use crop sensors. A crop sensor changes your effective depth of field. A 90mm f/2.8 on a crop-sensor video camera won’t give you the same shallow, cinematic look it would on full frame. The 85mm f/1.8, because it opens wider, gives you more room to achieve that shallow depth of field even on a smaller sensor. If you’re a photographer who also shoots video for clients, that’s a practical reason to prioritize the 85mm as the first buy.
Step 6: Decide Which Lens You Actually Need First
 JP holding both lenses up side by side
JP jokes that he’s glad he doesn’t have to choose between them, and honestly that tracks. But for most people working with a real budget, the decision is real. The 90mm f/2.8 macro is the more versatile tool, especially if you do any product, food, or close-up nature work alongside portraits. The 85mm f/1.8 is the better choice if portraits and video are your primary focus and you want maximum background separation. They’re not redundant. They solve different problems.
JP holding both lenses up side by side
JP jokes that he’s glad he doesn’t have to choose between them, and honestly that tracks. But for most people working with a real budget, the decision is real. The 90mm f/2.8 macro is the more versatile tool, especially if you do any product, food, or close-up nature work alongside portraits. The 85mm f/1.8 is the better choice if portraits and video are your primary focus and you want maximum background separation. They’re not redundant. They solve different problems.
What I’d Add From My Own Testing
The thing JP doesn’t get into, because it’s not really the point of his review, is the resale and long-term value angle. Tamron’s SP-series primes hold their value unusually well for third-party glass. I’ve bought and sold Tamron lenses and come out nearly flat, which isn’t something I can say about a lot of budget-tier glass that depreciates fast once you open the box. If you’re buying into this lineup and there’s any chance you’ll upgrade your camera body down the road, these lenses will follow you. They’re also available for Sony E-mount, Nikon F, and Canon EF, so unless you’re deep into a mirrorless-native system with no adapter, you’ve got options.
One honest caveat: at f/2.8, the 90mm is not the right choice if your primary goal is ultra-shallow portraits in low light. For that use case, the 85mm f/1.8 wins every time. But if you’ve been eyeing macro photography and keep telling yourself you’ll get to it eventually, the 90mm’s dual-purpose design makes the entry cost a lot easier to justify.
The single thing I want you to take away from this is that Tamron built two lenses here that solve real, specific problems rather than trying to do everything. That’s how you should think about buying glass, and that’s the lens philosophy worth copying. Watch JP’s full breakdown to see both lenses in action and hear him compare them on image quality directly.
Watch the full tutorial on YouTube
Comments
Leave a Comment