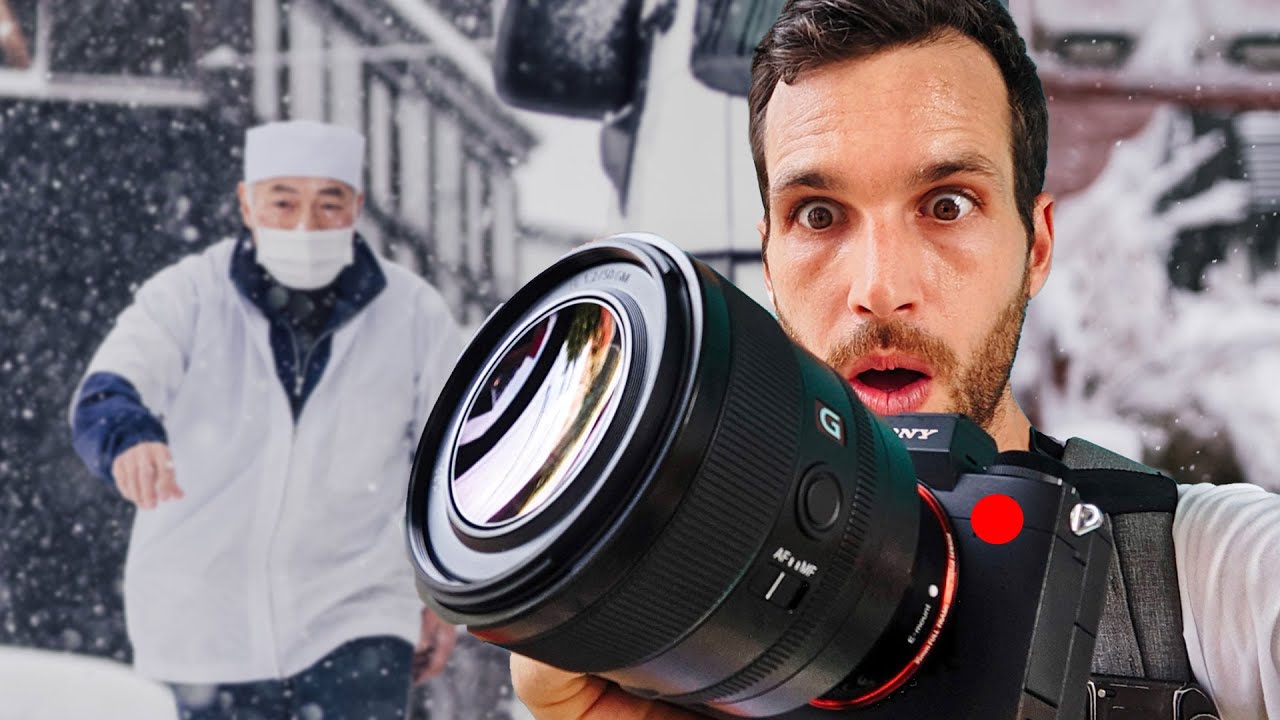
Street photography has a way of punishing hesitation. You either see the shot and commit, or you end up with a memory card full of “almost” frames. For a long time, my problem wasn’t confidence, it was framework. I’d walk a block, raise my camera, and react. But reacting isn’t the same as reading a scene, and the difference shows up in the final images. In this Pierre T. Lambert tutorial, shot entirely on the snowy streets of a small Japanese town, Lambert works through exactly that gap between reacting and reading. Watch the full tutorial on YouTube
What makes this session worth studying isn’t that Lambert nails every shot. He doesn’t. He wanders, second-guesses compositions, and admits when a location isn’t delivering. That honesty is the tutorial. You watch a working photographer think out loud, and the thinking is the technique. For anyone shooting street on a 50mm and wondering why their images feel flat, this walkthrough is a practical reset.
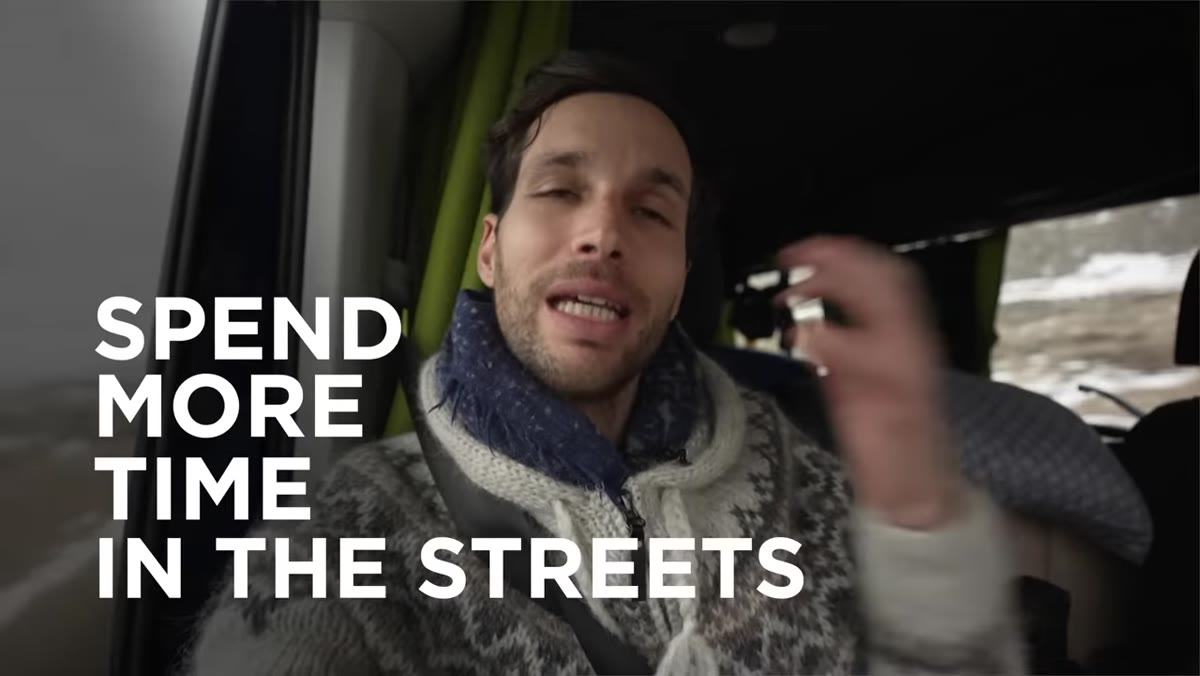
The core idea Lambert keeps returning to is this: before you shoot, ask what the scene is missing. Not what’s there, but what would complete it. A figure in a doorway. Someone crossing a bridge. A pop of color against a grey street. That mental habit, running a quick “what would make this work” check before lifting the camera, is the one trick the title promises. Everything else in the session is an application of it.
Step 1: Arrive Early and Let the Scene Read You First
 Empty snow-covered Japanese street, no subjects visible
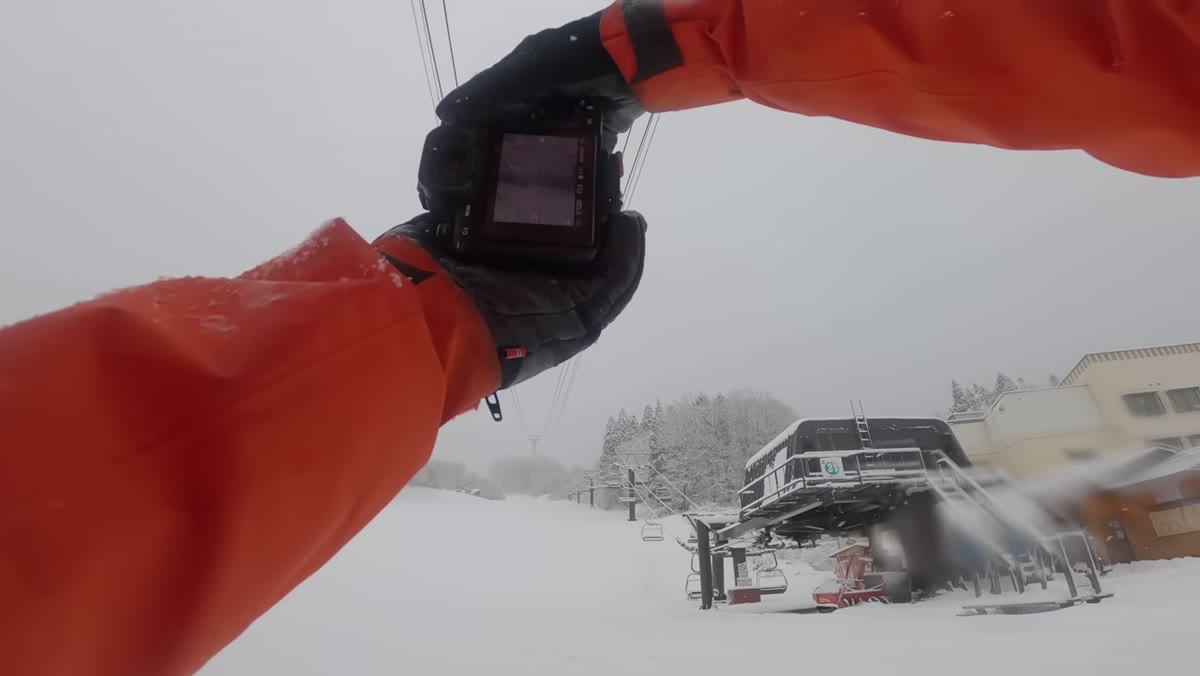
Lambert arrives at a ski lift station before it opens, and rather than forcing shots, he just observes. The streets are quiet, the light is flat, and there’s almost nothing to photograph yet. His first move isn’t to shoot, it’s to walk and notice: the geometry of the lift cables overhead, the symmetry of a narrow corridor, the steam rising from an onsen channel. He’s building a mental inventory of compositional raw materials before a single frame is captured. On your next street session, give yourself the first ten minutes as a no-camera lap. Walk it, clock the light sources, mark the backgrounds that are clean enough to isolate a subject against.
Empty snow-covered Japanese street, no subjects visible
Lambert arrives at a ski lift station before it opens, and rather than forcing shots, he just observes. The streets are quiet, the light is flat, and there’s almost nothing to photograph yet. His first move isn’t to shoot, it’s to walk and notice: the geometry of the lift cables overhead, the symmetry of a narrow corridor, the steam rising from an onsen channel. He’s building a mental inventory of compositional raw materials before a single frame is captured. On your next street session, give yourself the first ten minutes as a no-camera lap. Walk it, clock the light sources, mark the backgrounds that are clean enough to isolate a subject against.
Step 2: Use Symmetry as a Starting Point, Not a Final Answer
 Centered framing of a narrow corridor with symmetric lines
Lambert spots a narrow passageway with strong parallel lines and centers himself in it, trying to get a fully symmetrical frame. He gets close, acknowledges it’s not perfect, and moves on. The lesson isn’t “find symmetry and shoot it.” It’s that strong geometric lines are a signal: this spot has potential IF a subject appears. He’s pre-composing a frame he’ll be ready to use. Think of symmetry as a waiting room. Find it, lock your framing, and then be patient. The 50mm focal length works well here because it renders geometry honestly without the distortion a wide lens would add.
Centered framing of a narrow corridor with symmetric lines
Lambert spots a narrow passageway with strong parallel lines and centers himself in it, trying to get a fully symmetrical frame. He gets close, acknowledges it’s not perfect, and moves on. The lesson isn’t “find symmetry and shoot it.” It’s that strong geometric lines are a signal: this spot has potential IF a subject appears. He’s pre-composing a frame he’ll be ready to use. Think of symmetry as a waiting room. Find it, lock your framing, and then be patient. The 50mm focal length works well here because it renders geometry honestly without the distortion a wide lens would add.
Step 3: Identify the Missing Subject Before You Raise the Camera
 Empty bridge and street scene, Lambert describing ideal subject placement
This is the core habit Lambert demonstrates repeatedly throughout the session. He looks at a snow-covered bridge and says, out loud, that it would be a strong shot if someone in orange or traditional clothing crossed it. He’s not waiting for a perfect scene to appear. He’s diagnosing what a scene needs and then deciding whether it’s worth waiting for. This mental step costs nothing and it stops you from wasting frames on compositions that are structurally incomplete. Ask yourself: is this missing a subject, missing light, or missing time of day? If you can name what’s missing, you can decide whether to wait or move on.
Empty bridge and street scene, Lambert describing ideal subject placement
This is the core habit Lambert demonstrates repeatedly throughout the session. He looks at a snow-covered bridge and says, out loud, that it would be a strong shot if someone in orange or traditional clothing crossed it. He’s not waiting for a perfect scene to appear. He’s diagnosing what a scene needs and then deciding whether it’s worth waiting for. This mental step costs nothing and it stops you from wasting frames on compositions that are structurally incomplete. Ask yourself: is this missing a subject, missing light, or missing time of day? If you can name what’s missing, you can decide whether to wait or move on.
Step 4: Adjust Aperture for Context, Not Just Aesthetics
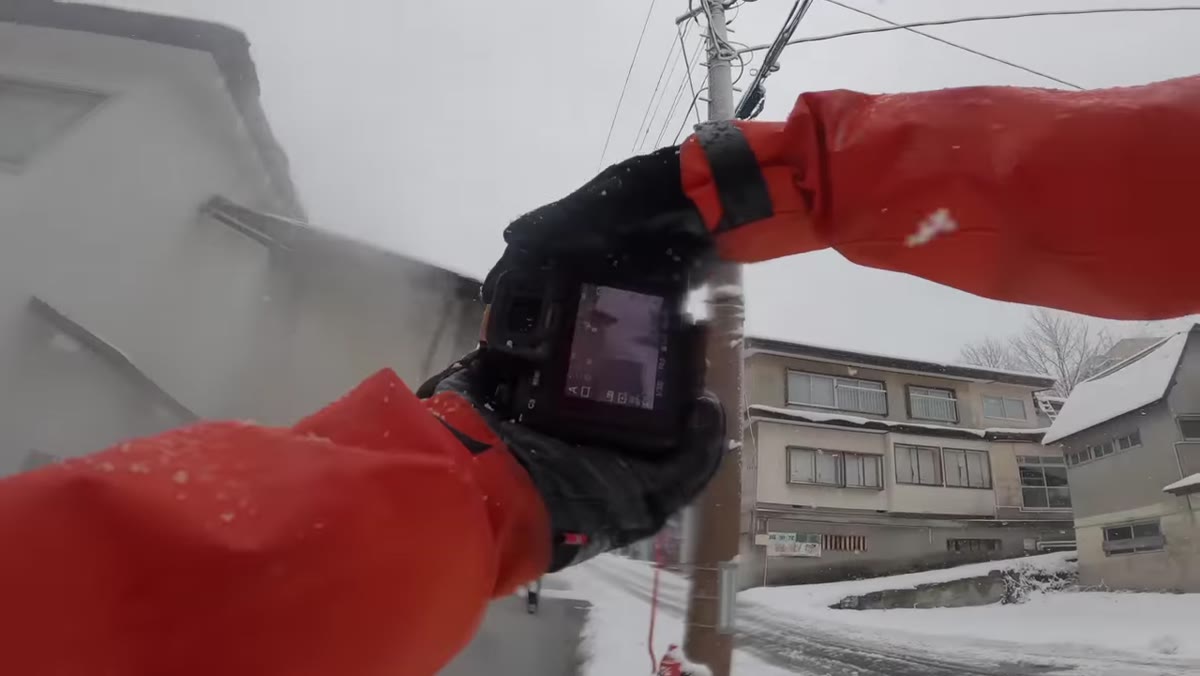 Lambert mentions shooting at F4 in low-contrast street environment
Lambert mentions he’s shooting around f/4 during this session, and his reasoning is practical: he doesn’t need extreme subject isolation because the backgrounds are already clean and low-contrast thanks to the snow. Wide-open apertures are a tool for separation, and when your environment does that work for you, there’s no reason to push to f/1.8 and lose depth in your subject. On a budget 50mm, like the Sony 50mm f/1.8 or the Canon nifty fifty, shooting at f/4 also gets you into the sharpest part of the lens’s performance range. Context should drive your aperture choice, not habit.
Lambert mentions shooting at F4 in low-contrast street environment
Lambert mentions he’s shooting around f/4 during this session, and his reasoning is practical: he doesn’t need extreme subject isolation because the backgrounds are already clean and low-contrast thanks to the snow. Wide-open apertures are a tool for separation, and when your environment does that work for you, there’s no reason to push to f/1.8 and lose depth in your subject. On a budget 50mm, like the Sony 50mm f/1.8 or the Canon nifty fifty, shooting at f/4 also gets you into the sharpest part of the lens’s performance range. Context should drive your aperture choice, not habit.
Step 5: Use Your Camera’s Crop Mode as a Compositional Tool
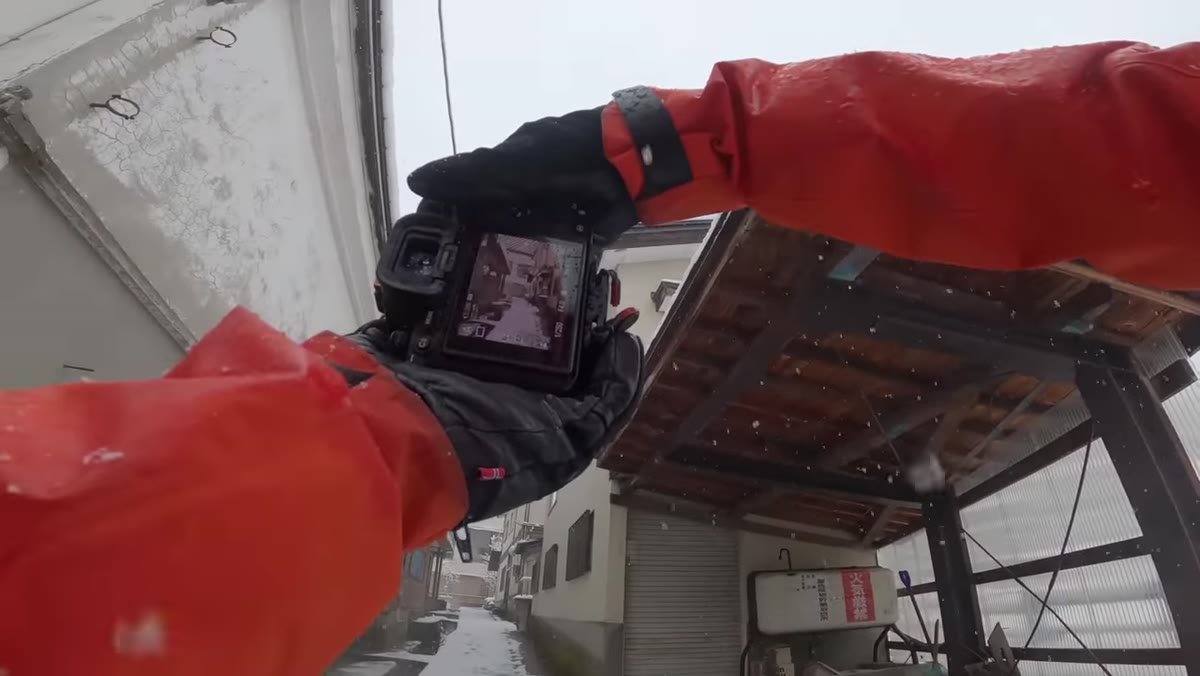 Lambert zooming in digitally to reframe a distant scene
Lambert talks about punching in using his camera’s crop mode to simulate a longer focal length. On a Sony body, the APS-C crop brings a 50mm to roughly 75mm equivalent, which adds compression and lets him reframe scenes without physically moving. He uses this to isolate specific elements when the full 50mm frame feels too busy or when the subject is too far to approach. This is a technique I’ve used constantly on crop-sensor cameras where a 50mm lands around 75-80mm equivalent anyway. Know your camera’s in-body crop options. It’s not cheating, it’s having two focal lengths in one body.
Lambert zooming in digitally to reframe a distant scene
Lambert talks about punching in using his camera’s crop mode to simulate a longer focal length. On a Sony body, the APS-C crop brings a 50mm to roughly 75mm equivalent, which adds compression and lets him reframe scenes without physically moving. He uses this to isolate specific elements when the full 50mm frame feels too busy or when the subject is too far to approach. This is a technique I’ve used constantly on crop-sensor cameras where a 50mm lands around 75-80mm equivalent anyway. Know your camera’s in-body crop options. It’s not cheating, it’s having two focal lengths in one body.
Step 6: Commit to the Mood, Not Just the Frame
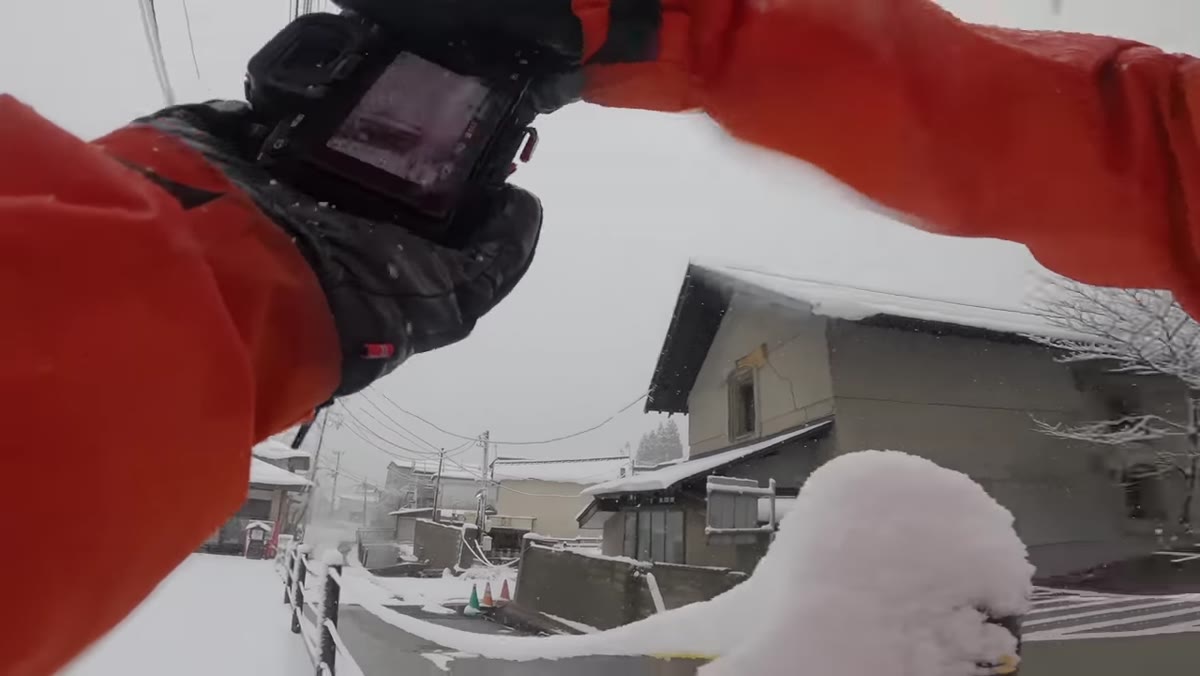 Lambert walking toward a more promising snow-covered street section
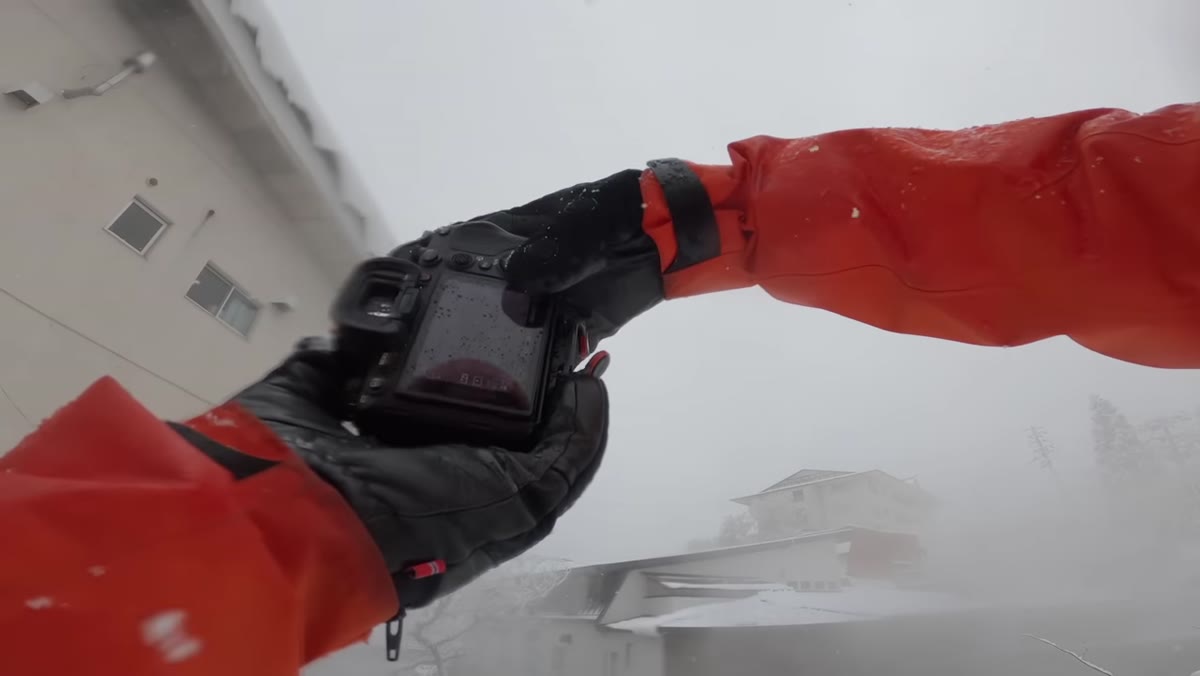
Late in the session, Lambert makes a deliberate choice to move toward streets that feel more alive, rather than continuing to force compositions out of a location that isn’t giving him what he came for. He says, simply, that he came for the snowy Japanese vibe and he’ll keep moving until he finds it. That’s a strategic decision, not a creative failure. On any street session, it’s easy to over-invest in a location just because you’re already there. Lambert’s willingness to walk away and chase the mood he’s after is the difference between documenting a place and making photographs that feel intentional.
Lambert walking toward a more promising snow-covered street section
Late in the session, Lambert makes a deliberate choice to move toward streets that feel more alive, rather than continuing to force compositions out of a location that isn’t giving him what he came for. He says, simply, that he came for the snowy Japanese vibe and he’ll keep moving until he finds it. That’s a strategic decision, not a creative failure. On any street session, it’s easy to over-invest in a location just because you’re already there. Lambert’s willingness to walk away and chase the mood he’s after is the difference between documenting a place and making photographs that feel intentional.
What I’d Add From My Own Experience
The missing-subject diagnostic Lambert uses is powerful, but it works even better if you pair it with a time limit. I give myself about 90 seconds at any static composition. If the right subject hasn’t appeared or doesn’t seem likely, I move. Waiting indefinitely for the perfect element is how you end up standing on a corner for 20 minutes and leaving with nothing. The 90-second rule keeps you mobile, and mobile is where street photography happens. This pairs naturally with the 50mm focal length because it forces you to be close to your subject, which means you have to keep moving anyway.
The single thing worth carrying out of this tutorial is the pre-shot question Lambert keeps asking: what would make this scene work? It reframes your job from documenter to director. You’re not just capturing what’s there, you’re recognizing what the scene is ready to become. That shift in mindset produces better images regardless of what camera or lens you’re holding.
Watch the full tutorial on YouTube to see how Lambert’s session develops, including the bonus shots from later in the day when the streets finally come alive.
Comments (3)
Solid advice. Especially the part about taking your time with it.
Would love to see a follow-up going deeper into this topic.
The tip about the 50mm street photography tr was the missing piece for me. Thank you.
Leave a Comment