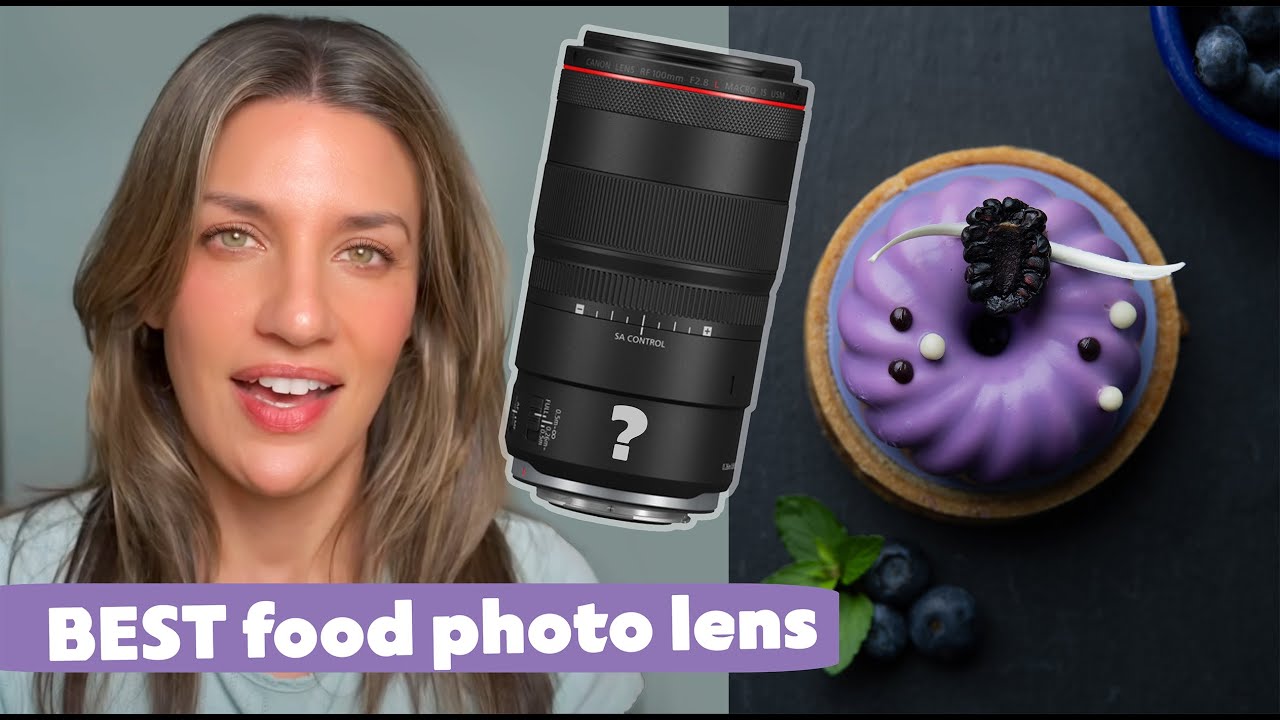
Food photography has always felt like cheating to me, in the best possible way. The subject doesn’t move. You control the light. You can reshoot the same plate seventeen times and nobody judges you. It’s basically a sandbox for practicing every compositional and technical skill you’ve been meaning to work on, except at the end you get to eat the subject. I’d been half-ignoring it for years because I assumed it required a very specific, very expensive kit I didn’t want to justify. Then I watched Watch the full tutorial on YouTube from Tony and Chelsea Northrup and realized I’d been overthinking it the same way I overthink most gear decisions.
What Tony lays out is genuinely useful because he doesn’t treat food photography like some rarefied discipline. He treats it like a craft problem with practical solutions at multiple price points. That framing is exactly how I try to think about gear, and it’s why I wanted to break down the key steps here with some extra context from my own testing.
Step 1: Stop Waiting for the Right Camera Body
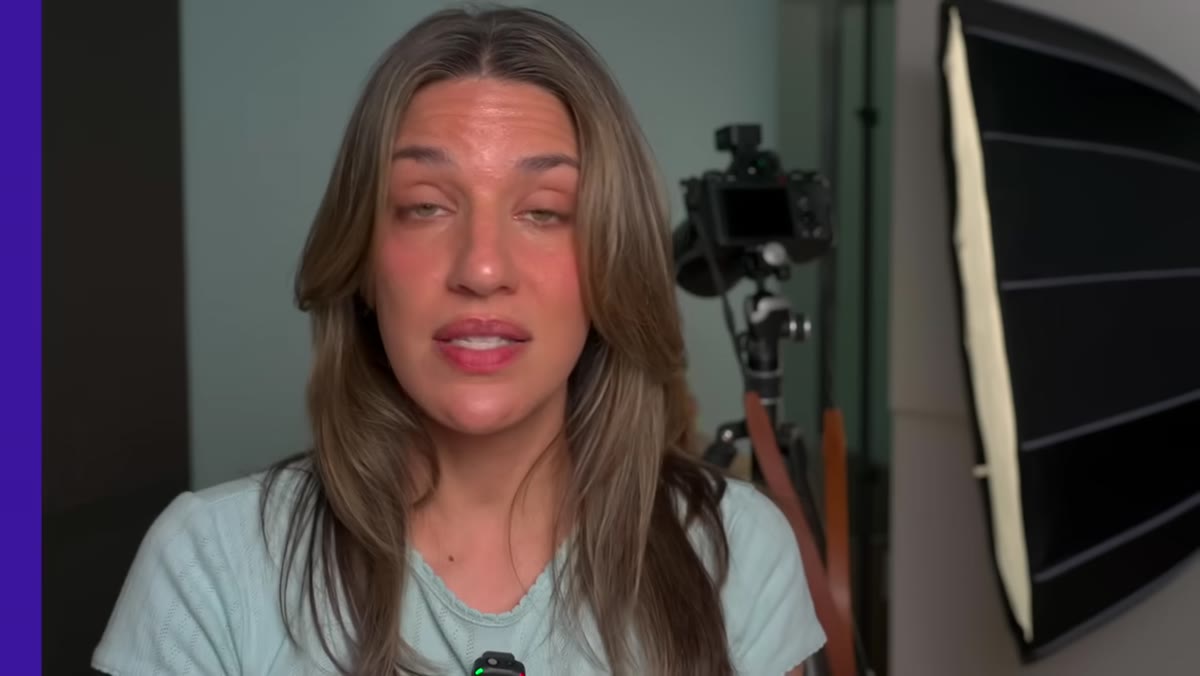 Tony explaining any camera works for food photography on tripod
The single most liberating thing in this tutorial is how quickly Tony dismisses the camera body question. Because food photography is almost entirely tripod-based, you don’t need fast autofocus, blazing frame rates, or cutting-edge low-light performance. A slower shutter speed handles dim conditions just fine when your camera isn’t going anywhere. If you’ve got an older DSLR or a mid-range mirrorless sitting in a bag, that’s your food photography camera. Start there. The lens matters far more than the sensor generation.
Tony explaining any camera works for food photography on tripod
The single most liberating thing in this tutorial is how quickly Tony dismisses the camera body question. Because food photography is almost entirely tripod-based, you don’t need fast autofocus, blazing frame rates, or cutting-edge low-light performance. A slower shutter speed handles dim conditions just fine when your camera isn’t going anywhere. If you’ve got an older DSLR or a mid-range mirrorless sitting in a bag, that’s your food photography camera. Start there. The lens matters far more than the sensor generation.
Step 2: Understand Why the 100mm Macro Is the “Coveted” Choice
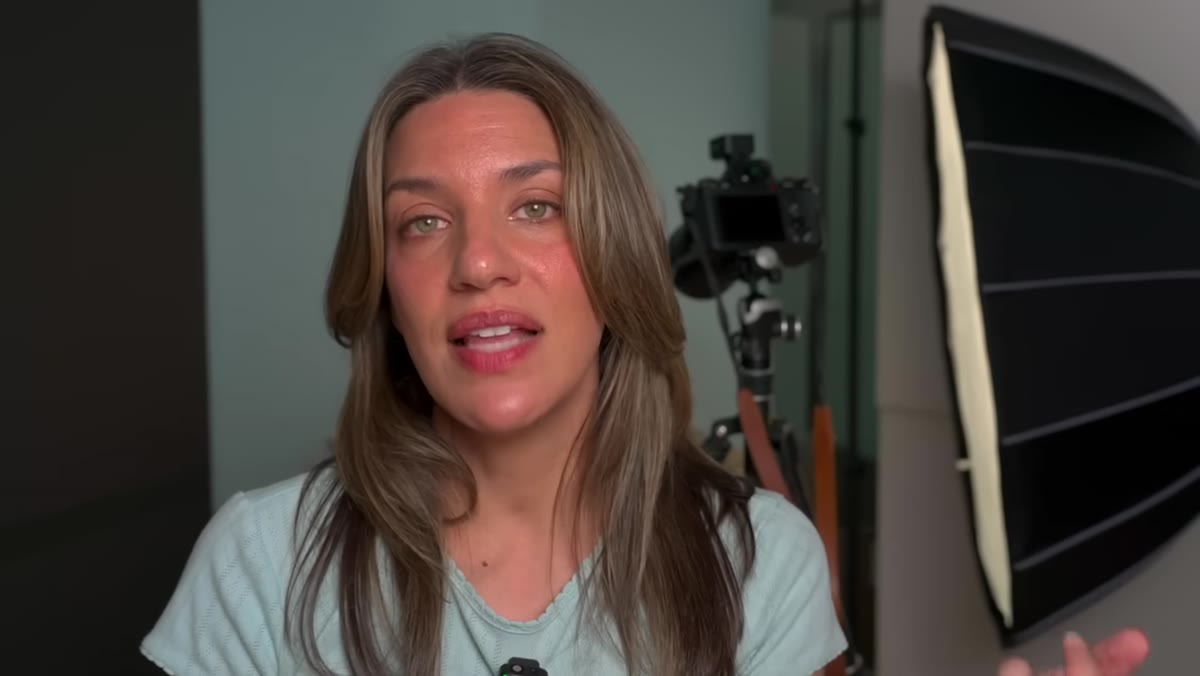 Tony holding or referencing the 100mm macro lens
The reason professional food photographers keep coming back to a 100mm macro lens comes down to two things working together: true 1:1 magnification and a focal length that creates natural-looking compression. A macro lens at 1:1 means whatever you’re photographing appears life-size on the sensor, which lets you fill the frame with a sesame seed on a bun or the cross-section of a strawberry without any tricks. The 100mm focal length also means you’re standing far enough back from the plate to avoid awkward camera angles while still getting close to the subject optically. These lenses typically run $800 to $1,500, which is a real investment, but if food photography is becoming a serious part of your work, the image quality justifies it.
Tony holding or referencing the 100mm macro lens
The reason professional food photographers keep coming back to a 100mm macro lens comes down to two things working together: true 1:1 magnification and a focal length that creates natural-looking compression. A macro lens at 1:1 means whatever you’re photographing appears life-size on the sensor, which lets you fill the frame with a sesame seed on a bun or the cross-section of a strawberry without any tricks. The 100mm focal length also means you’re standing far enough back from the plate to avoid awkward camera angles while still getting close to the subject optically. These lenses typically run $800 to $1,500, which is a real investment, but if food photography is becoming a serious part of your work, the image quality justifies it.
Step 3: Work With What You Already Own
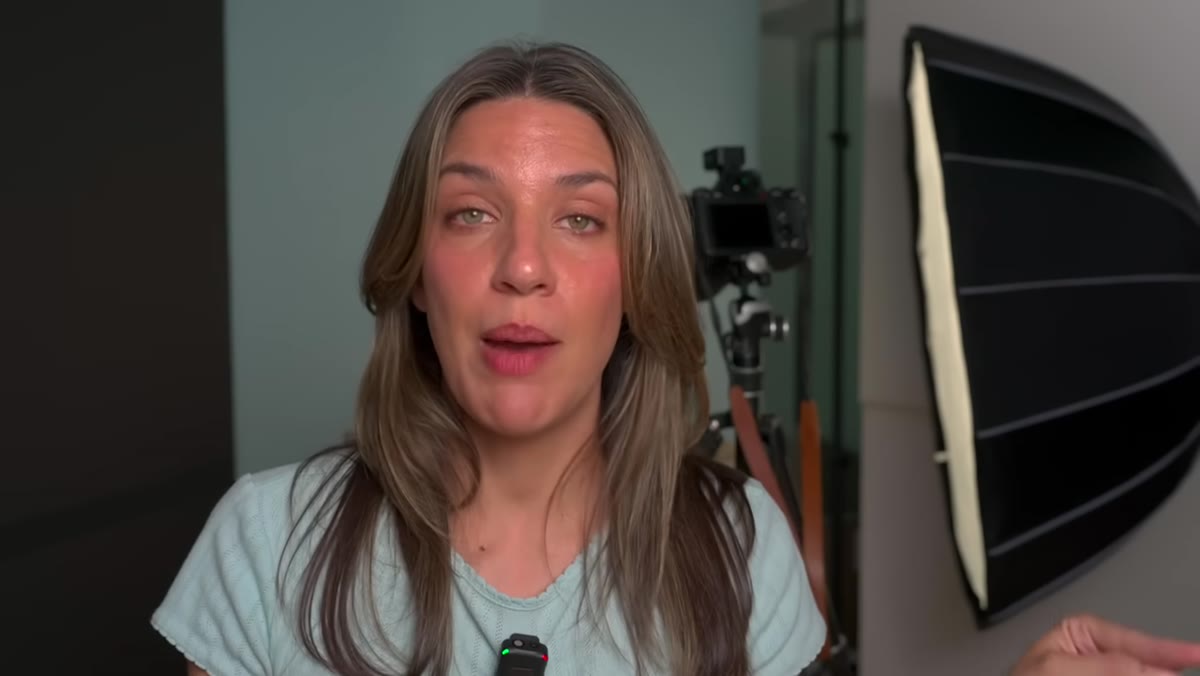 Tony discussing the 50mm nifty fifty lens option
Before you buy anything, Tony’s point is worth sitting with: the lens you already have will probably work. A 50mm f/1.4 gives you a natural field of view close to what your eye sees, solid light-gathering capability, and enough shallow depth of field to separate a subject from its background. A 35mm works too, especially if you want a slightly wider perspective that lets you get physically closer to the plate and shoot at more interesting angles. The 35mm tends to feel more environmental and editorial, while the 50mm feels tighter and more focused. Neither is wrong. They’re just different visual languages.
Tony discussing the 50mm nifty fifty lens option
Before you buy anything, Tony’s point is worth sitting with: the lens you already have will probably work. A 50mm f/1.4 gives you a natural field of view close to what your eye sees, solid light-gathering capability, and enough shallow depth of field to separate a subject from its background. A 35mm works too, especially if you want a slightly wider perspective that lets you get physically closer to the plate and shoot at more interesting angles. The 35mm tends to feel more environmental and editorial, while the 50mm feels tighter and more focused. Neither is wrong. They’re just different visual languages.
Step 4: Use Longer Focal Lengths for Background Compression
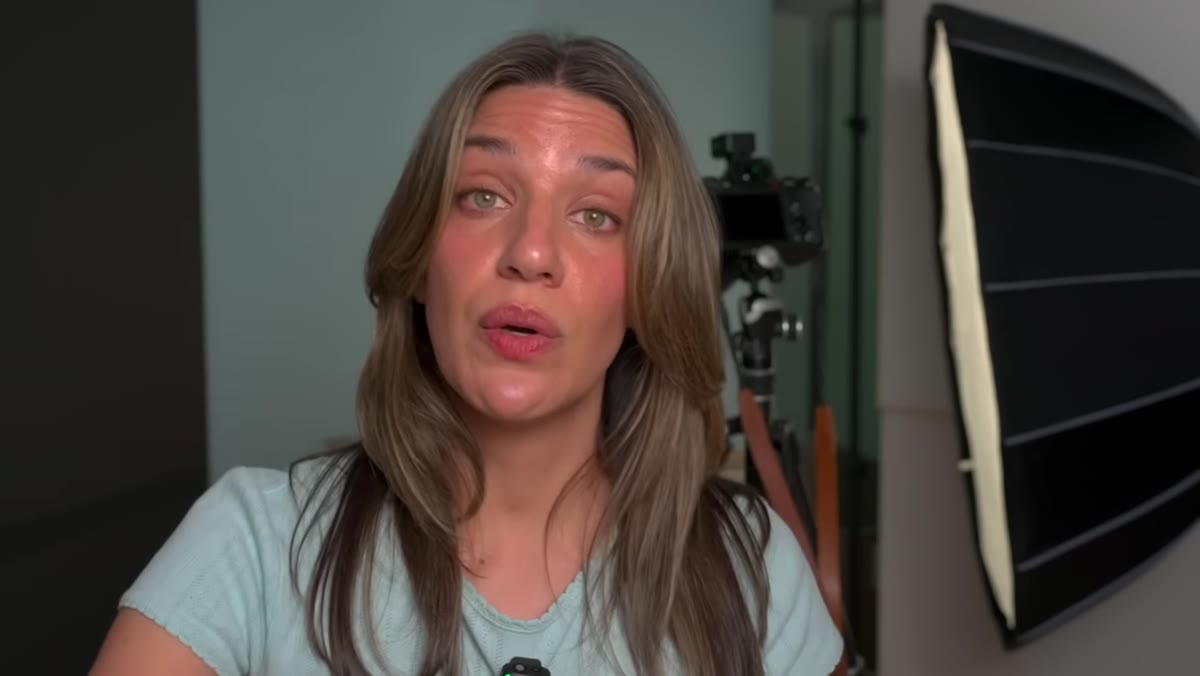 Tony discussing compression effect with 85mm or 70mm lenses
Here’s the technique that actually changed how I frame food shots. When you shoot at 85mm or 100mm instead of 35mm, the compression effect pulls background elements visually closer to your main subject. If there’s a bowl of fries behind your burger, a longer focal length makes them feel like part of the same moment rather than objects sitting two feet apart on a table. Tony uses an 85mm f/1.2 for exactly this reason, and the results look noticeably different from wide-angle food shots. You don’t need f/1.2, but you do want something in that 70mm to 100mm range if background compression matters to your style.
Tony discussing compression effect with 85mm or 70mm lenses
Here’s the technique that actually changed how I frame food shots. When you shoot at 85mm or 100mm instead of 35mm, the compression effect pulls background elements visually closer to your main subject. If there’s a bowl of fries behind your burger, a longer focal length makes them feel like part of the same moment rather than objects sitting two feet apart on a table. Tony uses an 85mm f/1.2 for exactly this reason, and the results look noticeably different from wide-angle food shots. You don’t need f/1.2, but you do want something in that 70mm to 100mm range if background compression matters to your style.
Step 5: Use Extension Tubes Instead of a Macro Lens
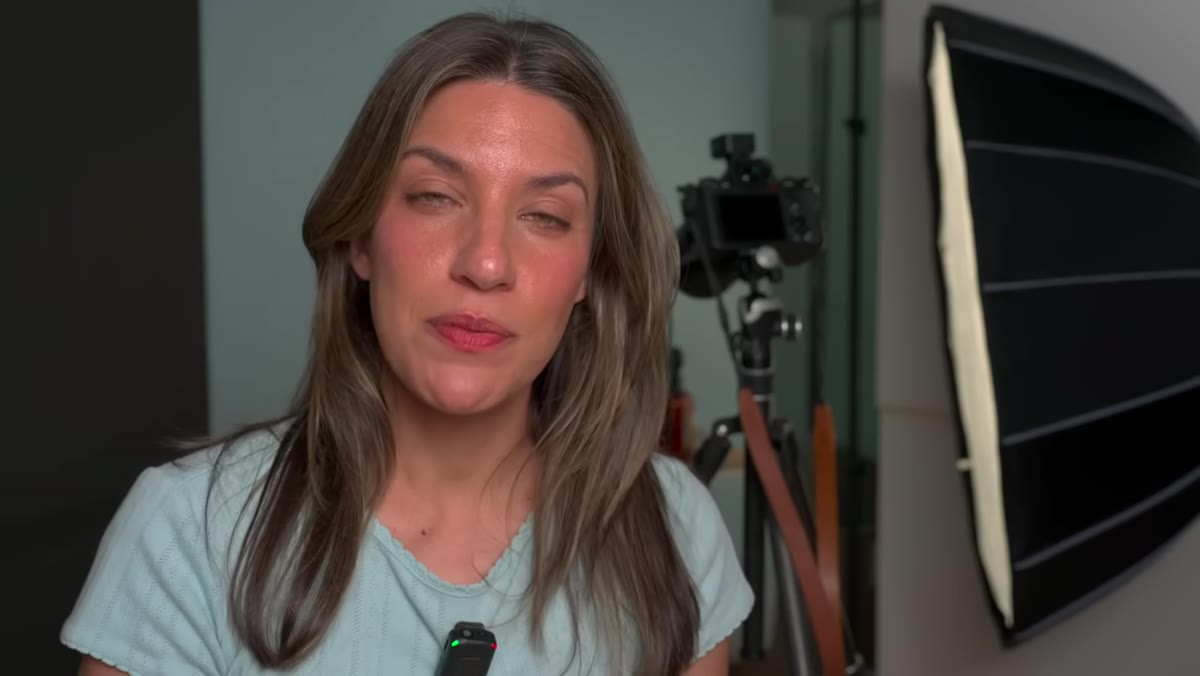 Tony demonstrating extension tubes between camera and lens
This is the budget solution I wish someone had told me about years ago. Extension tubes are hollow plastic rings that mount between your camera body and your existing lens. They shift the lens’s minimum focus distance closer, which means you can magnify small subjects without buying a dedicated macro lens. You won’t always hit true 1:1 magnification, and you’ll lose some sharpness and light compared to a proper macro, but the results are genuinely good for the price. Tony mentions picking up a set for around $30 to $80. That range tracks with what I’ve seen: the cheap no-name sets on Amazon work fine for food photography where you’re shooting on a tripod anyway. The main trade-off is losing the ability to focus at normal distances while the tubes are attached, so it’s a deliberate macro mode rather than a flexible general-purpose solution.
Tony demonstrating extension tubes between camera and lens
This is the budget solution I wish someone had told me about years ago. Extension tubes are hollow plastic rings that mount between your camera body and your existing lens. They shift the lens’s minimum focus distance closer, which means you can magnify small subjects without buying a dedicated macro lens. You won’t always hit true 1:1 magnification, and you’ll lose some sharpness and light compared to a proper macro, but the results are genuinely good for the price. Tony mentions picking up a set for around $30 to $80. That range tracks with what I’ve seen: the cheap no-name sets on Amazon work fine for food photography where you’re shooting on a tripod anyway. The main trade-off is losing the ability to focus at normal distances while the tubes are attached, so it’s a deliberate macro mode rather than a flexible general-purpose solution.
What I’d Add: The Spreadsheet Test on Budget Macro Alternatives
I’ve run budget extension tubes through head-to-head comparisons against dedicated macro lenses more times than I’ll admit. The honest summary is that extension tubes on a sharp prime, like a 50mm f/1.8, get you 80% of the way there at about 5% of the cost. For social media and web use, most viewers cannot tell the difference. Where the macro lens wins clearly is in edge sharpness and consistency across the frame, which matters more in print or when clients are pixel-peeping. If you’re just starting out or shooting for your own portfolio, buy the tubes, practice the techniques, and upgrade to a dedicated macro when you’ve outgrown what the tubes can do. Don’t buy a $1,200 lens to figure out whether you even like food photography.
The single biggest takeaway from Tony and Chelsea’s tutorial is that food photography is more accessible than its reputation suggests. The right lens helps, but a tripod, decent window light, and a lens you already own will get you 90% of the results you’re imagining. Master the light and the composition first, then worry about gear upgrades.
Watch the full tutorial on YouTube for Tony’s complete walkthrough, including lighting setups and compositional techniques that go well beyond the gear discussion covered here.
Comments
Leave a Comment