
I’ve spent a embarrassing number of hours in spreadsheets comparing budget wide-angle lenses. Focal length, distortion, corner sharpness, price per millimeter of field of view - yes, I actually track that. So when I saw someone doing a genuine first-shoot field test of the Laowa 10mm f/2.8 full-frame lens with zero sponsorship attached, I stopped scrolling immediately. In this William Patino tutorial, he takes the lens out at golden hour in a forest and shoots through it in real time, talking through decisions as he makes them. No studio charts, no pixel-peeping intros. Just a guy and a very wide lens figuring it out together. Watch the full tutorial on YouTube
What makes this useful beyond the gear specs is that Patino had been shooting 12mm as his widest lens. Going from 12mm to 10mm sounds modest on paper, but he points out it’s actually close to a 15-17% increase in field of view. That jump changes how you have to think about everything: foreground placement, depth of field strategy, distortion management. The muscle memory you built at 12mm doesn’t fully transfer. This tutorial is essentially a live recalibration, and watching someone work through that adjustment in real conditions is more instructive than any spec sheet.
Step 1: Understand What the Extra Width Actually Buys You
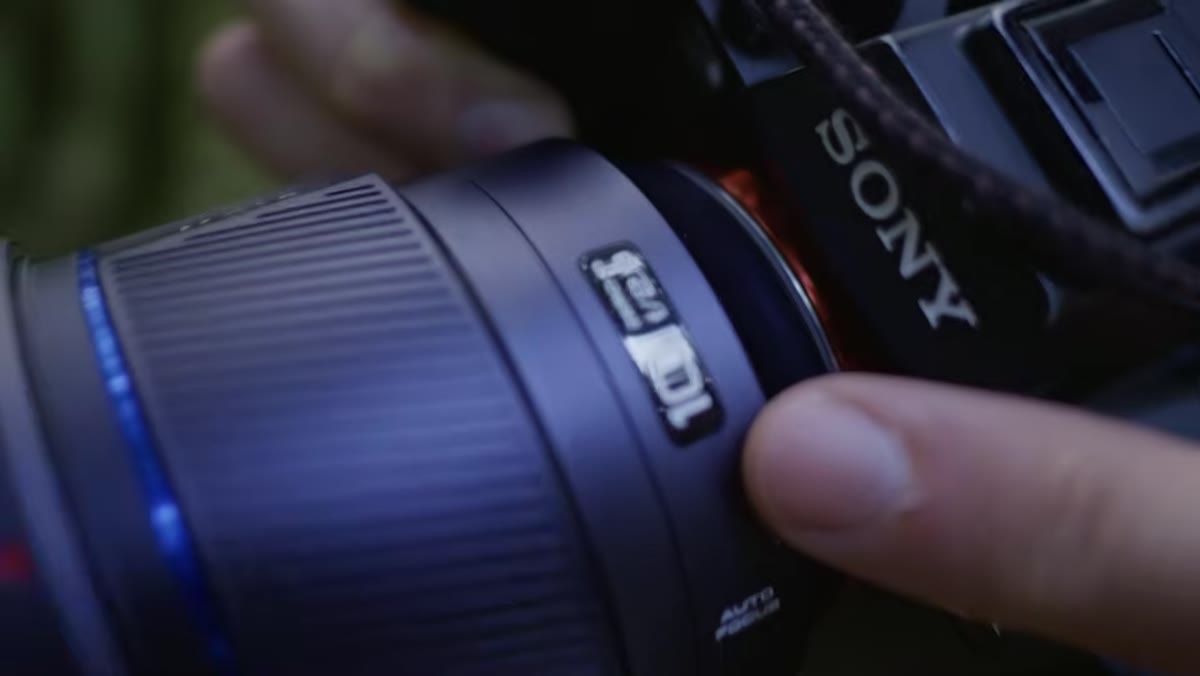 Patino walking in forest, describing 10mm vs 12mm field of view
The first thing Patino establishes is the practical difference between 10mm and 12mm. It’s not just “wider” in an abstract sense. The extra field of view means your foreground elements become more dominant in the frame, and the sense of depth between foreground and background becomes more exaggerated. If you’re used to wide primes in the 14-16mm range on full frame, 10mm pushes that effect noticeably further. Knowing this going in lets you compose intentionally rather than reacting to whatever the lens throws at you.
Patino walking in forest, describing 10mm vs 12mm field of view
The first thing Patino establishes is the practical difference between 10mm and 12mm. It’s not just “wider” in an abstract sense. The extra field of view means your foreground elements become more dominant in the frame, and the sense of depth between foreground and background becomes more exaggerated. If you’re used to wide primes in the 14-16mm range on full frame, 10mm pushes that effect noticeably further. Knowing this going in lets you compose intentionally rather than reacting to whatever the lens throws at you.
Step 2: Choose a Scene With a Clear Foreground-to-Background Story
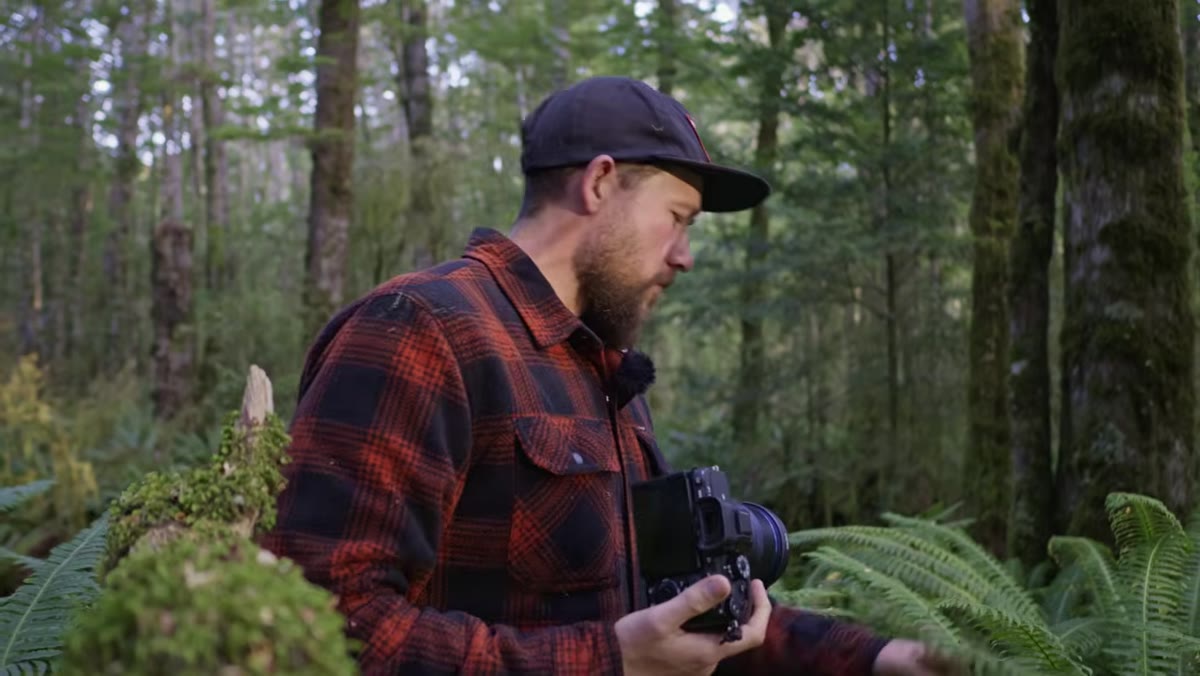 Patino evaluating crown ferns with backlit trees in background
Patino doesn’t just pick a pretty spot and point the camera. He’s actively looking for two things at once: a textured foreground he can get physically close to, and a dominant background subject the eye can travel toward. In this case, crown ferns serve as the foreground and backlit trees anchor the background. Before you even set up the tripod, ask yourself what you’re leading the eye to. With a lens this wide, a scene without a clear destination just becomes visual noise. The foreground is the on-ramp, but you still need a destination.
Patino evaluating crown ferns with backlit trees in background
Patino doesn’t just pick a pretty spot and point the camera. He’s actively looking for two things at once: a textured foreground he can get physically close to, and a dominant background subject the eye can travel toward. In this case, crown ferns serve as the foreground and backlit trees anchor the background. Before you even set up the tripod, ask yourself what you’re leading the eye to. With a lens this wide, a scene without a clear destination just becomes visual noise. The foreground is the on-ramp, but you still need a destination.
Step 3: Get Closer to Your Foreground Than Feels Comfortable
 Patino holds hand inches from lens to show extreme close focus capability
This is where ultra-wide lenses break people’s intuitions. Patino demonstrates by holding his hand a few inches from the front element and showing that the background trees are still fully in frame behind it. The lens can focus on something extremely close while retaining a wide enough angle to include distant subjects. If you’re shooting ferns, moss, rocks, or any ground-level foreground, you want to be physically inside that foreground - not standing a few feet back from it. The further you back up, the flatter and less immersive the shot becomes. Get uncomfortably close and then check your background. You’ll be surprised.
Patino holds hand inches from lens to show extreme close focus capability
This is where ultra-wide lenses break people’s intuitions. Patino demonstrates by holding his hand a few inches from the front element and showing that the background trees are still fully in frame behind it. The lens can focus on something extremely close while retaining a wide enough angle to include distant subjects. If you’re shooting ferns, moss, rocks, or any ground-level foreground, you want to be physically inside that foreground - not standing a few feet back from it. The further you back up, the flatter and less immersive the shot becomes. Get uncomfortably close and then check your background. You’ll be surprised.
Step 4: Start at f/8, Adjust to f/10 if Needed for Corner-to-Corner Sharpness
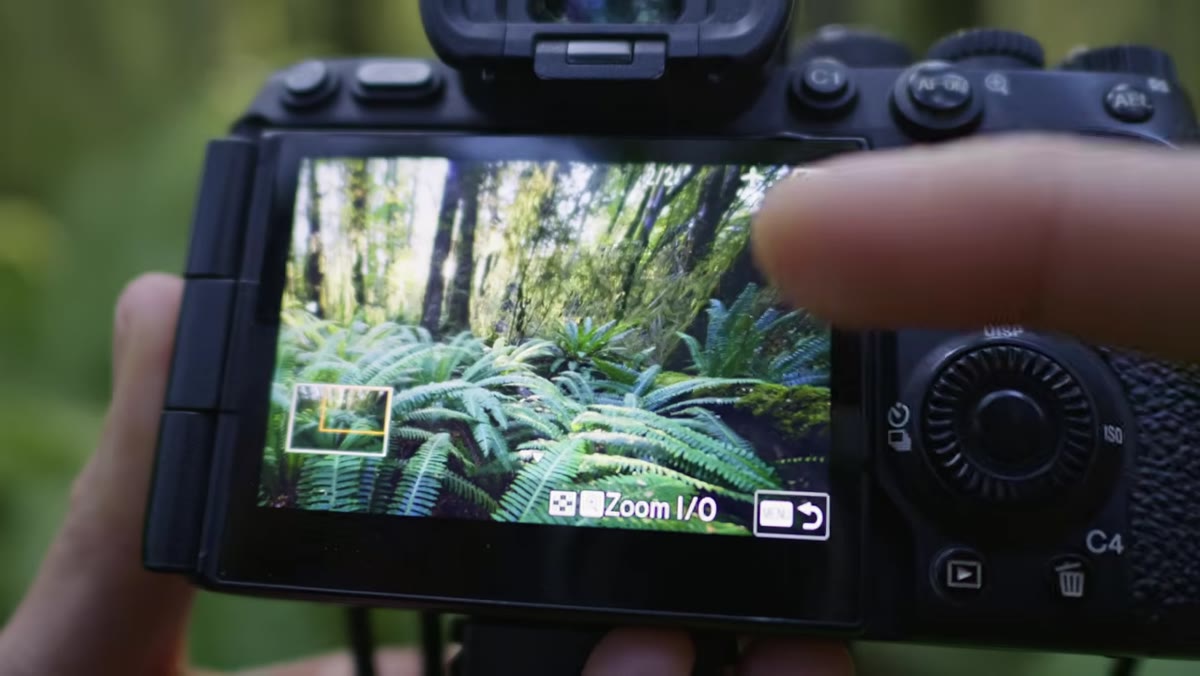
 Camera LCD showing f8 test shot, Patino zooming in to check sharpness
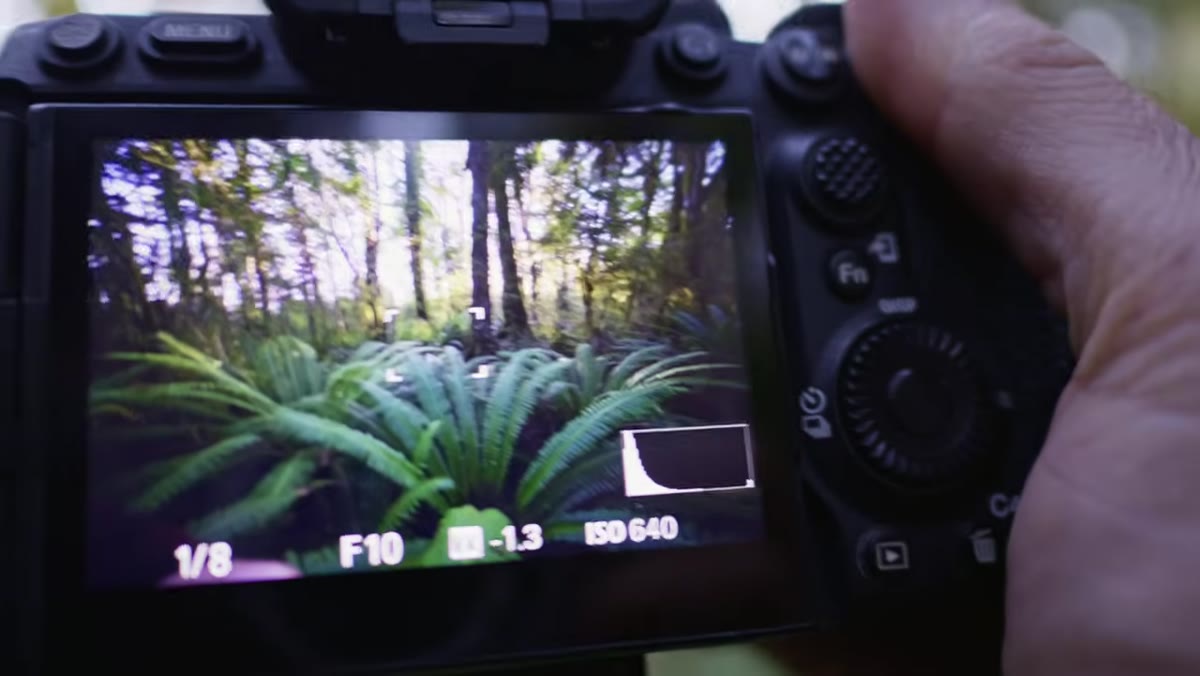
One of the more practical takeaways from the tutorial is the aperture conversation. At wider focal lengths, you don’t need to stop down as aggressively to achieve front-to-back sharpness. Patino shoots a test frame at f/8 and is genuinely impressed by the result. He bumps to f/10 as a comfortable middle ground that gives him sharpness across the full frame without sacrificing too much light. If you’ve been defaulting to f/11 or f/16 on wider lenses out of habit, test f/8 first. You may find you’ve been giving up a full stop of light for no real gain.
Camera LCD showing f8 test shot, Patino zooming in to check sharpness
One of the more practical takeaways from the tutorial is the aperture conversation. At wider focal lengths, you don’t need to stop down as aggressively to achieve front-to-back sharpness. Patino shoots a test frame at f/8 and is genuinely impressed by the result. He bumps to f/10 as a comfortable middle ground that gives him sharpness across the full frame without sacrificing too much light. If you’ve been defaulting to f/11 or f/16 on wider lenses out of habit, test f/8 first. You may find you’ve been giving up a full stop of light for no real gain.
Step 5: Focus One-Third Into the Scene, Not at the Foreground or Infinity
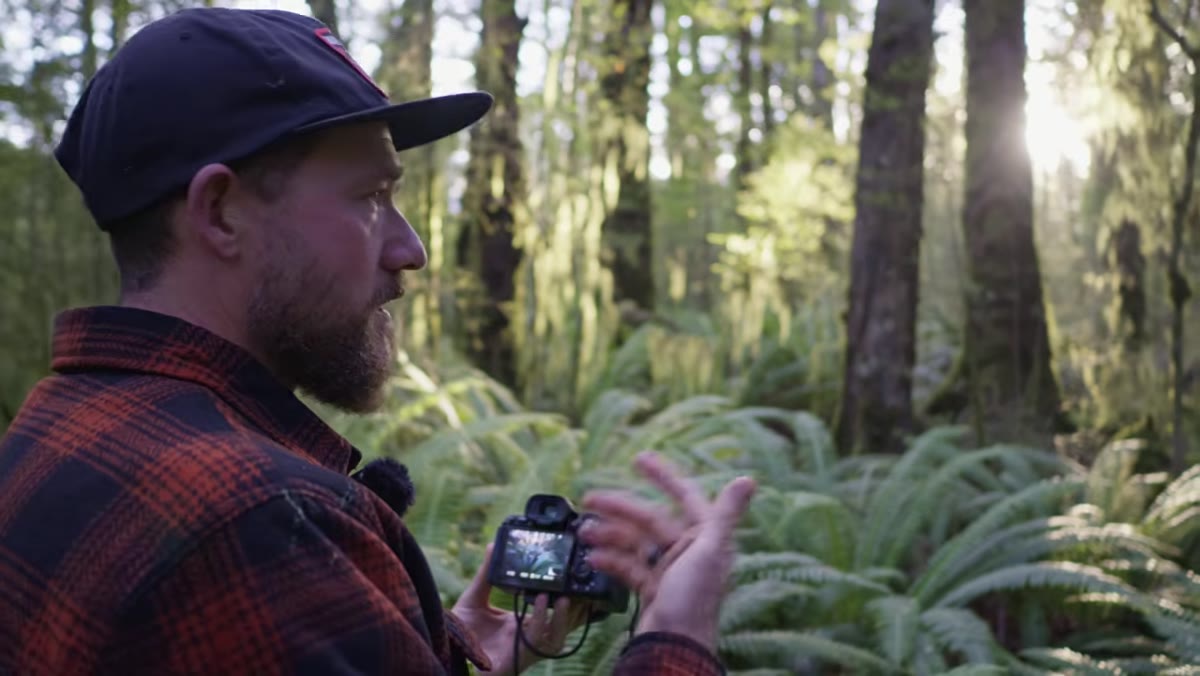
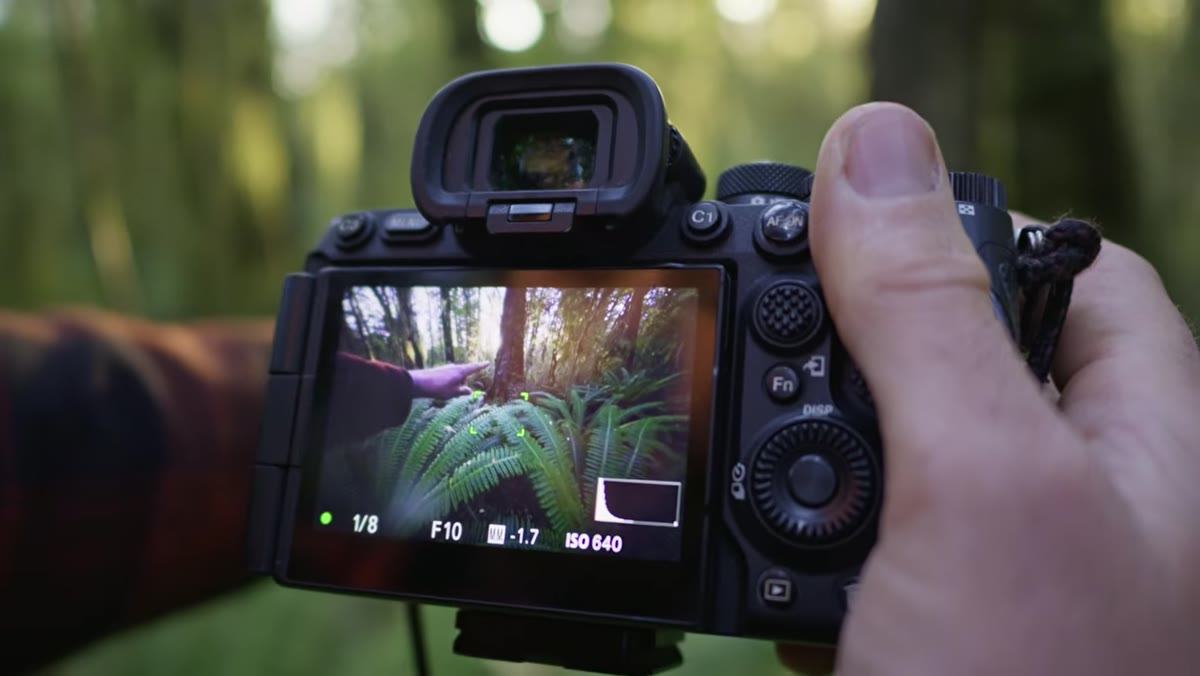 Patino pointing to LCD showing focus point at mid-distance in fern scene
Patino places his focus point roughly one-third of the way into the scene, past the immediate foreground ferns but well short of the background trees. This is a classic hyperfocal technique applied practically, and at 10mm it’s especially forgiving because depth of field is generous. He then checks sharpness at both the focus point and the background on the LCD. Both are sharp. The mistake most people make with ultra-wide lenses is either focusing on the foreground object and letting the background go soft, or locking focus at infinity and losing the foreground. The one-third placement captures both.
Patino pointing to LCD showing focus point at mid-distance in fern scene
Patino places his focus point roughly one-third of the way into the scene, past the immediate foreground ferns but well short of the background trees. This is a classic hyperfocal technique applied practically, and at 10mm it’s especially forgiving because depth of field is generous. He then checks sharpness at both the focus point and the background on the LCD. Both are sharp. The mistake most people make with ultra-wide lenses is either focusing on the foreground object and letting the background go soft, or locking focus at infinity and losing the foreground. The one-third placement captures both.
Step 6: Acknowledge Distortion Early and Decide How to Handle It
 Patino reviewing corner distortion on LCD after test shot
Patino is straightforward about corner distortion at 10mm. It exists, and at this focal length it’s expected. His approach is two-pronged: account for it in composition by avoiding placing critical straight lines near the edges of the frame, and correct what remains in post-processing. He doesn’t treat it as a dealbreaker. For organic subjects like forests, ferns, and trees, distortion reads as natural curvature rather than lens flaws. Where it would be more problematic is architecture or anything with straight horizontal or vertical lines near the corners.
Patino reviewing corner distortion on LCD after test shot
Patino is straightforward about corner distortion at 10mm. It exists, and at this focal length it’s expected. His approach is two-pronged: account for it in composition by avoiding placing critical straight lines near the edges of the frame, and correct what remains in post-processing. He doesn’t treat it as a dealbreaker. For organic subjects like forests, ferns, and trees, distortion reads as natural curvature rather than lens flaws. Where it would be more problematic is architecture or anything with straight horizontal or vertical lines near the corners.
My Take: The Aperture Advice Is the Part Worth Bookmarking
I’ve tested a lot of budget wide primes and one consistent mistake I see in my own older work is reflexively shooting at f/11 on anything wider than 24mm. It’s the kind of habit you pick up early and never question. Patino’s live test at f/8 - zooming in on the LCD right there in the field - is the kind of real-world proof that’s more convincing than any MTF chart. At 10mm on a modern sharp prime, you’re leaving light on the table if you’re stopping down past f/10 without a specific reason. Test your actual lens at f/8 before assuming you need more. You might find your sweet spot is wider open than you think, which matters a lot in low-light golden-hour situations where you’re already pushing exposure.
The single biggest thing this tutorial drives home is that ultra-wide shooting is a physical practice, not just a framing one. You have to move your body, get low, get close, and actively build depth into the frame rather than hoping the lens does it for you. The Laowa 10mm is a legitimate tool for landscape and environmental work, but the lens only does what you set it up to do.
Watch the full tutorial on YouTube to see Patino work through the full first-shoot process in real time, including the aurora shooting context that carries over into his settings from the night before.
Comments
Leave a Comment