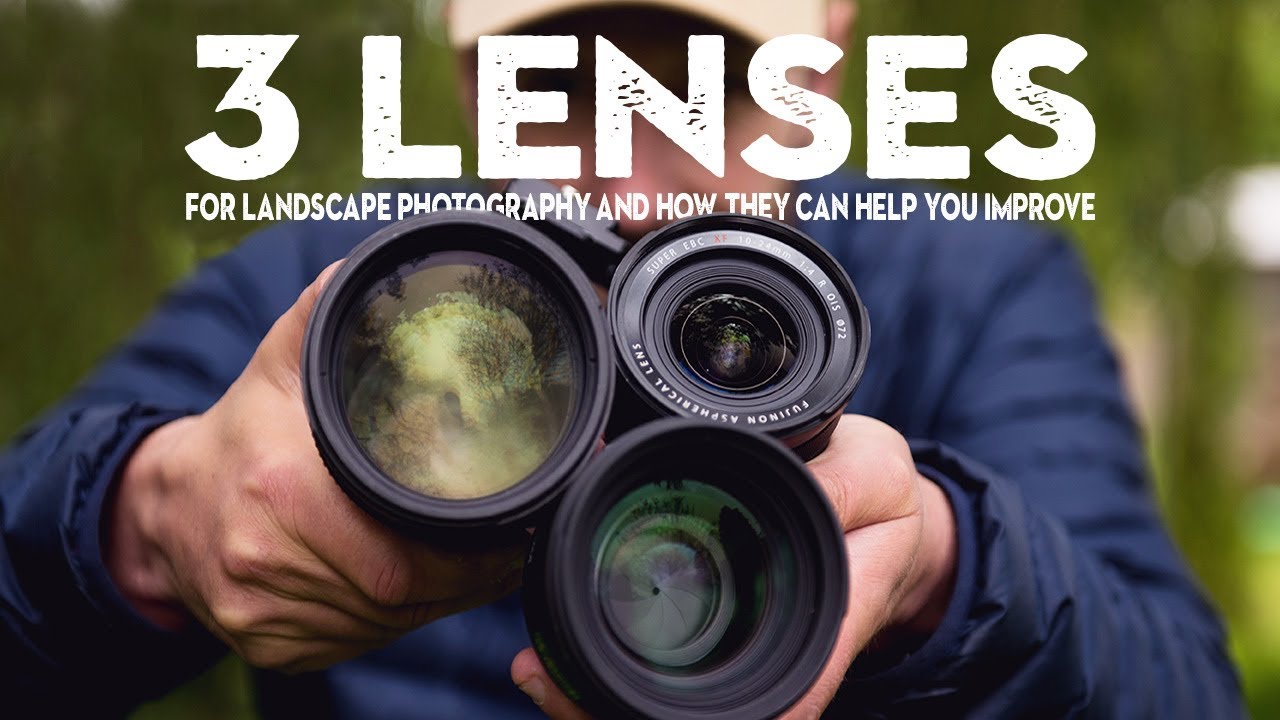
Every few months I fall into the trap of thinking I need more glass. More focal lengths, more options, more range. Then I look at the photographers whose work I actually respect and notice they’re rotating through the same two or three lenses on every shoot. Nigel Danson is one of those photographers, and in this landscape photography lens tutorial, he lays out exactly which three lenses he reaches for and, more importantly, why each one earns its spot in the bag.
What I like about his breakdown is that it isn’t a spec sheet comparison. He’s shooting real locations, rhododendron-covered valleys and open landscapes, and showing how each focal length changes the way a scene communicates. That’s the part most gear content skips. Not “what does this lens do” but “what does it make you see differently.” That distinction matters a lot once you stop buying gear and start using it.
I’ve pulled the core techniques out of the video and reorganized them here so you can apply them without pausing and rewinding. Settings, distances, and the actual thinking behind each choice are all below.
Step 1: Start With the Wide Angle and Understand What It Actually Changes
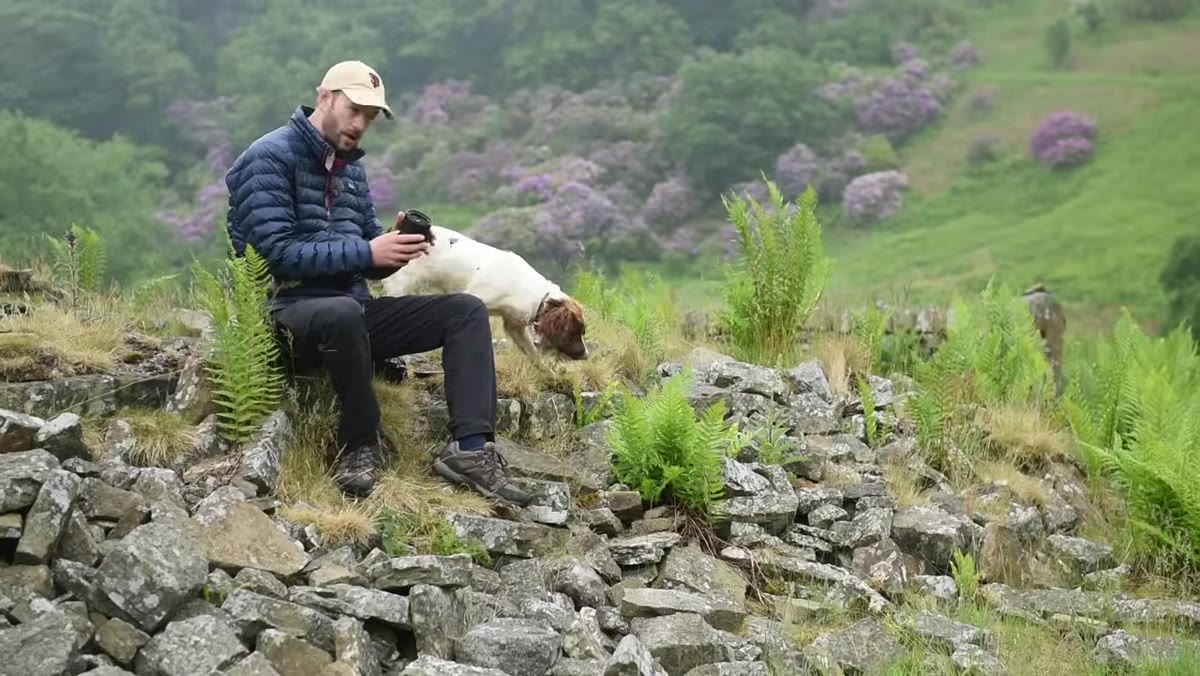 Nigel holding 16-35mm wide angle lens up to camera
The first lens Danson covers is a 16-35mm f/4 on his Nikon, and a 10-24mm on his Fujifilm. The important thing he emphasizes isn’t the lens itself, it’s what shooting at 16mm or 10mm does to perspective. Objects close to the lens look dramatically larger relative to the background. The distance between foreground and background feels compressed and expansive at the same time. That’s the creative reason to go ultra-wide, not just to fit more into the frame.
Nigel holding 16-35mm wide angle lens up to camera
The first lens Danson covers is a 16-35mm f/4 on his Nikon, and a 10-24mm on his Fujifilm. The important thing he emphasizes isn’t the lens itself, it’s what shooting at 16mm or 10mm does to perspective. Objects close to the lens look dramatically larger relative to the background. The distance between foreground and background feels compressed and expansive at the same time. That’s the creative reason to go ultra-wide, not just to fit more into the frame.
His specific Nikon choice, the 16-35mm f/4, is driven partly by a practical filter consideration. It accepts front-mounted filters, including graduated neutral density filters, which he uses regularly to balance bright skies against darker foregrounds. If you’re choosing between two wide options and one takes standard screw-on filters, that’s a real workflow advantage worth factoring in.
Step 2: Learn the Focus Trick That Makes Wide Angles Foolproof
 Nigel explaining focus distance on Fuji 10-24mm lens
This is the most technically useful part of the wide angle section. At 10mm and around f/8 to f/10, depth of field becomes so generous that you can focus on the farthest object in the scene, essentially infinity, and still have sharpness extending almost all the way to your feet. Danson confirms this with PhotoPills: focused at 1000 meters on the 10mm at f/8, the near limit of acceptable sharpness falls at about 62 centimeters from the lens. That covers almost every foreground element you’d realistically want sharp.
Nigel explaining focus distance on Fuji 10-24mm lens
This is the most technically useful part of the wide angle section. At 10mm and around f/8 to f/10, depth of field becomes so generous that you can focus on the farthest object in the scene, essentially infinity, and still have sharpness extending almost all the way to your feet. Danson confirms this with PhotoPills: focused at 1000 meters on the 10mm at f/8, the near limit of acceptable sharpness falls at about 62 centimeters from the lens. That covers almost every foreground element you’d realistically want sharp.
He’s honest that hyperfocal distance calculations are the technically correct approach but too complicated to rely on in the field. His practical workaround is to focus at the farthest point, stop down to around f/8 to f/10, and let physics handle the rest. For handheld shooting with image stabilization active, he’s also pulling exposures as long as 10 seconds in some conditions with the Fuji. That’s a useful reminder that a stabilized wide angle at 10mm behaves very differently from one at 35mm.
Step 3: Add the 50mm for Intimacy and Compression
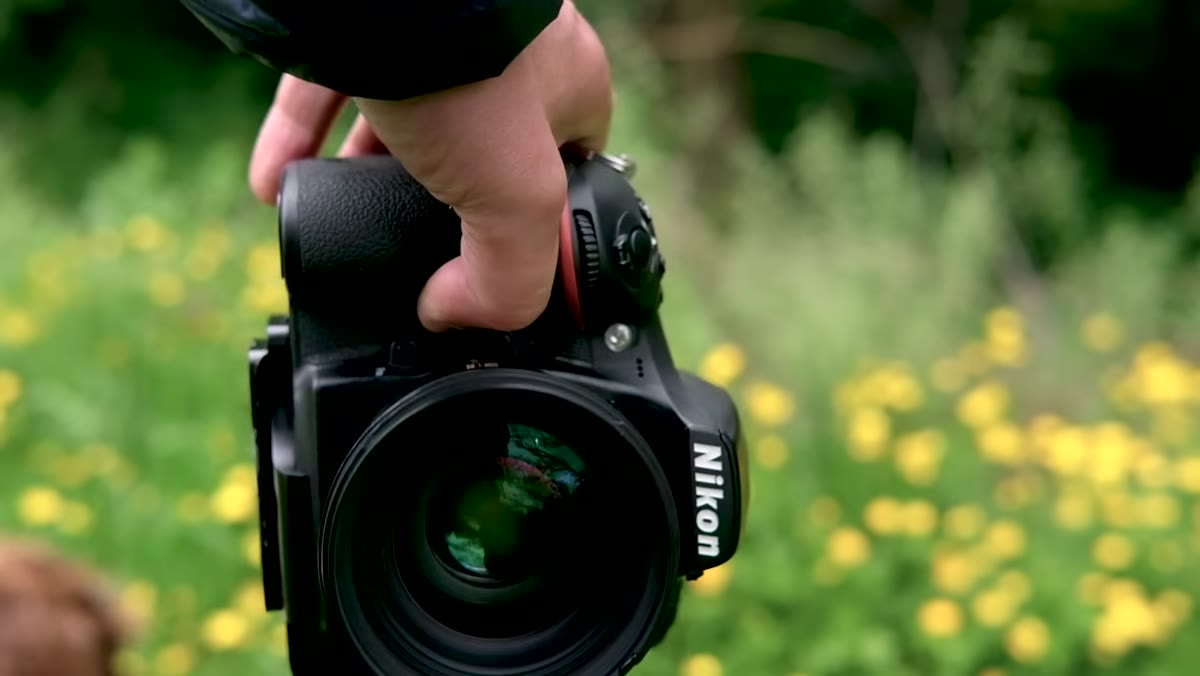 Sigma 50mm 1.4 lens shown in center window
The middle lens in Danson’s kit is a Sigma 50mm f/1.4. He describes it as fast and convenient, which sounds like faint praise until you think about what 50mm actually does in landscape work. It isolates subjects from their environment in a way that wide angles can’t, and it sees the world at roughly the same angle of view as the human eye. Scenes shot at 50mm feel grounded and natural rather than dramatic or exaggerated.
Sigma 50mm 1.4 lens shown in center window
The middle lens in Danson’s kit is a Sigma 50mm f/1.4. He describes it as fast and convenient, which sounds like faint praise until you think about what 50mm actually does in landscape work. It isolates subjects from their environment in a way that wide angles can’t, and it sees the world at roughly the same angle of view as the human eye. Scenes shot at 50mm feel grounded and natural rather than dramatic or exaggerated.
The f/1.4 aperture also opens up low-light options. At dusk or dawn when you’re stretching shutter speeds, a fast 50mm gives you flexibility that an f/4 wide angle doesn’t. Danson doesn’t spell this out in detail, but the inclusion of a fast normal prime in a landscape kit, rather than a zoom, tells you something about how he values creative range over convenience.
Step 4: Use the 70-200mm as Your Primary Creative Tool
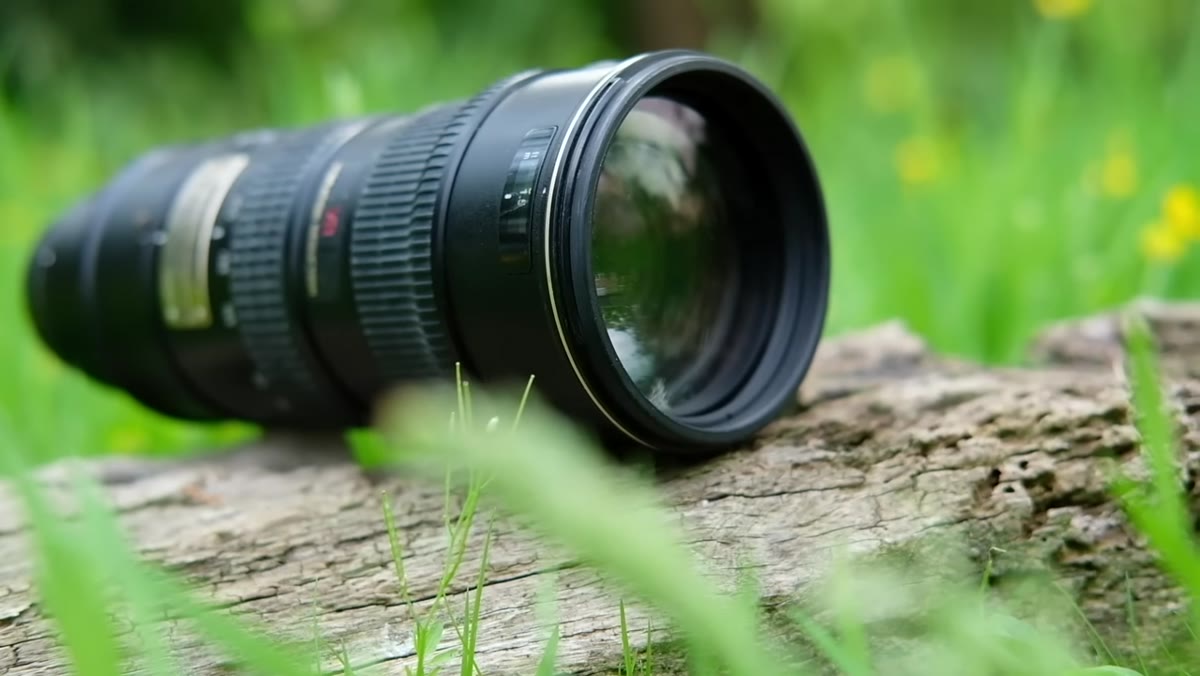 70-200mm f/2.8 lens shown in left window
Here’s the take that surprised me: Danson says if he could only take one lens for landscape photography, it would be the 70-200mm f/2.8. Not the wide angle. The telephoto.
70-200mm f/2.8 lens shown in left window
Here’s the take that surprised me: Danson says if he could only take one lens for landscape photography, it would be the 70-200mm f/2.8. Not the wide angle. The telephoto.
The reasoning makes complete sense once you work through it. A telephoto compresses layers in a scene, pulling distant mountains, midground trees, and foreground elements into a tighter visual relationship. It also forces you to hunt for compositions instead of just pointing at a wide scene and hoping something interesting falls inside the frame. You’re isolating, abstracting, and simplifying rather than including everything. That discipline tends to produce stronger images than the “fit it all in” instinct that the wide angle encourages.
The f/2.8 aperture on a 70-200mm also gives you real subject separation in landscape work, something that feels counterintuitive until you’ve shot misty hills or distant waterfalls where you want a specific element to pull away from the rest of the frame.
Step 5: Match the Lens to the Compositional Problem, Not the Scene Type
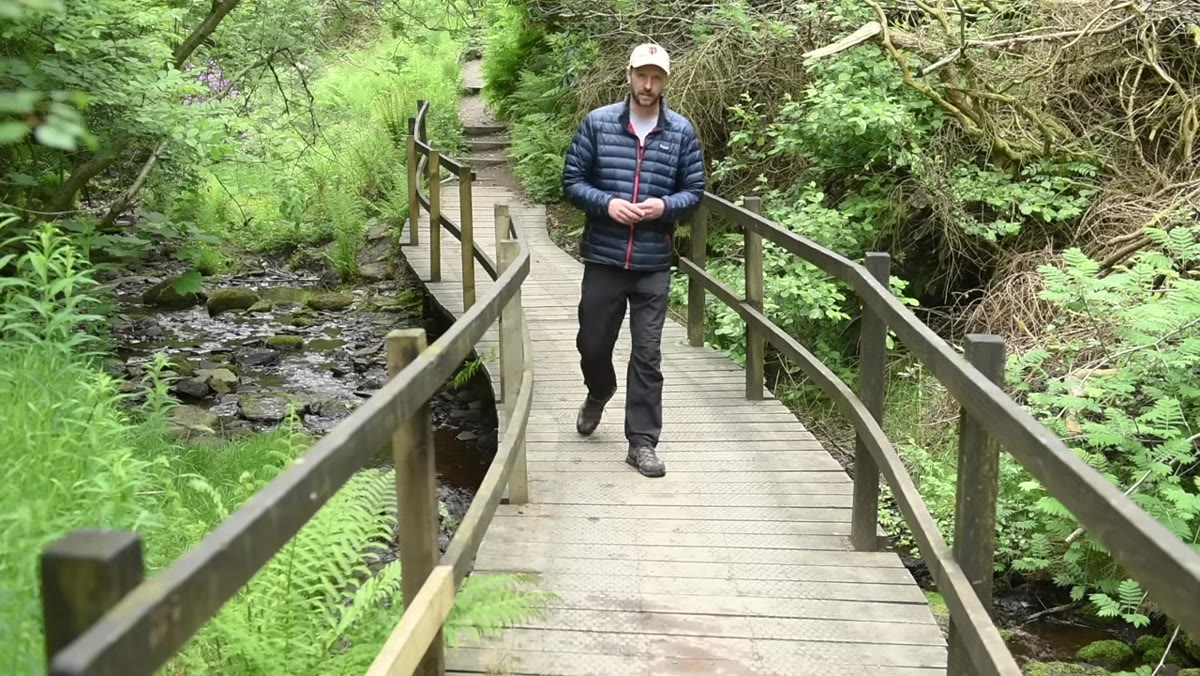 Nigel walking through valley with camera, selecting lens
The underlying framework across all three lenses is that each one solves a different compositional problem. The wide angle works when you have a strong foreground element and want to create a sense of depth and immersion. The 50mm works when the scene has one clear subject and you want to present it naturally without distortion. The telephoto works when the landscape is layered and you want to isolate one slice of it.
Nigel walking through valley with camera, selecting lens
The underlying framework across all three lenses is that each one solves a different compositional problem. The wide angle works when you have a strong foreground element and want to create a sense of depth and immersion. The 50mm works when the scene has one clear subject and you want to present it naturally without distortion. The telephoto works when the landscape is layered and you want to isolate one slice of it.
Danson’s point isn’t “always use a wide angle for landscapes.” It’s that your lens choice should follow your intention for a specific shot. If you’re standing in a location and struggling to find a composition, switching focal lengths is often a faster solution than moving your feet.
What I’d Add: Budget Alternatives That Hold Up
Danson is shooting with Nikon, Sigma, and Fujifilm glass, and none of it is cheap. But the principles here work at any price point. The Fujifilm 10-24mm has a third-party equivalent in the Samyang 12mm f/2 that runs well under $300 and covers the ultra-wide landscape use case effectively. For the telephoto role, the Canon or Nikon 70-300mm consumer zooms are slower than f/2.8 but can still deliver that compression effect at a fraction of the cost. I’ve run comparison tests between the budget and premium options in this category before, and the compositional technique matters far more than the glass once you’re past a certain baseline of sharpness.
The 50mm f/1.4 is where I’d say the Sigma specifically earns its price. The rendering quality at wide apertures in that lens is hard to replicate cheaply.
The biggest lesson from this video is that lens selection is a creative decision, not just a technical one. Each focal length changes what a scene looks like and how a viewer experiences it. Once you internalize that, you stop asking “what lens should I buy” and start asking “what do I want this image to feel like.” That’s the shift that actually improves your photography.
Watch the full tutorial on YouTube to see Danson demonstrate each lens on location, including the sample images he’s taken with each one over the years.
Comments
Leave a Comment