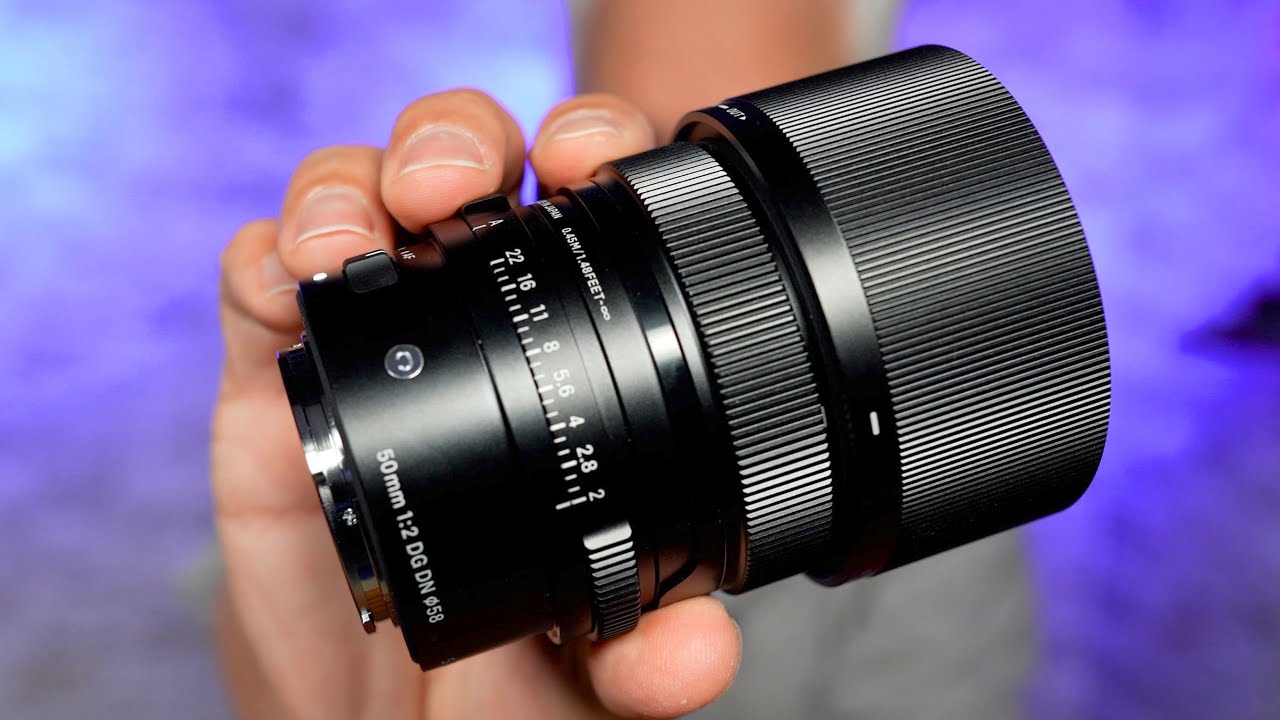
I have a spreadsheet. It has every budget lens I’ve ever tested, ranked by sharpness per dollar. For years, that spreadsheet was my entire lens buying philosophy. If the math didn’t justify the price, the lens didn’t make the cut. So when I first heard people raving about the Sigma 50mm f/2 DG DN at over $600, my instinct was to write it off before I even looked at the specs. Faster lenses exist for less money. Sharper lenses exist for less money. Why pay a premium for an f/2 prime when Sony’s own 50mm f/1.8 clocks in at $250 and performs excellently?
Then I watched this Tony & Chelsea Northrup tutorial on the Sigma 50mm f/2, and Tony said something that genuinely shifted how I think about gear. Not the image quality data. Not the autofocus benchmarks. Something about the actual experience of holding and using a lens, and whether that experience has real value. It’s the kind of honest take you rarely get from channels that accept manufacturer sponsorships, and it’s worth unpacking carefully if you’re trying to decide whether this lens belongs in your bag.
Watch the full tutorial on YouTube
Step 1: Understand What the Sigma I-Series Is Actually Selling You
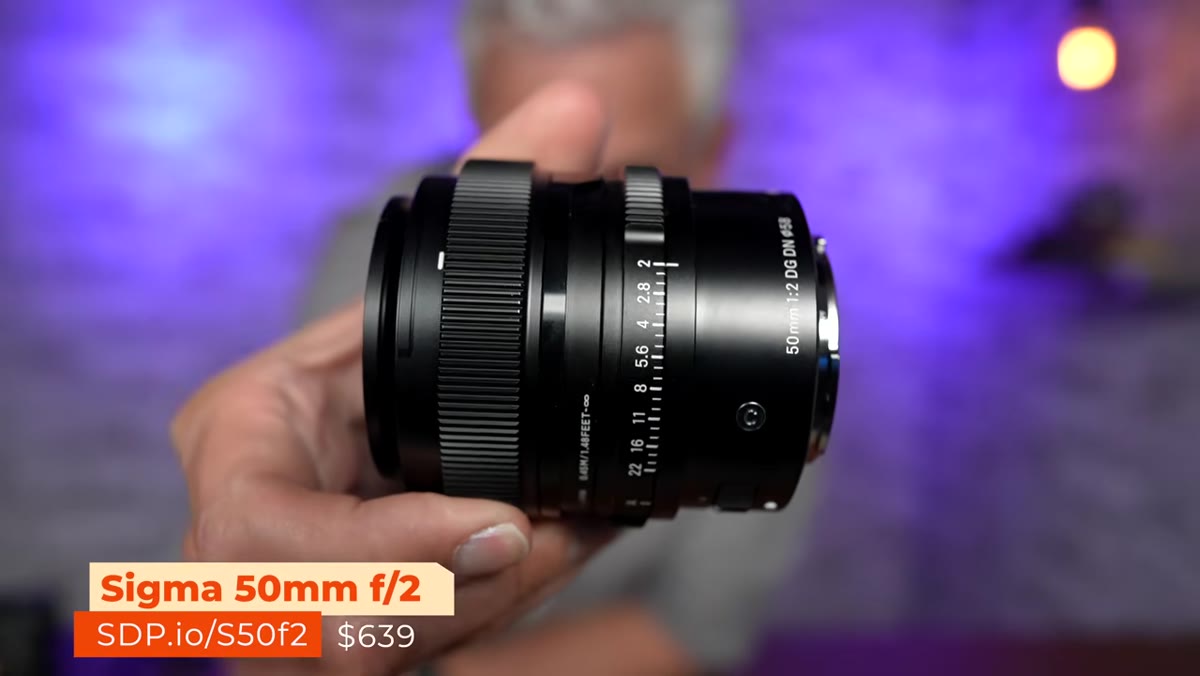 Tony holding the Sigma 50mm f/2 lens up to camera
The Sigma 50mm f/2 DG DN belongs to Sigma’s “I Series,” a line of compact, premium-built lenses designed for full-frame mirrorless systems including Sony E-mount and L-mount. The “I” stands for “Interchangeable,” but the real story is the construction: all-metal body, precision controls, and a physical aperture ring. Before you evaluate any image quality spec on this lens, understand that Sigma is charging a premium for tactile experience as much as optical performance. That framing matters when you’re comparing price tags.
Tony holding the Sigma 50mm f/2 lens up to camera
The Sigma 50mm f/2 DG DN belongs to Sigma’s “I Series,” a line of compact, premium-built lenses designed for full-frame mirrorless systems including Sony E-mount and L-mount. The “I” stands for “Interchangeable,” but the real story is the construction: all-metal body, precision controls, and a physical aperture ring. Before you evaluate any image quality spec on this lens, understand that Sigma is charging a premium for tactile experience as much as optical performance. That framing matters when you’re comparing price tags.
Step 2: Evaluate the Build Quality as a Functional Feature, Not a Luxury
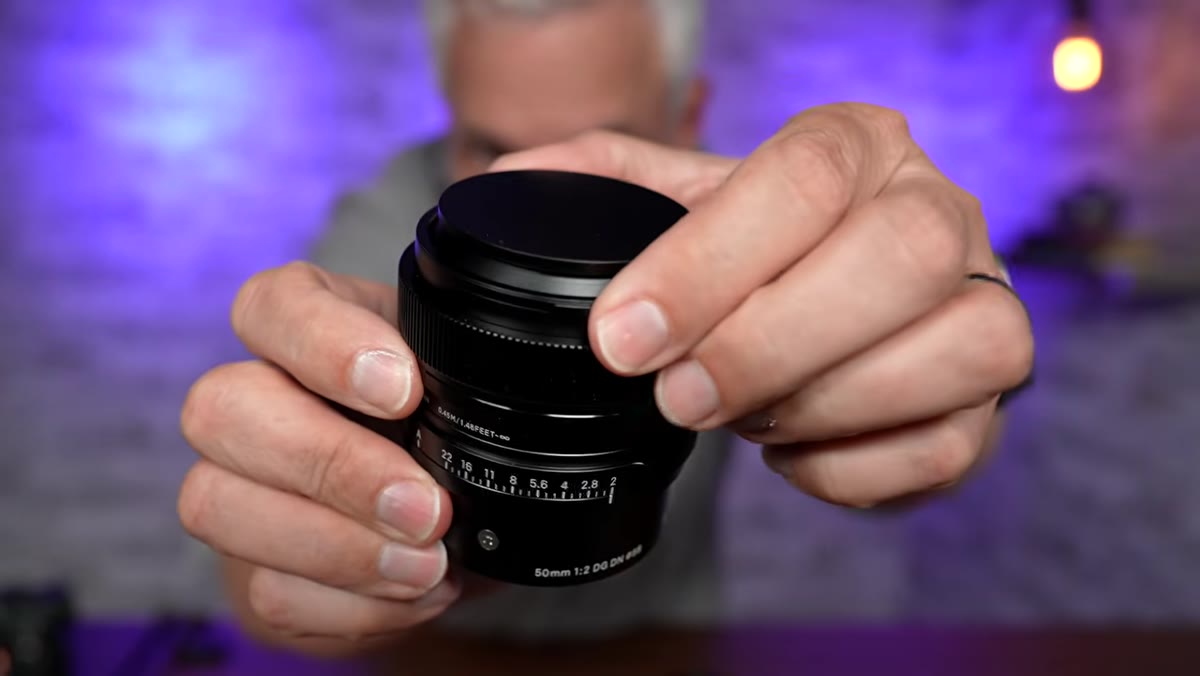 Close-up of the magnetic lens hood being attached and removed
Tony spends real time on the magnetic lens hood, and while that might sound like fluff, it’s actually a useful data point for travel photographers. Magnetic attachment means faster on and off in the field, fewer fumbled caps, and less time fiddling when light changes quickly. The hood snaps into place with a satisfying click and stays secure. The lens also ships with a conventional lens cap as a backup, which is a smart call for anyone worried about losing a magnetic accessory in a camera bag. When you’re evaluating travel lenses, every second of friction you eliminate in real shooting conditions counts.
Close-up of the magnetic lens hood being attached and removed
Tony spends real time on the magnetic lens hood, and while that might sound like fluff, it’s actually a useful data point for travel photographers. Magnetic attachment means faster on and off in the field, fewer fumbled caps, and less time fiddling when light changes quickly. The hood snaps into place with a satisfying click and stays secure. The lens also ships with a conventional lens cap as a backup, which is a smart call for anyone worried about losing a magnetic accessory in a camera bag. When you’re evaluating travel lenses, every second of friction you eliminate in real shooting conditions counts.
Step 3: Assess the Aperture Ring as a Shooting Tool
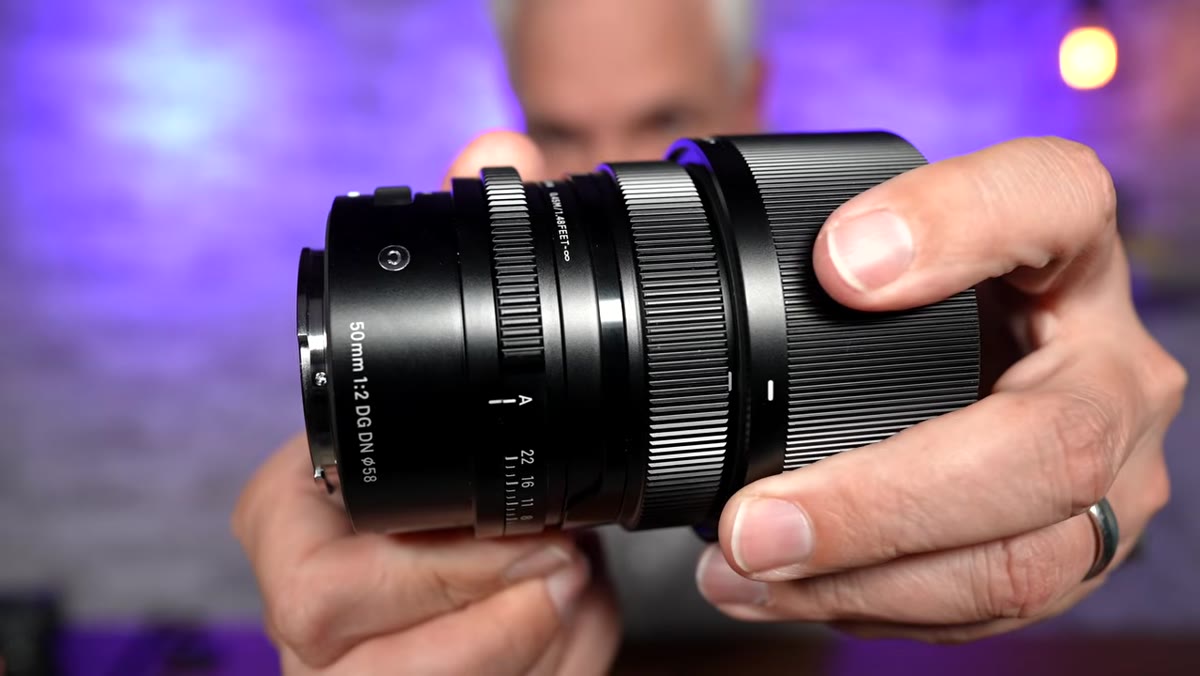 Tony demonstrating the aperture ring clicking through f-stop positions
The physical aperture ring clicks through each f-stop with a smooth, confident action and locks firmly into an “A” (automatic) position at one end. This is not decoration. A clicked aperture ring means you can adjust exposure without taking your eye away from the viewfinder or touching a dial that might be in an awkward position. For street shooting, travel, or any run-and-gun scenario where your hands are already busy, that muscle memory adjustment is genuinely faster than menu diving or spinning a rear dial. Check whether your own shooting style benefits from manual aperture control before dismissing this as a premium gimmick.
Tony demonstrating the aperture ring clicking through f-stop positions
The physical aperture ring clicks through each f-stop with a smooth, confident action and locks firmly into an “A” (automatic) position at one end. This is not decoration. A clicked aperture ring means you can adjust exposure without taking your eye away from the viewfinder or touching a dial that might be in an awkward position. For street shooting, travel, or any run-and-gun scenario where your hands are already busy, that muscle memory adjustment is genuinely faster than menu diving or spinning a rear dial. Check whether your own shooting style benefits from manual aperture control before dismissing this as a premium gimmick.
Step 4: Do the Honest Price Comparison Against the Sony 50mm f/1.8
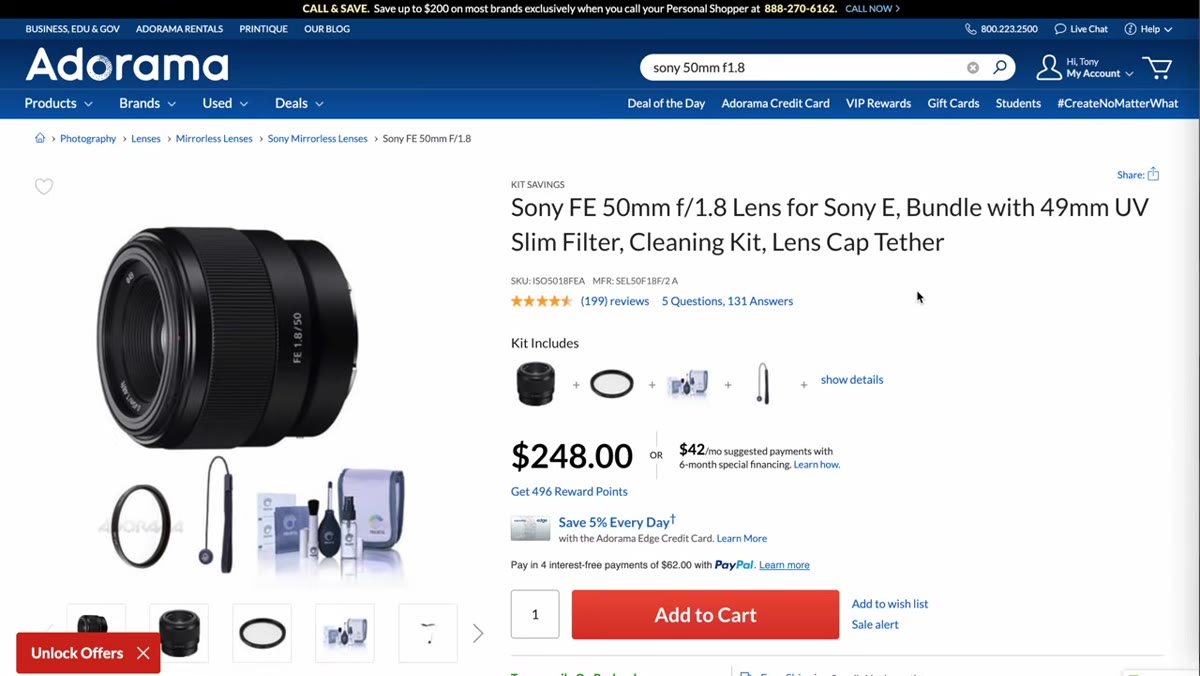 Tony holding the Sony 50mm f/1.8 next to the Sigma for comparison
Tony makes the comparison explicit and I appreciate that he doesn’t shy away from it. The Sony 50mm f/1.8 is lighter, one full stop faster, and costs less than half as much as the Sigma. If you are purely optimizing for image quality per dollar, the Sony wins on paper. The Sigma’s value proposition only becomes clear when you factor in the build quality, the aperture ring, the overall handling experience, and how much all of that actually matters to your shooting. Ask yourself: do you shoot more, or better, when you enjoy the tool in your hands? That’s not a rhetorical question. It has a real answer specific to how you work.
Tony holding the Sony 50mm f/1.8 next to the Sigma for comparison
Tony makes the comparison explicit and I appreciate that he doesn’t shy away from it. The Sony 50mm f/1.8 is lighter, one full stop faster, and costs less than half as much as the Sigma. If you are purely optimizing for image quality per dollar, the Sony wins on paper. The Sigma’s value proposition only becomes clear when you factor in the build quality, the aperture ring, the overall handling experience, and how much all of that actually matters to your shooting. Ask yourself: do you shoot more, or better, when you enjoy the tool in your hands? That’s not a rhetorical question. It has a real answer specific to how you work.
Step 5: Compare the Sigma Against the Sony 50mm f/2.5 G
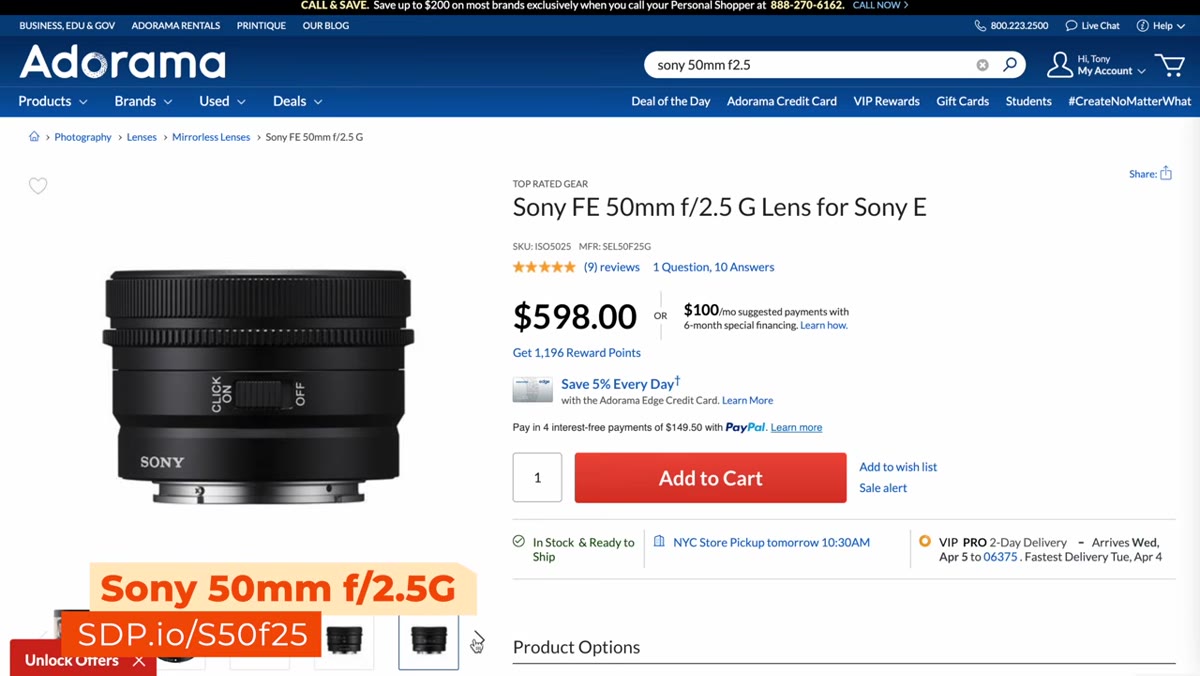 Side-by-side of the Sigma 50mm f/2 and Sony 50mm f/2.5 G lenses
The more direct competitor isn’t the f/1.8. It’s the Sony 50mm f/2.5 G, which Tony identifies as nearly identical in size, weight, and handling philosophy. Both are compact, premium travel lenses with excellent build quality and satisfying controls. The Sony has a de-clickable aperture ring, which gives it an edge if you shoot video regularly. The Sigma’s advantage is the wider maximum aperture: f/2 versus f/2.5. In practical terms, that’s about two-thirds of a stop more light, which matters in dim indoor situations without being dramatic. If you’re on Sony and video is part of your workflow, the Sony f/2.5 G deserves a serious look. If you’re shooting stills and want that extra light gathering, the Sigma earns its place.
Side-by-side of the Sigma 50mm f/2 and Sony 50mm f/2.5 G lenses
The more direct competitor isn’t the f/1.8. It’s the Sony 50mm f/2.5 G, which Tony identifies as nearly identical in size, weight, and handling philosophy. Both are compact, premium travel lenses with excellent build quality and satisfying controls. The Sony has a de-clickable aperture ring, which gives it an edge if you shoot video regularly. The Sigma’s advantage is the wider maximum aperture: f/2 versus f/2.5. In practical terms, that’s about two-thirds of a stop more light, which matters in dim indoor situations without being dramatic. If you’re on Sony and video is part of your workflow, the Sony f/2.5 G deserves a serious look. If you’re shooting stills and want that extra light gathering, the Sigma earns its place.
Step 6: Test Autofocus in Real Video Conditions
 Tony walking toward camera while autofocus tracks him in video mode
Tony runs the lens through a face-tracking autofocus test while walking toward the camera in video mode. The test matters because compact travel lenses sometimes sacrifice autofocus speed and smoothness for smaller motor assemblies. A lens that hunts or breathes noticeably in video is a frustrating companion on a trip where you don’t have time to reshoot. Watch the tutorial segment closely here and compare the tracking behavior against what you need. If your travel shooting is 90% stills, a little autofocus imprecision in video is irrelevant. If you shoot travel vlogs or hybrid content, this test should factor directly into your decision.
Tony walking toward camera while autofocus tracks him in video mode
Tony runs the lens through a face-tracking autofocus test while walking toward the camera in video mode. The test matters because compact travel lenses sometimes sacrifice autofocus speed and smoothness for smaller motor assemblies. A lens that hunts or breathes noticeably in video is a frustrating companion on a trip where you don’t have time to reshoot. Watch the tutorial segment closely here and compare the tracking behavior against what you need. If your travel shooting is 90% stills, a little autofocus imprecision in video is irrelevant. If you shoot travel vlogs or hybrid content, this test should factor directly into your decision.
My Take: The Experience Argument Is Real, and I Didn’t Expect to Believe It
I came into this video ready to defend my spreadsheet. I left it thinking about how I got into deals content in the first place: because I kept spending more time researching prices than actually going out and shooting. At some point, gear friction becomes a real cost. If a $640 lens makes you pick up your camera more often, produces images you’re proud of, and makes the hour of shooting feel like something you chose rather than something you endured, that math is harder to dismiss than I’d like. I’m not saying premium build quality always justifies a premium price. But I am saying Tony’s point about enjoying the process landed for me in a way I didn’t anticipate.
The single most important thing this tutorial teaches is not which 50mm lens is objectively best. It’s that “best” is a personal variable. Sharpness charts and autofocus benchmarks tell you what a lens can do. They don’t tell you whether you’ll actually use it. Factor in how a lens feels to handle, and your buying decision gets more complicated and more honest at the same time.
Watch the full tutorial on YouTube
Comments (2)
Simple but effective. Sometimes that's all you need.
Great article! I actually covered something related on my site — the lighting angle is really complementary to this.
Leave a Comment