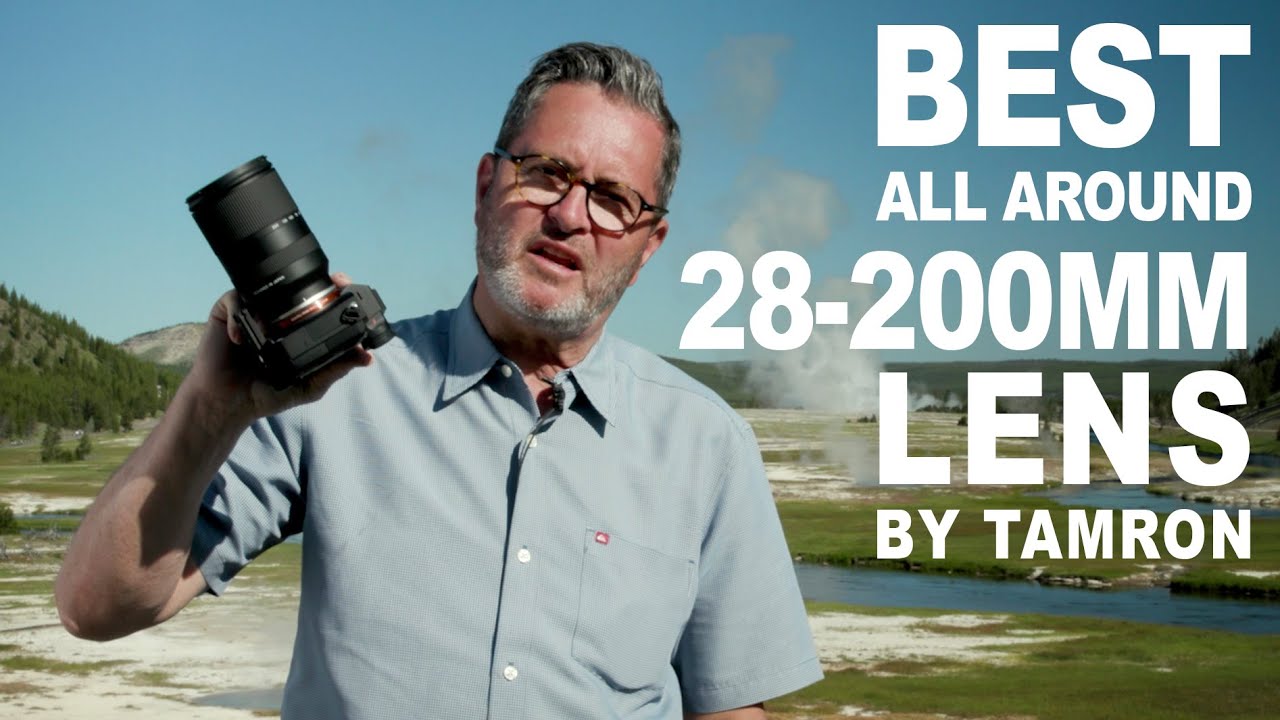
There’s a specific kind of photography frustration I know well: you’re out somewhere genuinely spectacular, and you’re swapping lenses every five minutes because your wide angle can’t reach and your telephoto can’t go wide. You miss shots. You get dust on your sensor. You spend more time managing glass than actually shooting. That problem is exactly what the Tamron 28-200mm f/2.8-5.6 Di III RXD for Sony is built to eliminate, and after watching JP Morgan of The Slanted Lens put it through its paces across Yellowstone, I think this lens deserves a serious look from any Sony shooter trying to travel light without giving up capability.
In this The Slanted Lens tutorial, JP takes the lens into real field conditions, not a studio chart test, and shoots everything from wide volcanic landscapes to telephoto bison at distance. That context matters. Lab sharpness numbers tell you one thing; watching someone actually navigate a variable aperture zoom across wildly different shooting situations tells you something much more useful. Here’s what he covers, broken down into actionable steps you can apply the moment you put this lens on your camera. Watch the full tutorial on YouTube
Step 1: Understand What You’re Actually Buying Into
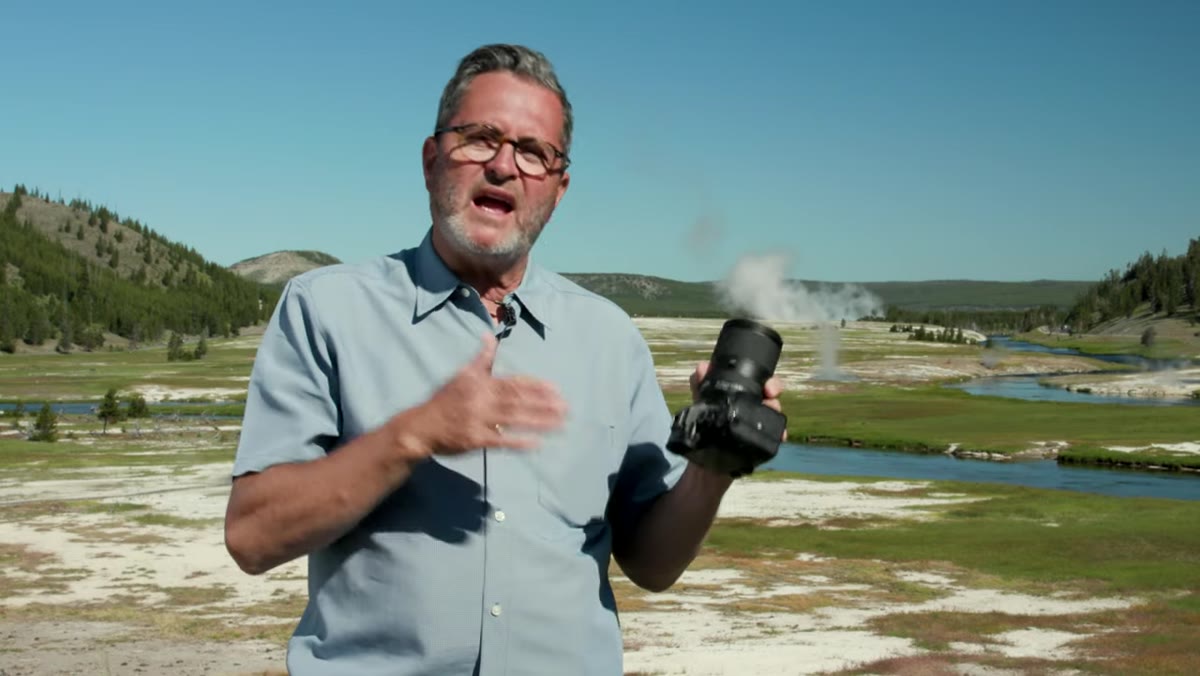
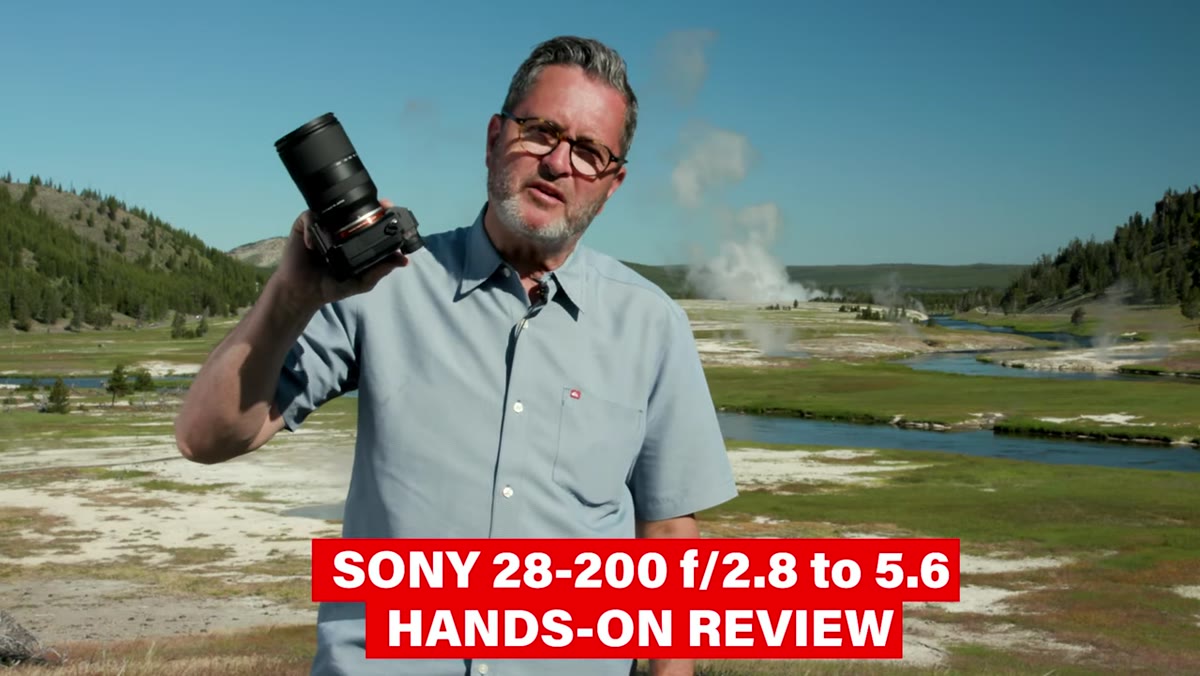 Tamron 28-200mm lens mounted on Sony camera outdoors
Before you touch a setting, you need to understand the core value proposition here. This is a native Sony E-mount lens, which means it’s not an adapted third-party optic with compromised communication. Eye tracking works. Sony’s autofocus algorithms run fully. The camera and lens speak the same language. Tamron’s decision to go native also means they stripped the physical controls down to a minimum, pushing autofocus management into the Sony menu system. The result is a lighter, smaller package that actually matches the mirrorless form factor instead of fighting it.
Tamron 28-200mm lens mounted on Sony camera outdoors
Before you touch a setting, you need to understand the core value proposition here. This is a native Sony E-mount lens, which means it’s not an adapted third-party optic with compromised communication. Eye tracking works. Sony’s autofocus algorithms run fully. The camera and lens speak the same language. Tamron’s decision to go native also means they stripped the physical controls down to a minimum, pushing autofocus management into the Sony menu system. The result is a lighter, smaller package that actually matches the mirrorless form factor instead of fighting it.
That’s not a compromise. That’s the point. If you’re coming from DSLR lenses adapted over, the difference in how seamlessly the AF integrates will be immediately obvious.
Step 2: Know Your Focal Range and What It Means in the Field
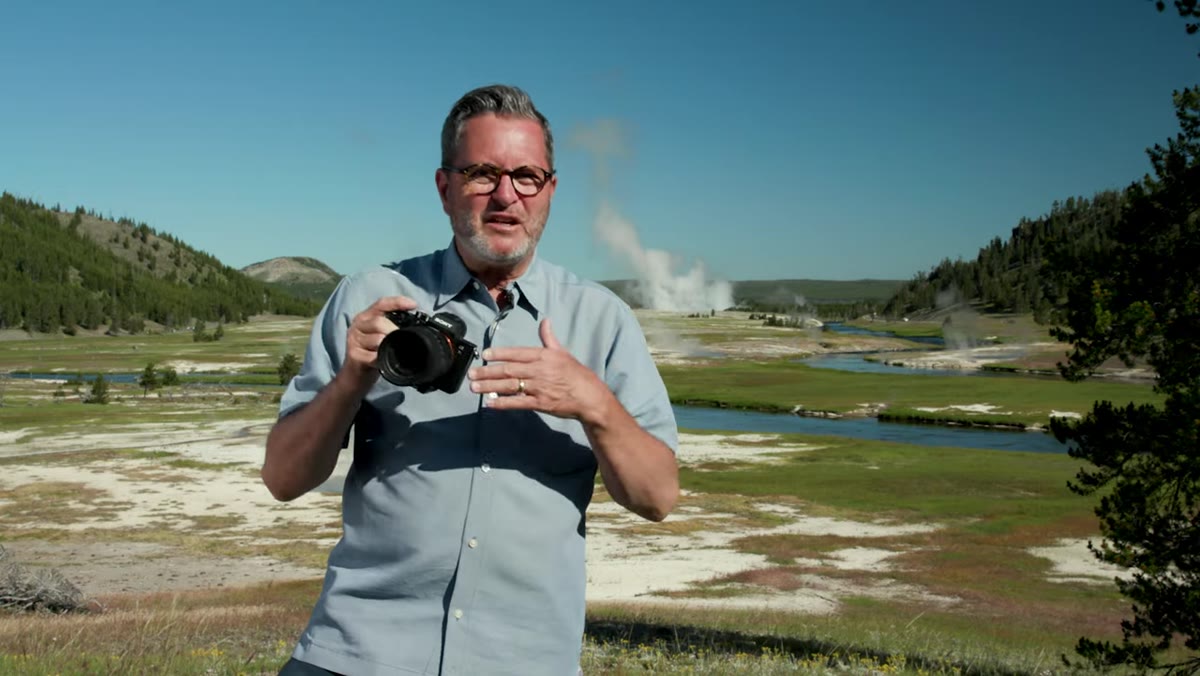 Scenic Yellowstone landscape shot demonstrating wide 28mm end
Twenty-eight millimeters on the wide end is genuinely wide, wide enough for sweeping landscapes, interior spaces, and environmental portraits. Two hundred millimeters on the long end gets you real telephoto reach, the kind that can isolate wildlife at a comfortable distance. On a full-frame Sony body, that’s the full range as advertised. But if you’re running an APS-C body like the ZV-E10 or the a6700, that crop factor pushes your effective range to roughly 42-300mm, which is an extraordinary amount of reach for a single lens.
Scenic Yellowstone landscape shot demonstrating wide 28mm end
Twenty-eight millimeters on the wide end is genuinely wide, wide enough for sweeping landscapes, interior spaces, and environmental portraits. Two hundred millimeters on the long end gets you real telephoto reach, the kind that can isolate wildlife at a comfortable distance. On a full-frame Sony body, that’s the full range as advertised. But if you’re running an APS-C body like the ZV-E10 or the a6700, that crop factor pushes your effective range to roughly 42-300mm, which is an extraordinary amount of reach for a single lens.
This is a detail worth pausing on if you shoot APS-C. You’re not losing anything meaningful at the wide end for most shooting situations, and you’re gaining a telephoto reach that would otherwise require a dedicated 70-300mm lens sitting in your bag.
Step 3: Master the Variable Aperture Before It Catches You Off Guard
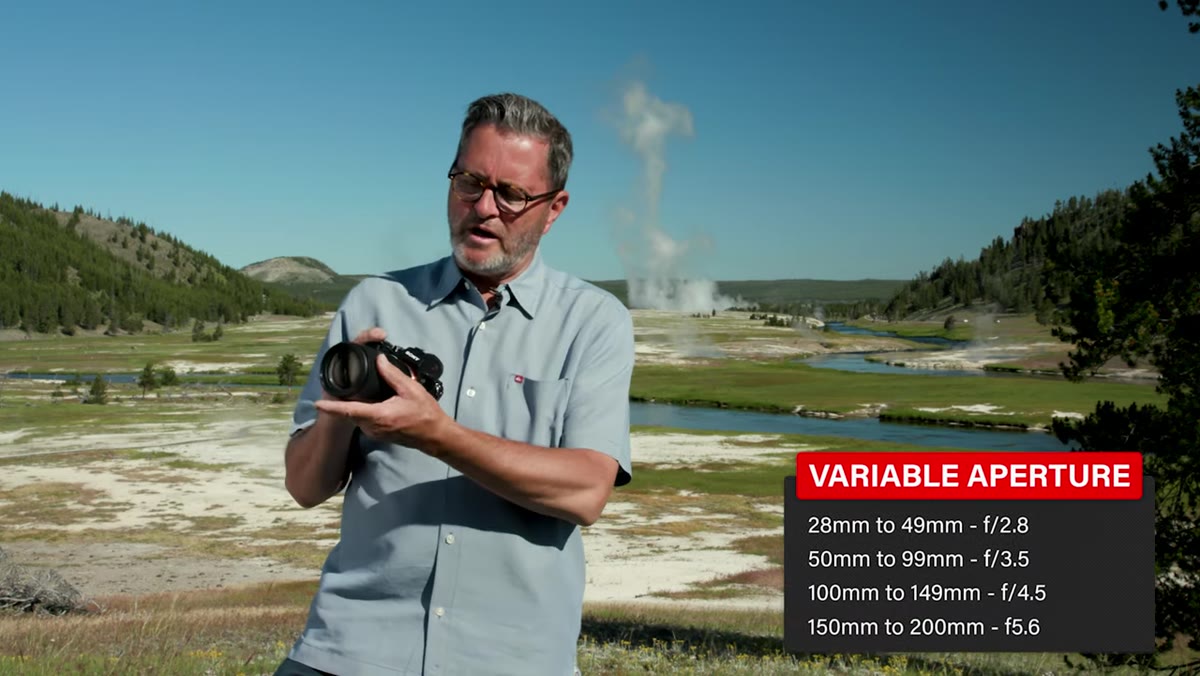 Aperture display changing as focal length increases on camera screen
Variable aperture is the trade-off that makes a lens like this physically possible at this price and size. At 28mm you’re shooting at f/2.8. By 50mm that steps down to f/3.5. At 100mm you’re at f/4.5, and from 150mm to 200mm you’re working at f/5.6. If you set aperture priority at f/2.8 and zoom in, the camera compensates automatically. You won’t blow an exposure, but you need to understand your light is changing.
Aperture display changing as focal length increases on camera screen
Variable aperture is the trade-off that makes a lens like this physically possible at this price and size. At 28mm you’re shooting at f/2.8. By 50mm that steps down to f/3.5. At 100mm you’re at f/4.5, and from 150mm to 200mm you’re working at f/5.6. If you set aperture priority at f/2.8 and zoom in, the camera compensates automatically. You won’t blow an exposure, but you need to understand your light is changing.
JP’s practical approach here is worth stealing directly. For outdoor scenic work where light is plentiful, he sets aperture priority at f/5.6 and lets the shutter speed do the tracking. This removes the variable from the equation entirely and gives him consistent depth of field across the zoom range. You’re not fighting the lens. You’re working with what it gives you at its best.
Step 4: Use the Close-Focus Capability at the Wide End
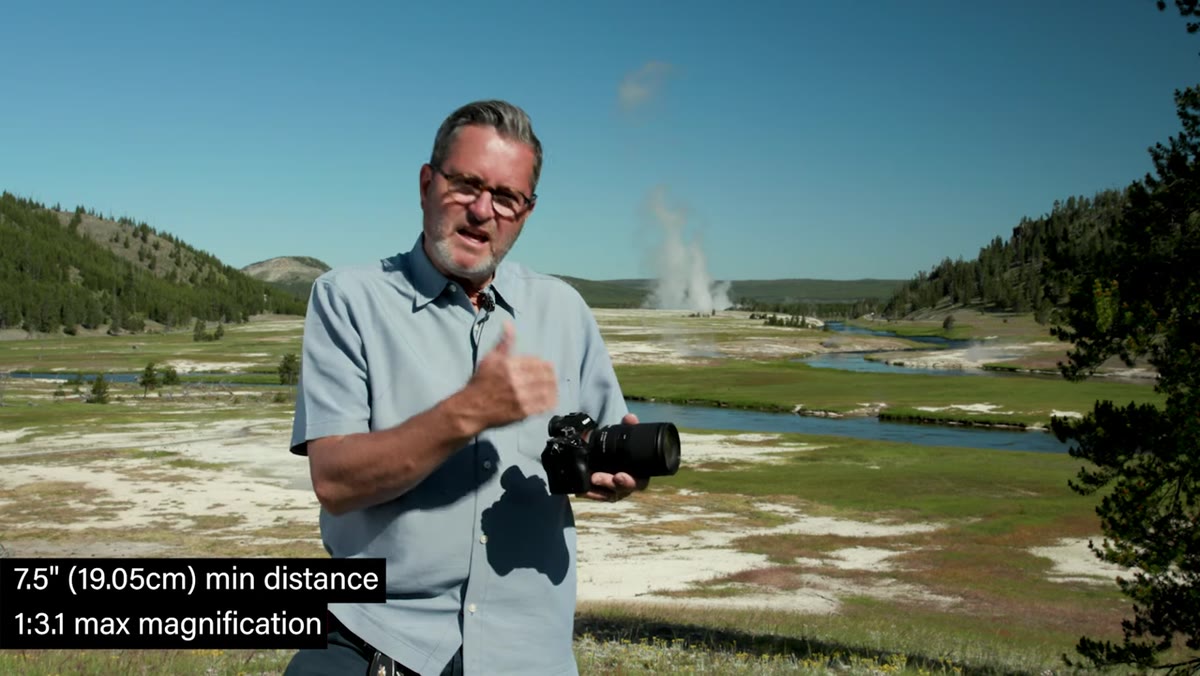 Close-up subject demonstrating 7.5-inch minimum focus distance at 28mm
One of the least-discussed features of this lens is how close it can focus at 28mm. We’re talking 7.5 inches from the sensor to your subject, which is genuinely close. That translates to a maximum magnification of 1:3.1 at the wide end, which isn’t macro territory but it’s close enough to get compelling detail shots, food photography, or product work without a dedicated macro lens in your kit.
Close-up subject demonstrating 7.5-inch minimum focus distance at 28mm
One of the least-discussed features of this lens is how close it can focus at 28mm. We’re talking 7.5 inches from the sensor to your subject, which is genuinely close. That translates to a maximum magnification of 1:3.1 at the wide end, which isn’t macro territory but it’s close enough to get compelling detail shots, food photography, or product work without a dedicated macro lens in your kit.
This drops off significantly as you zoom toward 200mm, as it does with any zoom. But at the wide end, it opens up a category of shooting most people don’t expect from a travel zoom. If you’re the type who shoots a mix of landscapes and detail shots on the same walk, this saves you a lens swap.
Step 5: Evaluate It as a Video Lens, Not Just Stills
 Video-style framing demonstrating shallow depth of field at 200mm f/5.6
JP makes a point that I think gets overlooked in most reviews of this lens: f/5.6 at 200mm still gives you beautiful subject separation. The longer your focal length, the more compression and background blur you get even at smaller apertures. For video work, that 200mm end at f/5.6 stacks background elements in a way that looks genuinely cinematic, not like you’re shooting on a kit lens.
Video-style framing demonstrating shallow depth of field at 200mm f/5.6
JP makes a point that I think gets overlooked in most reviews of this lens: f/5.6 at 200mm still gives you beautiful subject separation. The longer your focal length, the more compression and background blur you get even at smaller apertures. For video work, that 200mm end at f/5.6 stacks background elements in a way that looks genuinely cinematic, not like you’re shooting on a kit lens.
The native Sony mount integration also means autofocus during video is using Sony’s full subject-tracking system. For run-and-gun travel video where you don’t have time to pull focus manually, that’s not a minor feature. It’s the difference between usable footage and a frustrating day on location.
My Take: Where the Budget Math Gets Interesting
I’ve run a spreadsheet comparing budget lenses for a while now, and the question I always come back to is: what does a comparable set of primes or separate zooms actually cost? To cover 28-200mm with Sony native glass, even at third-party prices, you’re looking at at least two lenses and a bag big enough to carry both. The Tamron handles that entire range in a single package that’s lighter than most 70-200mm telephotos alone.
The honest caveat is that a dedicated 35mm prime at f/1.8 will outperform this at the wide end in low light, and a dedicated 70-200mm f/2.8 will smoke it at the telephoto end. But that’s not the comparison. The comparison is: one lens you actually have with you versus two lenses you left in the car because the hike looked long. For travel, wildlife opportunism, and mixed-content days, the Tamron wins that argument convincingly.
The single most important thing JP’s field test confirms is that sharpness at this price point is no longer a meaningful reason to avoid an all-in-one zoom. This lens is sharp. The Sony AF integration is seamless. And for a Sony shooter who wants one lens that covers a full day of varied shooting without compromise, the 28-200mm Tamron is about as close to a definitive answer as the market currently offers.
Watch the full tutorial on YouTube to see JP’s Yellowstone images at every focal length and judge the real-world sharpness for yourself.
Comments
Leave a Comment