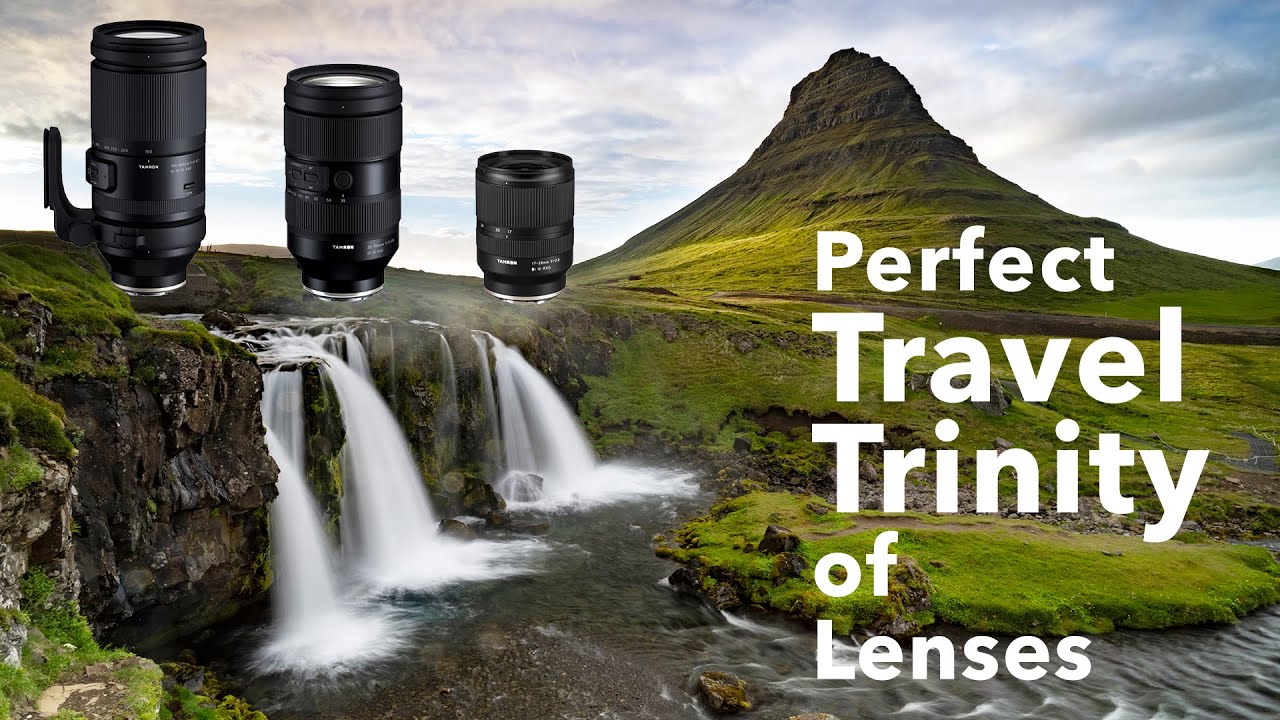
I have a bad habit that probably sounds familiar. Before any trip, I spend more time researching what gear to bring than I do actually planning the shoot. I’ve got a spreadsheet with 47 lenses on it, sorted by focal length, price, and sharpness score, and every time I pack a bag I open it up and second-guess myself. So when I came across Jay P. Morgan’s recent tutorial from The Slanted Lens, shot entirely in Iceland, it hit differently than the usual gear video. He wasn’t testing lenses in a lab. He was standing in the rain photographing puffins with a trash bag clamped over his camera, and he had already decided which three lenses were coming with him before he ever boarded the plane. That decisiveness is the real lesson.
Watch the full tutorial on YouTube
What Morgan calls the “travel trinity” is a framework built around a specific kind of travel: independent, active, moving between cities and national parks, needing to cover everything from architecture to wildlife without checking a second bag. That context matters. His three-lens system is not about having every focal length covered in theory. It’s about having the right focal lengths covered for how he actually moves through a destination. As someone who started shooting with a $300 kit and had to make every lens choice count, that kind of intentional constraint is something I respect more than a ten-lens lineup.
Step 1: Anchor Your Kit with a Long Zoom You Can Actually Handhold
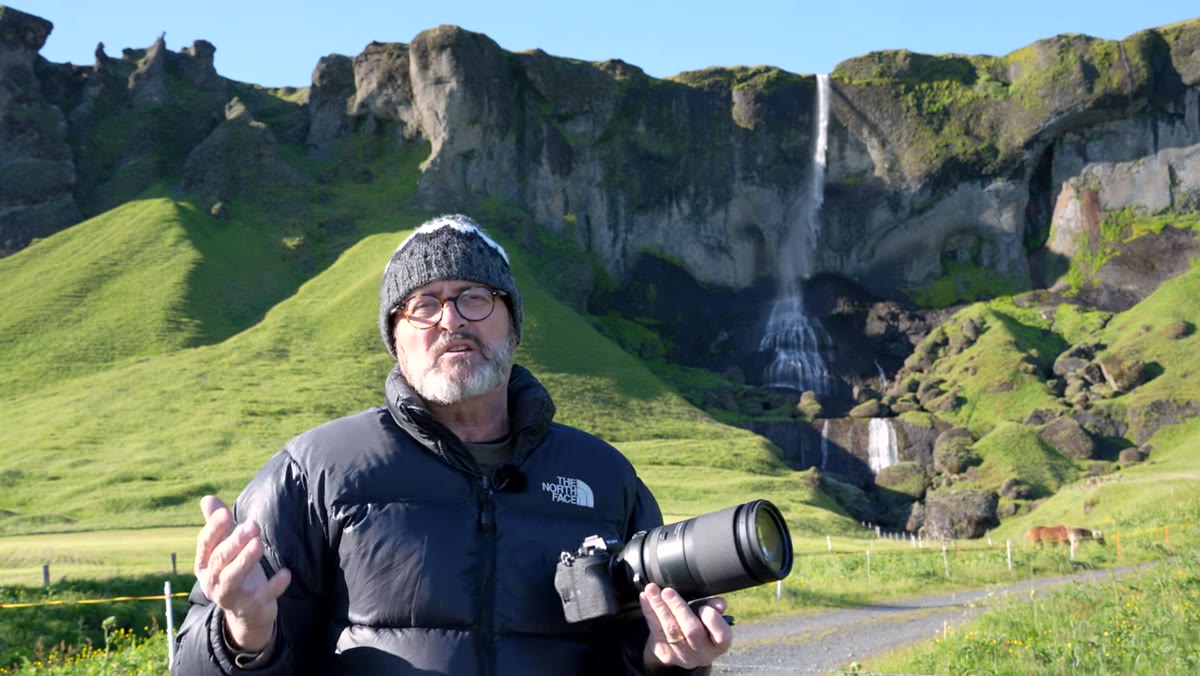
 Jay holding the 150-500mm lens outdoors in Iceland
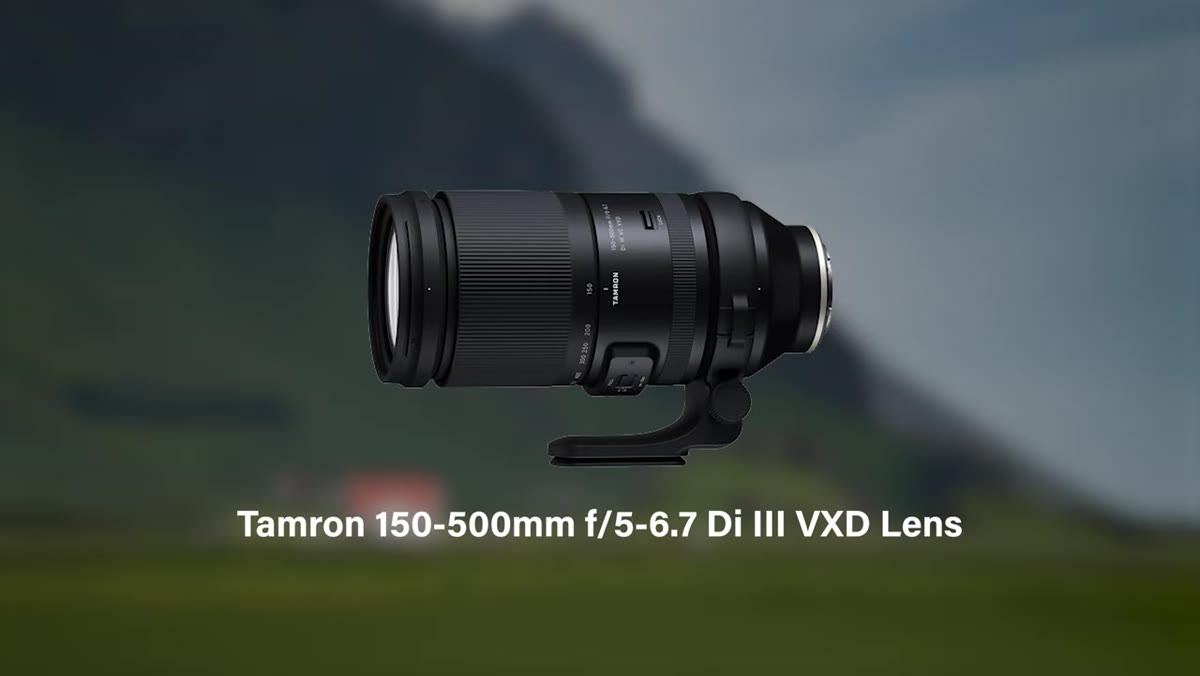
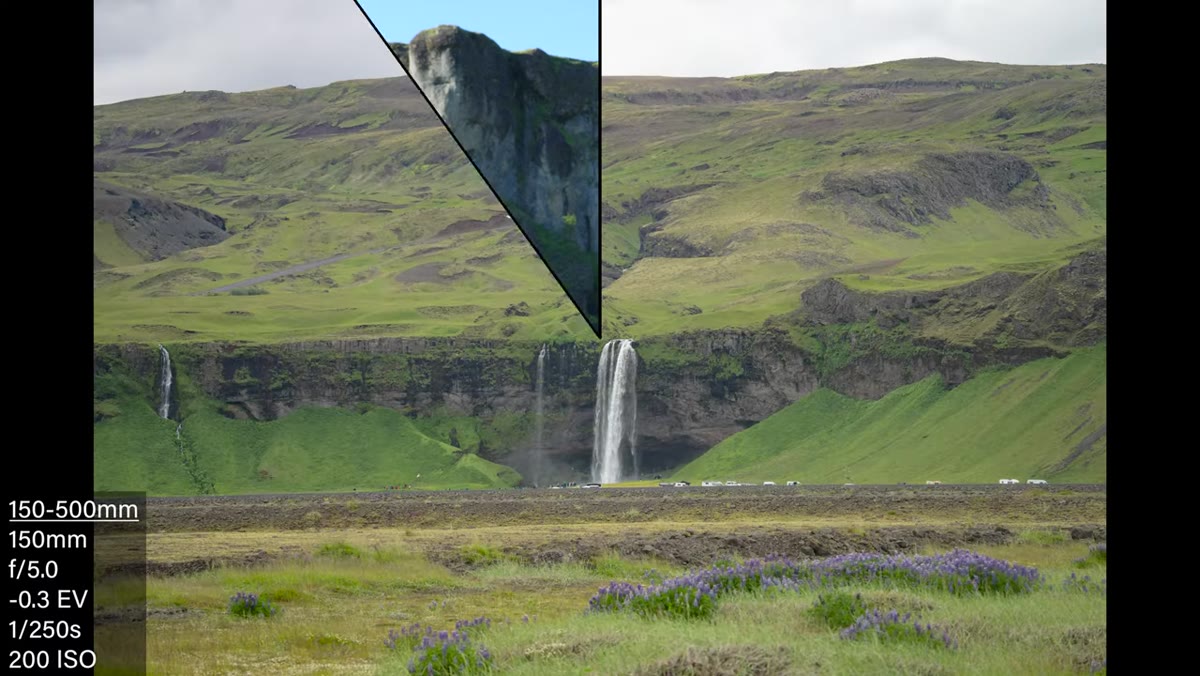
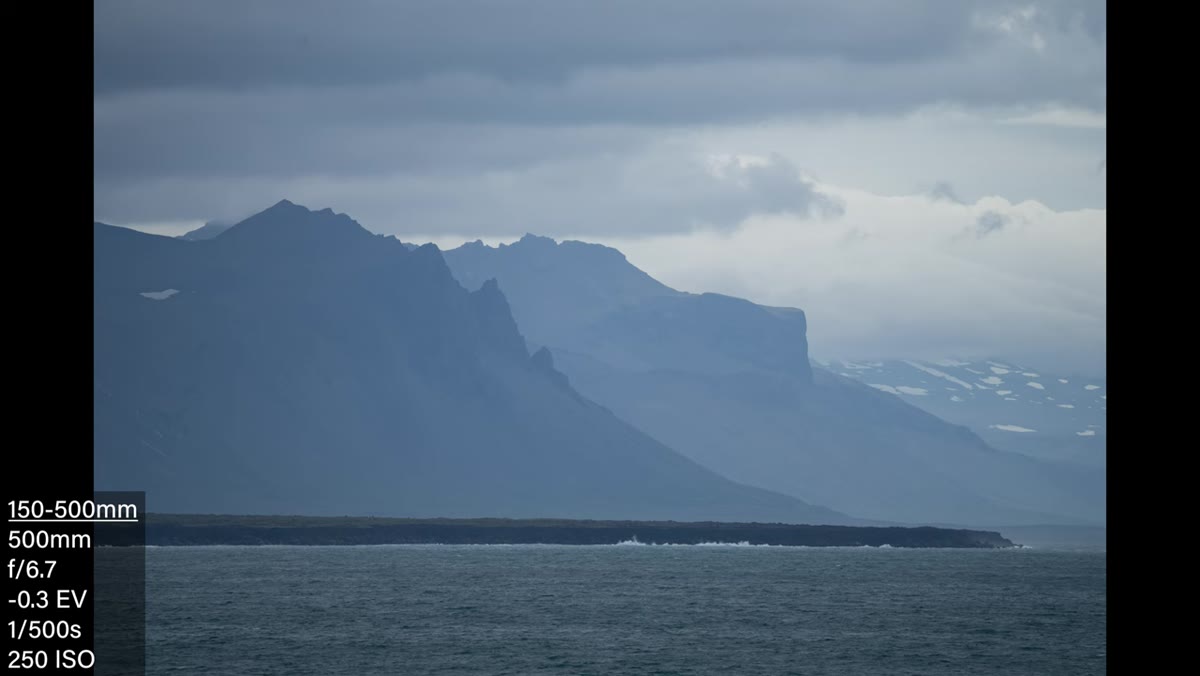
The first and maybe most surprising lens Morgan reaches for is a 150-500mm telephoto zoom. Most travel photographers hear that and immediately think “too heavy, too big, not practical.” Morgan’s argument pushes back hard on that assumption. The key is finding a long zoom with built-in image stabilization, what Sigma calls VC, that lets you handhold at slower shutter speeds without a tripod. For wildlife and birds in particular, a lens that can go from 150mm to 500mm gives you the flexibility to frame both a flock in flight and a single bird on a rock without switching glass.
Jay holding the 150-500mm lens outdoors in Iceland
The first and maybe most surprising lens Morgan reaches for is a 150-500mm telephoto zoom. Most travel photographers hear that and immediately think “too heavy, too big, not practical.” Morgan’s argument pushes back hard on that assumption. The key is finding a long zoom with built-in image stabilization, what Sigma calls VC, that lets you handhold at slower shutter speeds without a tripod. For wildlife and birds in particular, a lens that can go from 150mm to 500mm gives you the flexibility to frame both a flock in flight and a single bird on a rock without switching glass.
The practical detail here is the autofocus limiter. When you’re tracking fast-moving subjects like puffins coming in for a landing, you don’t want your autofocus motor hunting from 23 inches all the way to infinity. Setting a limiter to something like 3 meters to infinity cuts the travel distance the motor has to cover, which means faster, more reliable locks. If your lens has this feature and you’re not using it for wildlife work, you’re leaving a meaningful performance gain on the table.
Step 2: Factor in Weather Resistance Before You Leave Home
 Morgan describing fluorine coating and moisture-resistant build
Iceland is wet. But honestly, most of the places worth photographing are wet, or dusty, or both. Morgan specifically calls out the moisture-resistant construction and fluorine coating on his telephoto as features that earned their keep in the field. Fluorine coating is not just marketing language. It causes water and grime to bead up and roll off the front element rather than smearing across it, which matters when you’re pulling the lens in and out of a rain-soaked bag all day.
Morgan describing fluorine coating and moisture-resistant build
Iceland is wet. But honestly, most of the places worth photographing are wet, or dusty, or both. Morgan specifically calls out the moisture-resistant construction and fluorine coating on his telephoto as features that earned their keep in the field. Fluorine coating is not just marketing language. It causes water and grime to bead up and roll off the front element rather than smearing across it, which matters when you’re pulling the lens in and out of a rain-soaked bag all day.
If you’re shopping for a travel telephoto on a budget, weather sealing is one spec worth paying a premium for even when other specs are comparable. A lens that forces you to stop shooting every time clouds roll in is not actually a good travel lens, regardless of its sharpness charts.
Step 3: Use the Built-in Arca-Swiss Plate if the Lens Has One
 Close-up of the Arca-Swiss plate on the lens foot
This is a small detail that saves real time in the field. The Sigma 150-500mm Morgan is using has an Arca-Swiss compatible plate built directly into the tripod collar. That means it drops straight onto a compatible gimbal head or ball head without any adapter or separate plate purchase. For anyone who has fumbled with aftermarket plates in cold gloves, this is not a small thing.
Close-up of the Arca-Swiss plate on the lens foot
This is a small detail that saves real time in the field. The Sigma 150-500mm Morgan is using has an Arca-Swiss compatible plate built directly into the tripod collar. That means it drops straight onto a compatible gimbal head or ball head without any adapter or separate plate purchase. For anyone who has fumbled with aftermarket plates in cold gloves, this is not a small thing.
Morgan also mentions safety pins that lock the lens into the gimbal so it can’t slide free if you loosen the clamp. Check whether your tripod collar or gimbal system has this option before you head out. Losing a 500mm lens off a gimbal on a cliffside in Iceland would be a very expensive and very avoidable problem.
Step 4: Let Eye Tracking Do the Heavy Lifting on Wildlife
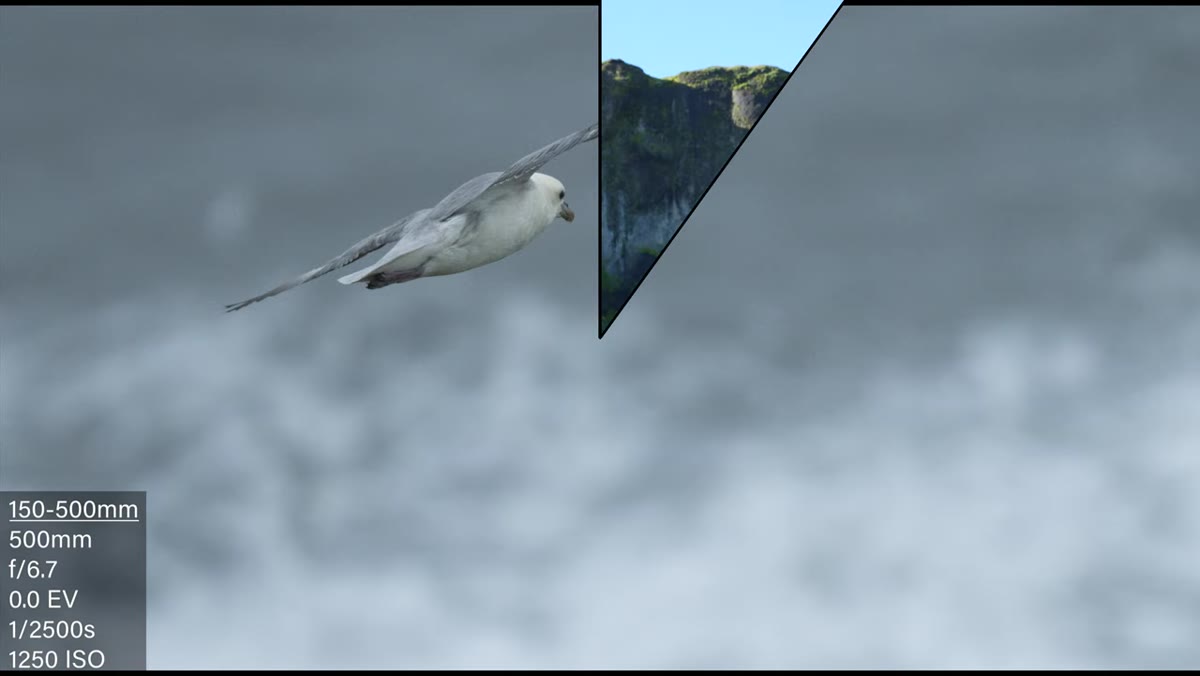
 Puffin shots on the Sony a1 with eye tracking active
Morgan is shooting on the Sony a1 with eye-tracking autofocus enabled, and he’s clear that the combination of the lens’s fast autofocus motor and the body’s subject recognition is what makes puffin-in-flight shots possible. The specific setting to know here is eye tracking or animal eye AF, which on Sony bodies you can enable and then largely leave alone. The camera finds the bird’s eye, locks to it, and holds it even as the subject moves across the frame.
Puffin shots on the Sony a1 with eye tracking active
Morgan is shooting on the Sony a1 with eye-tracking autofocus enabled, and he’s clear that the combination of the lens’s fast autofocus motor and the body’s subject recognition is what makes puffin-in-flight shots possible. The specific setting to know here is eye tracking or animal eye AF, which on Sony bodies you can enable and then largely leave alone. The camera finds the bird’s eye, locks to it, and holds it even as the subject moves across the frame.
The takeaway for non-Sony shooters is the same principle: use whatever subject-detect or animal-detect mode your body offers, and pair it with a lens that has a genuinely fast autofocus motor. Slow AF glass will lag behind even the best body-side processing.
Step 5: Macro as a Bonus, Not an Afterthought
 Morgan noting the 23.6-inch minimum focus distance
One thing Morgan points out that I hadn’t thought much about: the 150-500mm focuses down to about 23.6 inches, which gives it a near-macro capability at the long end. For travel photography, this is a useful bonus. Flowers, insects, textures in stone walls, food at a market. You can get close without carrying a dedicated macro lens, which saves space and weight in the bag.
Morgan noting the 23.6-inch minimum focus distance
One thing Morgan points out that I hadn’t thought much about: the 150-500mm focuses down to about 23.6 inches, which gives it a near-macro capability at the long end. For travel photography, this is a useful bonus. Flowers, insects, textures in stone walls, food at a market. You can get close without carrying a dedicated macro lens, which saves space and weight in the bag.
This won’t replace a true 1:1 macro lens, but for a travel kit where every slot in the bag is a tradeoff, a long zoom with solid minimum focus distance does double duty in a way that a prime telephoto simply cannot.
What I’d Add for Budget Shooters
Morgan is shooting with professional-tier glass on a flagship Sony body. That’s his kit, and it works for him. But the framework he’s built, one long zoom for wildlife, plus presumably a wide and a mid-range to round out the trinity, translates directly to a $600 budget if you’re willing to look at third-party options. Sigma’s 100-400mm for Sony E-mount can be found used in the $500-600 range and covers most of what the 150-500mm does for wildlife. Tamron’s 150-500mm for Fuji X and Sony E is another option worth checking on deal sites before you dismiss the focal length category entirely.
The constraint of three lenses is the lesson here, not the specific lenses Morgan chose. Pick one wide, one mid, one long. Commit before you pack. Shoot more, decide less.
The single biggest thing I took from this tutorial is that the “best” travel lens kit is defined by your itinerary, not by a universal recommendation. Morgan’s choice to anchor his trinity with a 500mm telephoto is a direct response to wanting to photograph wildlife on his own terms, without a tour group setting the schedule. Figure out what you’re actually going to shoot, and build backward from there.
Watch the full tutorial on YouTube to see the full breakdown of all three lenses and the Iceland footage that proves the system works.
Comments
Leave a Comment