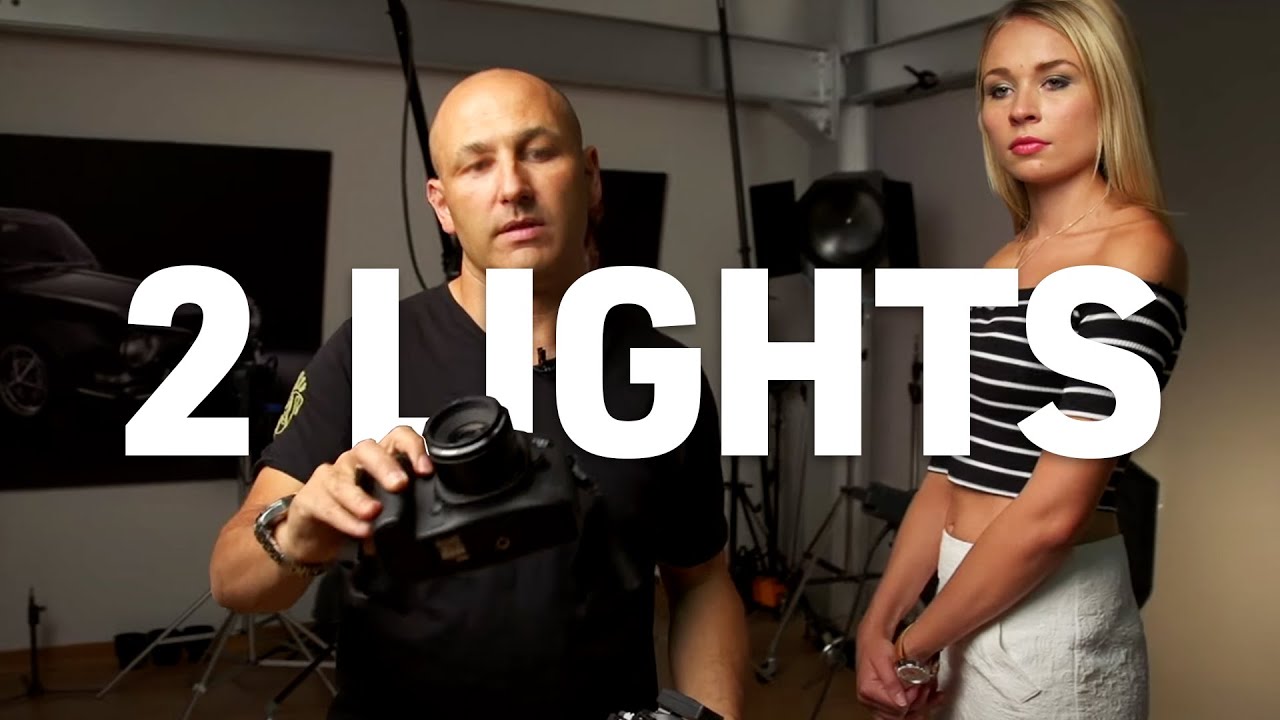
I’ve done the blind test. I’ve stood in a room full of photographers and watched them fail to pick out which portrait came from a $500 camera and which came from a $2,000 one. Every time, the conversation eventually lands in the same place: it was the light. Not the sensor. Not the glass. The light. That’s why this particular tutorial from Visual Education stopped my morning scroll cold. It strips a portrait setup down to two lights and a piece of foam board, then shoots the same subject on a high-end Canon 5D and a budget Olympus mirrorless camera to prove the point. Watch the full tutorial on YouTube
The specific problem this solves for me is the gear paralysis conversation I have with readers almost weekly. Someone wants to shoot portraits. They think they need a full studio kit before they can get a professional result. This tutorial is a direct, visual rebuttal to that idea, and the setup is simple enough that you can replicate it in a spare bedroom with speedlights and a $15 foam board from a craft store.
Here’s the full breakdown of how it works, step by step.
Step 1: Understand What Two Lights Actually Need to Do
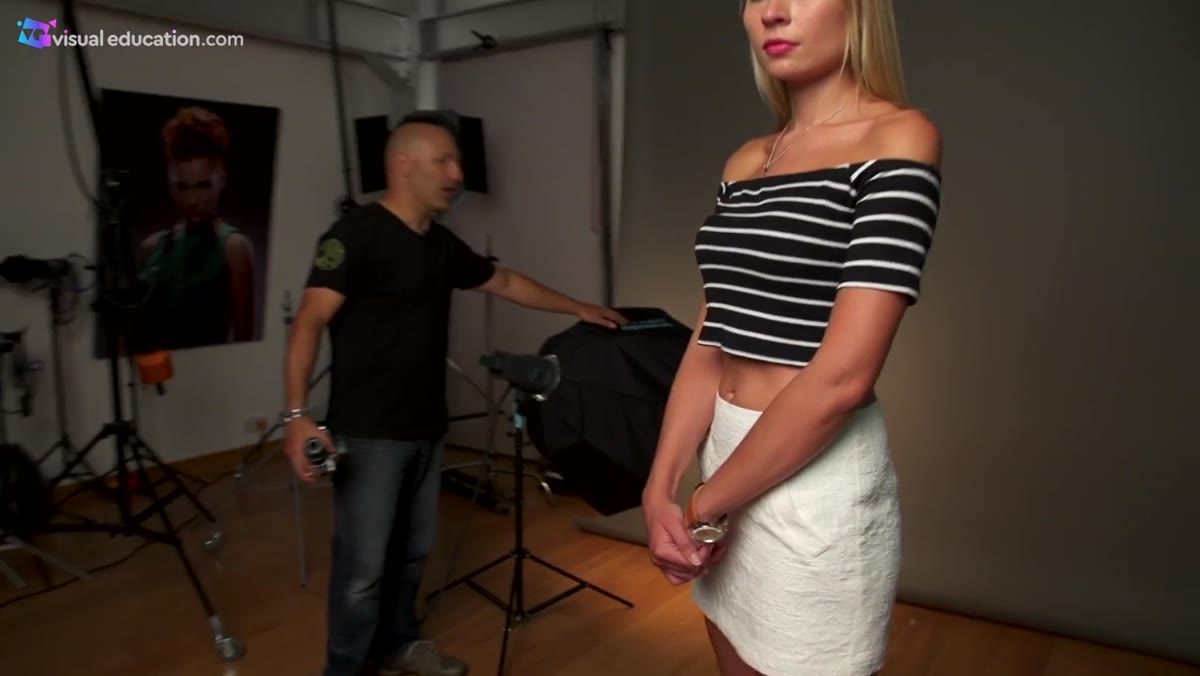 Broncolor octabox positioned behind subject toward background
Before you touch a light stand, know your roles. In this setup, one light handles the background and one light handles the subject. That’s the whole architecture. The background light creates separation and depth. The key light sculpts the face. Every other decision flows from those two jobs. If you walk into a shoot thinking “I have two lights,” you’ll wing it. If you walk in thinking “I have a background light and a key light,” you’ll make deliberate choices.
Broncolor octabox positioned behind subject toward background
Before you touch a light stand, know your roles. In this setup, one light handles the background and one light handles the subject. That’s the whole architecture. The background light creates separation and depth. The key light sculpts the face. Every other decision flows from those two jobs. If you walk into a shoot thinking “I have two lights,” you’ll wing it. If you walk in thinking “I have a background light and a key light,” you’ll make deliberate choices.
Step 2: Position the Background Light for a Gradient Glow
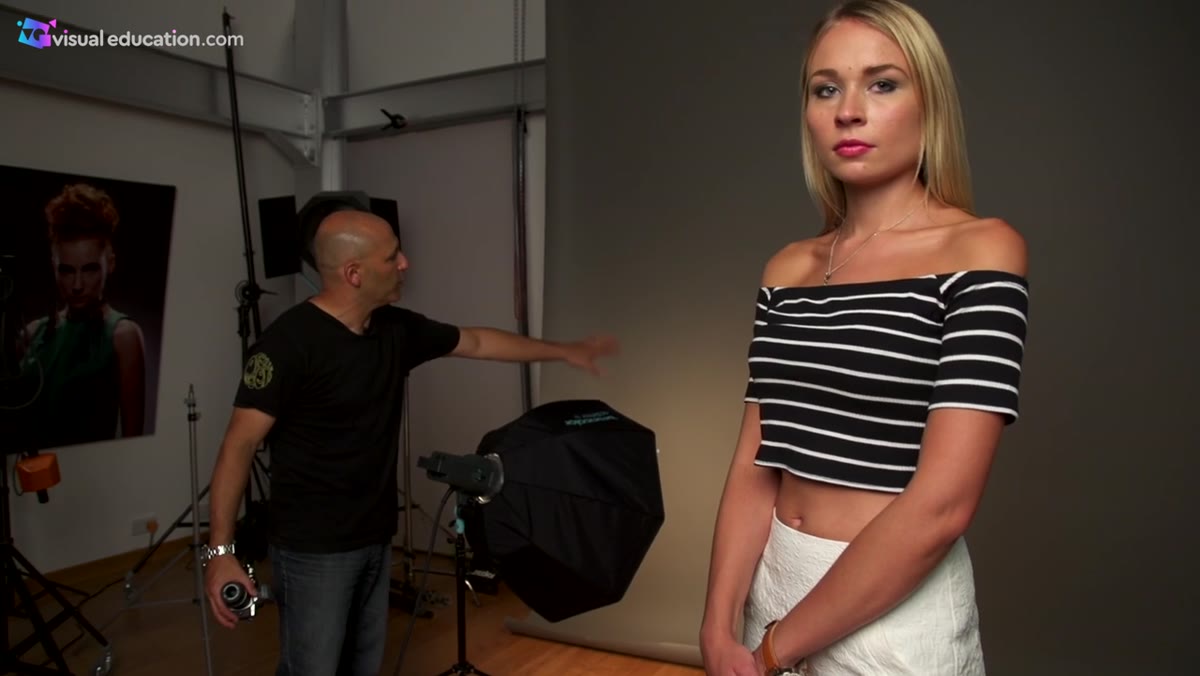 Octabox aimed at gray paper backdrop creating gradient effect
The first light gets a 75cm octabox and points directly at the gray paper backdrop. The goal isn’t to blow the background white. It’s to create a soft, graduated glow that gives the image depth and stops the subject from looking like they’re pasted onto a flat surface. A small-to-medium octabox works well here because the circular catch-light shape softens the spread without going too wide. If you’re using speedlights instead of studio strobes, a small octabox modifier clipped to a single speedlight on a low stand pointed at the background will get you remarkably close to this look.
Octabox aimed at gray paper backdrop creating gradient effect
The first light gets a 75cm octabox and points directly at the gray paper backdrop. The goal isn’t to blow the background white. It’s to create a soft, graduated glow that gives the image depth and stops the subject from looking like they’re pasted onto a flat surface. A small-to-medium octabox works well here because the circular catch-light shape softens the spread without going too wide. If you’re using speedlights instead of studio strobes, a small octabox modifier clipped to a single speedlight on a low stand pointed at the background will get you remarkably close to this look.
Step 3: Set Your Key Light With a Large Octabox
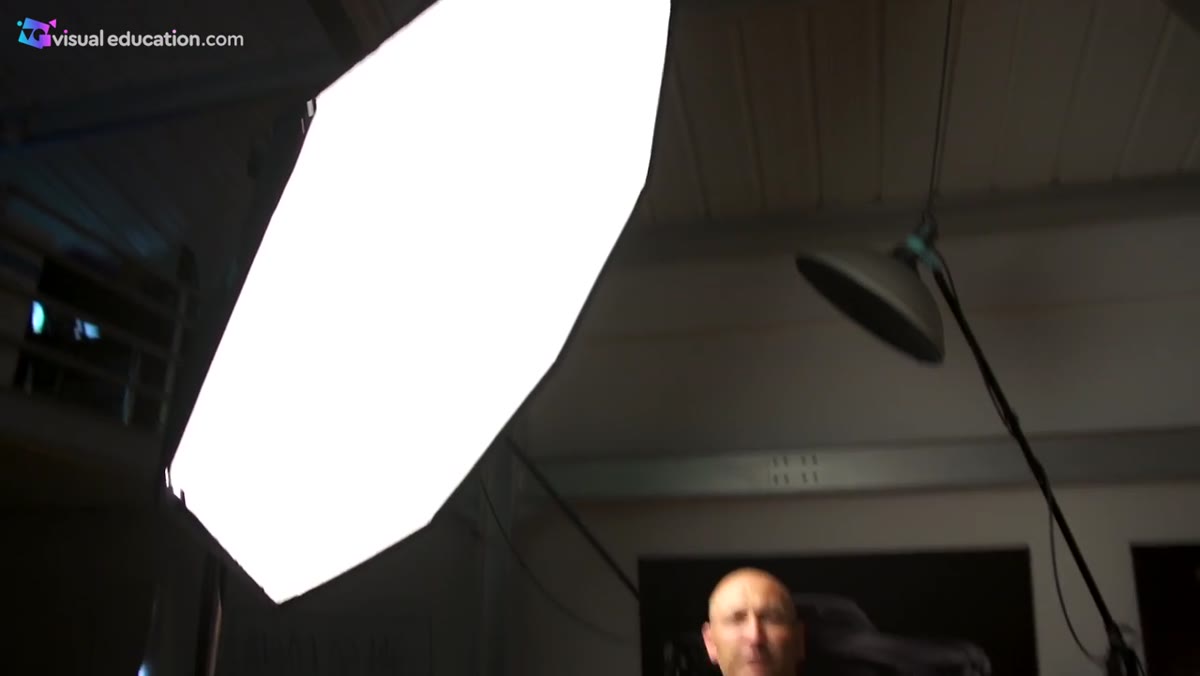 Large 150cm octabox as main subject light from front side
The main light is a 150cm octabox positioned in front of and slightly to the side of the subject. Size matters here, but not in the way most people assume. A larger modifier at a close working distance produces softer, more wrapping light. You don’t need a 150cm unit specifically. A 90cm or even a 60cm octabox moved closer to your subject will give you a similar quality of light. The key is that the diffusion panel is large relative to the subject’s face. Soft, directional, and close is the formula.
Large 150cm octabox as main subject light from front side
The main light is a 150cm octabox positioned in front of and slightly to the side of the subject. Size matters here, but not in the way most people assume. A larger modifier at a close working distance produces softer, more wrapping light. You don’t need a 150cm unit specifically. A 90cm or even a 60cm octabox moved closer to your subject will give you a similar quality of light. The key is that the diffusion panel is large relative to the subject’s face. Soft, directional, and close is the formula.
Step 4: Add a White Foam Board as a Fill
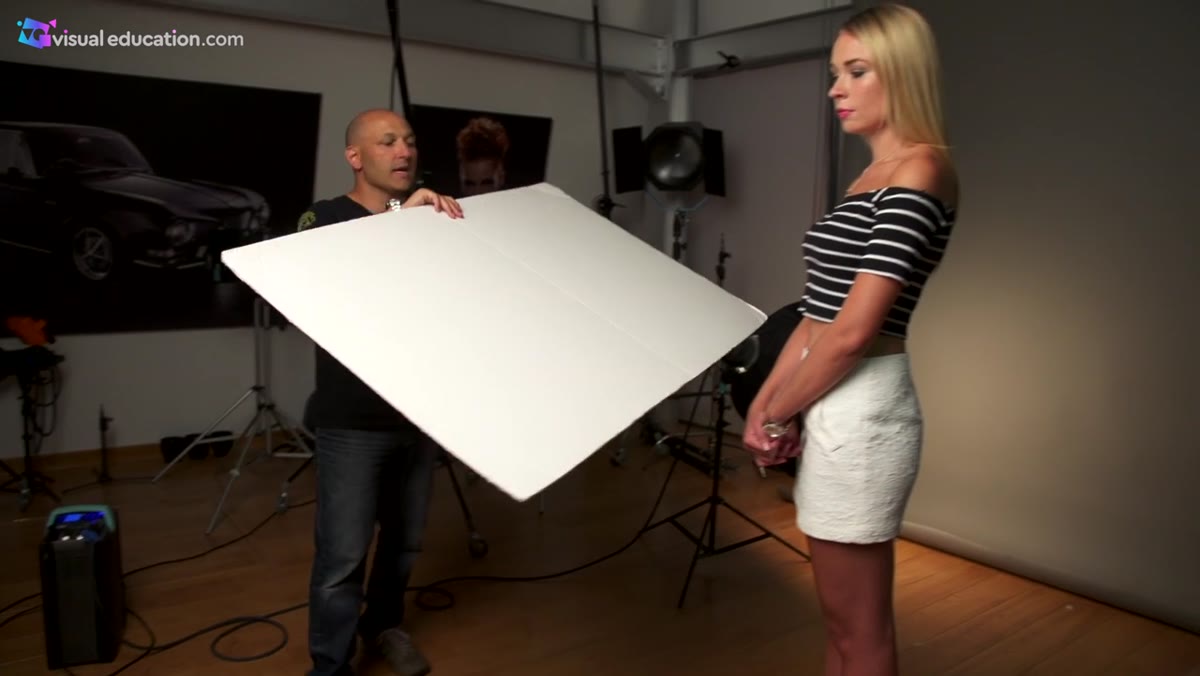 White foam card positioned on shadow side of subject
This is the step most people skip, and it’s the one that separates a flat, underlit portrait from one that looks finished. A simple piece of white foam board, the kind you can buy at any craft or dollar store, gets placed on the shadow side of the subject opposite the key light. It bounces a small amount of light back into the shadow areas and keeps the contrast ratio from getting too heavy. You’re not eliminating the shadow. You’re just lifting it enough to hold detail. No extra light. No extra power draw. No extra cost. One piece of foam board.
White foam card positioned on shadow side of subject
This is the step most people skip, and it’s the one that separates a flat, underlit portrait from one that looks finished. A simple piece of white foam board, the kind you can buy at any craft or dollar store, gets placed on the shadow side of the subject opposite the key light. It bounces a small amount of light back into the shadow areas and keeps the contrast ratio from getting too heavy. You’re not eliminating the shadow. You’re just lifting it enough to hold detail. No extra light. No extra power draw. No extra cost. One piece of foam board.
Step 5: Dial In Your Camera Settings
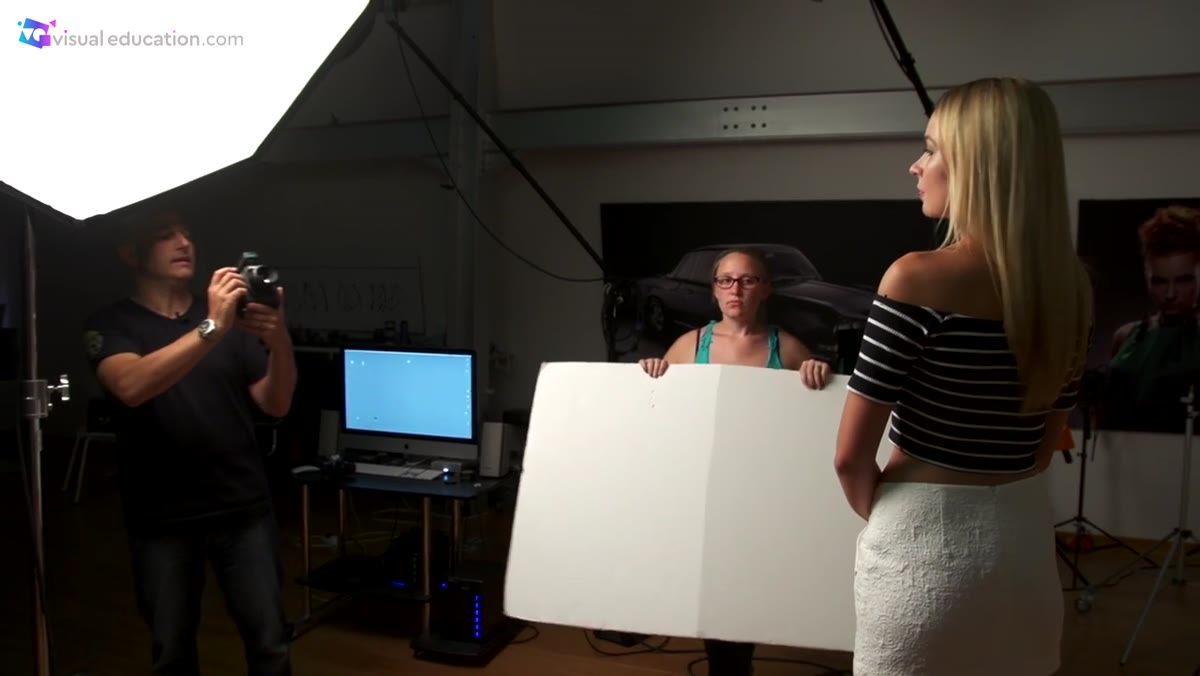 Camera settings shown: ISO 100, f/6.3, 1/160s
For camera settings, the tutorial shoots at ISO 100, f/6.3, and 1/160th of a second. The shutter speed here is almost irrelevant as long as you stay at or below your camera’s flash sync speed, usually around 1/160th to 1/250th depending on the body. What matters is that ISO 100 keeps noise low and f/6.3 keeps both eyes sharp while still producing a clean background separation from the lighting setup rather than from a shallow depth of field. This isn’t a bokeh-dependent shot. The background glow is doing the visual work, not a wide aperture.
Camera settings shown: ISO 100, f/6.3, 1/160s
For camera settings, the tutorial shoots at ISO 100, f/6.3, and 1/160th of a second. The shutter speed here is almost irrelevant as long as you stay at or below your camera’s flash sync speed, usually around 1/160th to 1/250th depending on the body. What matters is that ISO 100 keeps noise low and f/6.3 keeps both eyes sharp while still producing a clean background separation from the lighting setup rather than from a shallow depth of field. This isn’t a bokeh-dependent shot. The background glow is doing the visual work, not a wide aperture.
Step 6: Shoot the Same Setup on Two Different Cameras
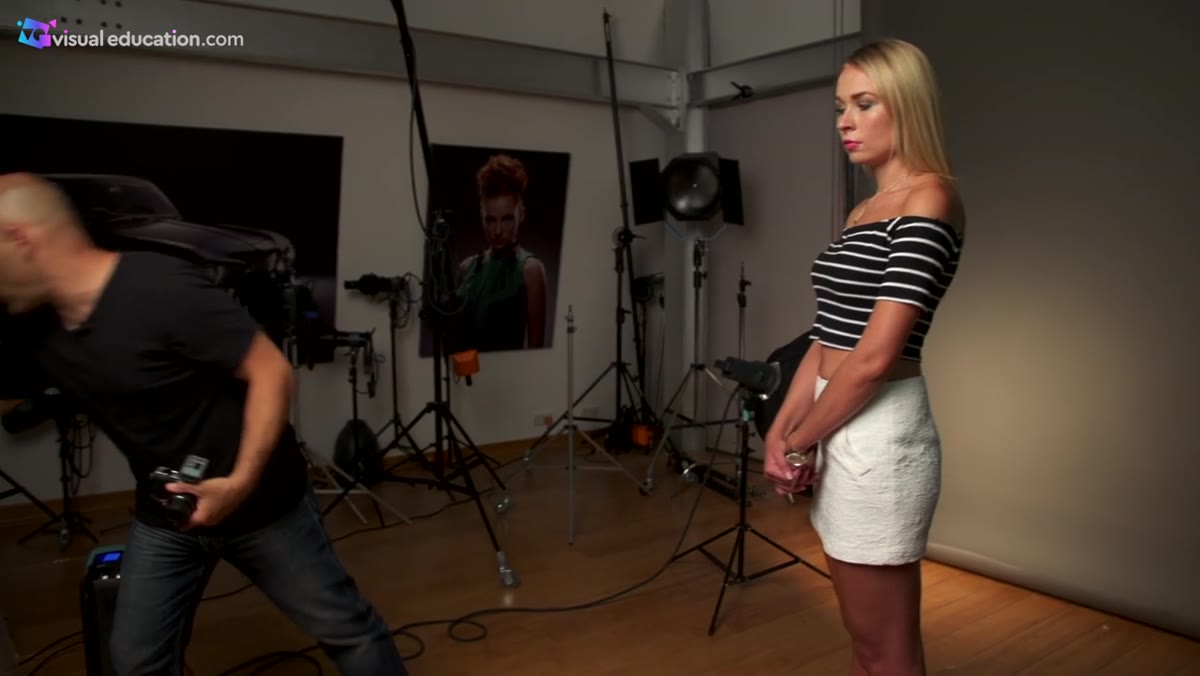 Canon 5D and Olympus OMD side by side before shooting
The tutorial makes a deliberate choice to shoot identical setups on two cameras: a Canon 5D with a 50mm f/1.8 lens, and an Olympus OMD mirrorless using its kit zoom. The results land in the same ballpark. That 50mm f/1.8, which you can find used for under $100 on most platforms, is doing just as much heavy lifting as any more expensive option would. If you own a budget mirrorless or an older crop-sensor DSLR, the message here is direct: your camera is not the variable holding your portraits back.
Canon 5D and Olympus OMD side by side before shooting
The tutorial makes a deliberate choice to shoot identical setups on two cameras: a Canon 5D with a 50mm f/1.8 lens, and an Olympus OMD mirrorless using its kit zoom. The results land in the same ballpark. That 50mm f/1.8, which you can find used for under $100 on most platforms, is doing just as much heavy lifting as any more expensive option would. If you own a budget mirrorless or an older crop-sensor DSLR, the message here is direct: your camera is not the variable holding your portraits back.
What I’d Add From My Own Testing
The tutorial doesn’t go deep on background distance, and that’s worth flagging. How far your subject stands from the background changes how that gradient glow reads in the final image. Move your subject closer to the background and the light spills onto them, flattening the separation. Move them further back, five to eight feet, and the falloff from the background light becomes more pronounced, giving you a darker, more dramatic gradient behind the subject without changing a single power setting. I’ve tested this with cheap speedlight setups and it makes a noticeable difference that costs nothing.
Also worth noting: the foam board angle matters more than people expect. Flat and parallel to the subject gives you even fill. Angling it toward the key light source picks up more light and brightens the fill. A slight angle away reduces it. You can use that to fine-tune contrast on the fly without touching a power dial.
If there’s one thing to take from this setup, it’s that the lighting ratio and modifier choice matter far more than the brand name on your strobe or the megapixel count on your sensor. A gray background, two softboxes, and a piece of foam card can produce portraits that look like they came out of a proper commercial studio. The Visual Education tutorial demonstrates this cleanly and without overselling it.
Watch the full tutorial on YouTube and pay close attention to how the background light is positioned relative to the backdrop. That single detail is where most beginners go wrong, and once you see how the gradient forms, you’ll never set up a background light the same way again.
Comments
Leave a Comment