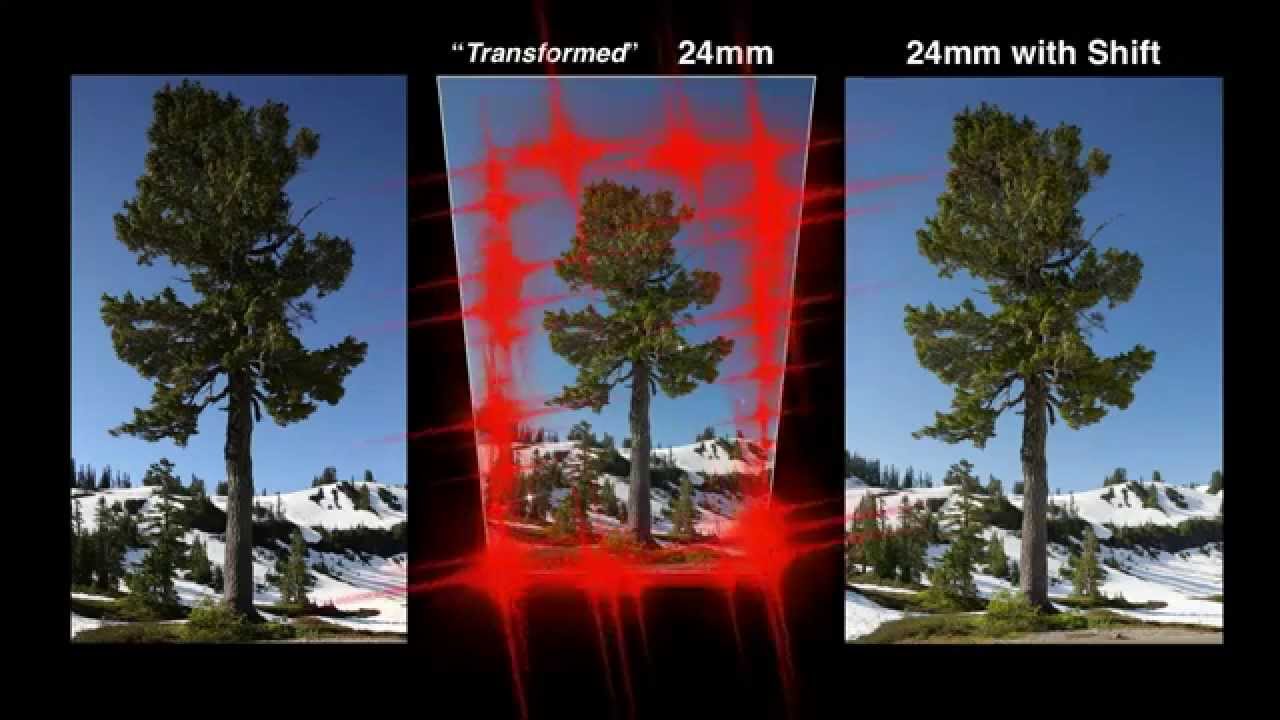
Most photographers never touch a tilt-shift lens. They’re expensive, they’re manual-everything, and the learning curve is steep enough that most people just skip them entirely. I get it. For years I filed them under “gear I’ll worry about when I’m rich,” right next to medium format backs and cinema-grade gimbals. But I kept running into situations where my shots of tall trees, building interiors, and wide landscape scenes looked just slightly wrong, and I couldn’t fix it cleanly in post without weird stretching artifacts. Turns out, that’s exactly the problem tilt-shift lenses were built to solve.
In this CreativeLive tutorial, the instructor walks through the full mechanics of how tilt-shift lenses work, with real field examples showing the before-and-after in a way that finally made the concept click for me. Watch the full tutorial on YouTube if you want to see the actual camera footage alongside this breakdown. Below I’ve pulled out each technique step by step so you can follow along without pausing and rewinding every 30 seconds.
Step 1: Understand What “Tilt” and “Shift” Actually Mean
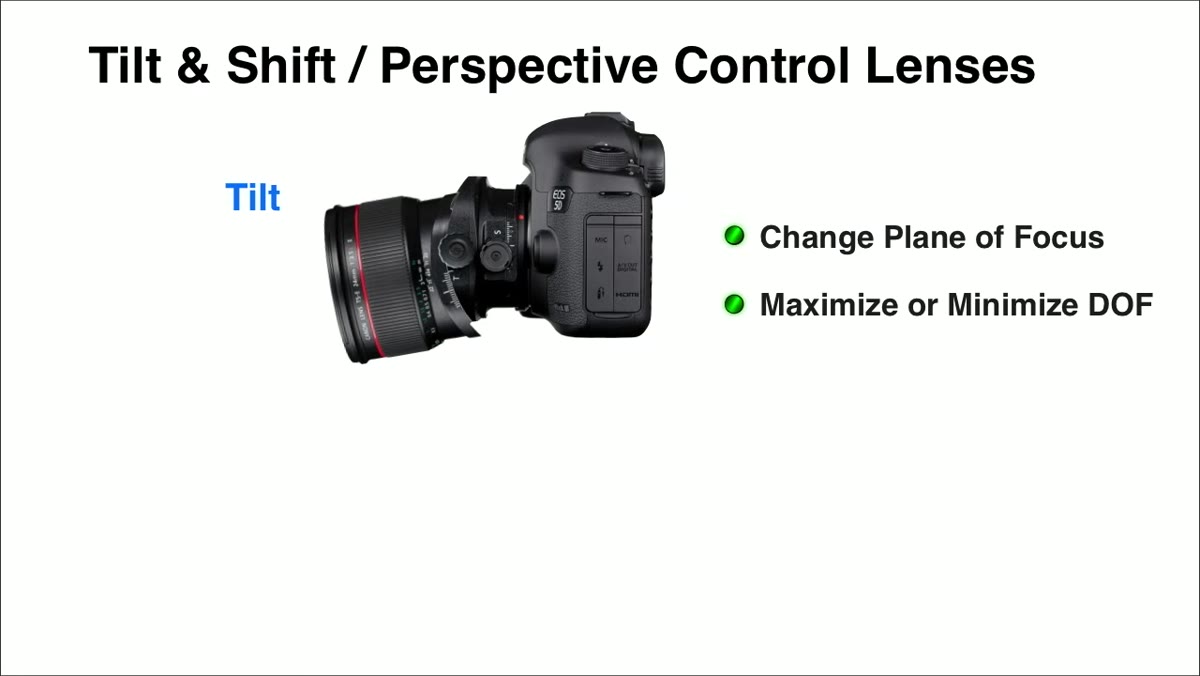
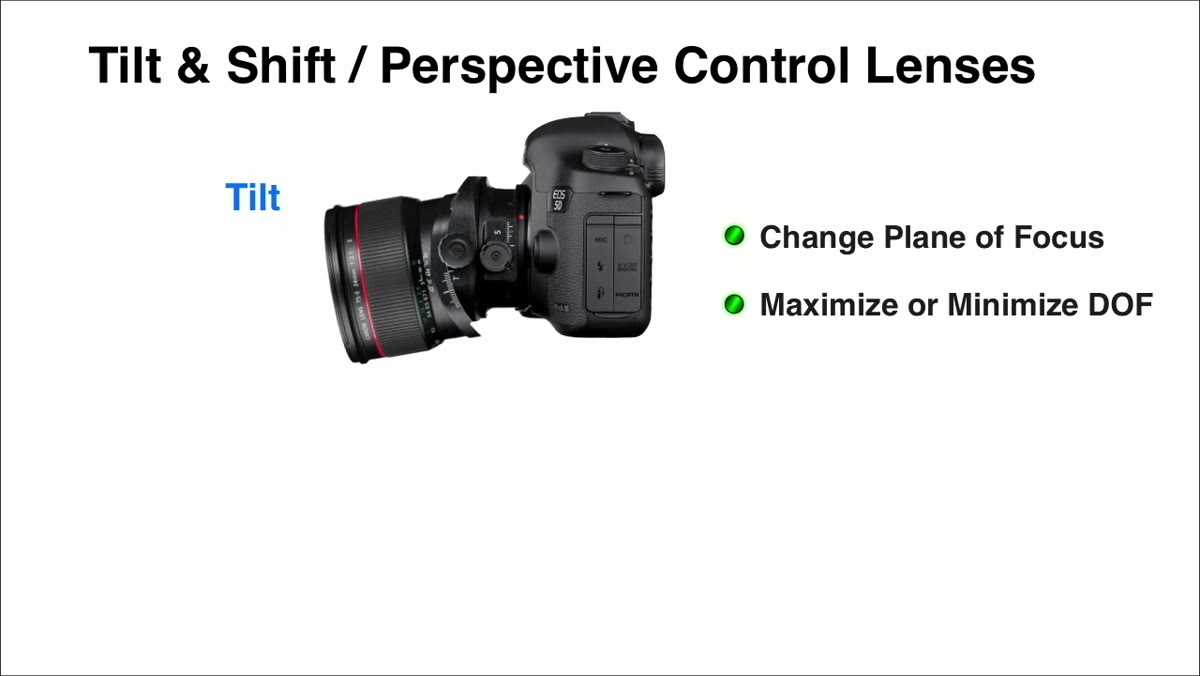 Instructor introducing tilt and shift as two separate functions
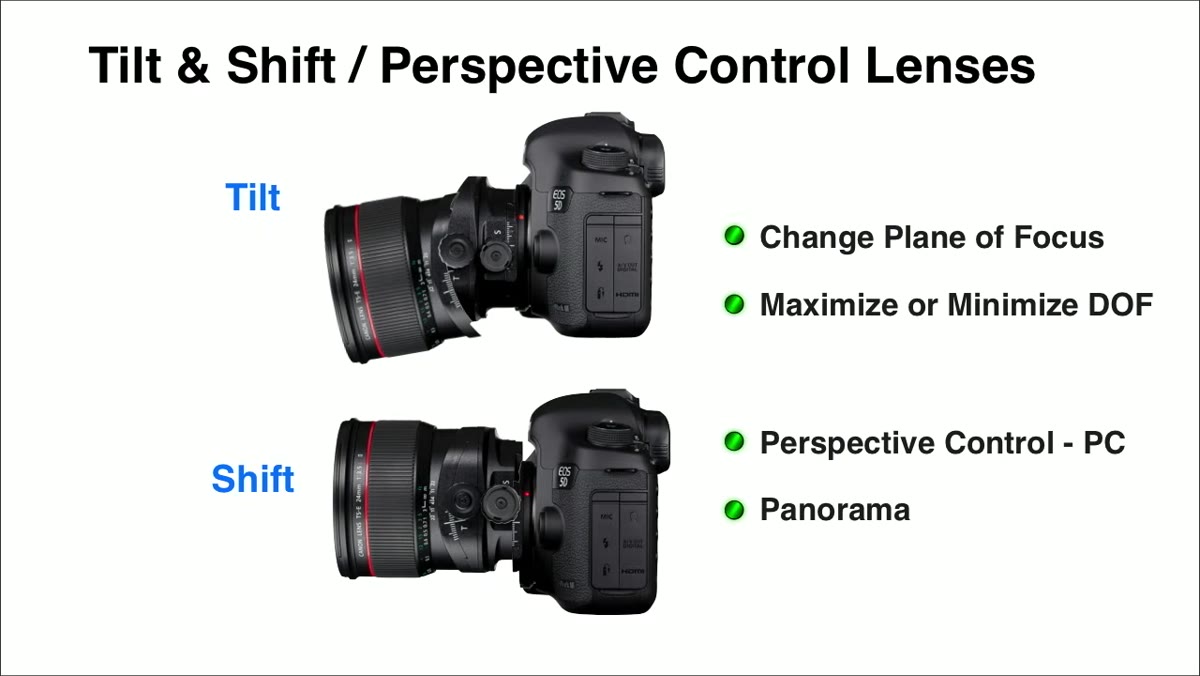
These lenses do two distinct things, and they’re worth treating separately. The “tilt” function lets you physically tilt the lens element relative to the camera sensor, which changes the plane of focus in ways a normal lens simply can’t. You can either sweep a huge range of a scene into sharp focus (useful for landscapes) or create a razor-thin, oddly angled focal plane that produces that miniature-world look you’ve probably seen in time-lapses. The “shift” function moves the lens up, down, left, or right while the camera body stays perfectly still. That movement lets you reframe without pointing the camera, which is what kills your vertical lines.
Instructor introducing tilt and shift as two separate functions
These lenses do two distinct things, and they’re worth treating separately. The “tilt” function lets you physically tilt the lens element relative to the camera sensor, which changes the plane of focus in ways a normal lens simply can’t. You can either sweep a huge range of a scene into sharp focus (useful for landscapes) or create a razor-thin, oddly angled focal plane that produces that miniature-world look you’ve probably seen in time-lapses. The “shift” function moves the lens up, down, left, or right while the camera body stays perfectly still. That movement lets you reframe without pointing the camera, which is what kills your vertical lines.
Think of it this way: a normal lens is bolted rigidly to your sensor. A tilt-shift lens floats. You’re physically moving the glass, not rotating the whole camera, which changes your perspective in a way that no crop or warp tool in Lightroom can fully replicate.
Step 2: Recognize the Parallax Problem You’re Trying to Fix
 Trees bending inward demonstrating parallax distortion
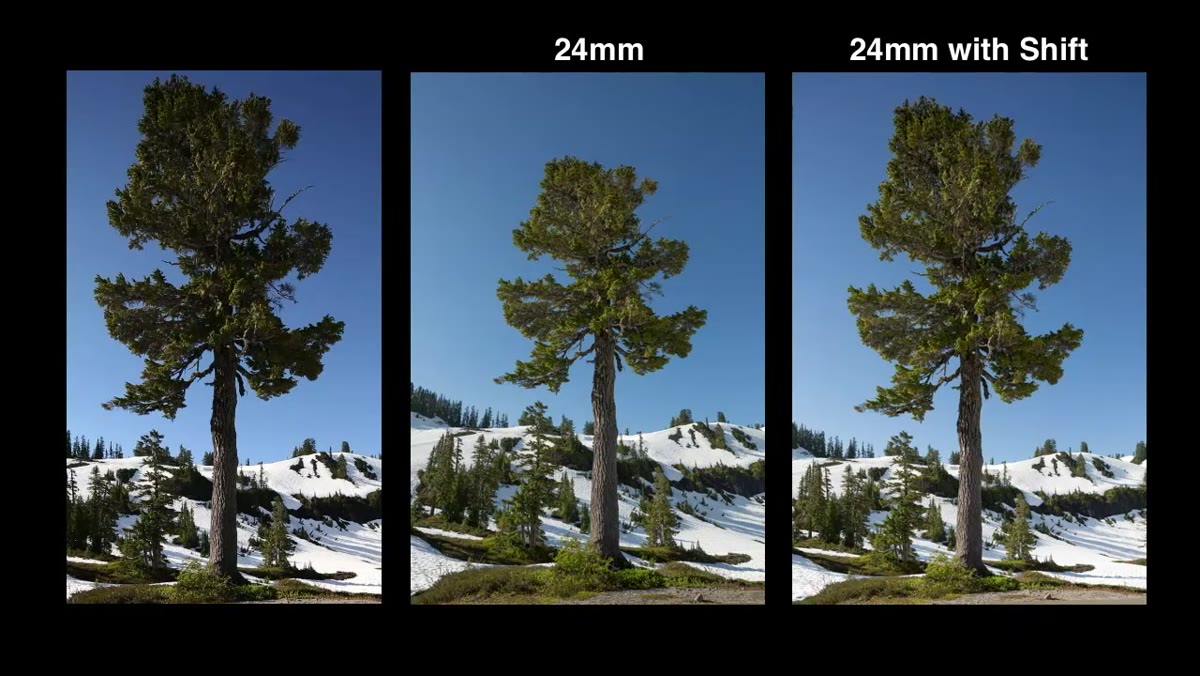
Before you can use the shift function intelligently, you need to train your eye to spot the problem it solves. Point a standard lens upward at trees, a building facade, or anything tall and vertical. Notice how the lines seem to lean inward and converge toward the top of the frame. That’s parallax distortion, and it happens because you’re tilting your camera up, changing the angle of the sensor relative to your subject. The top of the building is farther from your sensor than the base, so it photographs smaller, creating that falling-backward effect.
Trees bending inward demonstrating parallax distortion
Before you can use the shift function intelligently, you need to train your eye to spot the problem it solves. Point a standard lens upward at trees, a building facade, or anything tall and vertical. Notice how the lines seem to lean inward and converge toward the top of the frame. That’s parallax distortion, and it happens because you’re tilting your camera up, changing the angle of the sensor relative to your subject. The top of the building is farther from your sensor than the base, so it photographs smaller, creating that falling-backward effect.
Architects hate this. Interior design photographers hate this. And honestly, once you start noticing it in landscape shots of tall trees, you’ll hate it too. The shift function exists specifically to eliminate it without requiring you to tilt the camera at all.
Step 3: Level the Camera First, Then Shift the Lens
 Camera pointed straight ahead before shifting lens upward
This is the core move, and it’s counterintuitive the first time. Instead of pointing the camera up at your subject the way you normally would, keep the camera perfectly level. Use a bubble level or your camera’s built-in horizon indicator to confirm the sensor is parallel to the ground. Your subject might not even be in the frame yet. That’s fine.
Camera pointed straight ahead before shifting lens upward
This is the core move, and it’s counterintuitive the first time. Instead of pointing the camera up at your subject the way you normally would, keep the camera perfectly level. Use a bubble level or your camera’s built-in horizon indicator to confirm the sensor is parallel to the ground. Your subject might not even be in the frame yet. That’s fine.
Now, use the shift dial on the lens to move the glass upward. As you dial in the shift, the image in your viewfinder (or on your live view screen) will creep upward, revealing the top of the trees or building without you ever tilting the camera body. Because the sensor stayed level, the vertical lines in your scene stay vertical. Lock the dial once you have the framing you want. The lens will have a physical lock mechanism specifically for this so it doesn’t drift during a long exposure.
Step 4: Apply Shift for Interior Spaces, Not Just Exteriors
 Interior of lodge showing shift applied to architectural space
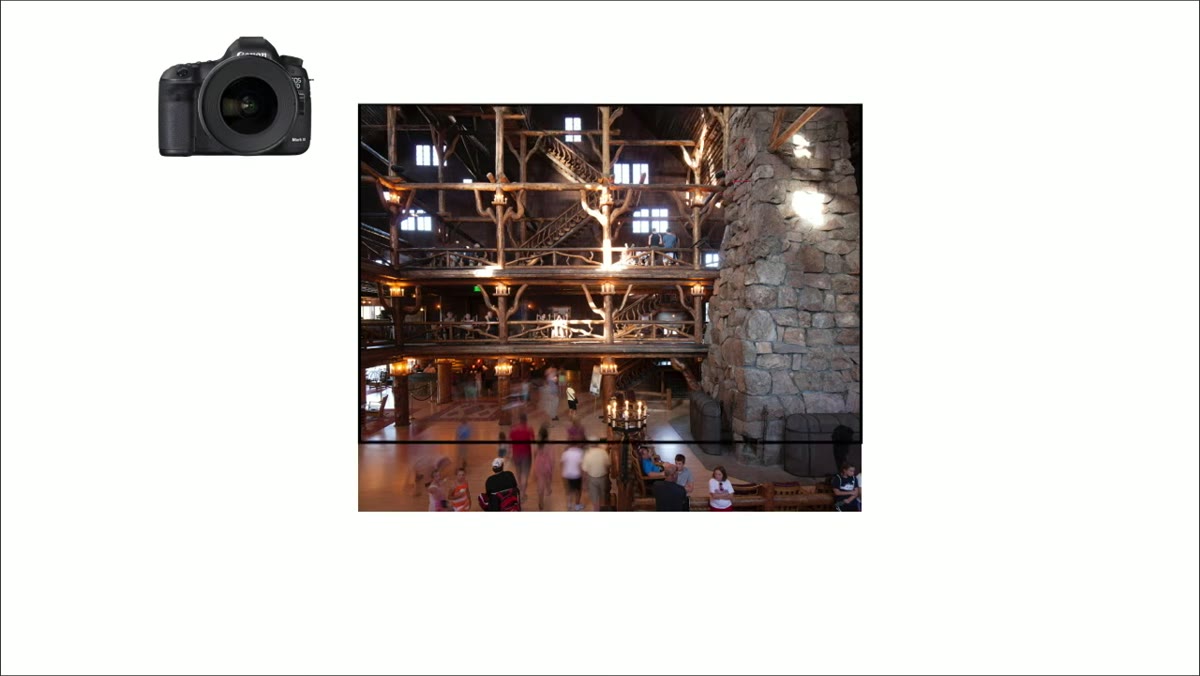
Outdoor architecture and trees are the obvious use case, but shift lenses earn their keep inside buildings too. Shooting in a lobby, a hotel interior, or a cathedral presents the same problem at close range with even more dramatic distortion. You’re physically close to everything, so the angles get exaggerated fast.
Interior of lodge showing shift applied to architectural space
Outdoor architecture and trees are the obvious use case, but shift lenses earn their keep inside buildings too. Shooting in a lobby, a hotel interior, or a cathedral presents the same problem at close range with even more dramatic distortion. You’re physically close to everything, so the angles get exaggerated fast.
The technique is identical: level the camera, then shift up to include the ceiling or shift down to anchor more floor in the frame. Because tilt-shift lenses are built around a much larger image circle than your camera sensor actually uses, basically a medium-format-sized piece of glass shrunk onto your crop or full-frame body, you have significant room to shift before you start vignetting at the edges. Most Canon and Nikon tilt-shift lenses give you around 11-12mm of shift range, which is more than enough for most interior work.
Step 5: Use Shift for Seamless Panoramas
 Instructor describing shift as a panorama tool for landscape photographers
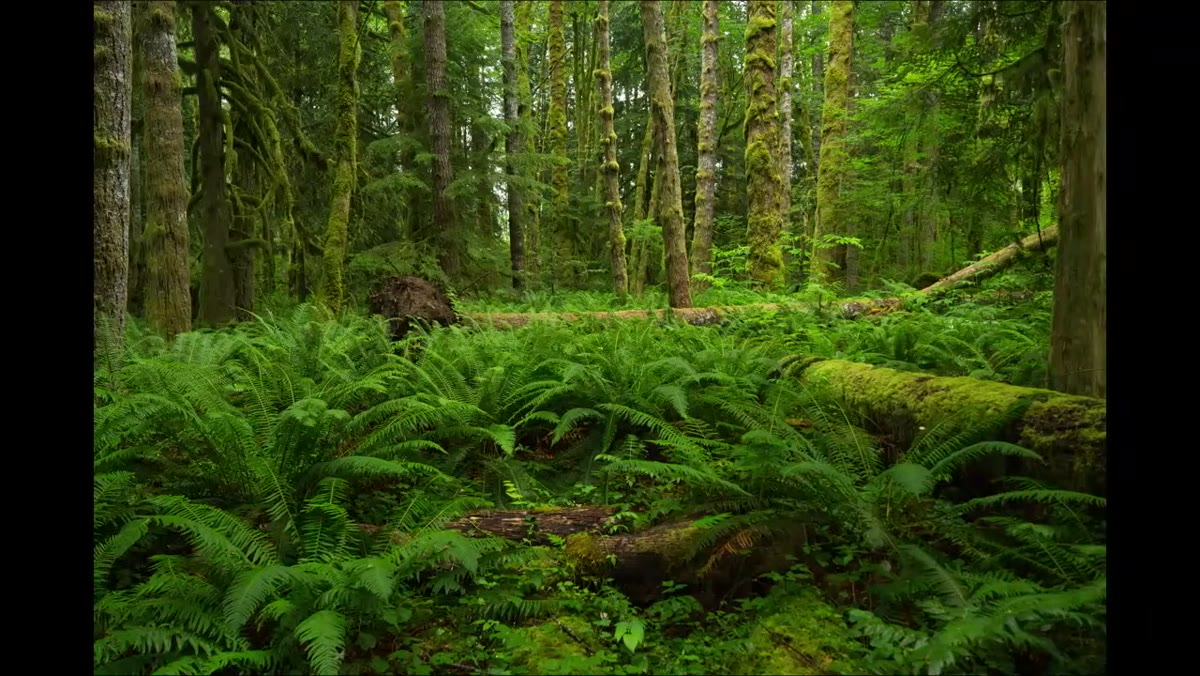
This one surprised me. Shift lenses are genuinely excellent for stitched panoramas, and it comes down to one simple reason: when you shift the lens sideways rather than rotating the camera on a tripod, you eliminate parallax error between frames. Rotating the camera on a standard head moves the entrance pupil of the lens through space, which causes foreground and background elements to shift relative to each other between frames. That’s what creates blending nightmares in Photoshop.
Instructor describing shift as a panorama tool for landscape photographers
This one surprised me. Shift lenses are genuinely excellent for stitched panoramas, and it comes down to one simple reason: when you shift the lens sideways rather than rotating the camera on a tripod, you eliminate parallax error between frames. Rotating the camera on a standard head moves the entrance pupil of the lens through space, which causes foreground and background elements to shift relative to each other between frames. That’s what creates blending nightmares in Photoshop.
When you shift the lens left and right instead, the camera body and the nodal point stay fixed. The only thing moving is the image circle sliding across your sensor. Stitch those frames together and you get a wide panoramic image with almost no alignment artifacts, especially useful for landscape scenes with close foreground elements like rocks or flowers that would ghost badly with a rotated camera.
Step 6: Know When Post-Processing Is Good Enough
 Comparison of in-camera shift result versus Photoshop perspective correction
The tutorial is honest about this, and I’ll be equally direct: for a lot of situations, Photoshop’s perspective warp or Lightroom’s geometry panel will get you 80% of the way there. If you’re shooting a casual travel photo of a building and you tilted slightly, just correct it in post and move on. The tilt-shift lens earns its place when you’re shooting with maximum wide-angle coverage and there’s no spare resolution to lose to a crop, when you’re doing precision architectural work where a client will inspect every line, or when you’re building panoramas and parallax correction matters.
Comparison of in-camera shift result versus Photoshop perspective correction
The tutorial is honest about this, and I’ll be equally direct: for a lot of situations, Photoshop’s perspective warp or Lightroom’s geometry panel will get you 80% of the way there. If you’re shooting a casual travel photo of a building and you tilted slightly, just correct it in post and move on. The tilt-shift lens earns its place when you’re shooting with maximum wide-angle coverage and there’s no spare resolution to lose to a crop, when you’re doing precision architectural work where a client will inspect every line, or when you’re building panoramas and parallax correction matters.
Renting one for a weekend project before deciding whether to buy is the smartest move here. Tilt-shift lenses run $1,500 to $2,500 new, but you can rent most Canon or Nikon versions for $40 to $80 a day from places like LensRentals or BorrowLenses.
My Take: Rent Before You Commit
I’ve tested a lot of lenses across a lot of price brackets, and tilt-shift glass is one category where the rental-first approach isn’t just a suggestion, it’s basically required. The manual focus, the fiddly dials, the narrow shift range when you haven’t quite leveled the camera properly - none of that is obvious until you’ve spent a few hours actually working with one on location. I’d recommend booking it for a specific shoot you already have planned, a building exterior, an interior space, or a landscape with strong vertical elements, so you’re solving a real problem rather than just experimenting in your backyard. That focused pressure will teach you more in one afternoon than any tutorial alone.
The fundamental takeaway here is that a tilt-shift lens doesn’t add some stylistic effect on top of your image. It removes a geometric problem that’s baked into every other lens on the market. Once you see it work in the field, normal lenses start looking subtly wrong in ways you never noticed before.
Watch the full tutorial on YouTube to see the field footage and before/after comparisons that make the shift effect especially clear.
Comments
Leave a Comment